Debugging Isolated Android Processes with VisualGDB
This tutorial explains how to debug an Android service that runs in a separate isolated process. Isolated processes are supported on Android 4.1+ and allow running your service outside the process of your main app. This improves the stability, however makes the debugging complicated. This tutorial shows how to create a basic service running in an isolated process and debug it with VisualGDB. You will need VisualGDB 4.3 or later to debug isolated processes.
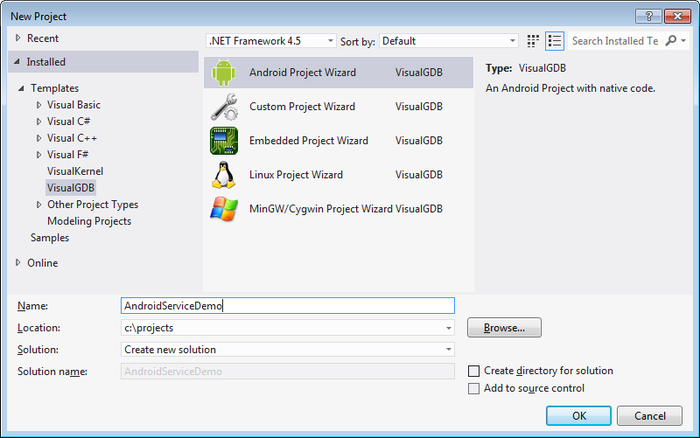
- Begin with creating a normal Android project with VisualGDB:
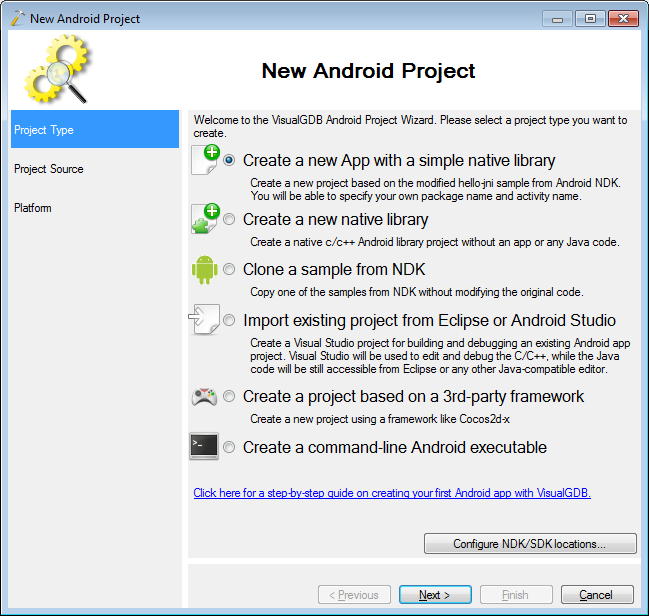
- Create a normal App with a native library:
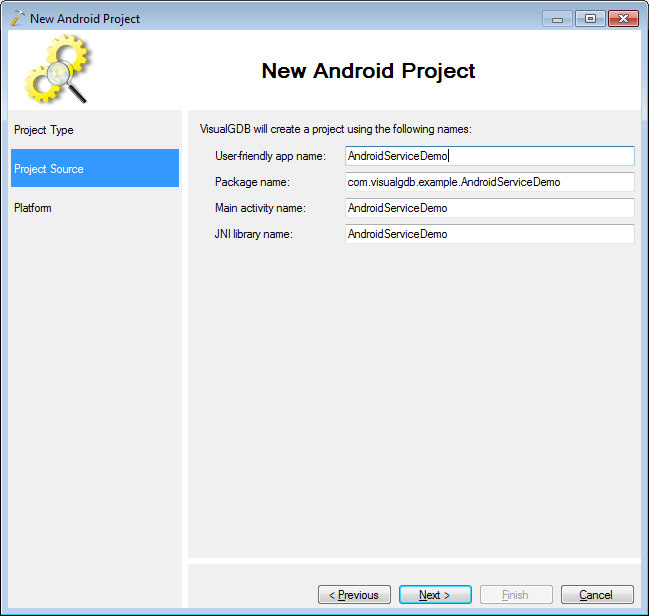
- Proceed with the default activity name:
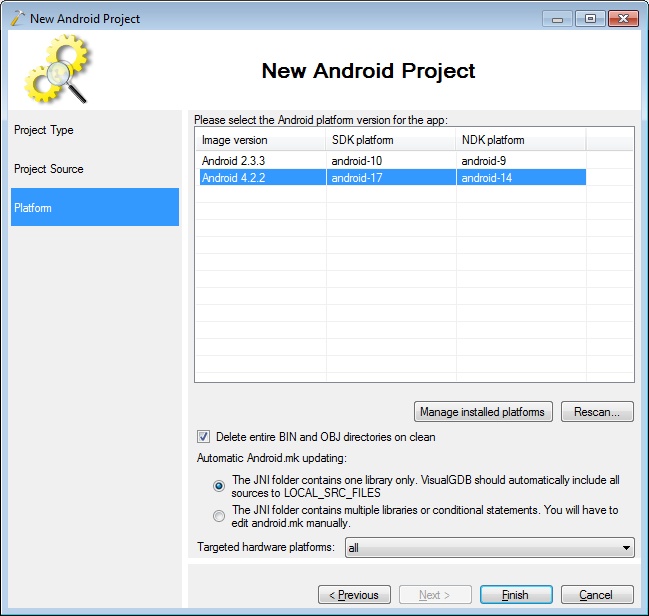
- Select the targeted Android platform. Note that the isolated processes are only supported on Android 4.1+ or later:
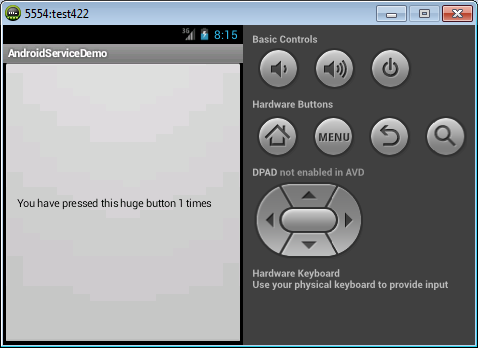
- Press Finish to create your project. Ensure your Android device is connected or the emulator is running and press F5 to build and start debugging it. The created app consists of one button that is updated each time the user presses it:
- We will now modify the app to compute the next text for the button in a separate service. First of all, create a new TestService.java file in the same folder as the other Java file (e.g. src\com\visualgdb\example\ AndroidServiceDemo) with the following contents:
package com.visualgdb.example.AndroidServiceDemo;

import android.app.IntentService;
import android.content.Intent;
import android.os.ResultReceiver;
import android.os.Bundle;
import java.lang.Thread;

publicclass TestService extends IntentService {
    publicstaticfinal String ResultReceiverTag = "ResultReceiver";
    publicstaticfinal String ResultStringTag = "ResultString";

    public TestService() {
        super("TestService");
    }

    @Override
   protectedvoid onHandleIntent(Intent intent) {
        ResultReceiver receiver = intent.getParcelableExtra(
                                            ResultReceiverTag);
       for (int i = 0; i < 100; i++)
        {
            Bundle resultBundle = new Bundle();
            resultBundle.putString(ResultStringTag,
                                   stringFromJNI());
            receiver.send(0, resultBundle);
           try {
                Thread.sleep(1000);
            } catch (InterruptedException e) {
                e.printStackTrace();
            }
        }
    }

   publicnative String stringFromJNI();

   static {
        System.loadLibrary("AndroidServiceDemo");
    }
}
The service will loop for 100 iterations sending strings returned by stringFromJNI() back to the caller via the ResultReceiver pattern.
- Now modify your main activity code invoke the service instead of calling stringFromJNI() directly:
package com.visualgdb.example.AndroidServiceDemo; import android.app.Activity; import android.view.View; import android.widget.Button; import android.os.Bundle; import android.content.Intent; import android.content.BroadcastReceiver; import android.content.Context; import android.content.IntentFilter; import android.os.ResultReceiver; import android.os.Handler; publicclass AndroidServiceDemo extends Activity { @Override public void onCreate(Bundle savedInstanceState) { super.onCreate(savedInstanceState); final Button button = new Button(this); button.setOnClickListener(new View.OnClickListener() { publicvoid onClick(View v) { UpdateButtonText(button); } }); button.setText("Press me to test the service"); setContentView(button); } void UpdateButtonText(final Button button) { button.setText("..."); Intent intent = new Intent(this, TestService.class); intent.putExtra(TestService.ResultReceiverTag, new ResultReceiver(new Handler()) { @Override protectedvoid onReceiveResult(int resultCode, Bundle resultData) { button.setText(resultData.getString( TestService.ResultStringTag)); } }); startService(intent); } } - Then modify your AndroidManifest.xml file to declare the service as an isolated process service:
 <application ...>
    ...
    <serviceandroid:name =
         "com.visualgdb.example.AndroidServiceDemo.TestService"
     android:process = ":TestServiceProcess"
    android:isolatedProcess = "true"/>
</application>
Note that the android:process attribute must be present in order for VisualGDB to distinguish the service process from the app process. The service process name should start with a colon (:).
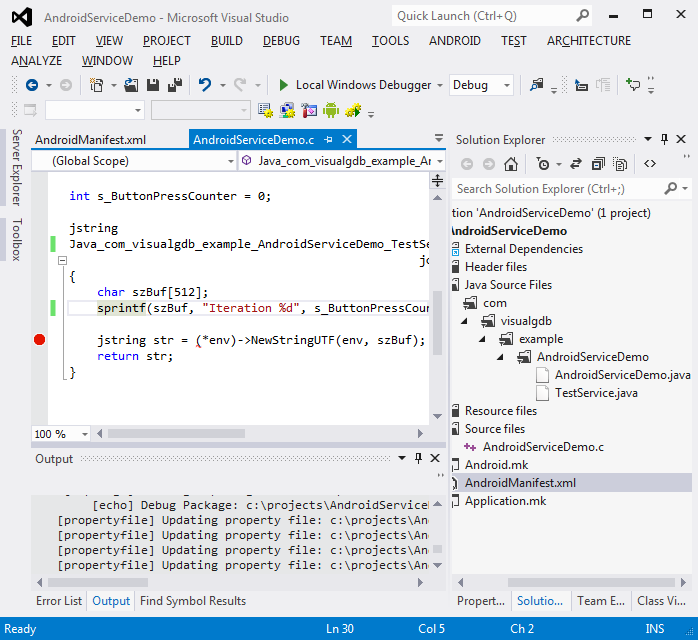
- Finally rename the function name in your .c file to match the new package name and the service class name (e.g. Java_com_visualgdb_example_AndroidServiceDemo_TestService_stringFromJNI) and replace the string format to “Iteration %d”:
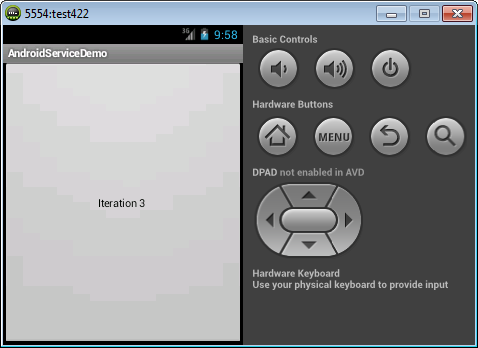
- Build your project and start debugging it by pressing F5. Press the button in the app once. The 100-iteration loop will start and the button text will be updated as expected:
- However if you try to set a breakpoint in your C file, the breakpoint won’t even bind:
 This happens because the service that loads the .so file is running in a separate process and VisualGDB is debugging the main app process that only has the Java code.
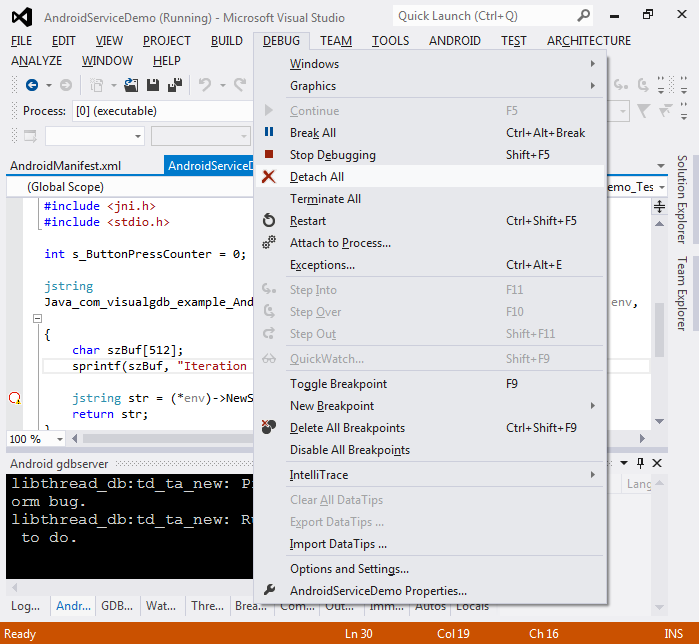
 - Detach from the app by selecting Debug->Detach All:
 VisualGDB will stop the debugging session, but the app will continue running on the device
 - Ensure that the “Debug App Startup” feature is disabled. Press F5 to start debugging again. VisualGDB will ask whether you want to restart the app or attach to it. Select “Attach to the service”:
 Note that the service process name is taken from the android:process attribute in the Android manifest. If the attribute is missing, VisualGDB won’t be able to detect the service process correctly.
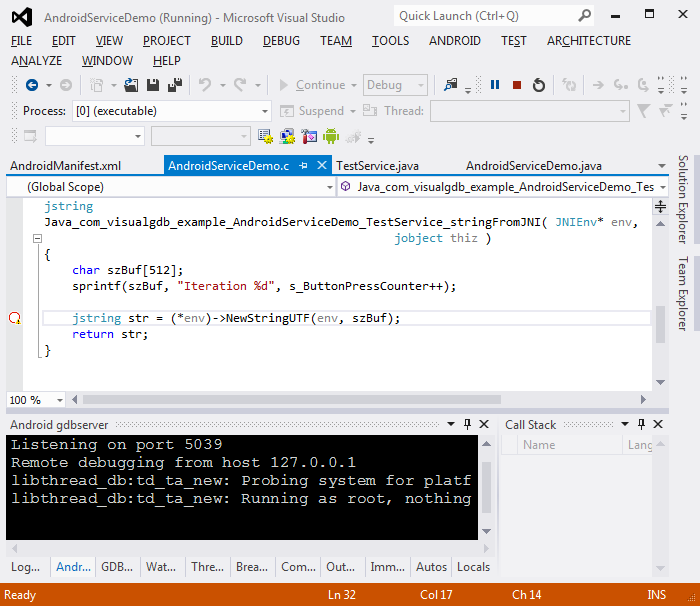
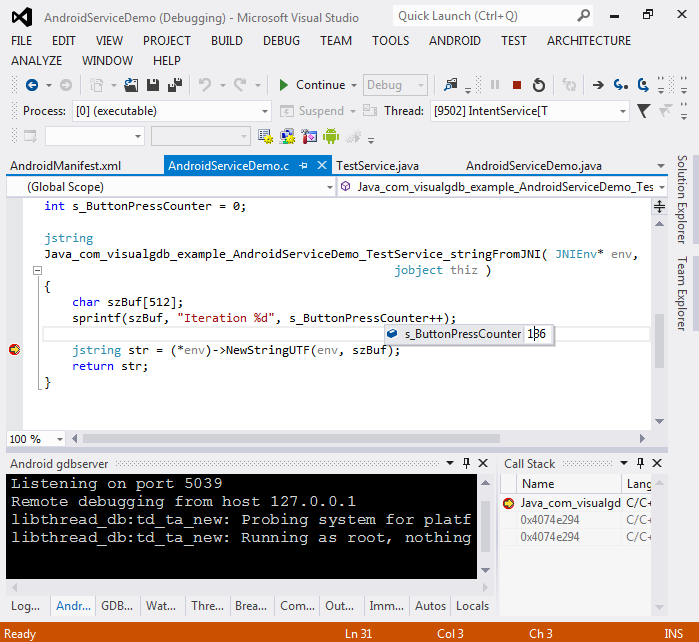
 - Now your breakpoint will be hit successfully. Modify the value of the counter arbitrarily:
 Note that while debugging the service process you won’t be able to debug the code running in the main app process (unless you start another instance of Visual Studio).
 - Remove the breakpoint and resume debugging. Your app will show the modified counter value received from the service process we are debugging:


