Developing Nordic nRF51 Projects with Visual Studio
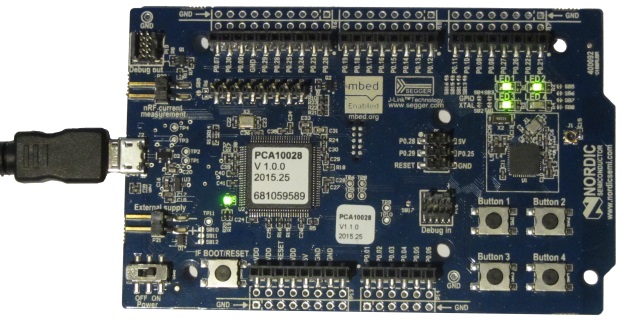
This tutorial shows how to create and debug a basic project for the Nordic nRF51-DK using Visual Studio. Before you begin, install VisualGDB 5.0 or later.
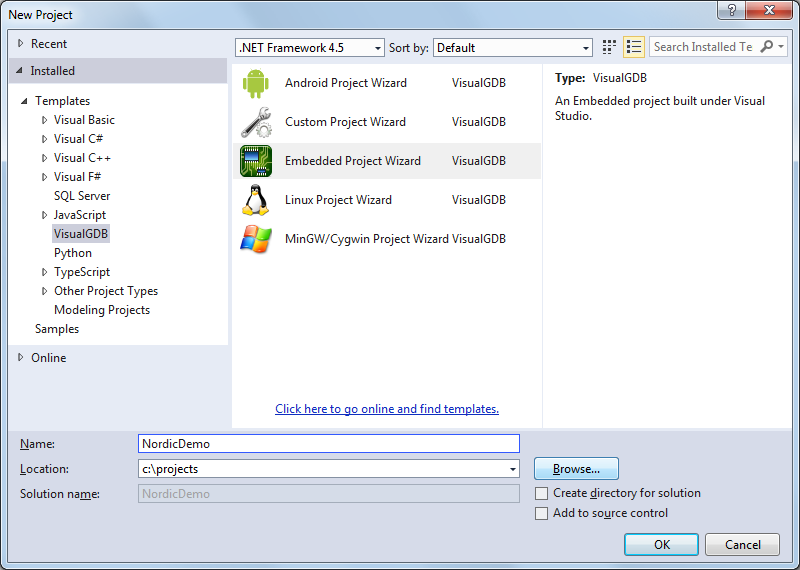
- Start Visual Studio and begin creating a new project using VisualGDB Embedded Project Wizard:
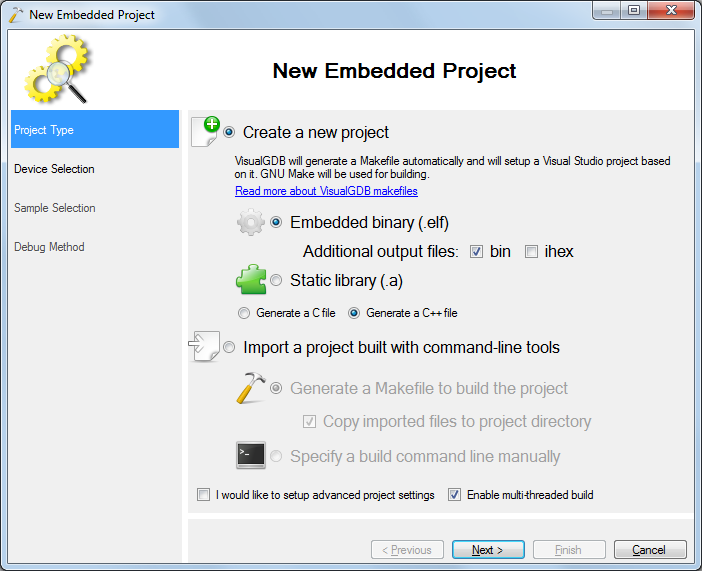
- Proceed with the default settings on the first page of the wizard:
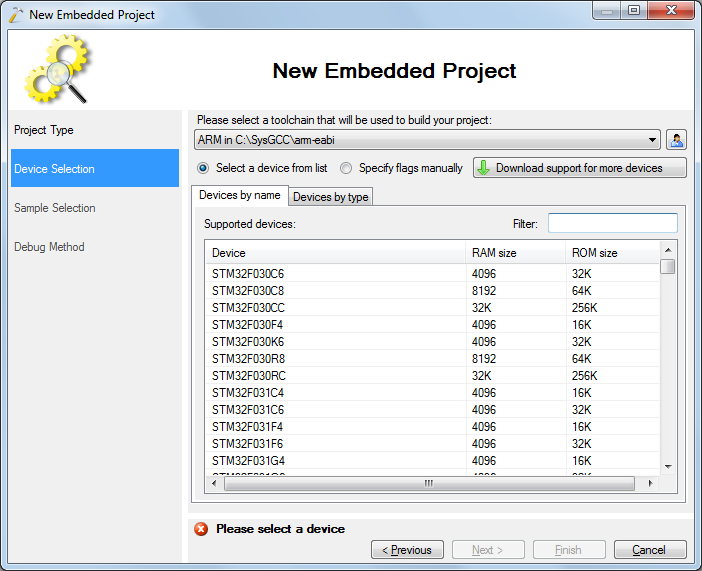
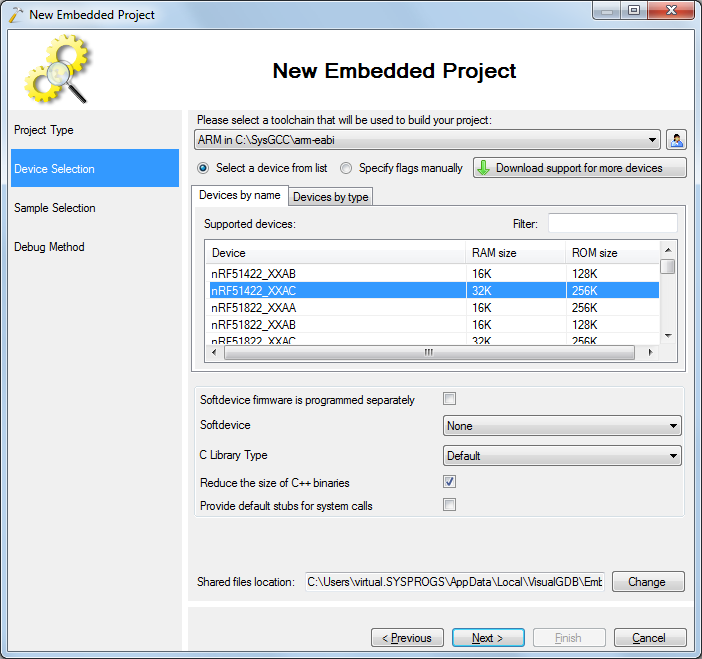
- On the next page of the wizard select the ARM toolchain. If you have not installed it yet, VisualGDB will install it automatically.
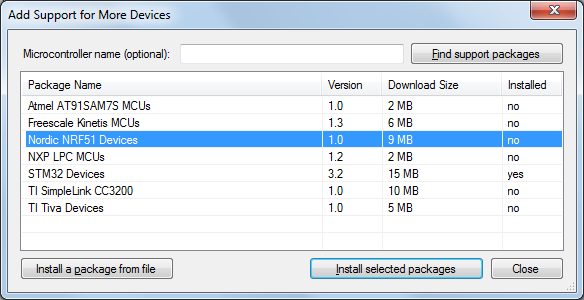
- If you have not created Nordic projects before, click “Download Support for More Devices” and select the Nordic package in the list:
- Select your nRF51 device from the list and click “Next”:
- On the “Sample” page of the wizard select the LEDBlink (BSP) sample and then select an evaluation board you are using from the list. This will automatically configure board-specific settings like LED locations. The board type is normally printed on a sticker on the board. E.g. for nRF51-DK, it is PCA10028.
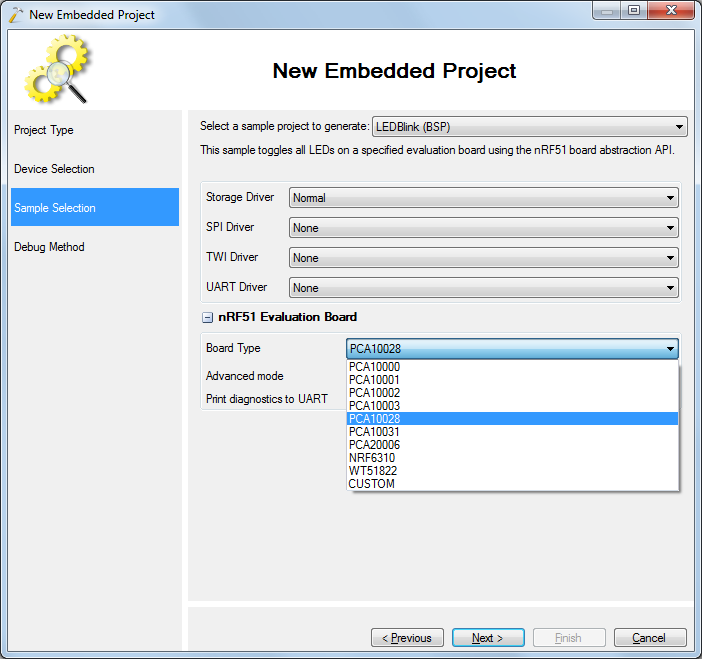 If you are not using a Nordic evaluation board, select the “LEDBlink” sample and specify the LED port number manually.
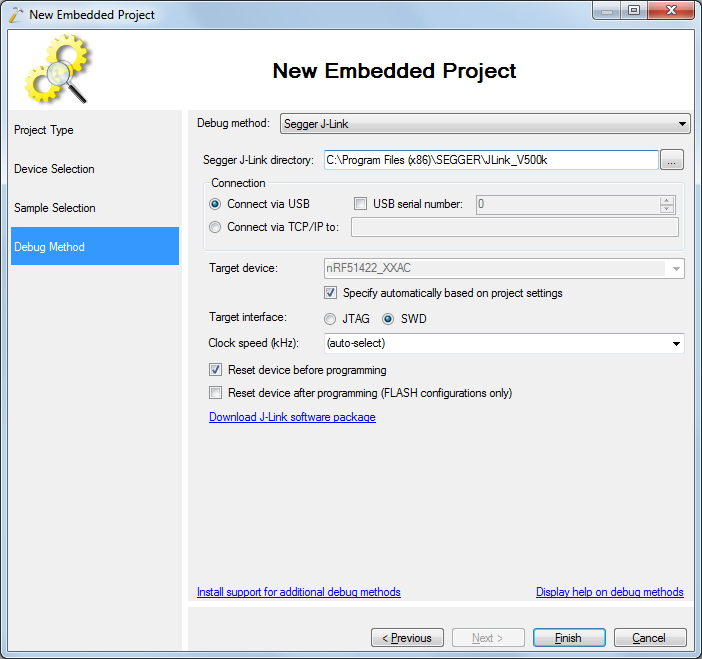
 - Select a debug method compatible with your board. The nRF51-DK board comes with an on-board Segger J-Link device that can be used by selecting the “Segger J-Link” debug method and specifying the location of the Segger J-Link software package:
 If you don’t have the Segger J-Link software installed, you can get it here.
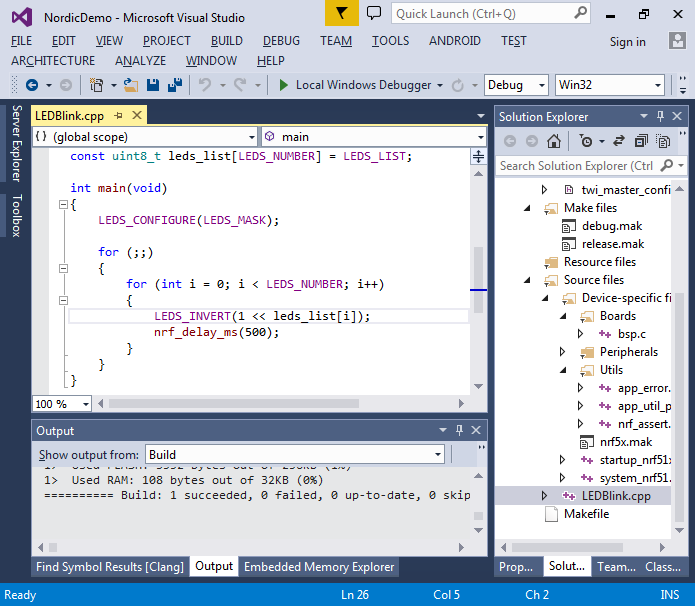
 - Press “Finish” to complete creating your project. Then build it via Build->Build Solution:
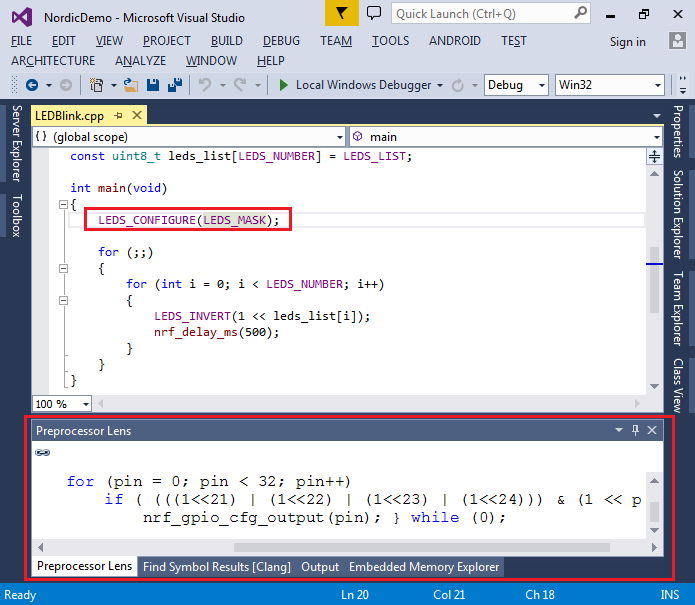
- Many of the functionality in Nordic projects is implemented using preprocessor macros. You can quickly expand a certain macro by right-clicking on it and selecting “Preprocess selected lines”:
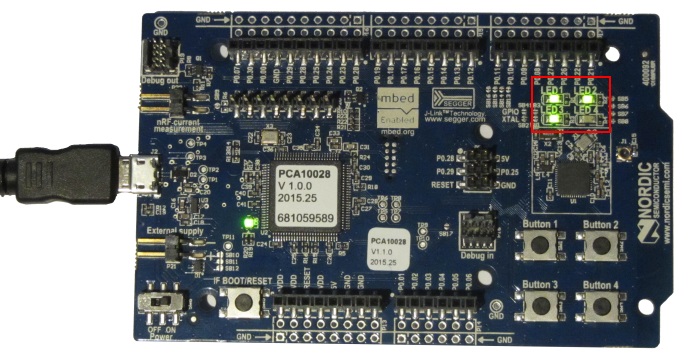
- Press F5 to load your program into the nRF51 chip and observe the LEDs. If you have selected the BSP-based sample, all LEDs on your board will turn on and off one after another:
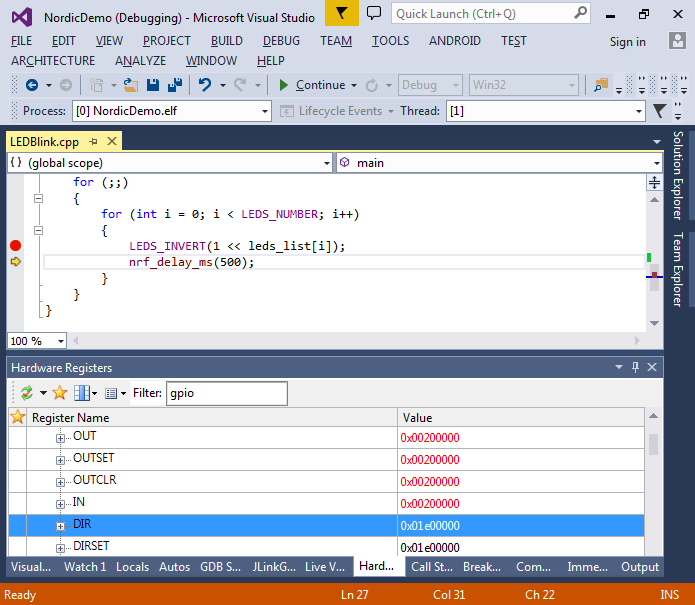
- Set a breakpoint at the LEDS_INVERT() line and open the Debug->Windows->Hardware Registers. Then step over the LEDS_INVERT() line and observe how the GPIO register values change:
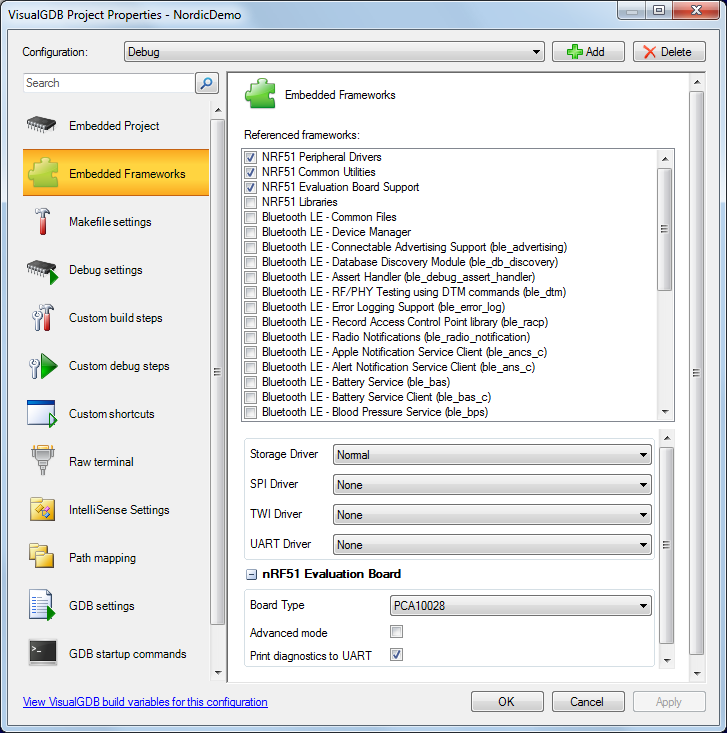
- Press Shift-F5 to stop debugging. If you look in the Solution Explorer, you will notice that the project includes a lot of auxiliary code from the Nordic SDK. If you want to remove some of the code that is not used (or add other libraries such as various Bluetooth LE protocols), open VisualGDB Project Properties and go to the Embedded Frameworks page where you can select and customize the frameworks used by your project:
 Now that you have created a basic project, you can follow this tutorial to create and debug a Bluetooth LE-based mouse.


We would like to thank Maik Engelhardt for contributing the initial version of the Nordic BSP.