Developing Nordic nRF52 code with Visual Studio
This tutorial shows how to develop and debug a basic firmware for the nRF52 devices with Visual Studio and VisualGDB.
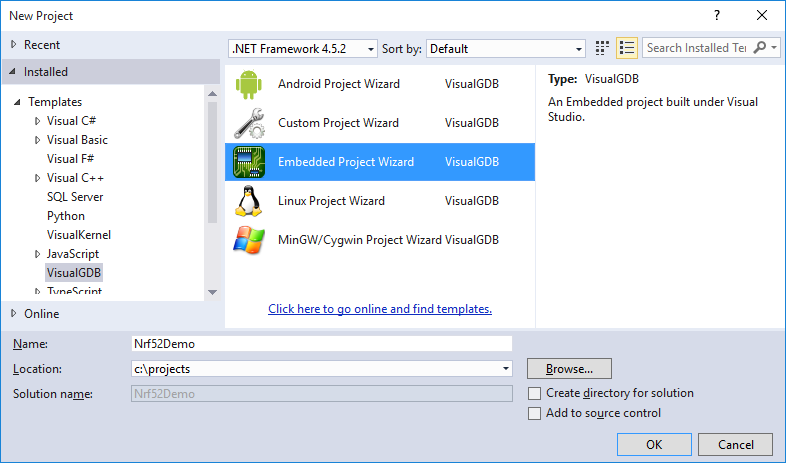
- Start Visual Studio and select File->New Project. Then choose the VisualGDB Embedded Project Wizard:
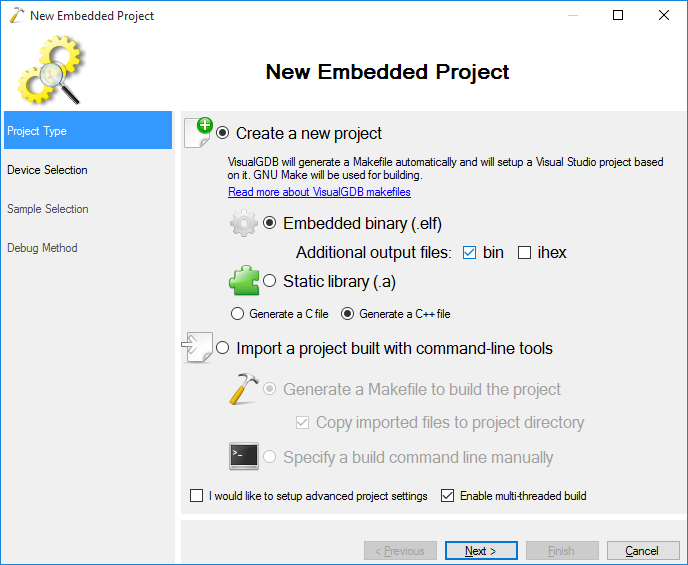
- Proceed with the default “Create a new project setting”:
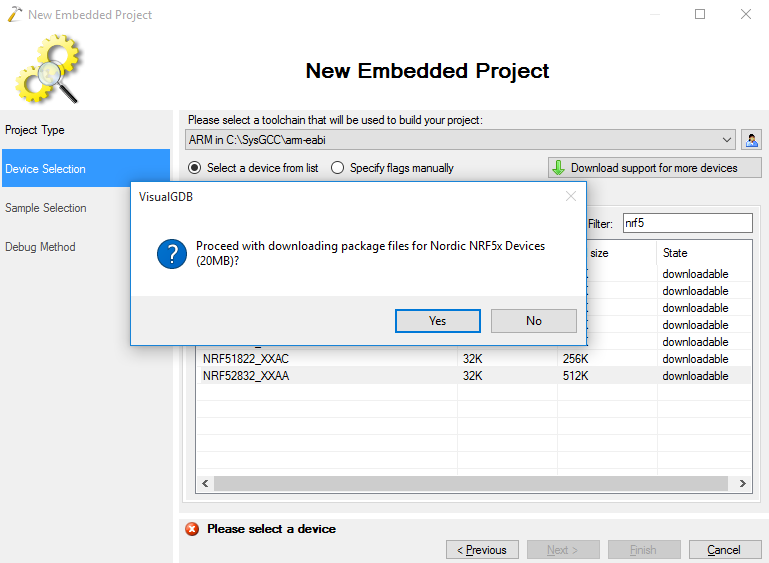
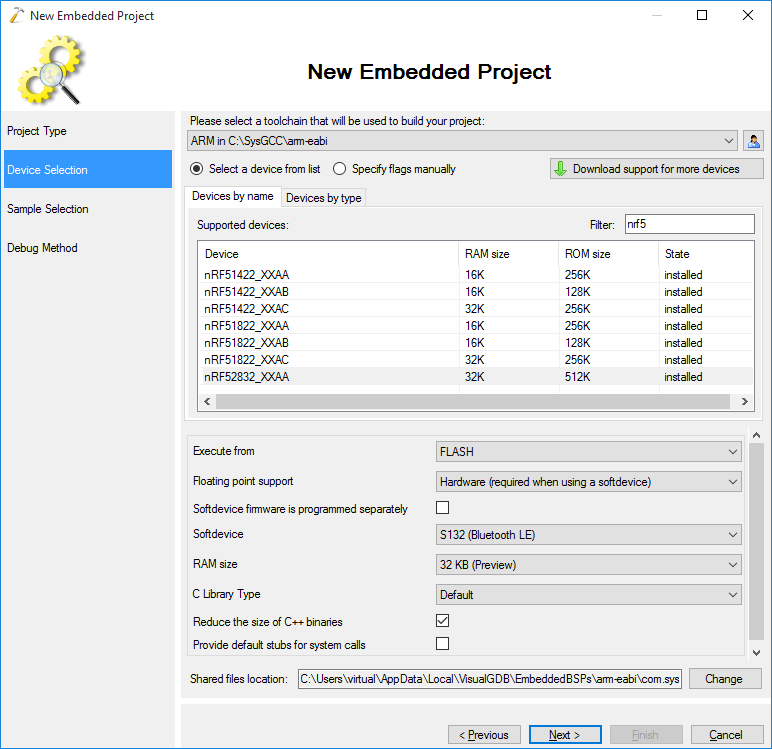
- Select the nRF52 device from the list. If you have not downloaded the nRF52 BSP yet, click “Download support for more devices”. If you are using VisualGDB 5.1 or later, the device will always appear in the list and the BSP will be downloaded once you select it:
- If you are using a preview version of the nRF52 device, select 32KB in the “RAM size” field (the second 32KB are placed to an incorrect address as described here, making them inaccessible unless a separate code/data section is used), otherwise select 64KB:
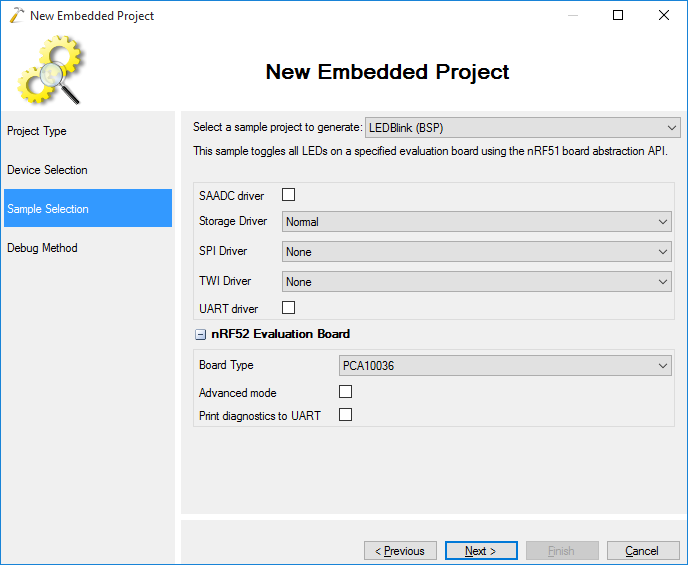
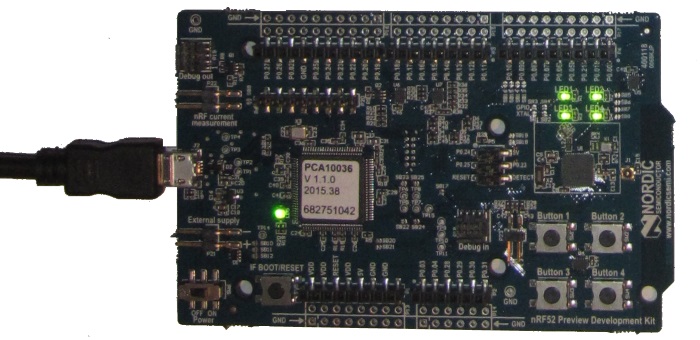
- Select a sample from the sample list. In this example we will build the simplest LEDBlink sample, however you can select a different one and follow one of our nRF51 tutorials to see Bluetooth LE functionality in action. If you are using nRF52-DK, select the PCA10036 board:
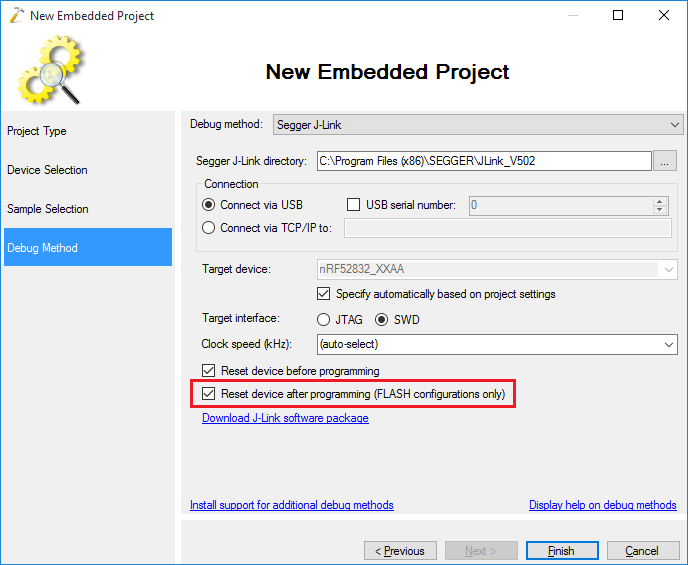
- Select Segger J-Link as the debug method. Ensure you check the “Reset device after programming” checkbox:
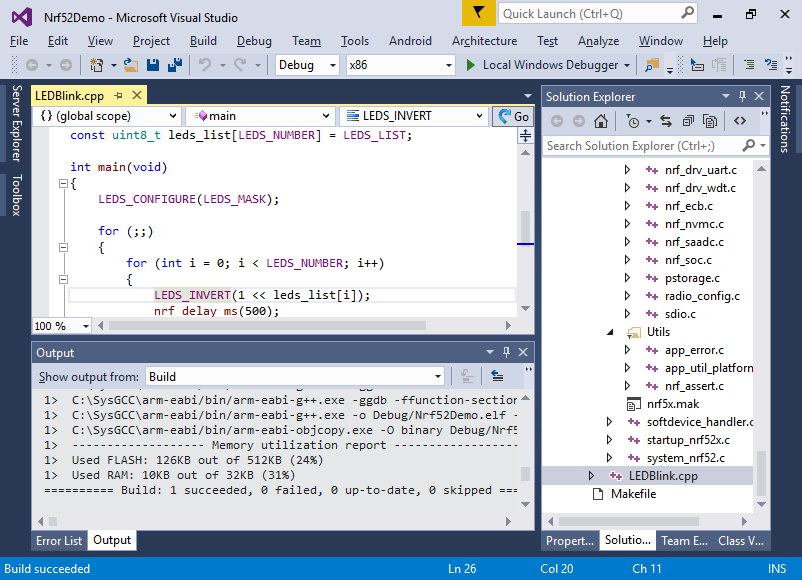
- Press “Finish” to create the project. Build it by pressing Ctrl-Shift-B:
- Connect your board to the USB port and press F5 to begin debugging. Observe how the 4 LEDs start blinking:
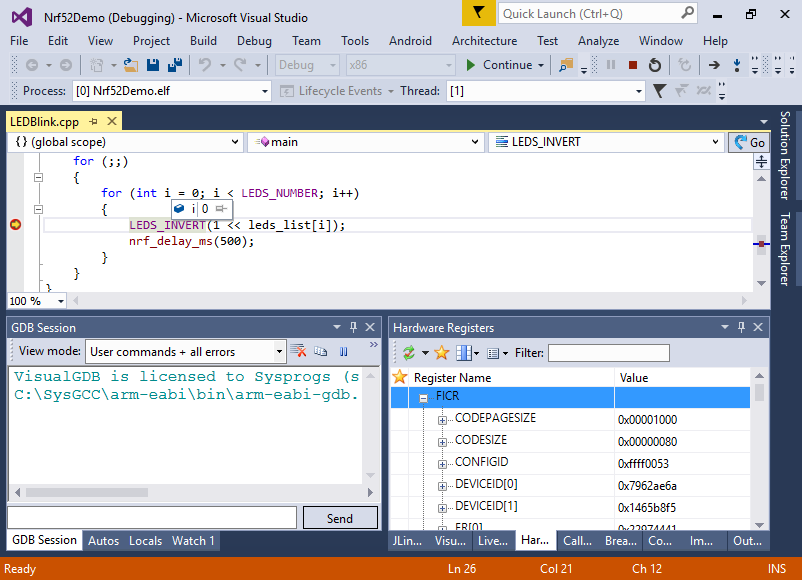
- Set a breakpoint on the LEDS_INVERT() line. Once the breakpoint is triggered, you can hover your mouse over different variables to see their values, step through the code or use the Hardware Registers window to explore the state of the hardware registers: