Using Visual Studio to debug applications on Digi Connect ME9210
This quickstart guide shows how to build and debug a simple application on a Digi Connect module using VisualGDB.
Before you begin, please download and install the following:
- VisualGDB
- Digi development kit on a Linux virtual machine
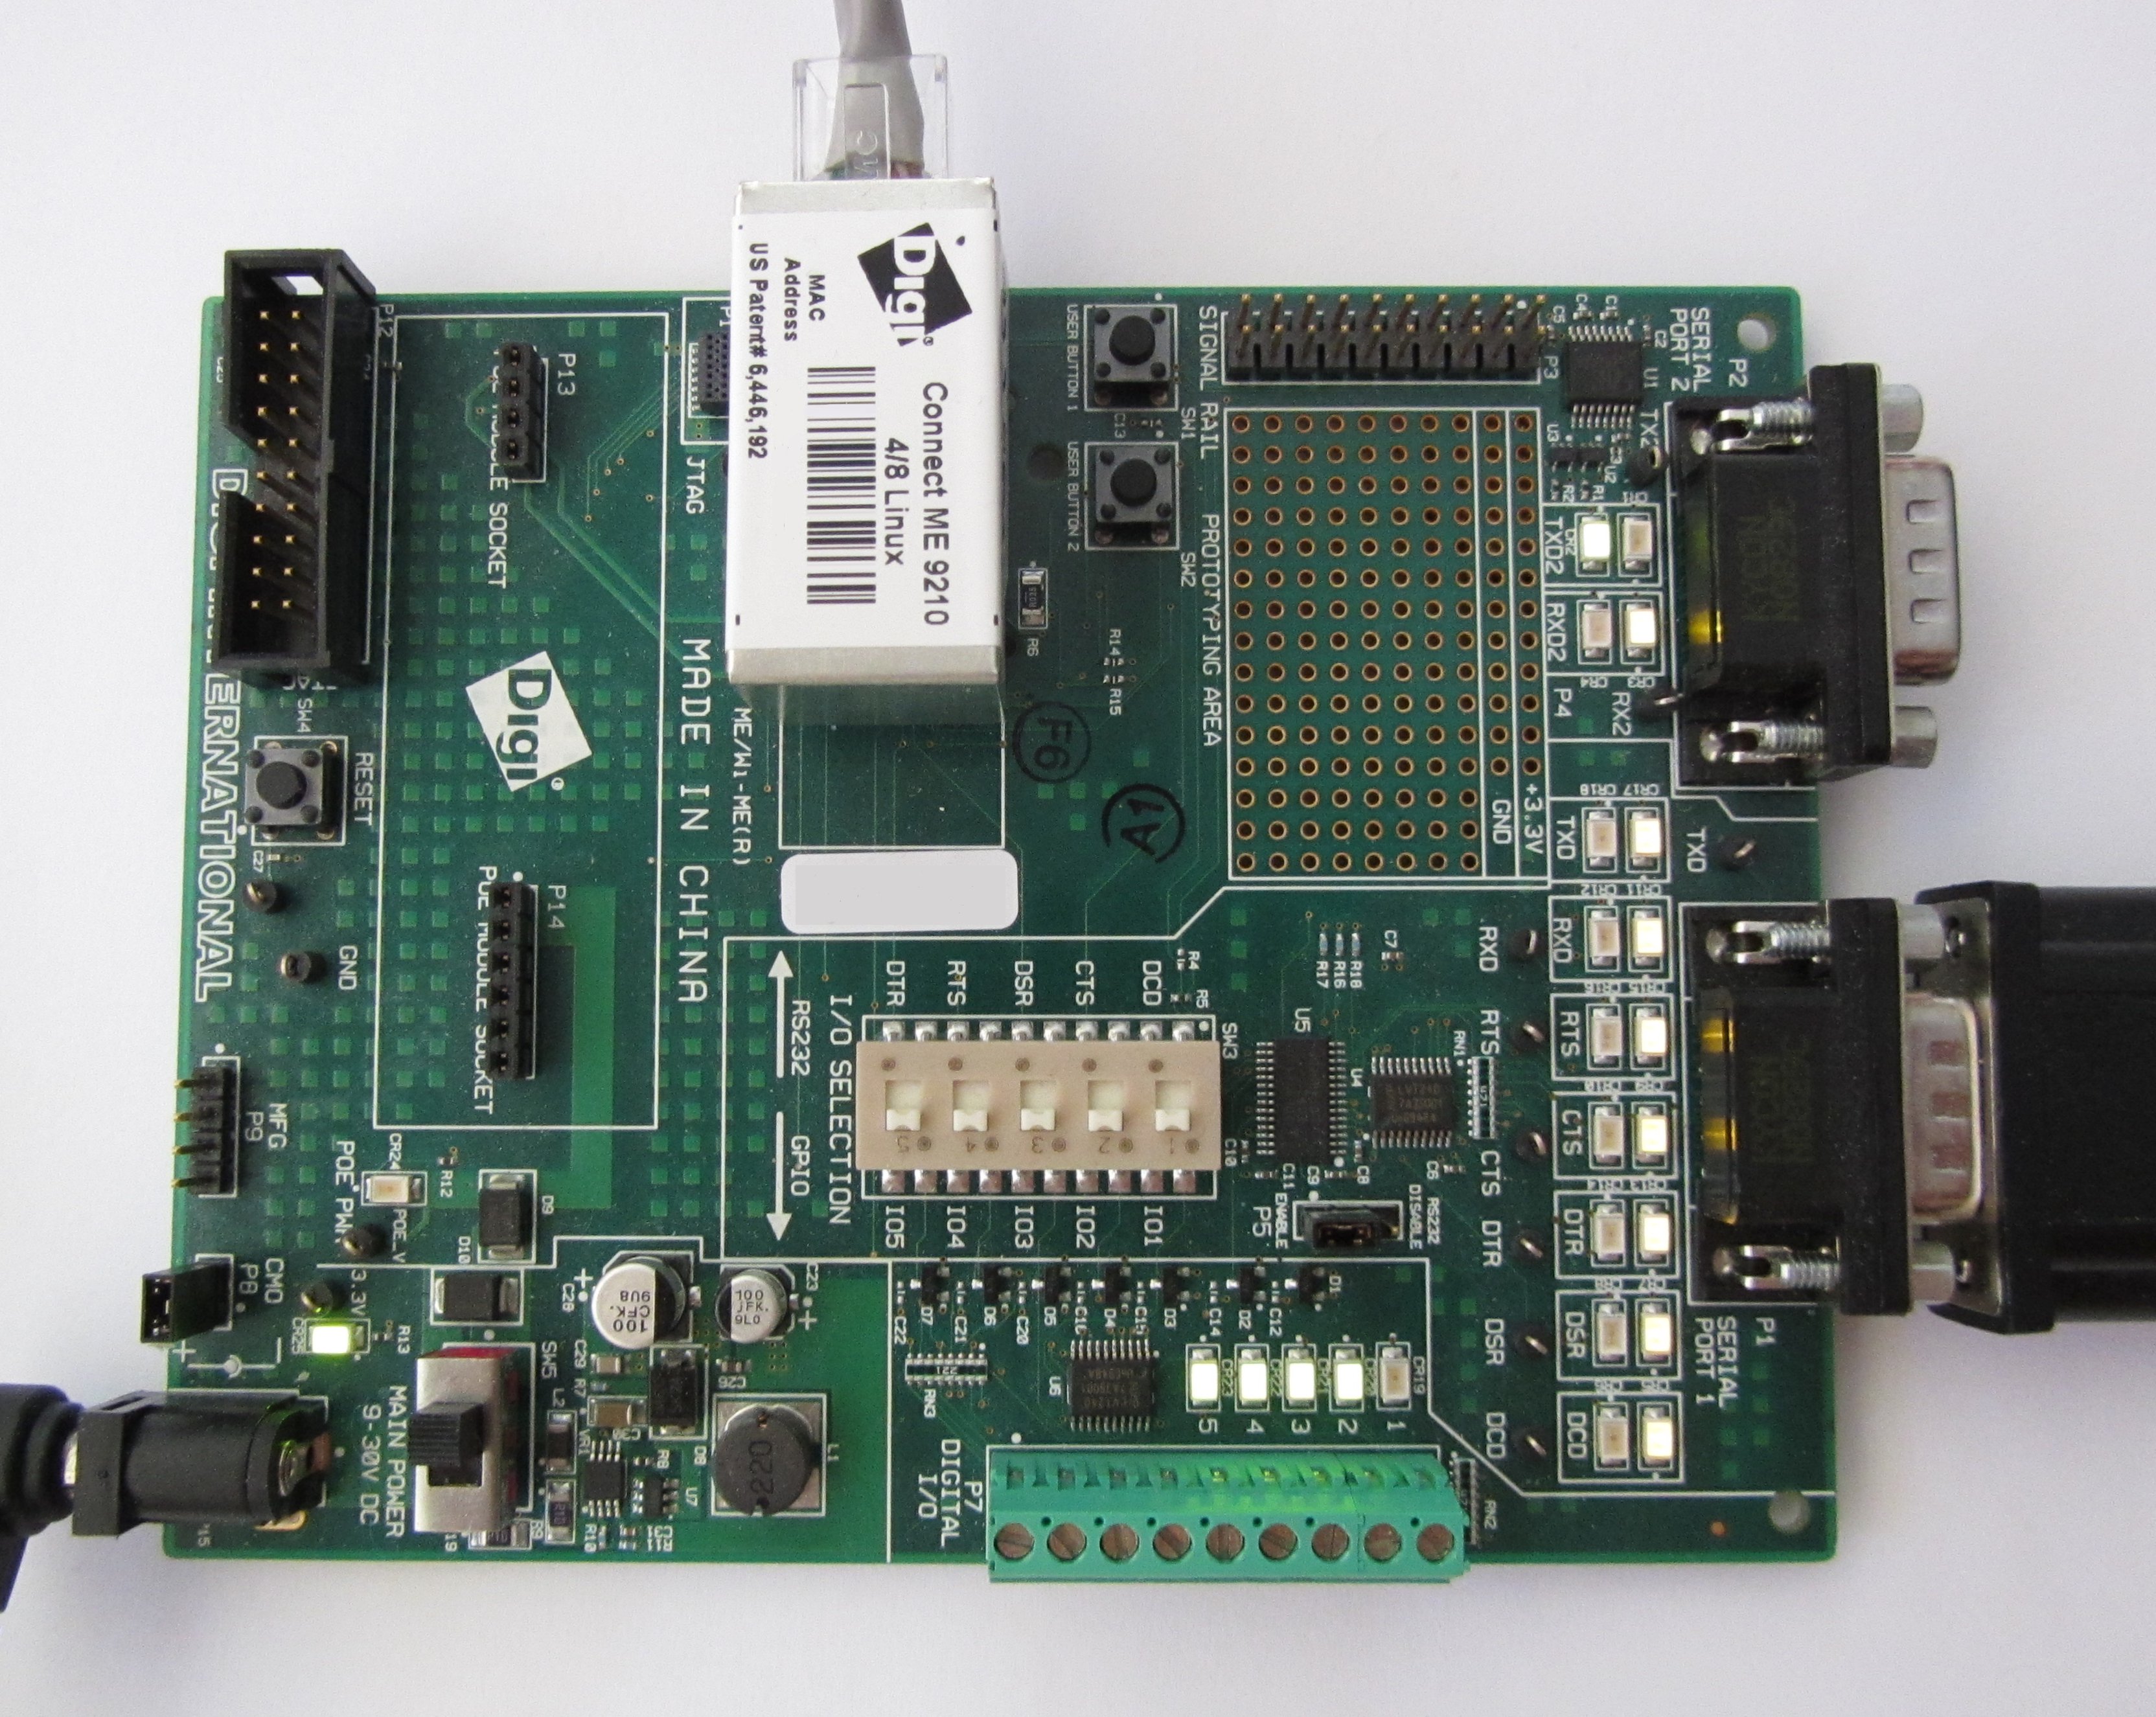
- Make sure the GPIOs are set up and the GPIO kernel module included
- Set up the board to load the root filesystem from the default NFS directory
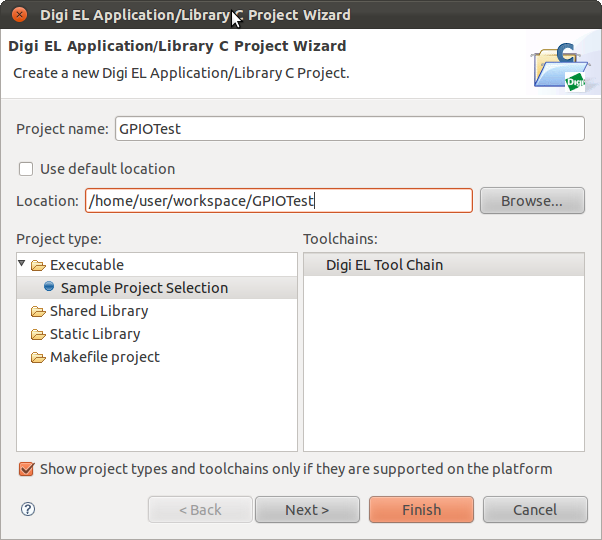
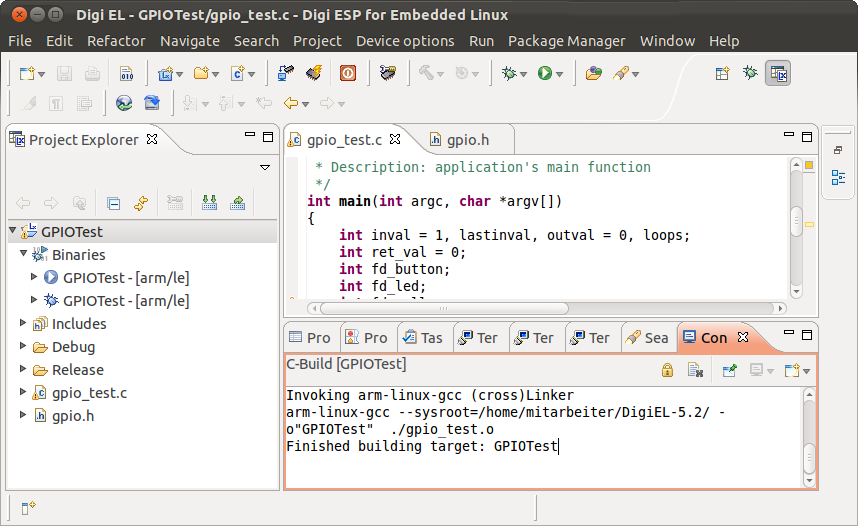
1. First create a sample project in Digi ESP, select File->New->Digi EL Application/Library C Project
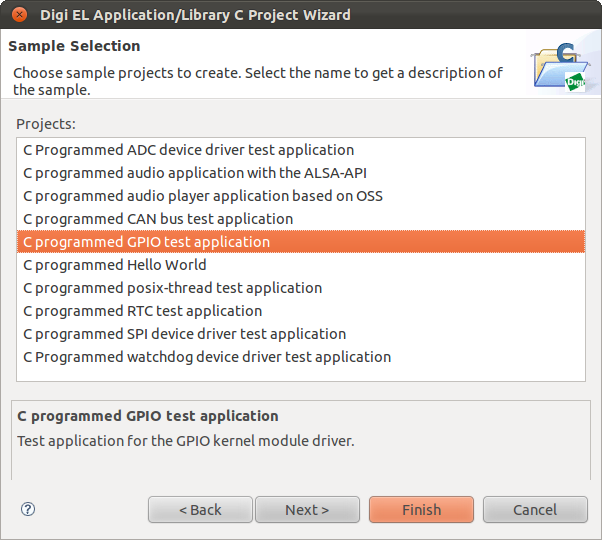
2. Then select the sample GPIO project and press “Finish”.
3. Next build the project Debug version and ensure that it runs.
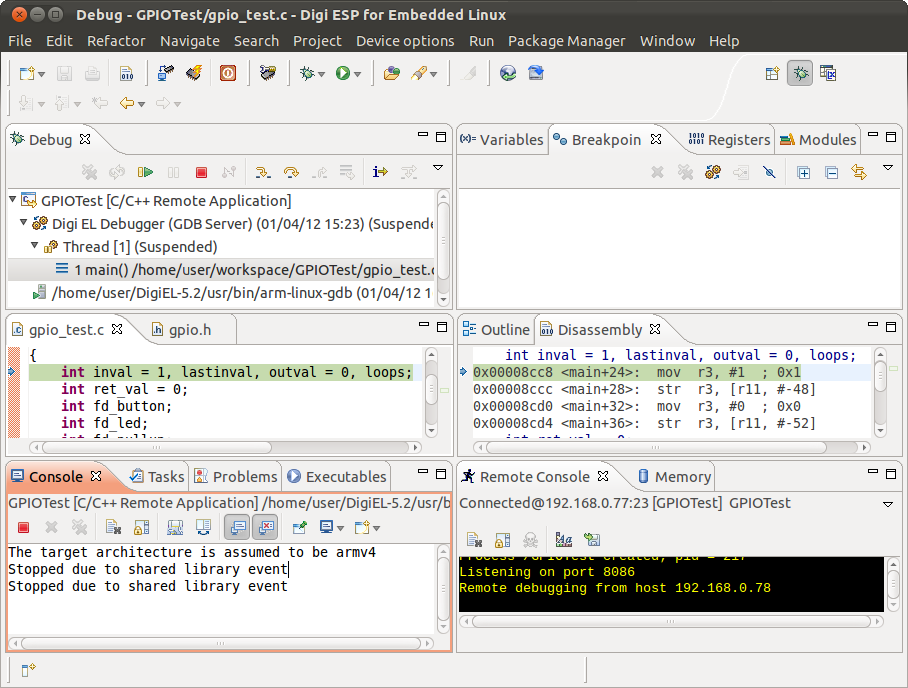
4. Run the debug version.
5. Go to Debug Configurations and make the debugger output verbose.
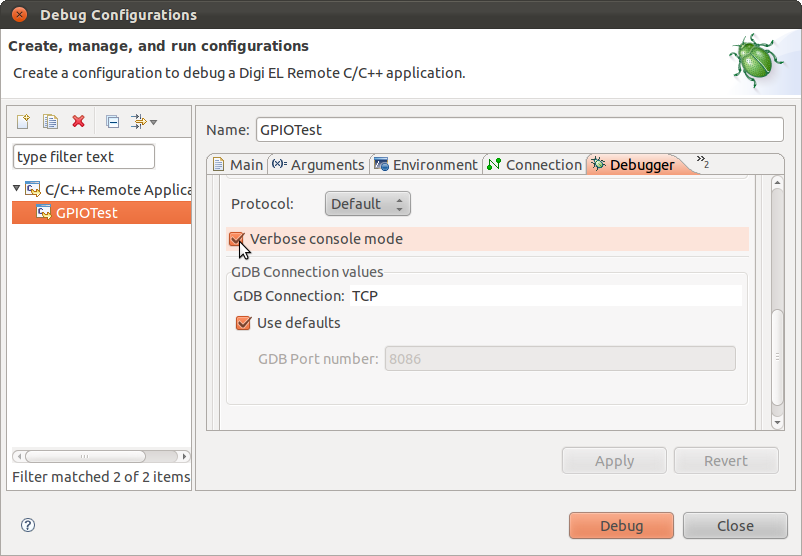
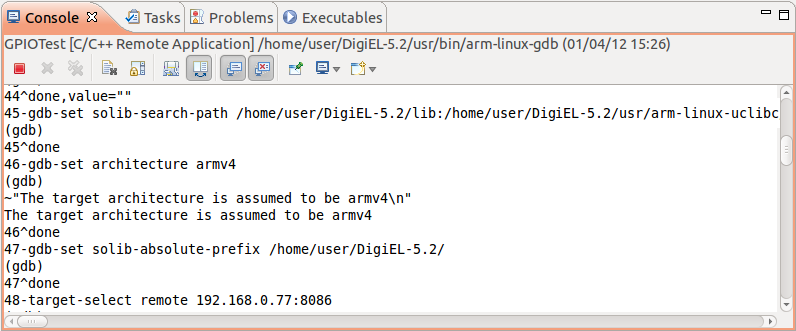
6. Run the debug version again and observe the flags Digi ESP uses for gdb. We will need these flags later to manually set up gdb.
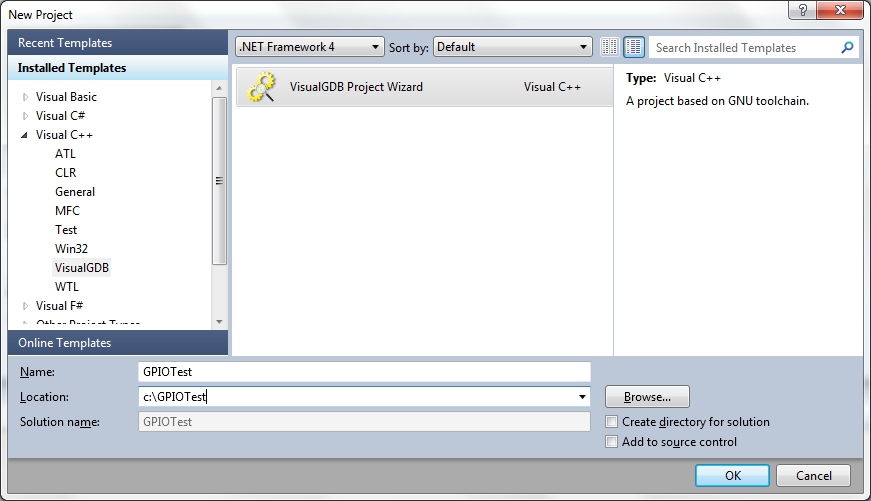
7. Now we are ready to make a VisualGDB project.
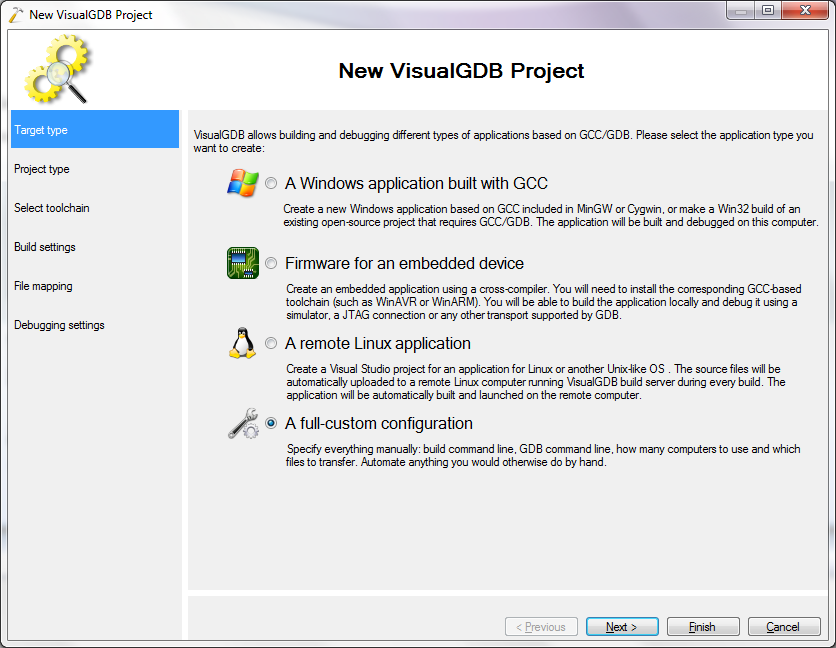
8. Choose a full custom project.
9. Choose the vm as the build server.

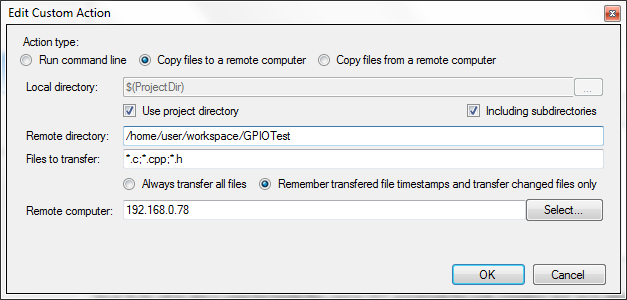
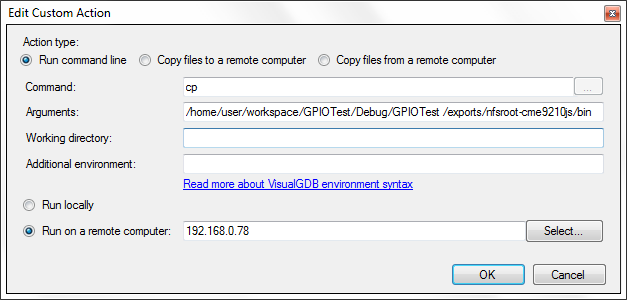
10. Add copying the files as a build command.
11. Add a make all build command.
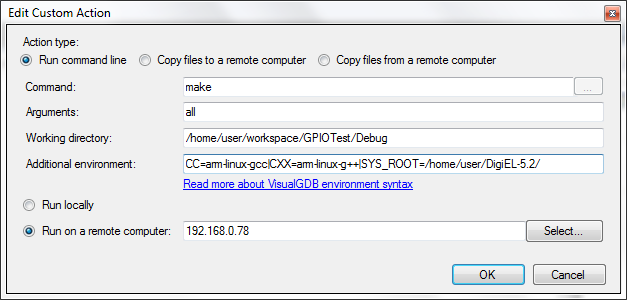
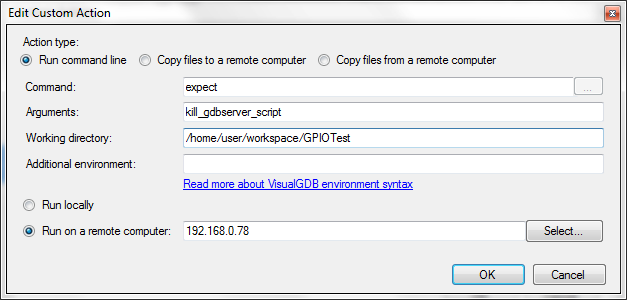
12. Add a make all build command.
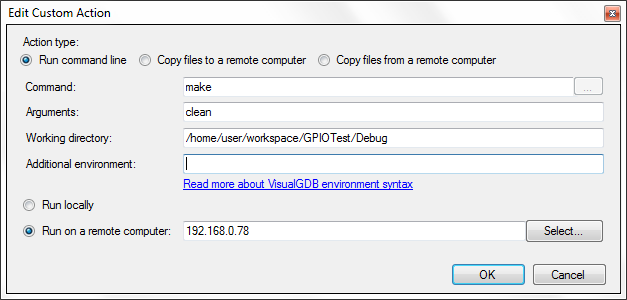
13. Add a make clean command.
14. The build and clean commands look now like this.

15. Now we set up path mapping.

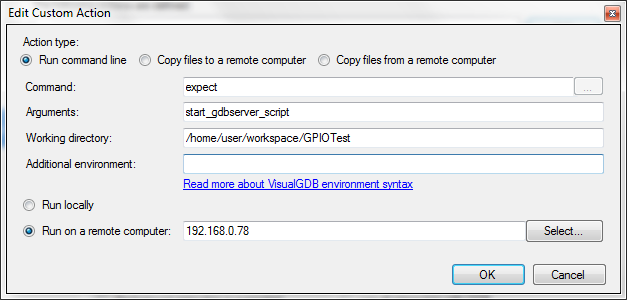
16. We use a script to start the gdbserver on the device and load the gpio kernel module before starting GDB.
#!/usr/bin/expect
spawn telnet 192.168.0.77
expect {/ # }
send "modprobe gpio &\r"
expect {/ # }
send "gdbserver 192.168.0.78:8086 /bin/GPIOTest &\r"
expect {/ # }
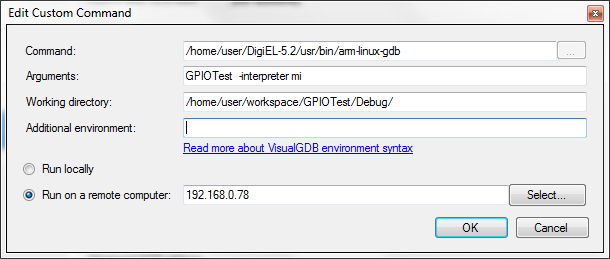
17. We use the arm-linux-gdb provided by Digi.
18. We use another script to kill the gdbserver after debugging.
#!/usr/bin/expect
spawn telnet 192.168.0.77
expect {/ # }
send "killall gdbserver\r"
expect {/ # }
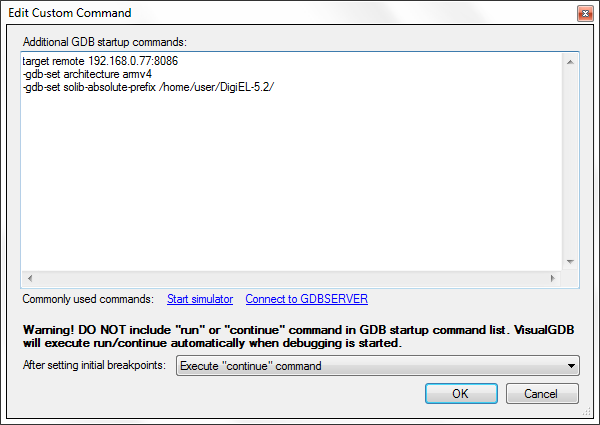
19. We need to specify the flags for gdb.
target remote 192.168.0.77:8086
-gdb-set architecture armv4
-gdb-set solib-absolute-prefix /home/user/DigiEL-5.2/
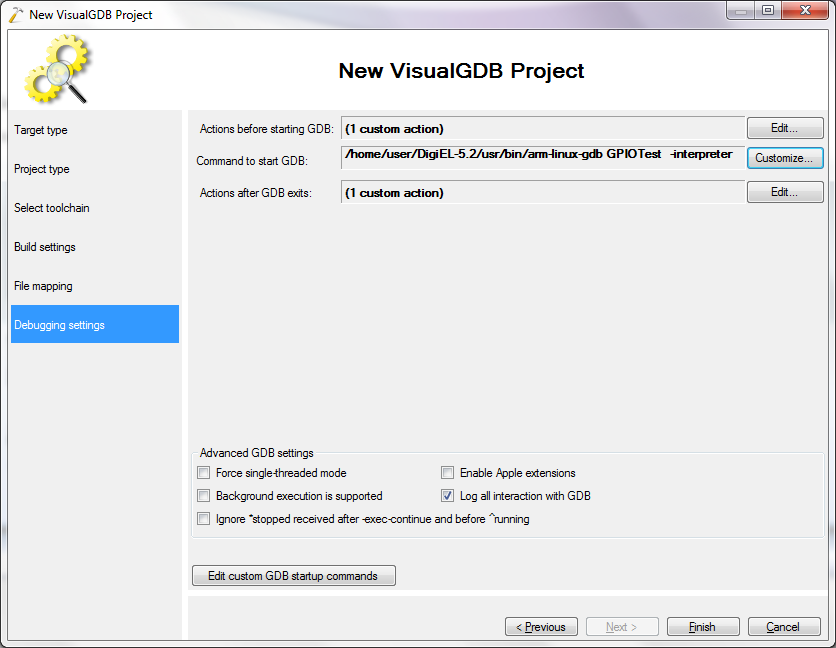
20. Now our debugging settings look as follows. Press “Finish”.
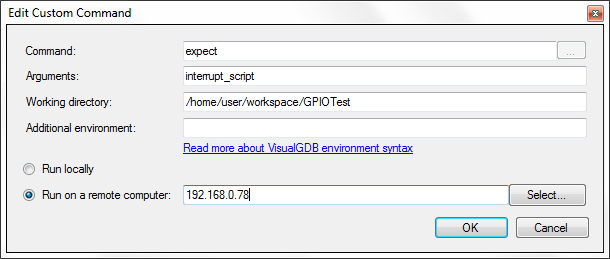
21. Let’s go to Project->VisualGDB Project Properties and then method of breaking.
#!/usr/bin/expect
spawn telnet 192.168.0.77
expect {/ # }
send "killall -s INT GPIOTest\r"
expect {/ # }
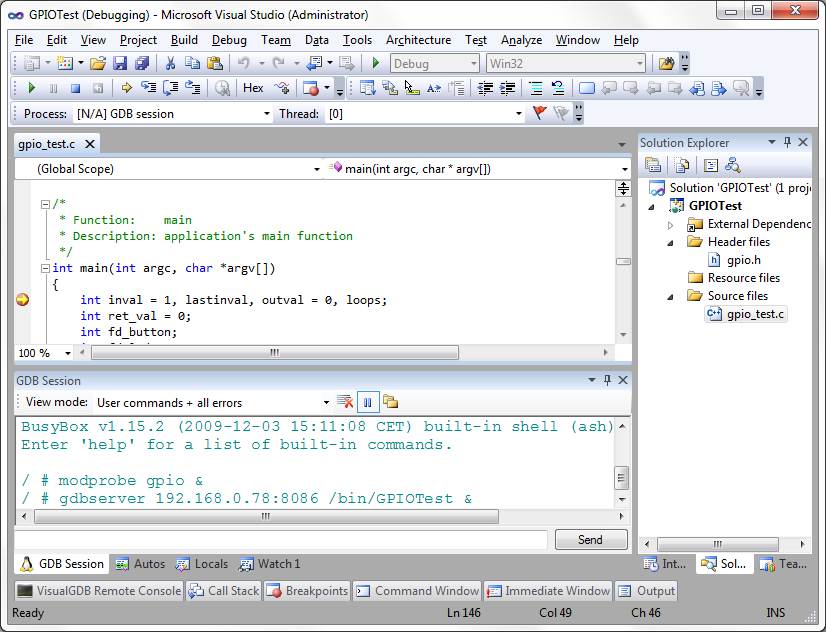
22. Now everything has been set up and we are ready to debug. Set a breakpoint just inside the main function and go to Debug->Start Debugging with GDB
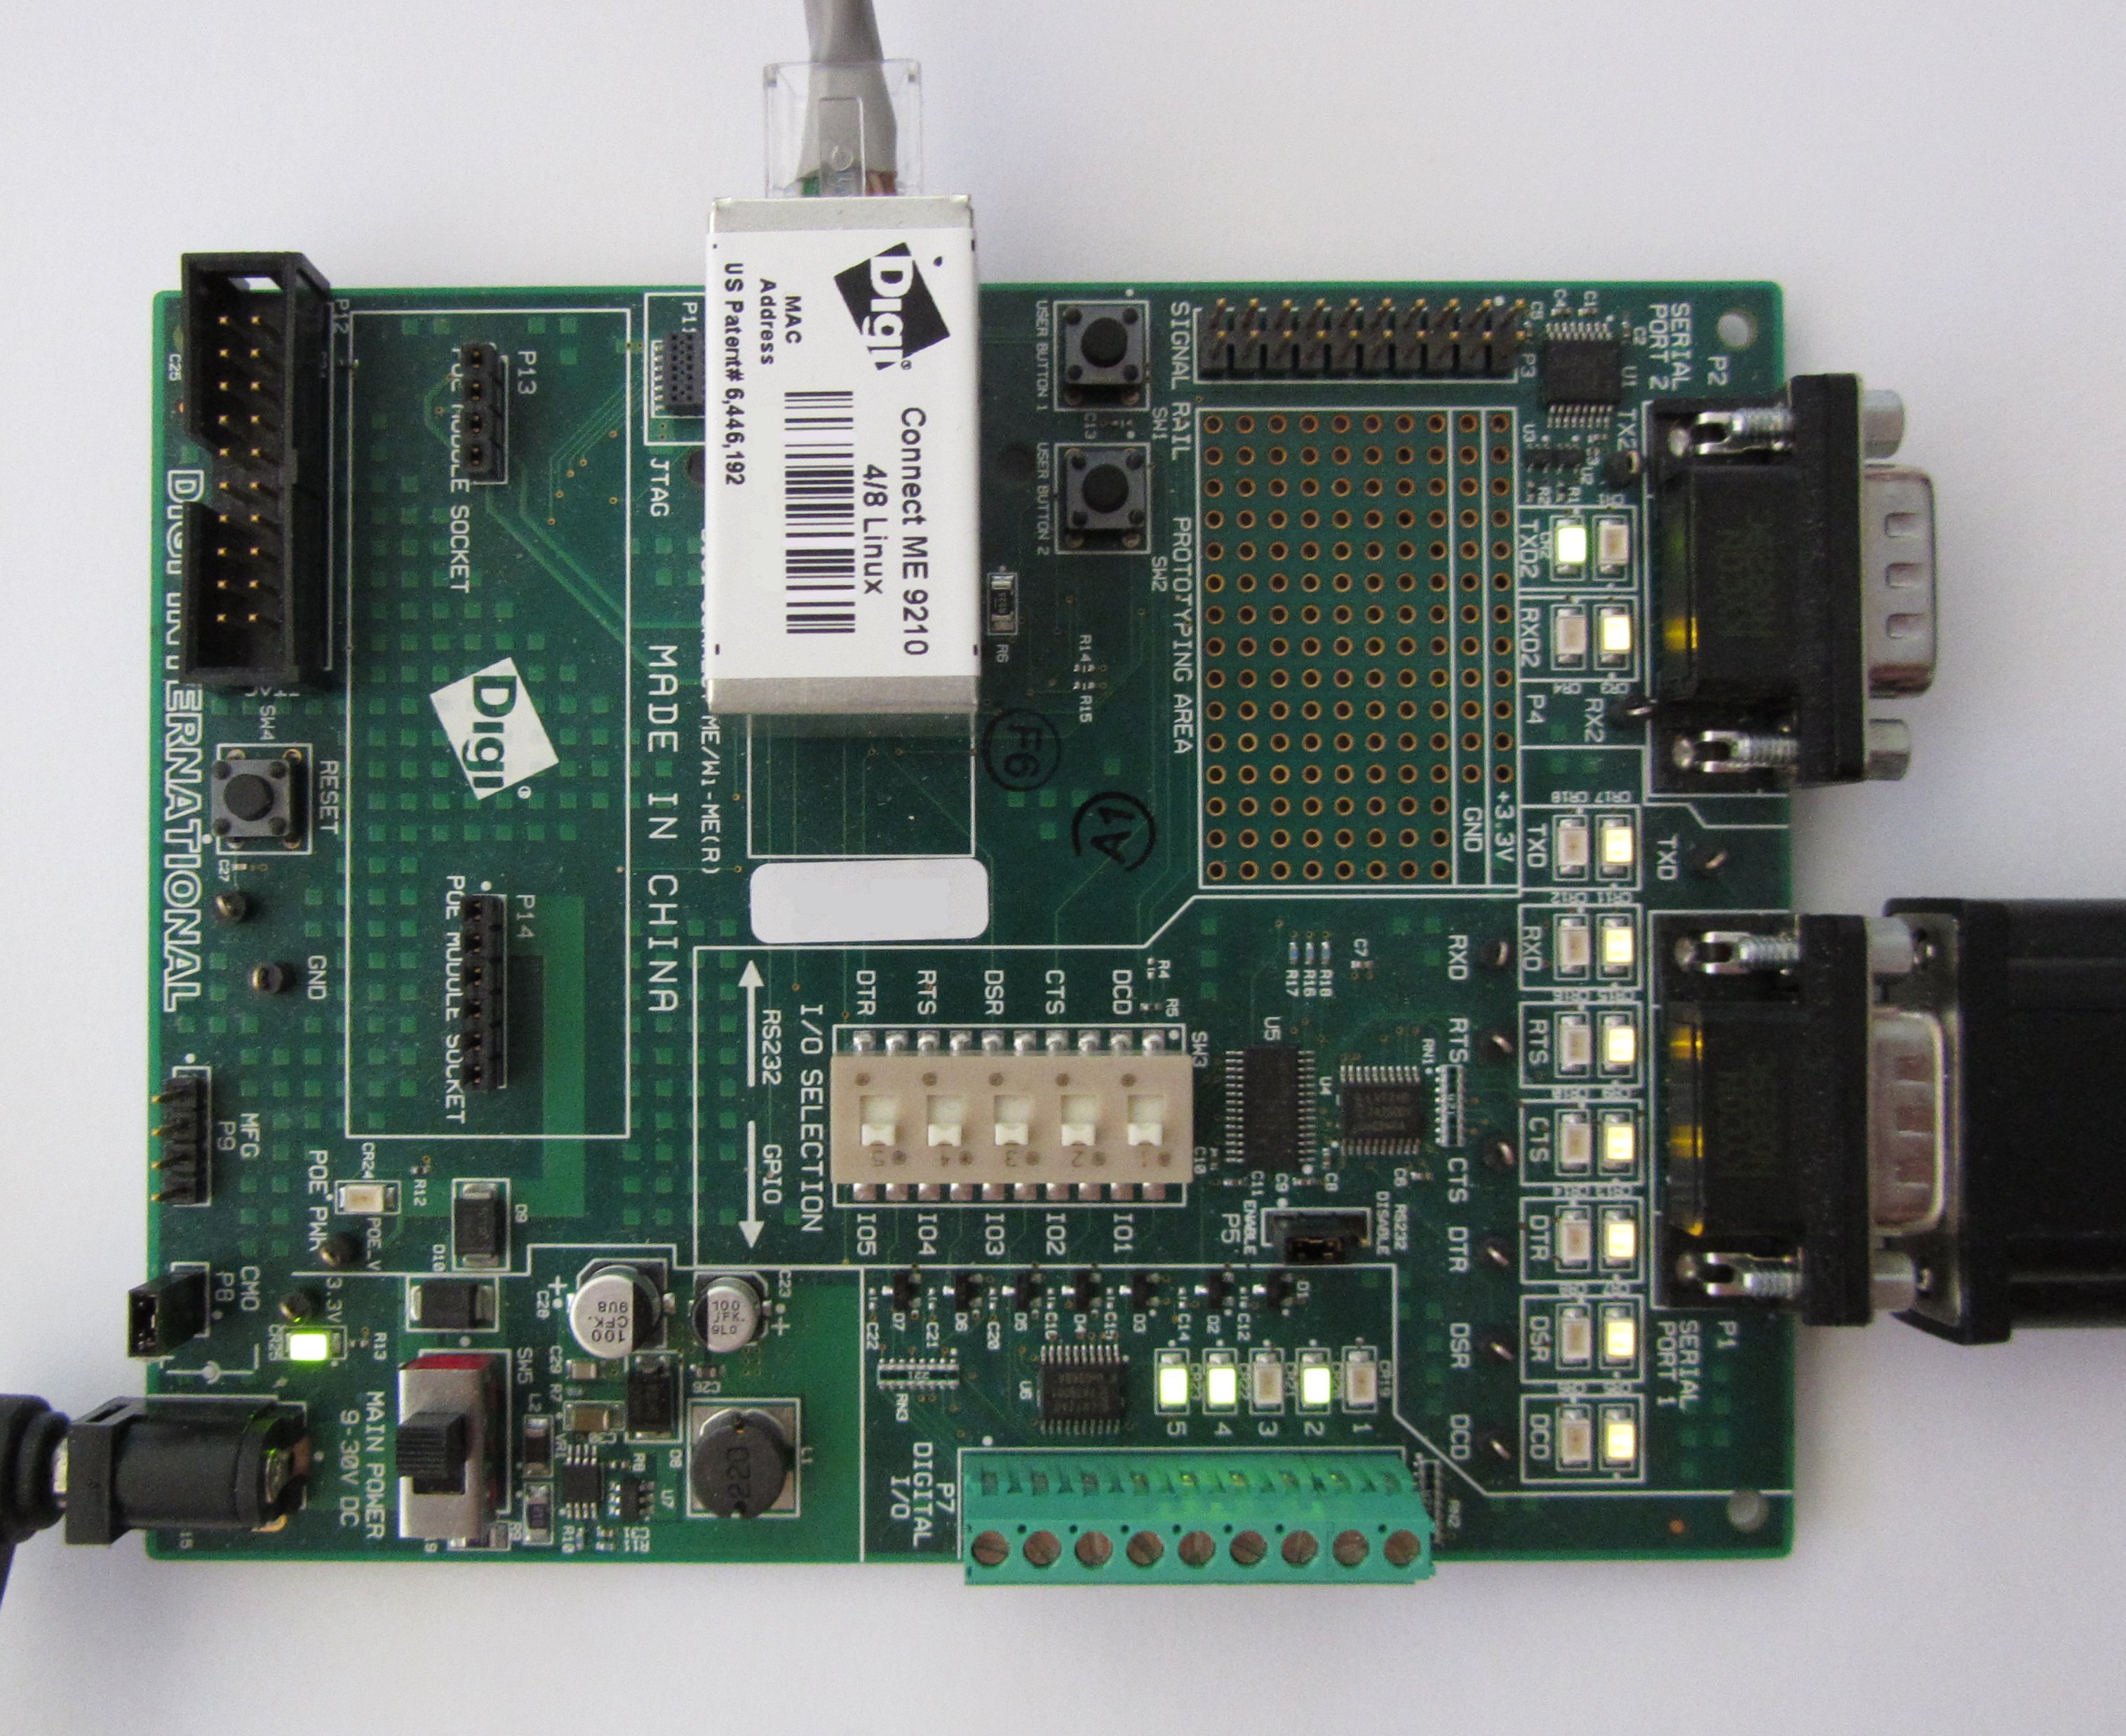
23. Set a breakpoint as shown, then press the user button 2 on the development board. Observer how the breakpoint is reached.
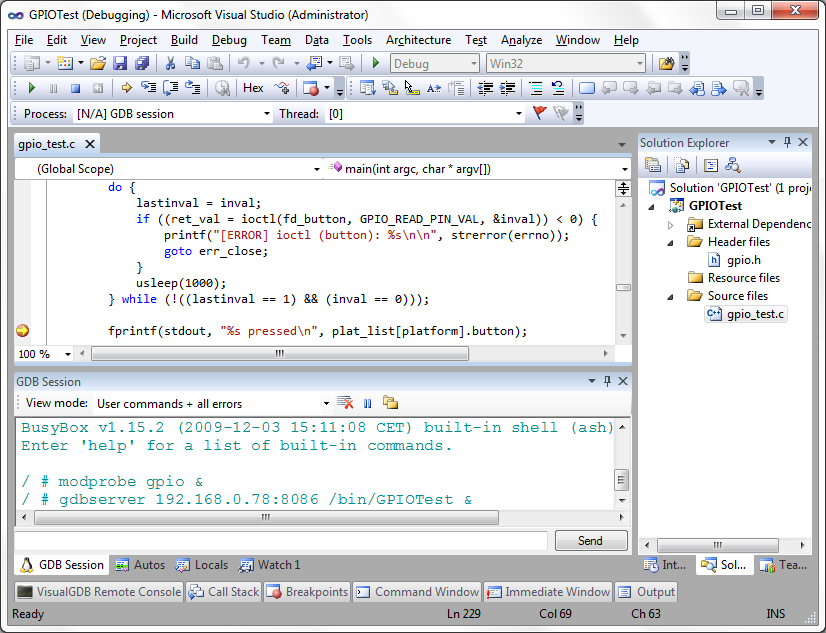
24. Press the button more times, observe how the Led 3 turns on and off.