Using a Cross-compiler for Raspberry PI
This tutorial shows how to develop for Raspberry PI using a cross compiler in Visual Studio.
Before we begin, ensure that VisualGDB is installed.
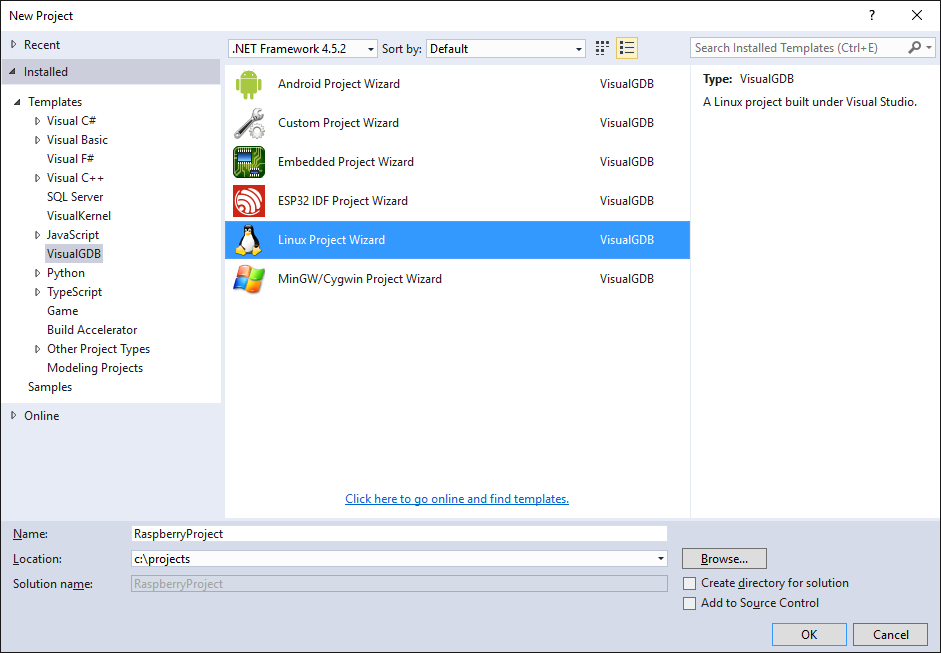
- Start Visual Studio. Go to File->New->Project and select VisualGDB->Linux Project Wizard. Choose a name and location for the project and press ‘OK’ when done.
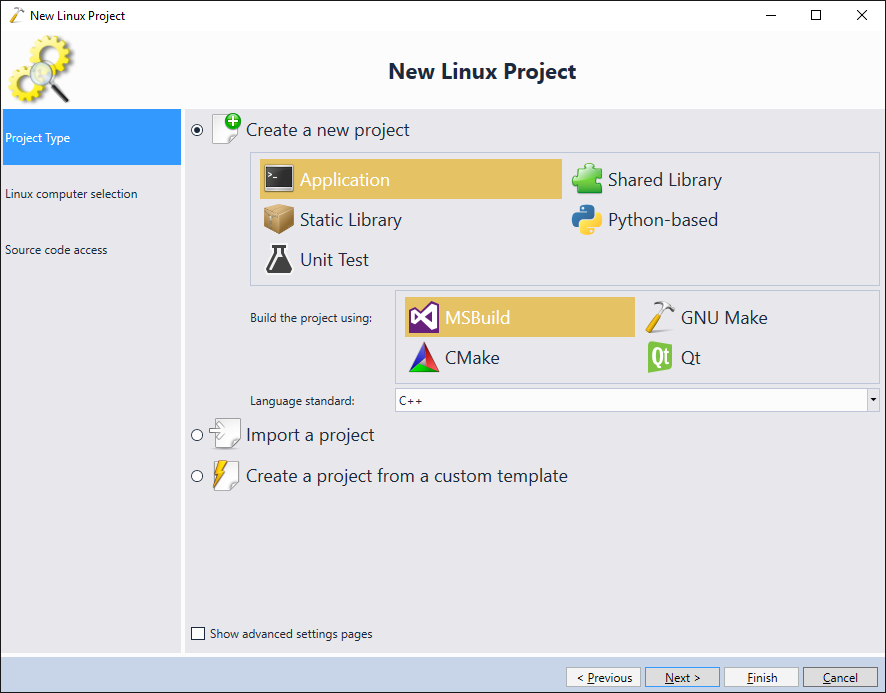
- Choose ‘Create a new project‘ -> ‘Application‘. If you are familiar with the classic Visual Studio C++ projects, select ‘MSBuild‘. Otherwise, choose ‘CMake‘ and press ‘Next’:
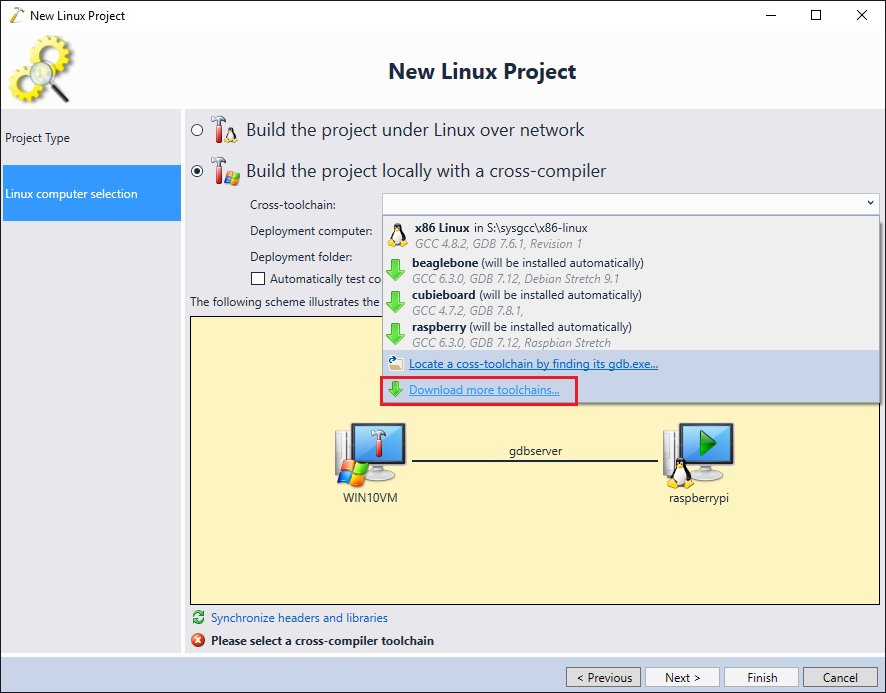
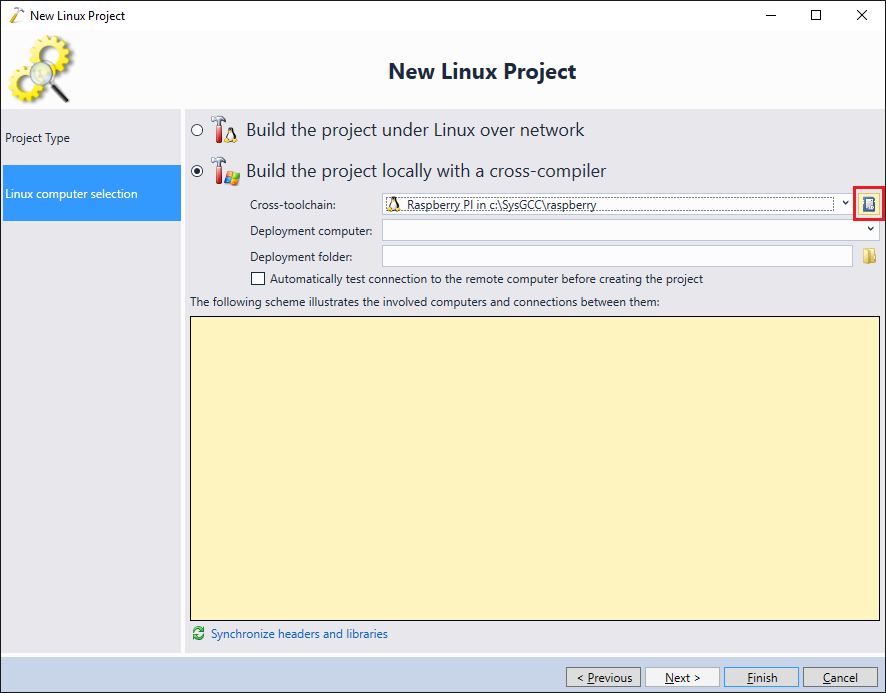
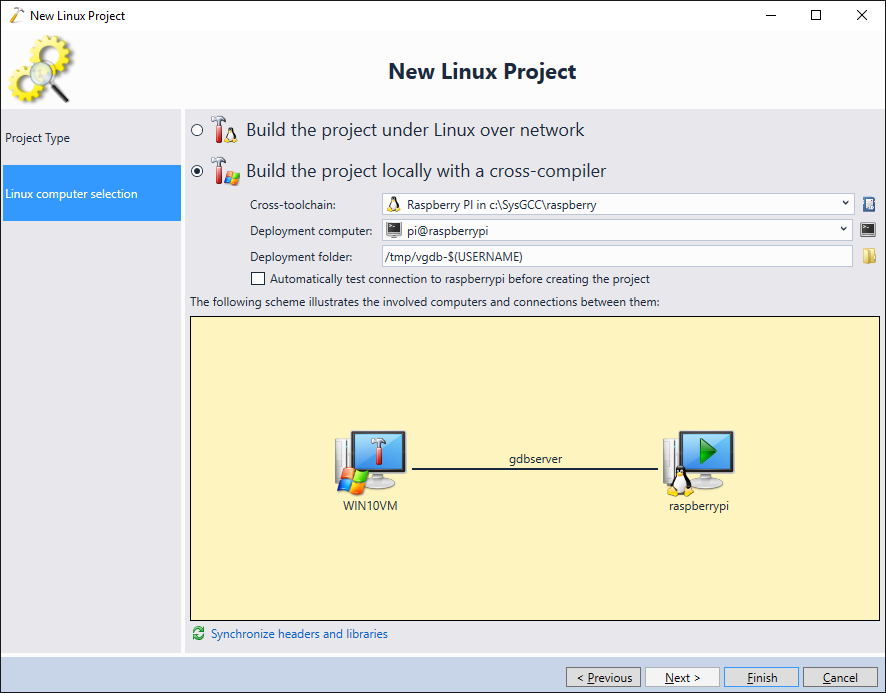
- Choose ‘Build the project locally with a cross-compiler, then open the cross-toolchain selector and click “Download more toolchains”:
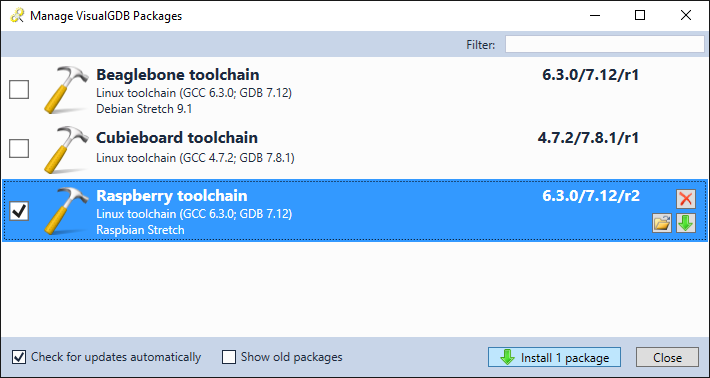
- Choose the toolchain to be downloaded and installed.
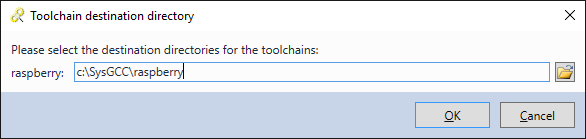
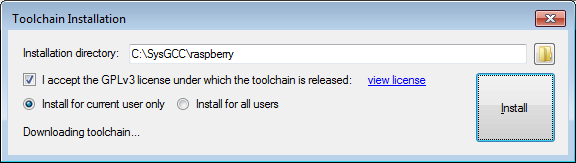
- Specify the installation directory. For the best compatibility with GDB and Make, it is recommended to avoid paths with spaces when installing toolchains:
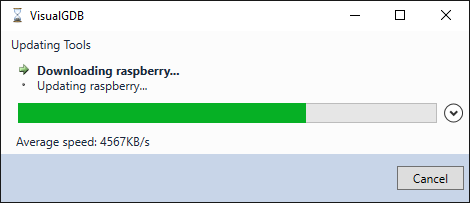
- VisualGDB will automatically download and install the toolchain:
- Once the installation of the toolchain completes, the installed toolchain will appear in the toolchain selector. If you are using VisualGDB 5.4 or later with the latest Raspberry Pi toolchain, you can click on the SD card icon to the right from the toolchain selector to download the compatible SD card image from the Raspberry Pi website automatically:
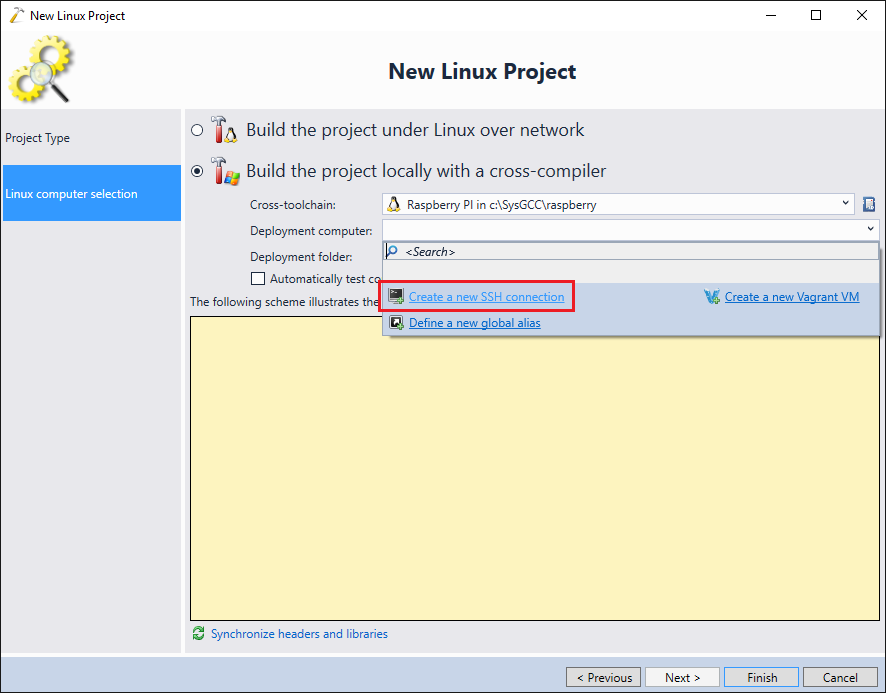
- Ensure your Raspberry Pi is running from the correct SD card image and that it’s connected to your network. Now we will configure VisualGDB to target it by creating a new SSH connection for it:
- Choose the hostname or ip of the board together with the user name and password. Here we use the default user name pi and password raspberry. It is recommended to check the “setup public key” checkbox, so that VisualGDB will automatically generate an public/private keypair, store it in your Windows account’s key container and setup the Raspberry PI box to use it. Press on ‘Create’ to make the connection.
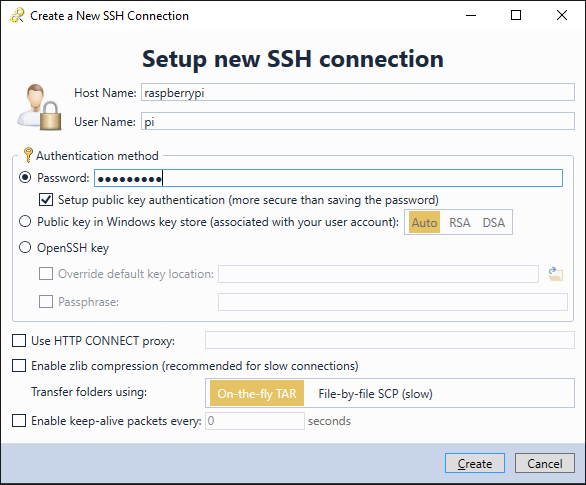 If you don’t enable public key authentication, VisualGDB will remember your password for this connection. The stored passwords are encrypted using a key stored in your Windows account. Thus, the password will only be available once you login using your Windows account.
 - Once the connection has been made, press on ‘Finish’ in the wizard:
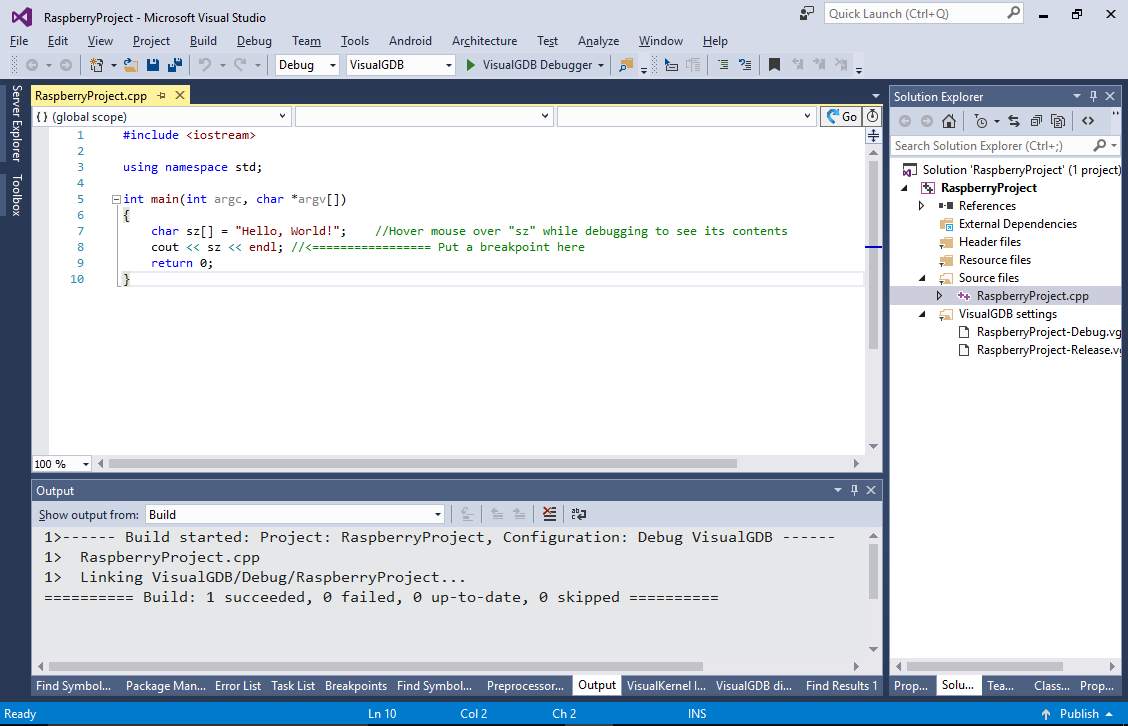
- Build the project. VisualGDB will use the local toolchain to build it.
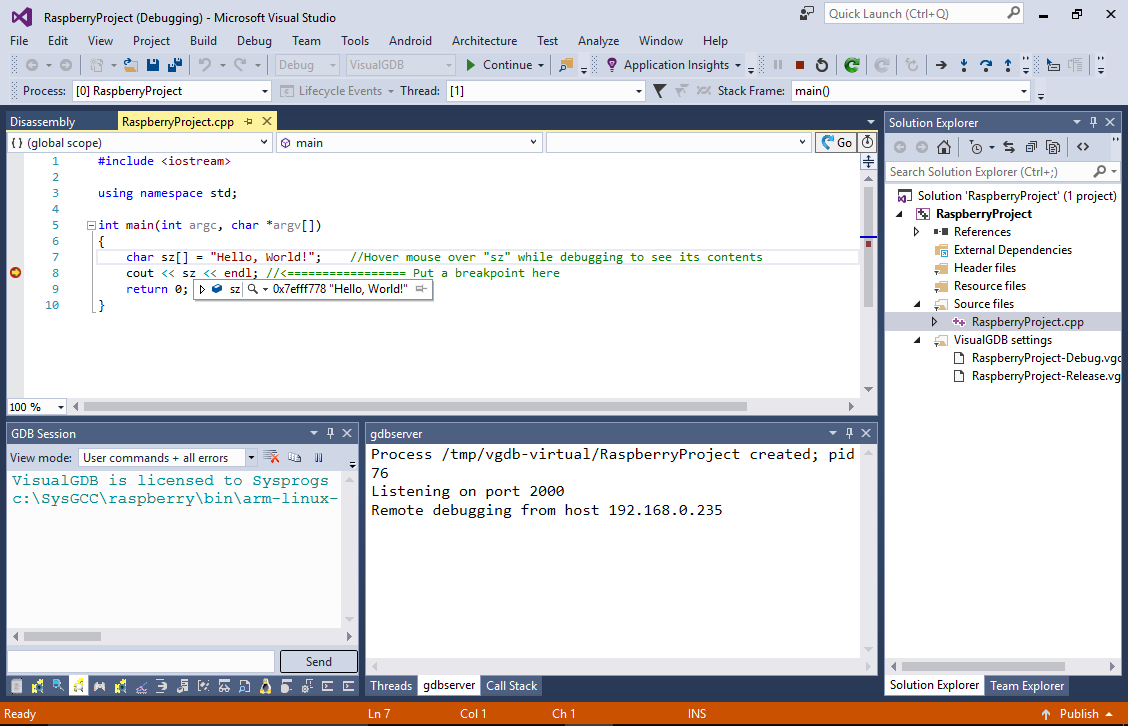
- Set a breakpoint in the main function. Start debugging. VisualGDB will deploy your executable to the Raspberry PI board and the breakpoint will hit:
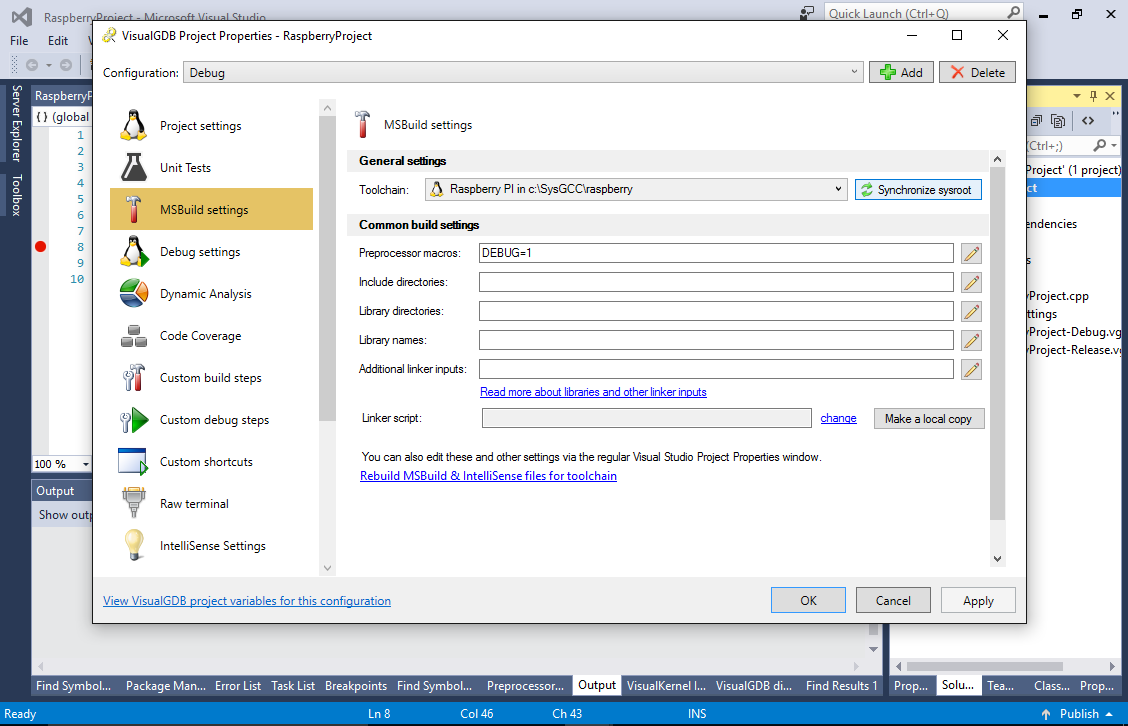
 You can use the regular Visual Studio project properties to change various parameters (e.g. include directories or preprocessor macros). For advanced settings, such as unit tests, dynamic program analysis, profiling, etc. use the VisualGDB Project Properties window.
 - If you want to add support for additional headers/libraries, install them on Raspberry Pi via apt-get and then open VisualGDB Project Properties on the Build Settings page and click “Synchronize sysroot”:
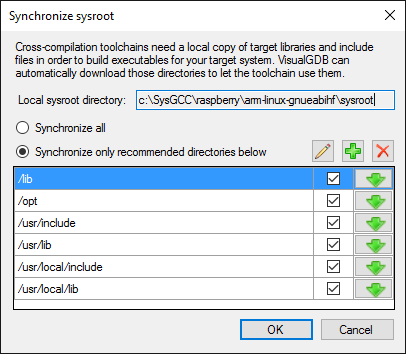
- Proceed with the suggested directory list and VisualGDB will automatically ensure that all the libraries installed on Raspberry Pi become available when using the cross-toolchain:
If you would like to use CMake instead of MSBuild, try out the Advanced CMake Project Subsystem that lets you conveniently use the Visual Studio GUI for managing CMake projects.