Setting up USB debugging for your Android device
This tutorial explains how to prepare your Android device for USB debugging.
- If yon don’t have Android SDK installed, please install it first.
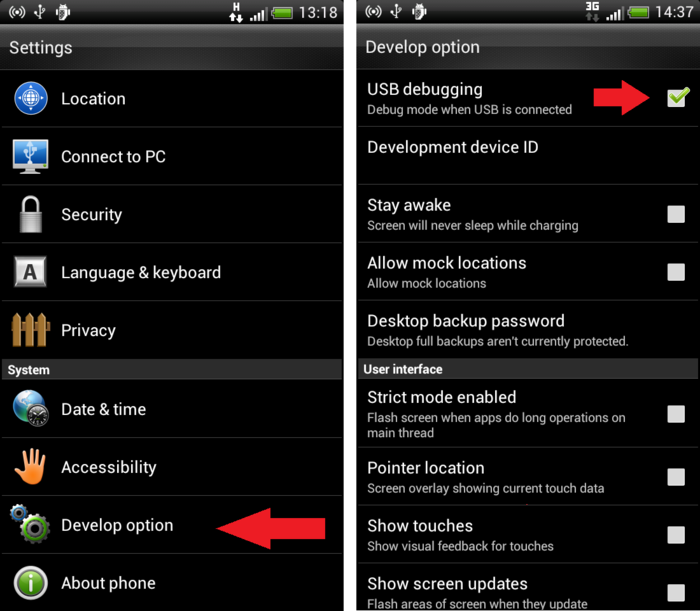
- Plug in your Android device. Go to Settings->Develop Option on it and enable USB Debugging
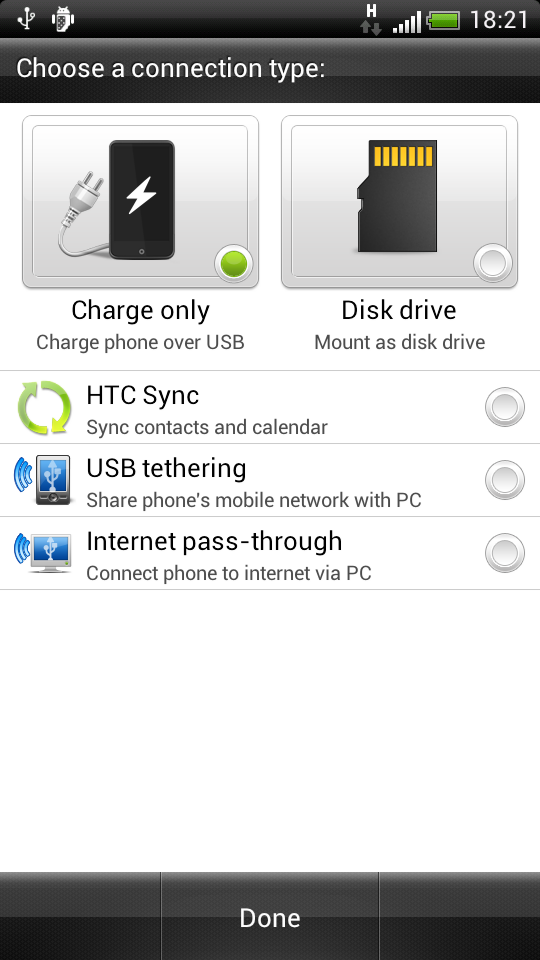
- Ensure that the USB connection type is not set to “Internet pass-through”. Otherwise you won’t be able to debug your device. For simplicity, you can set it to “Charge only”.
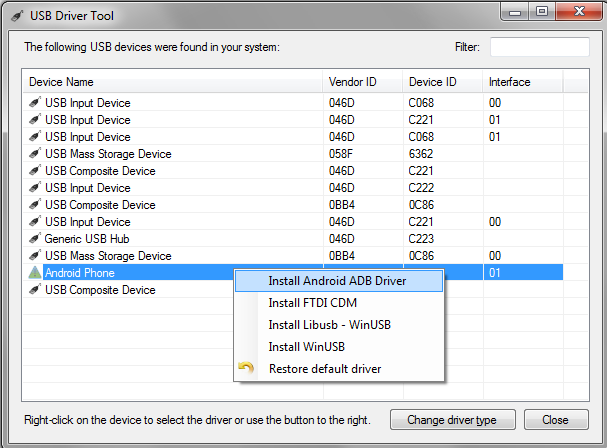
- Now we will install the Android USB driver. Download UsbDriverTool, unpack and run it.
- Select your device in the list, right-click on it and select “Install Android ADB Driver”:
 UsbDriverTool will ask you whether you want to update the adb_usb.ini file. Normally you don’t need to update it, however if you encounter problems with ADB finding your devices, select “yes” at this point.
 - Now it’s the time to test the driver. Open the Android SDK directory (C:\Program Files (x86)\Android\android-sdk) in Explorer.
- Hold the Shift button and right-click on the platform-tools folder. Select “Open command window here” from the menu.
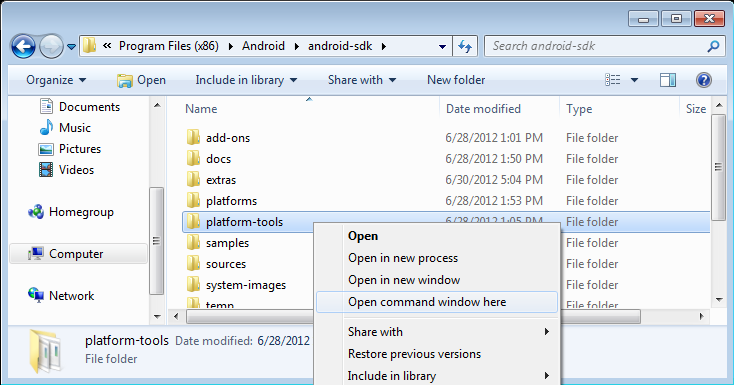 If you do not hold SHIFT while right-clicking, you won’t see the “Open command window here” option.
 - Type “adb devices” in the command window:
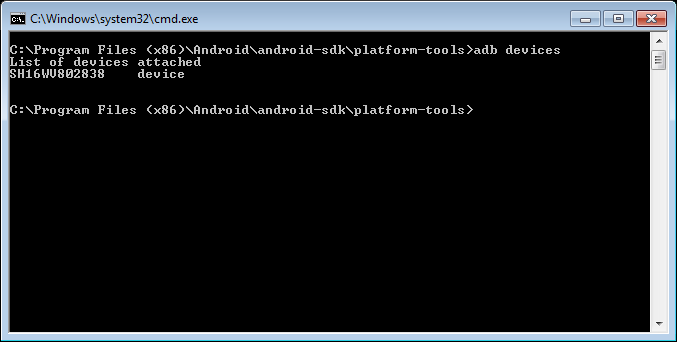 If the driver has been installed correctly, you will see your device in the list. If not, try installing the driver manually.


Want to learn more about Android debugging? Check out these tutorials:
- Develop and Debug C++ Android apps with Visual Studio
- Easily debug vs-android projects
- Co-debug your Android app with Eclipse and Visual Studio