Developing Keil MDK-ARM Projects with VisualGDB
This tutorial shows how to use VisualGDB to create, build and debug an MSBuild-based project using the Keil MDK-ARM compiler.
Starting from VisualGDB 5.4 Preview 10, the Keil compiler is fully supported on par with the GCC compiler, so you can use the regular VisualGDB GUI to create your projects and manage their settings.
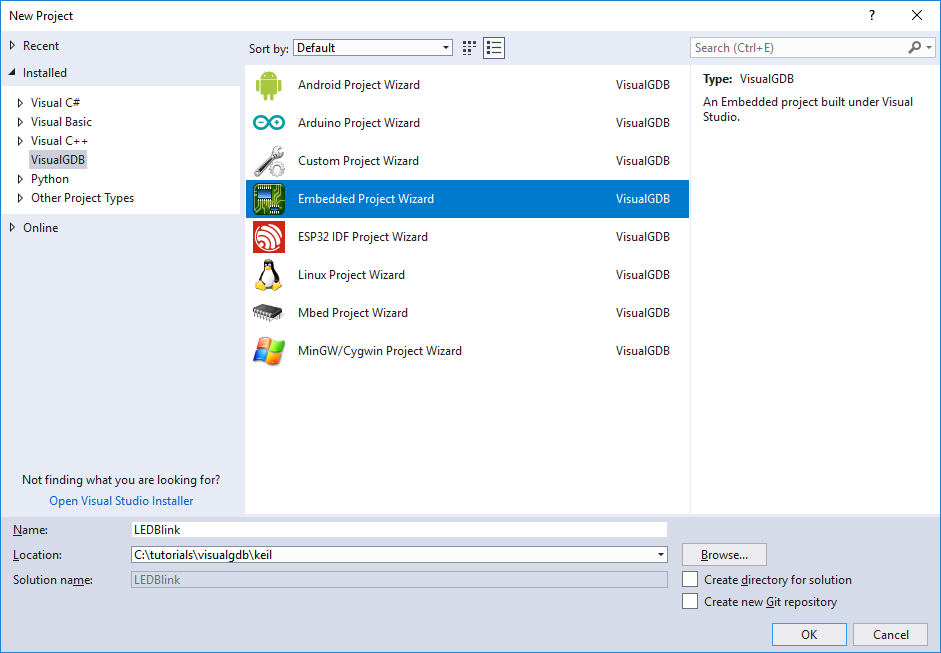
- Open Visual Studio and begin creating a new Embedded VisualGDB project:
- Select “Create a new project” -> “MSBuild”:
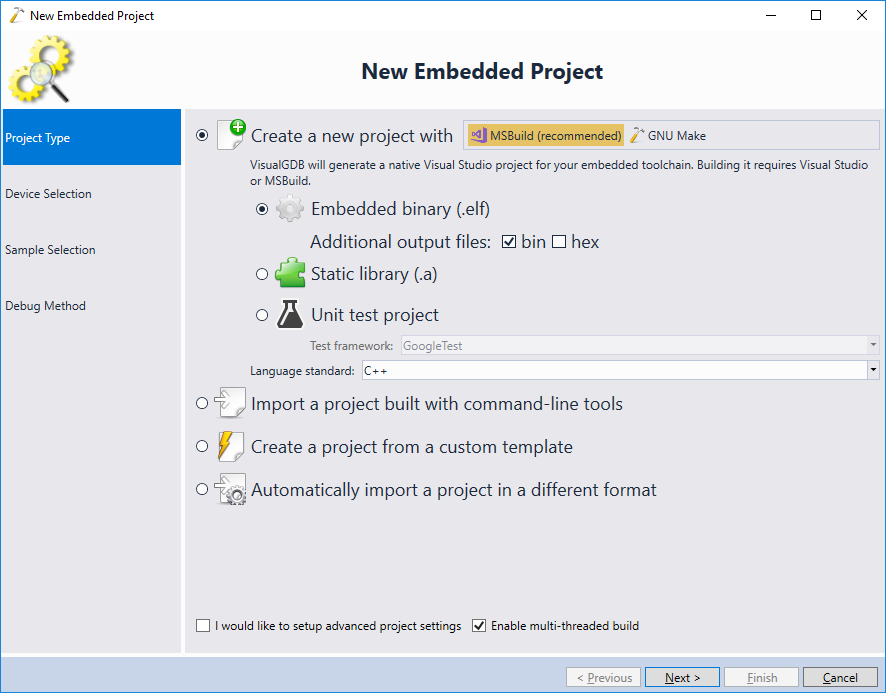 VisualGDB can also create GNU Make-based projects using the Keil compiler, however the MSBuild-based projects provide better GUI integration and build faster.
 - Select your Keil toolchain on the Device Selection page. Note that VisualGDB supports both the classic ARMCC compiler (V5) and the newer Clang-based compiler (V6):
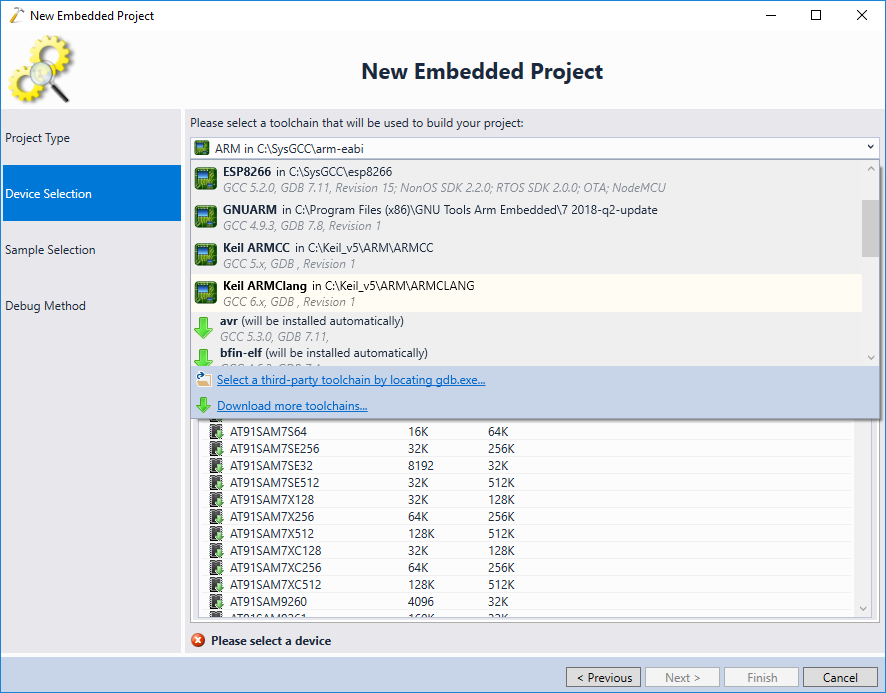 If the Keil compilers don’t appear in the toolchain list, see this page for troubleshooting instructions.
 - Once the toolchain is selected, pick your device from the list. When using the Keil toolchains, VisualGDB will automatically load device lists from the Keil packs, so you will be able to target any device supported by the Keil environment even if it’s not directly supported by VisualGDB:
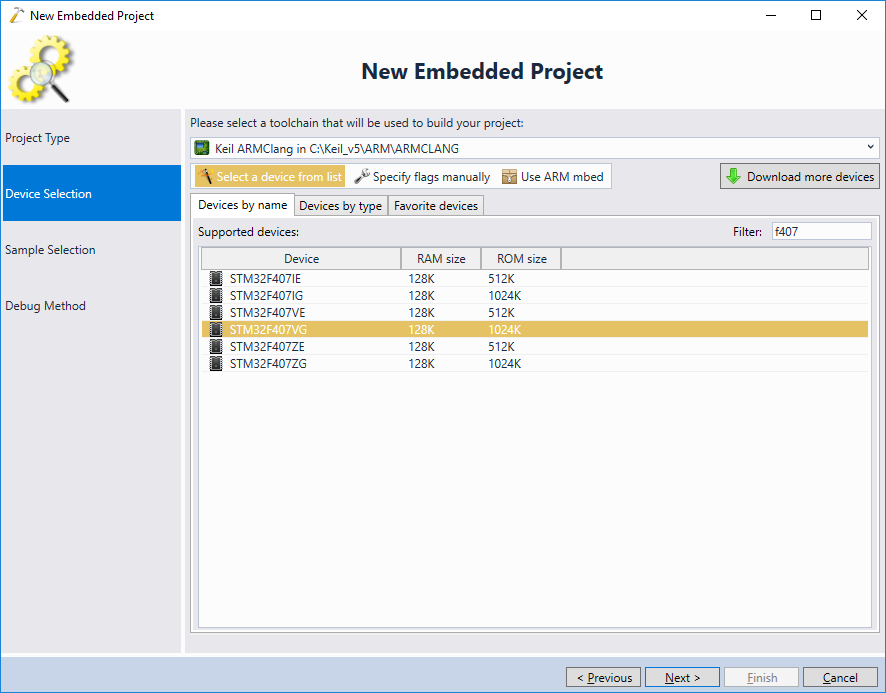 If no devices appear in the list when you select the Keil compiler, you might be missing the Keil device packs, or have them installed in an unexpected location. If you enable the View->Other Windows->VisualGDB Diagnostics Console prior to opening the wizard, VisualGDB will print a verbose log from looking up the Keil packs there. If your pack directory is not listed, you can specify it via Tools->Options->VisualGDB->Embedded->Keil->Extra Pack Directories.
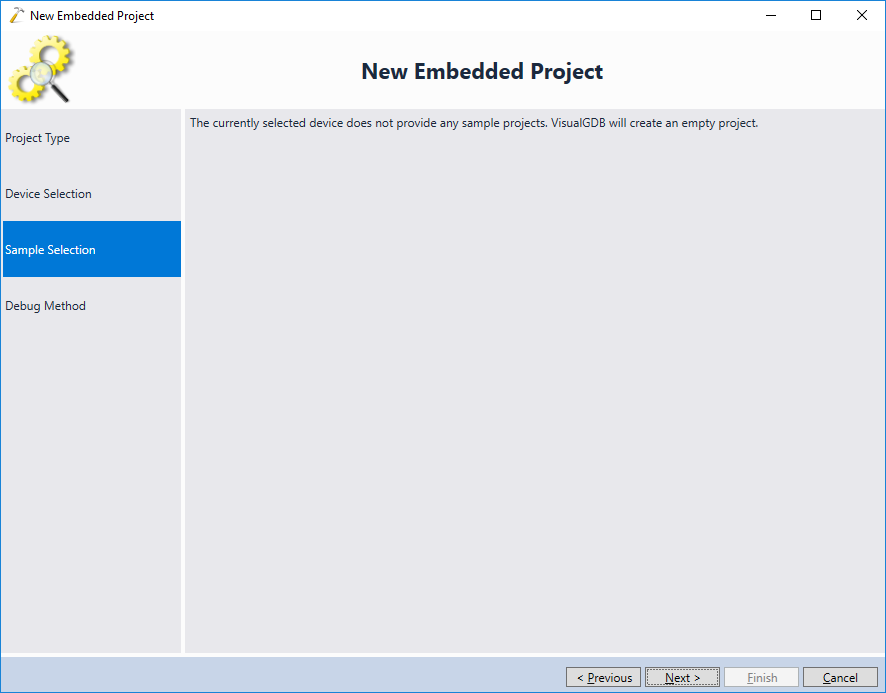
 - Projects created using the Keil toolchain always start empty, so simply press “Next” on the Sample Selection page:
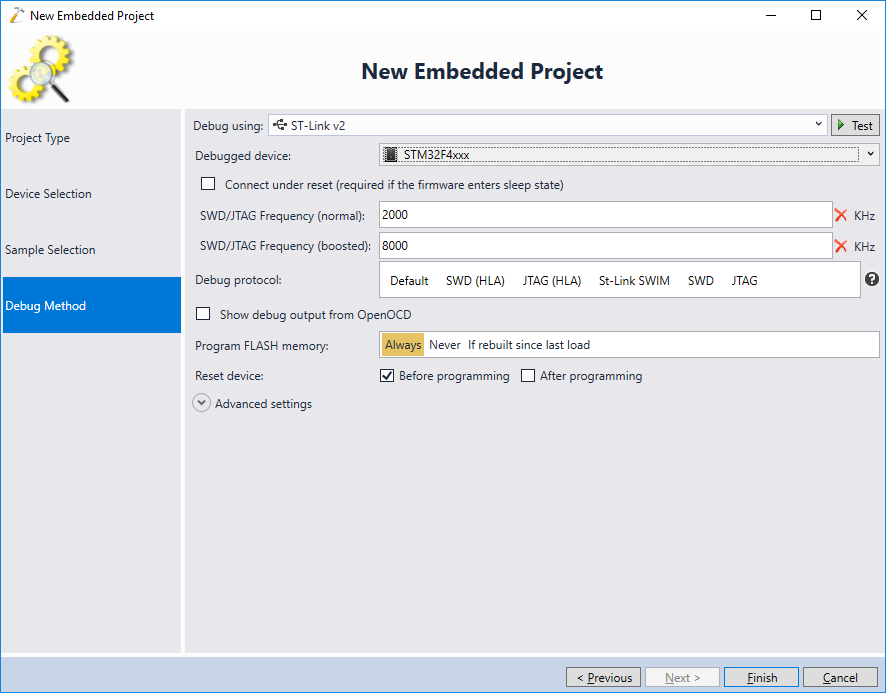
- Finally select the debug method for your device and press “Finish” to create the project:
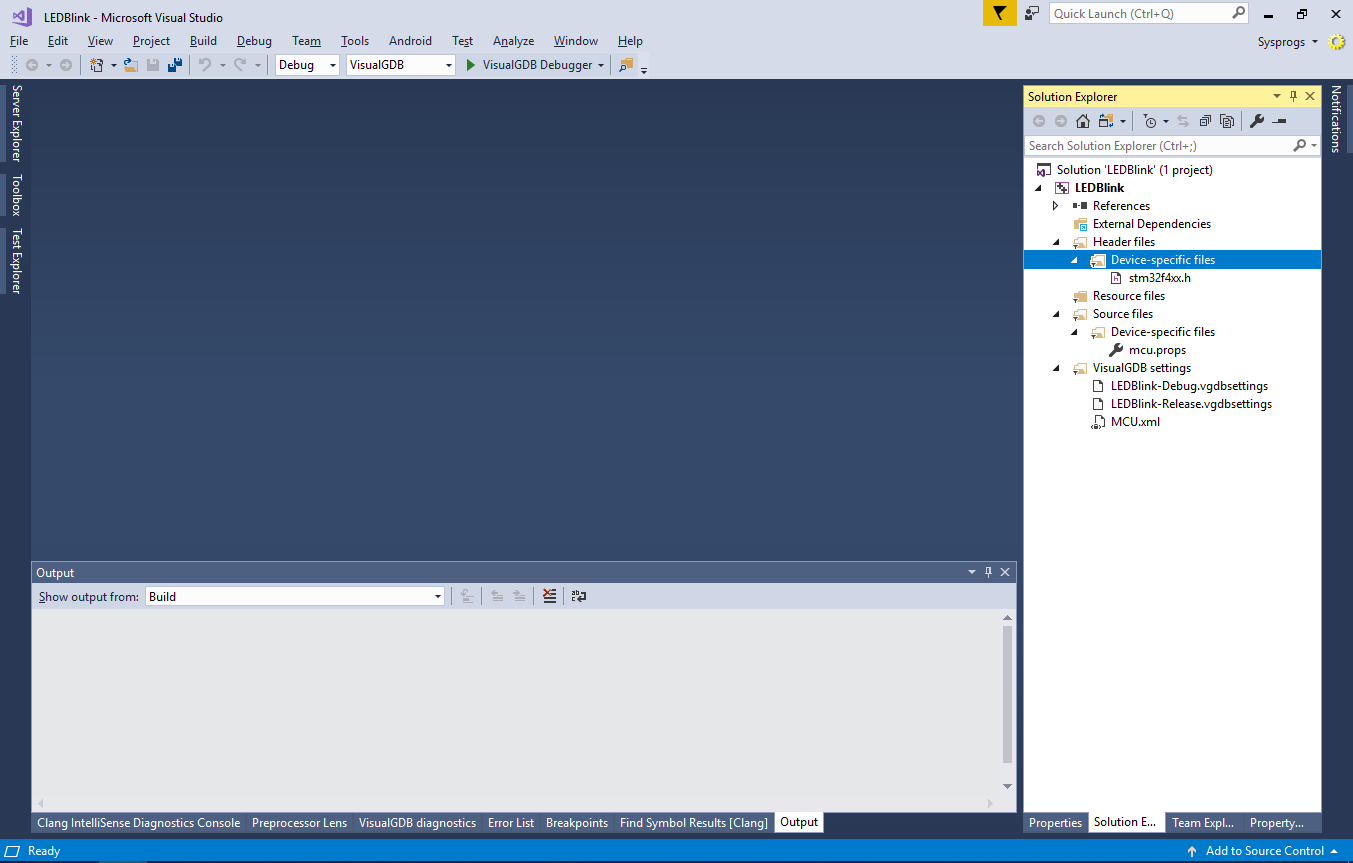
- VisualGDB will create an empty project with no source files that will target the selected device:
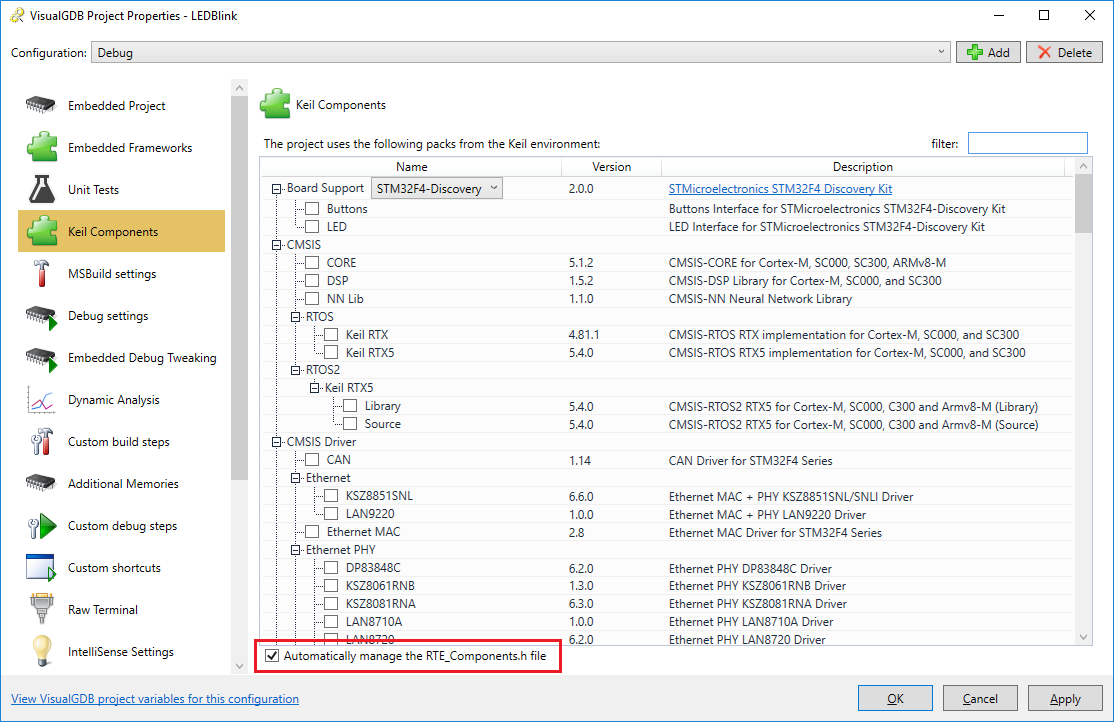
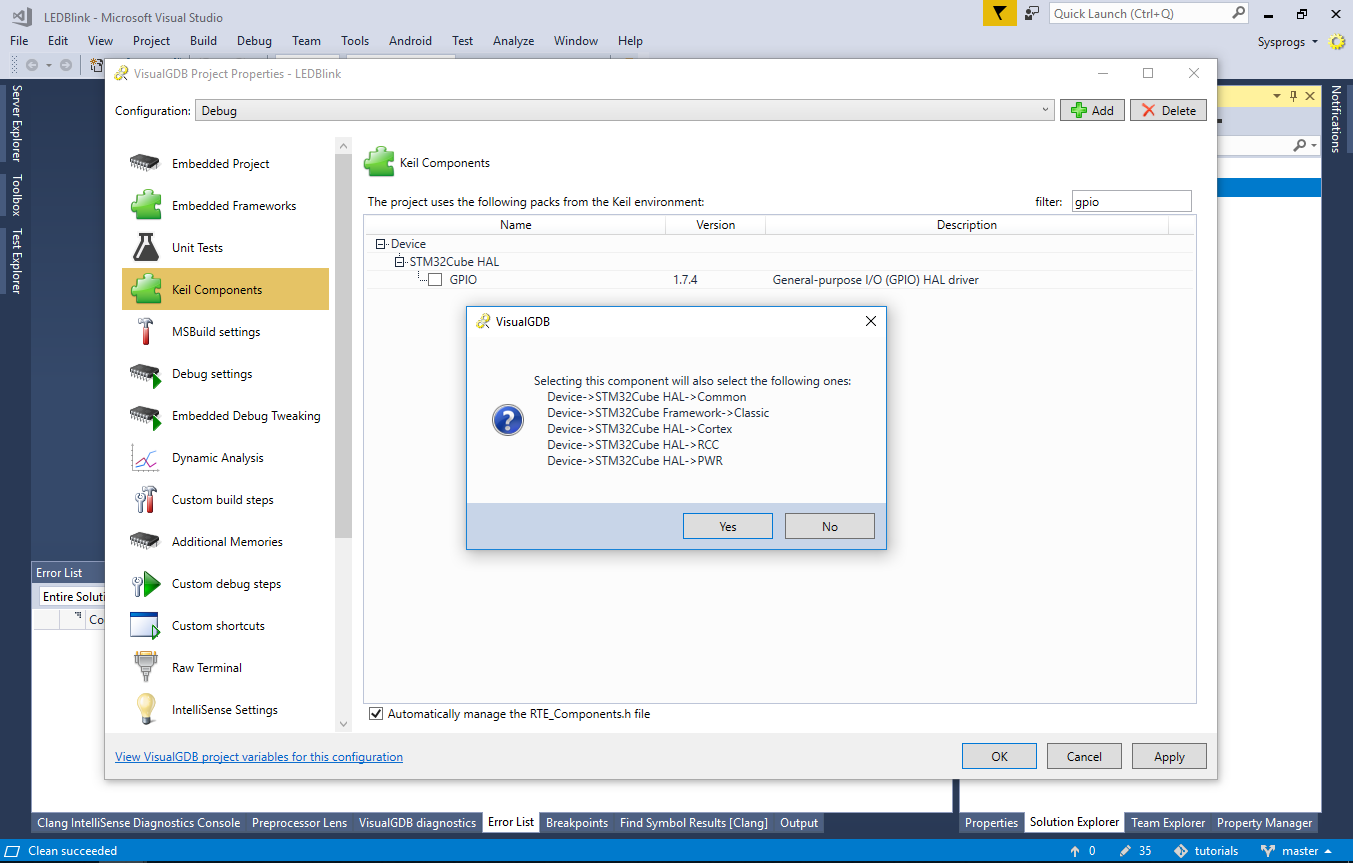
- If you are using the Custom edition of VisualGDB or higher, right-click on the project in Solution Explorer, click “VisualGDB Project Properties” and go to the “Keil Components” page. Ensure that the “Automatically manage RTE_Components” flag is set:
 For lower editions of VisualGDB, use the regular Add->Existing Item menu to manually adds sources and headers to the project.
 - Check the “Device->Startup” and “Device->STM32Cube HAL->GPIO” components. VisualGDB will automatically detect their dependencies and suggest adding them as well:
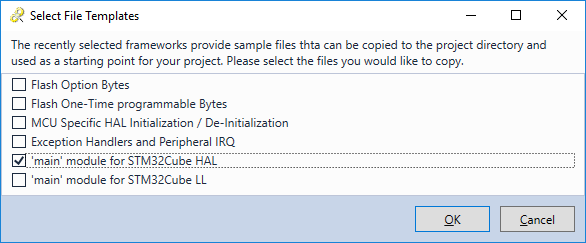
- Click “OK” to proceed. VisualGDB will show a list of file templates offered by the selected components. Check the “main module for STM32Cube HAL” template and click “OK”:
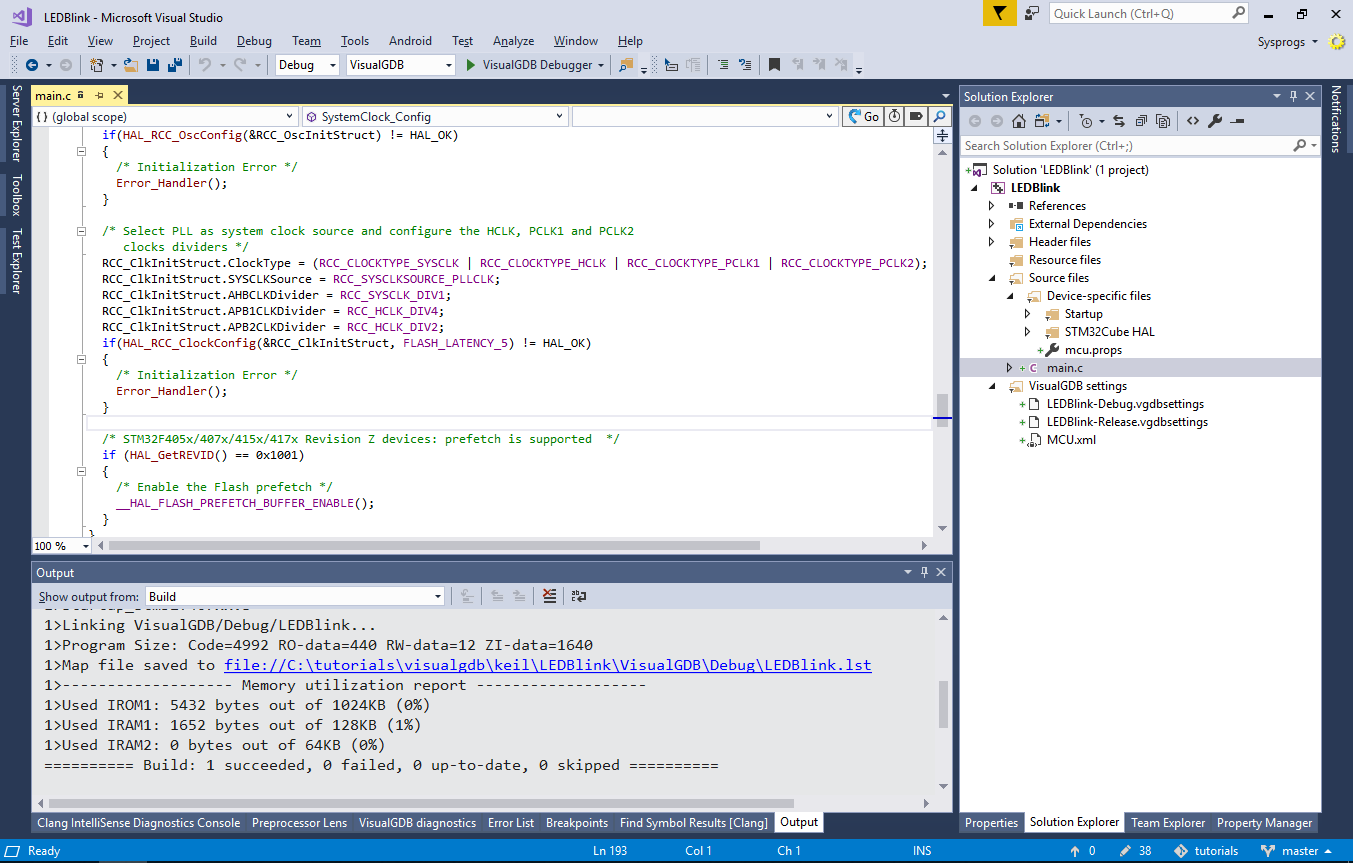
- VisualGDB will automatically add files from the selected components (including a copy of the main.c file) to your project, allowing you to build it:
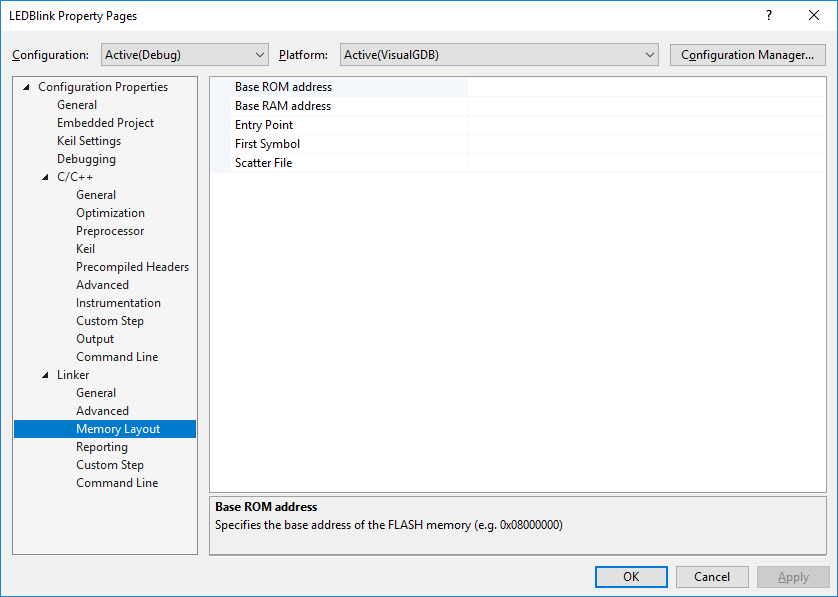
- Open the regular VS Project Properties. Note that the properties reflect the Keil-specific flags (e.g. allowing you to use scatter files instead of linker scripts):
- Open the Keil Components page of VisualGDB Project Properties again, pick your development board from the list and check the “LED” component:

- Include the <Board_LED.h> file from your main file and add the following code to the end of main():
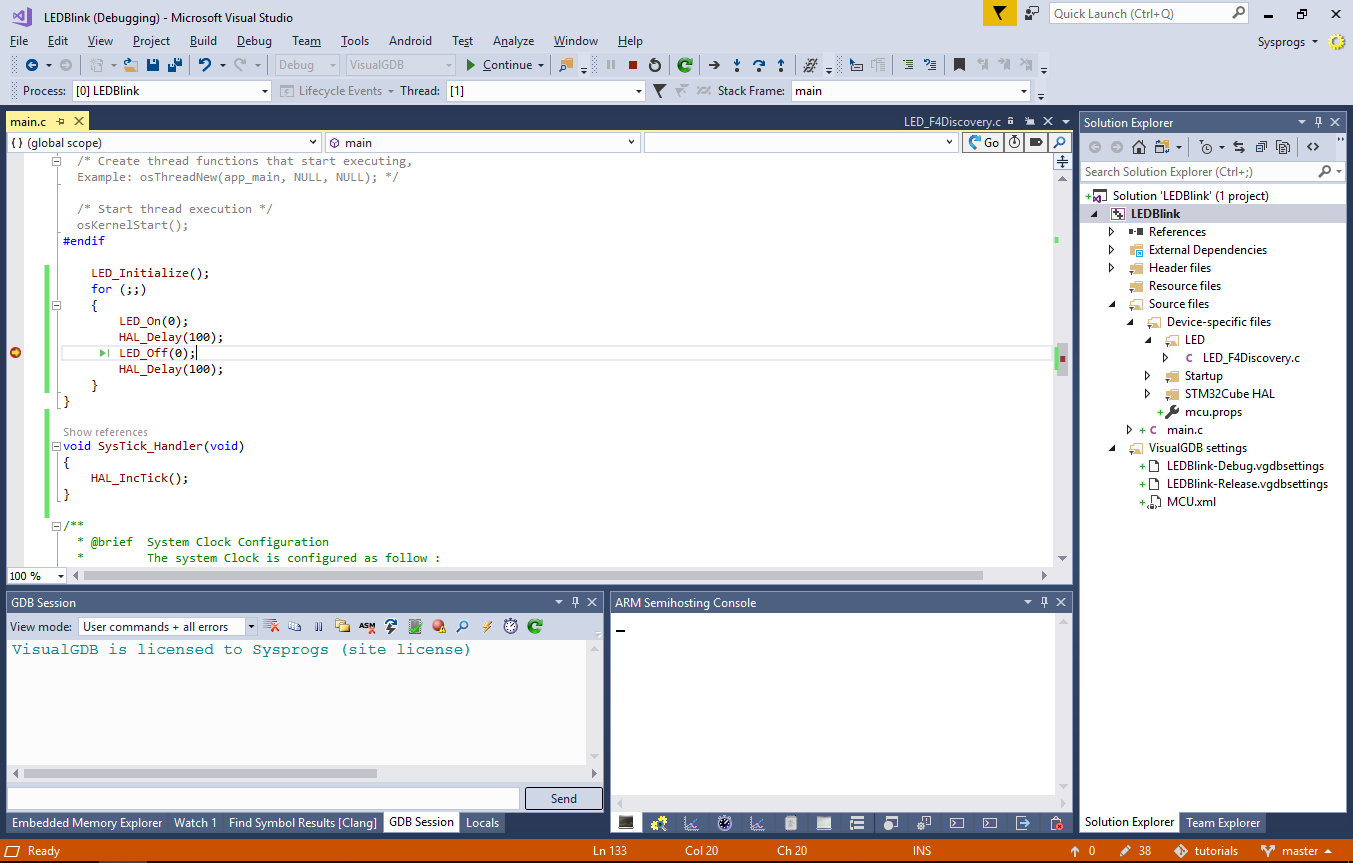
LED_Initialize();
for (;;)
{
    LED_On(0);
    HAL_Delay(100);
    LED_Off(0);
    HAL_Delay(100);
}
Also add a basic SysTick_handler implementation:
void SysTick_Handler(void)
{
    HAL_IncTick();
}
- Press F5 to begin debugging. Once the on-board LED starts blinking, set a breakpoint in the main loop and wait for it to trigger:
 Warning: if the breakpoint never hits and the target appears stuck in the initialization code, try settings the VisualGDB Project Properties -> Debug Settings -> Reset Device -> After Programming checkbox. It will ensure that the device is in the correct state after the FLASH memory programming is completed.
 - Note that VisualGDB will automatically load the memory layout and the hardware register definitions from the Keil packs, so you won’t need to specify them manually:
