Creating a simple WiFi HTTP Server using ESP8266
This tutorial shows how to create a basic WiFi HTTP server with the ESP8266 chip and VisualGDB. Before you begin, follow our ESP8266 OpenOCD tutorial to ensure that you can program your ESP8266 board.
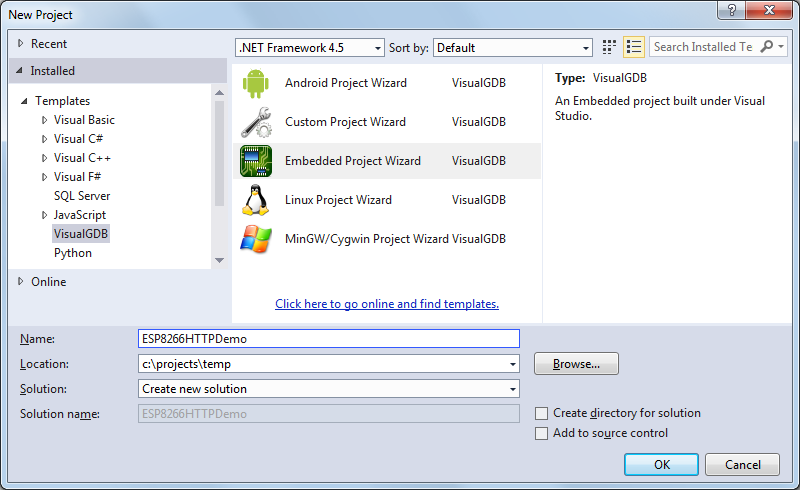
- Start Visual Studio and open the VisualGDB Embedded Project Wizard:
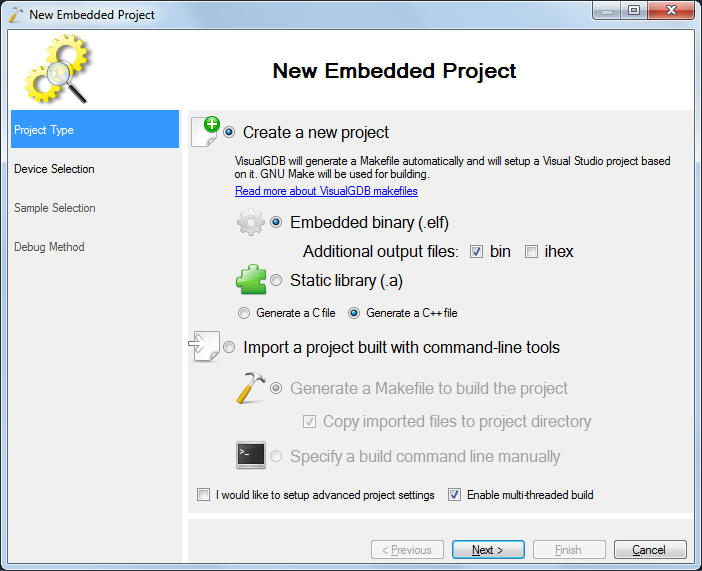
- Proceed with the default “embedded binary” setting on the first page:
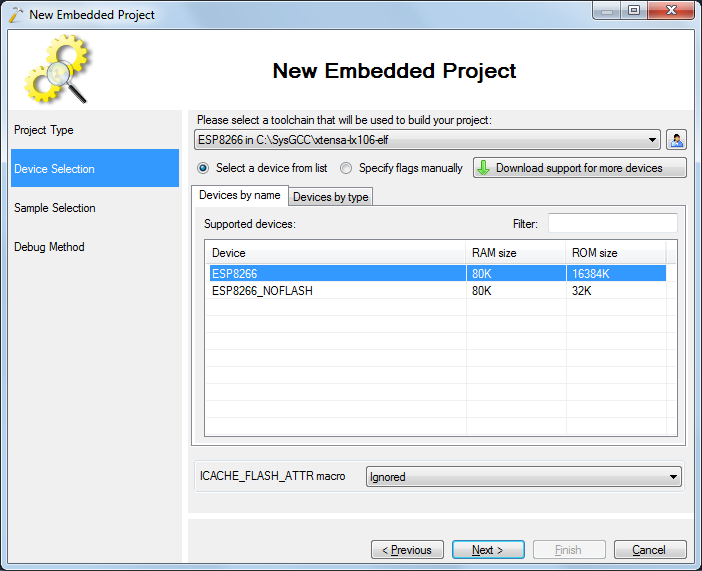
- On the next page select the ESP8266 device. The WiFi and TCP/IP libraries requires a lot of space, so you will not be able to use the “no FLASH” mode:
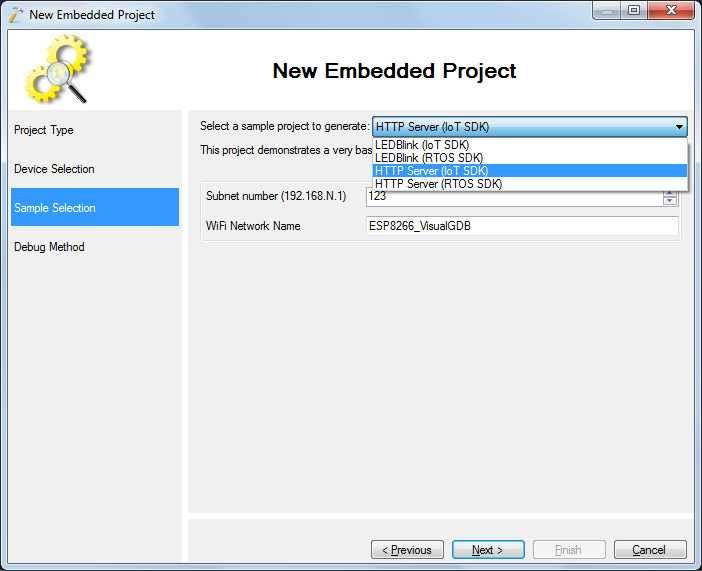
- On the sample page Select the HTTP Server (IoT SDK):
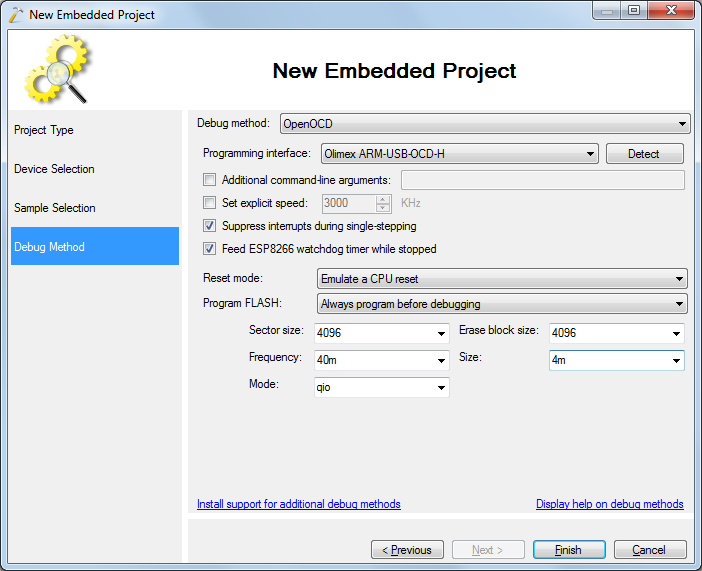
- On the debug method page specify the debug settings that worked with the ESP8266 OpenOCD tutorial:
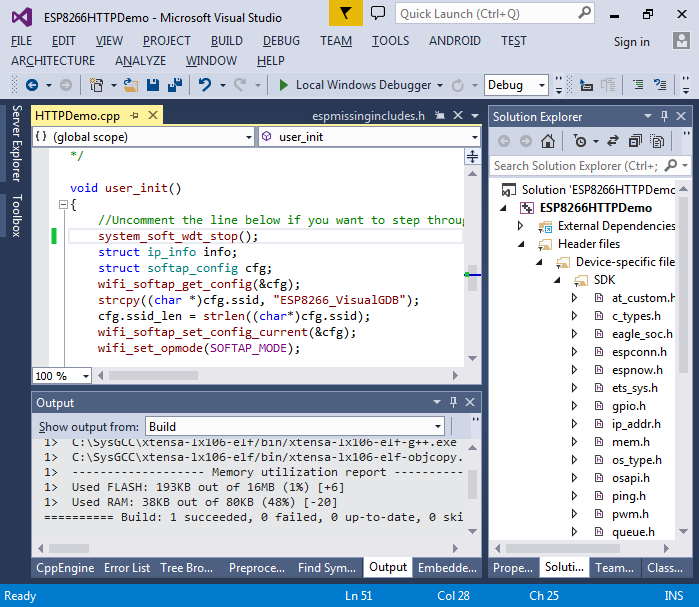
- Press Finish to build the project. Uncomment the call to system_soft_wdt_stop() and build the project by pressing Ctrl-Shift-B:
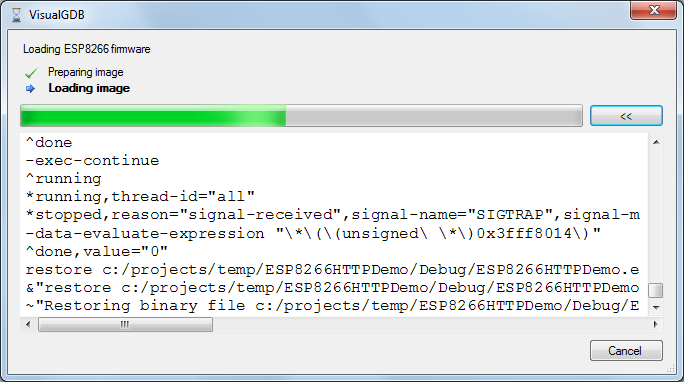
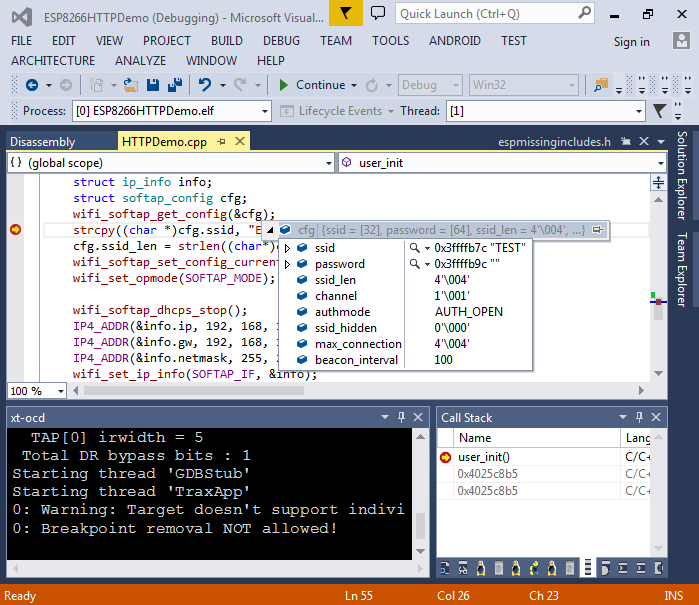
- Once the build is done, set a breakpoint after the call to wifi_softap_get_config() and hit F5 to start debugging. VisualGDB will program the SPI FLASH and start the program:
- When the breakpoint is hit, hover the mouse over the “cfg” variable to see the current WiFi configuration. The test program will replace the SSID with the name selected in the wizard and apply it by calling wifi_softap_set_config_current():
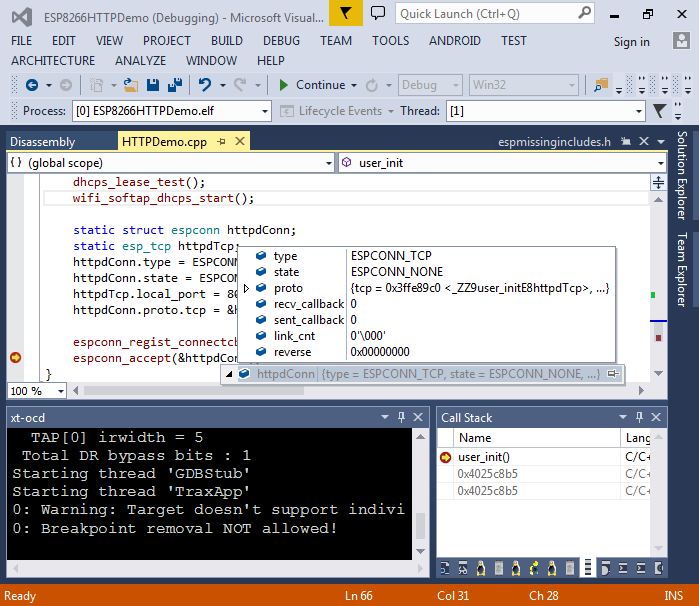
- If you have disabled the software watchdog earlier, you can step through the initialization function and observe what it does. Note that it starts the DHCP server so that you won’t need to configure network parameters manually:
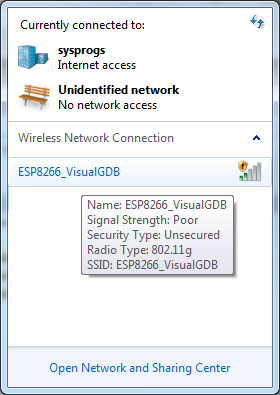
- Hit F5 to resume the program. Open the WiFi network list on your PC and connect to the ESP8266 network:
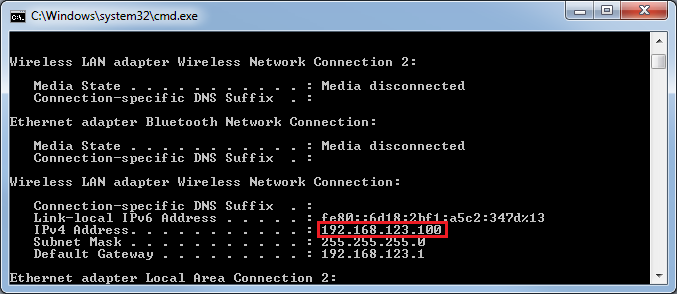
- Use the “ipconfig” command to verify that you have connected to the network and that the IP address has been assigned:
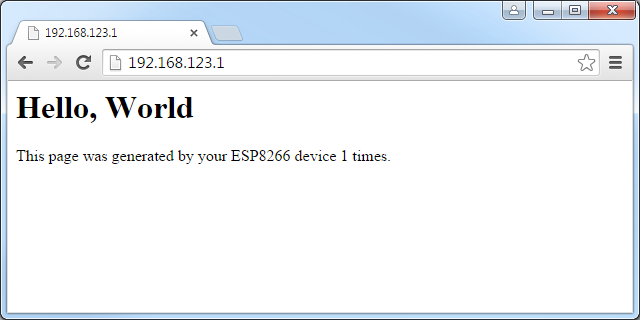
- Open the 192.168.123.1 page in your browser and observe the output generated by the ESP8266 chip:
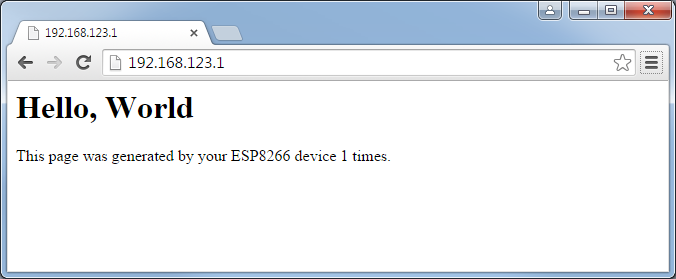 Each time you refresh the page, the counter should increase.
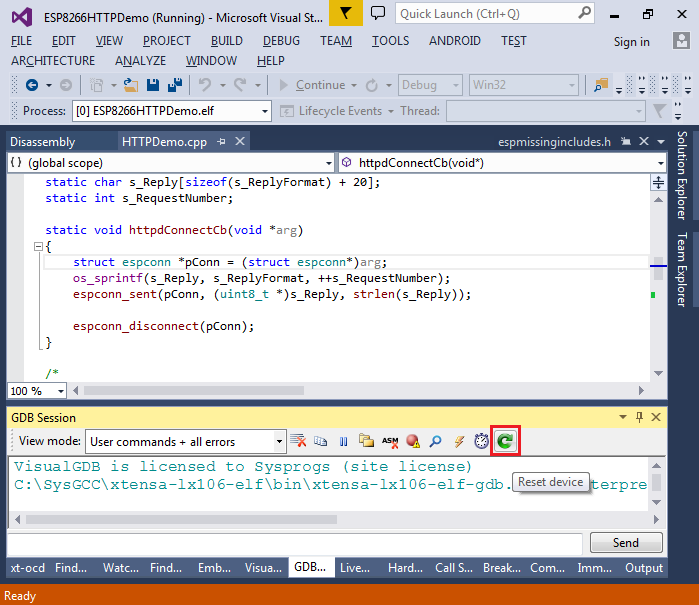
 - You can reset the ESP8266 firmware by pressing the Reset button in the GDB Session window:
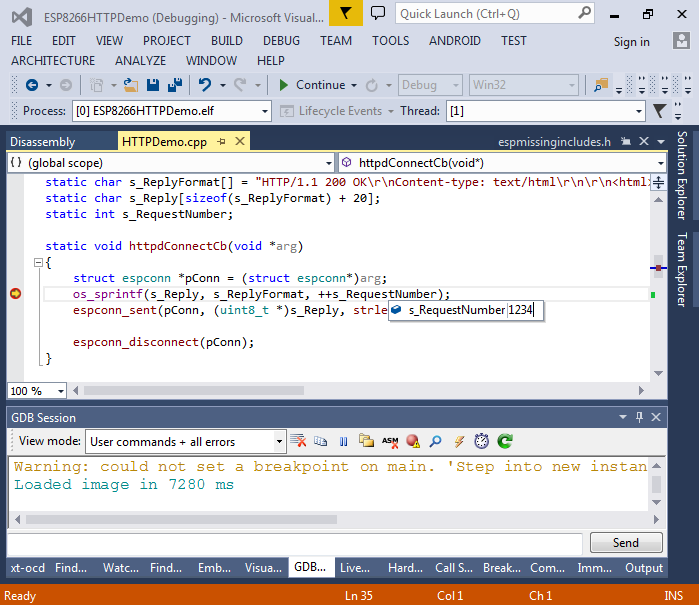
- You can also set a breakpoint in the HTTP-related code, however if you spend more than 1 second stopped at it, the ESP8266 chip will restart as many library functions reenable the software watchdog after we have disabled it in user_init. Disabling the software watchdog from the function you want to debug will partially solve this problem, but it may interfere with other WiFi functionality:
- If you have connected the serial port on your ESP8266 board to a USB-to-COM circuit, you can enable the Raw Terminal in VisualGDB Project Properties. The baud rate depends on the speed of the on-board crystal and should be set to 74880 for the Olimex ESP8266 module with a 26 MHz crystal:

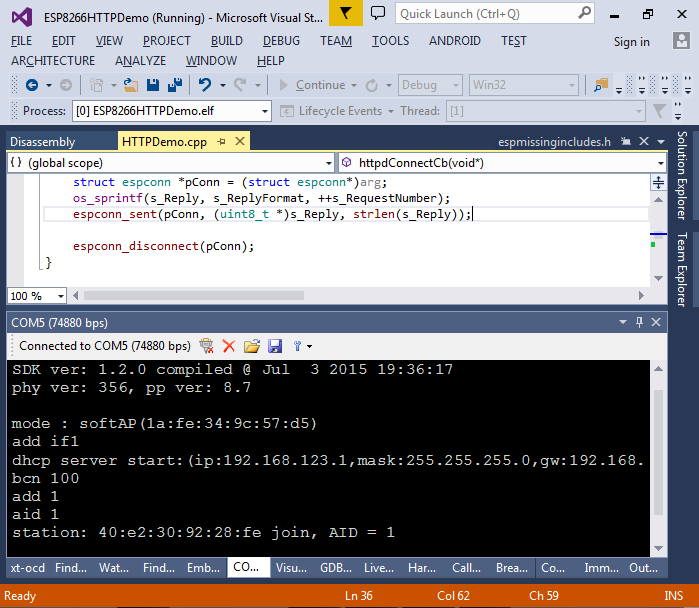
- If you start your program now, you will see a lot of debug output shown by the ESP8266 firmware:
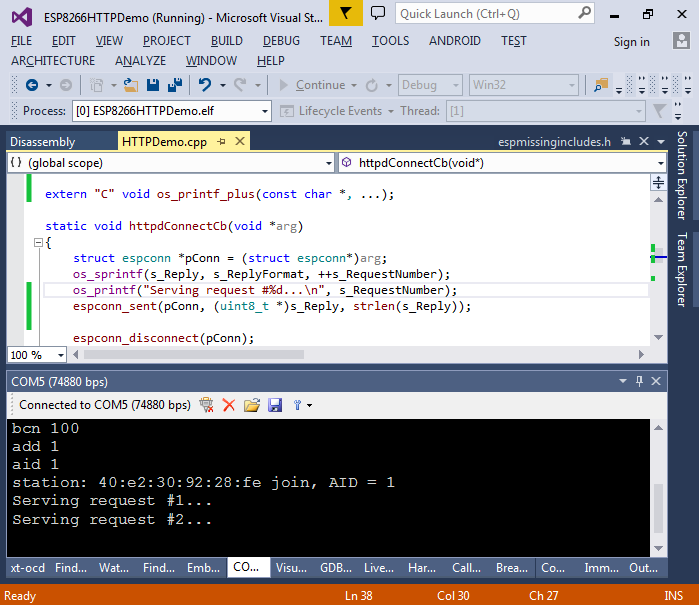
- You can add your own messages to the debug output by calling the os_printf() function. Note that you will need to declare the os_printf_plus() one to do that, as the ESP8266 SDK does not include a definition for it:
 The main compilation with the ESP8266 IoT SDK is that it is single-threaded, so your code needs to be consist of callback functions and event handlers that cannot take too much time. In order to use a more convenient thread approach, try the ESP8266 RTOS SDK, that is described in the next tutorial.


