Creating firmware for Bluetooth LE devices with mbed
This tutorial shows how to create a basic virtual UART-over-Bluetooth LE device using VisualGDB and the ARM mbed framework. Before you begin, install the latest VisualGDB and update the mbed package to 5.4.2 or later via Tools->VisualGDB Package Manager.
In this tutorial we will use a Nordic NRF52_DK board and and Android phone to connect to the board via Bluetooth LE.
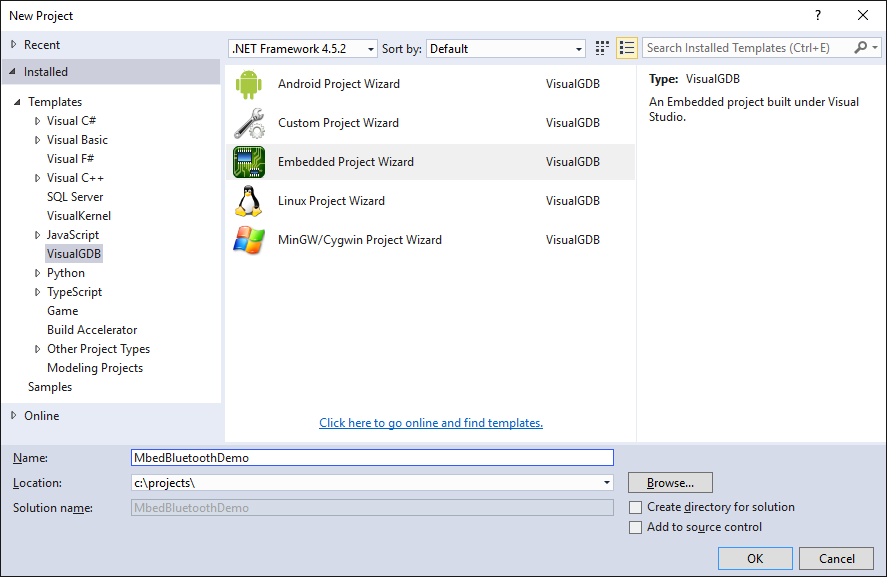
- Start Visual Studio and open the VisualGDB Embedded Project Wizard:
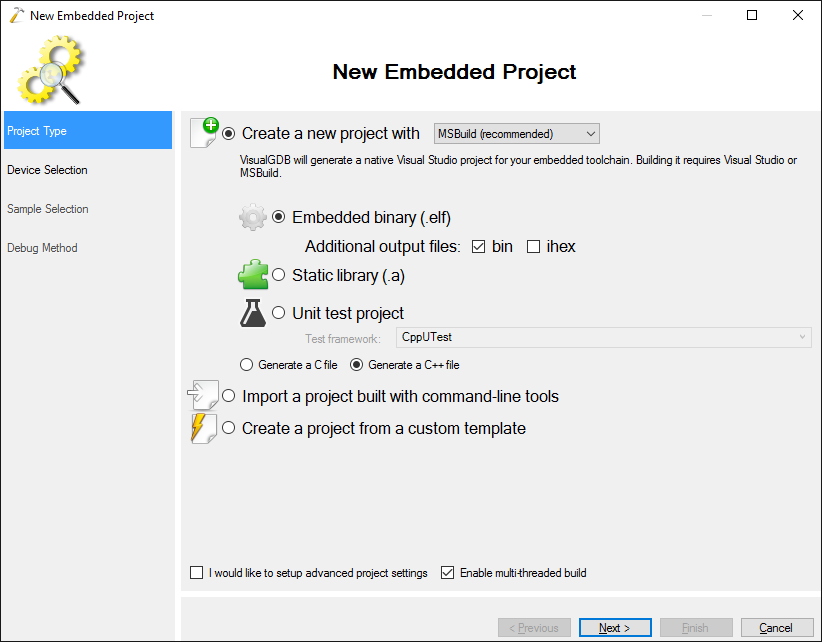
- Select “Create a new project -> MSBuild -> Embedded Binary”:
- On the next page select “Use ARM mbed” and pick your board from the list. We will use the Nordic NRF52_DK board, however the same steps should work for any other nRF5x-based board supported by mbed:
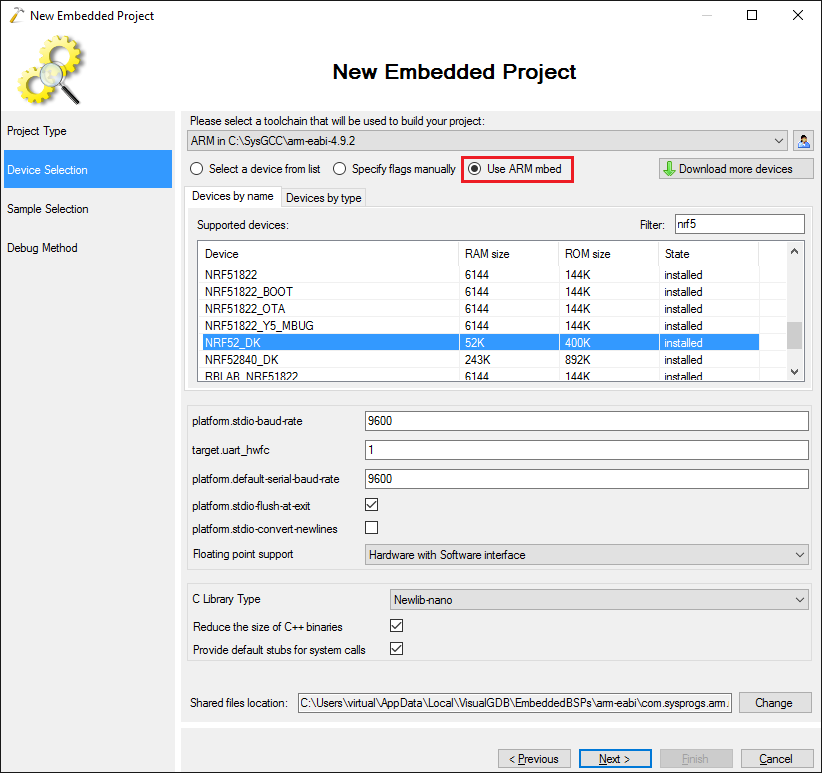 It is recommended to select “Newlib-nano” as the C library and check the “provide default stubs for system calls” checkbox to reduce the binary size.
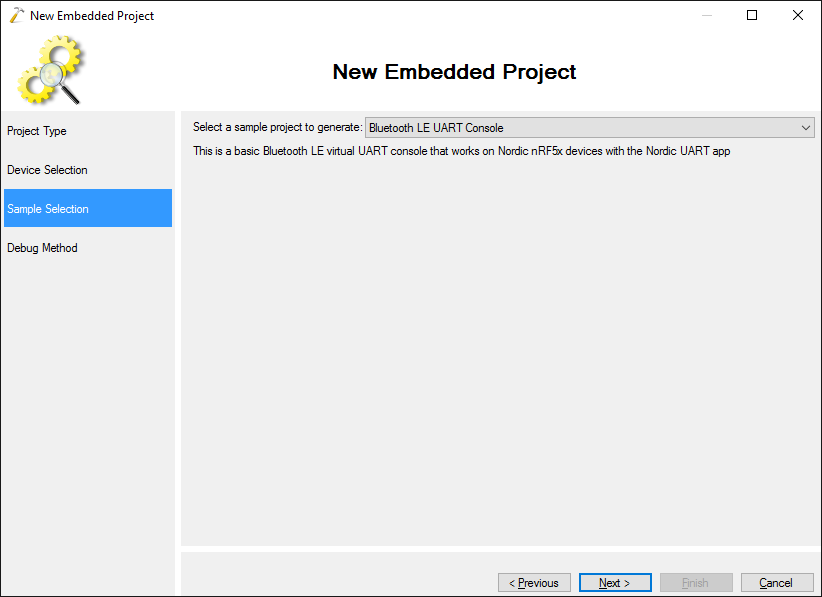
 - On the “Sample Selection” page pick the “Bluetooth LE UART Console” sample and press “Next”:
- Choose a debug method corresponding to your target. Nordic development boards have an integrated Segger J-Link that can be configured as shown below:
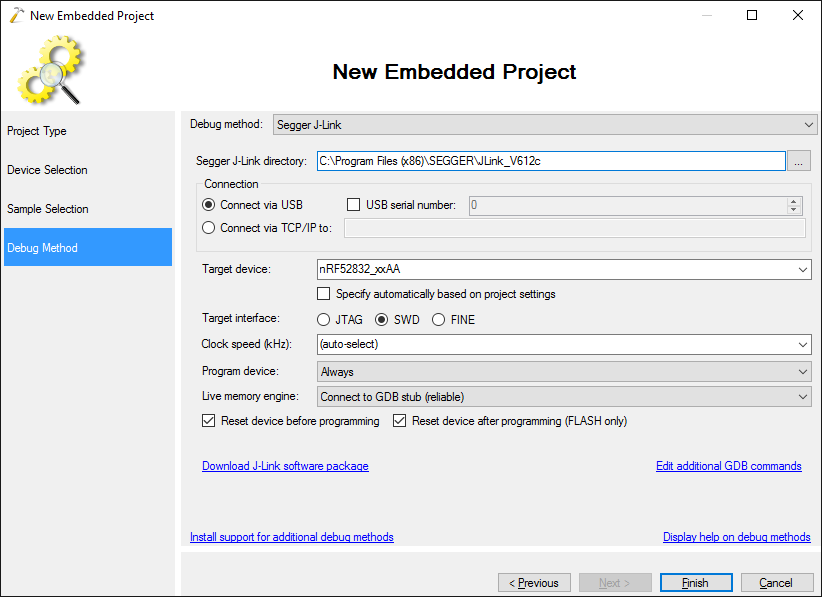 Note that J-Link won’t automatically detect the exact device name from the mbed target name (like nRF52_DK), so it needs to be selected manually.
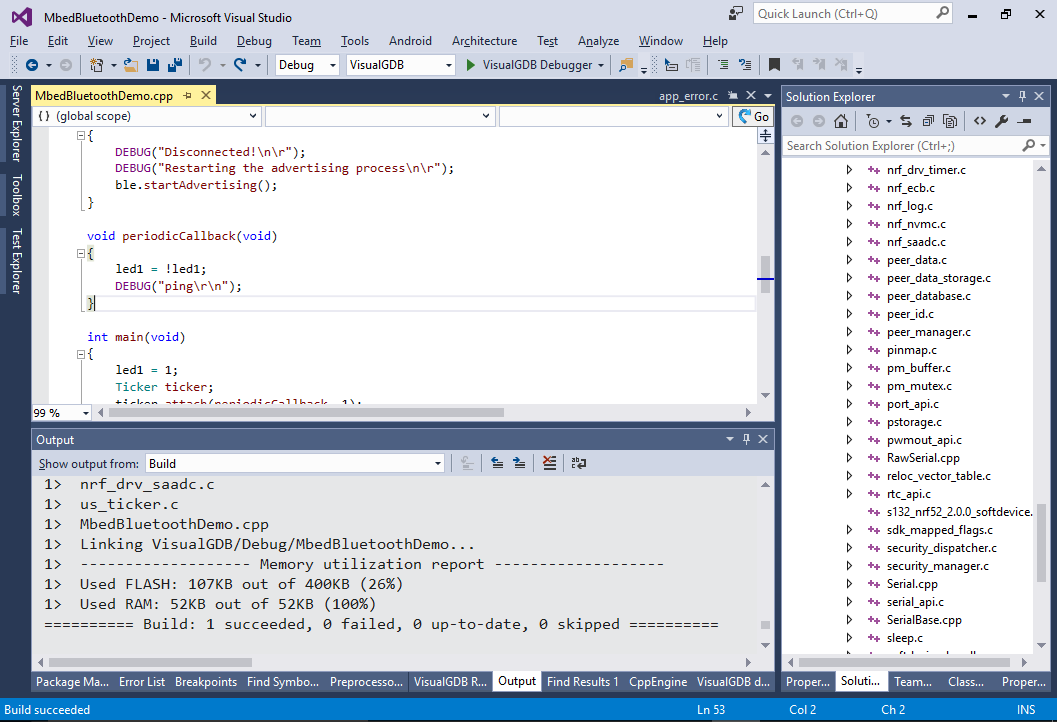
 - Press “Finish” to create the project build it with Ctrl-Shift-B:
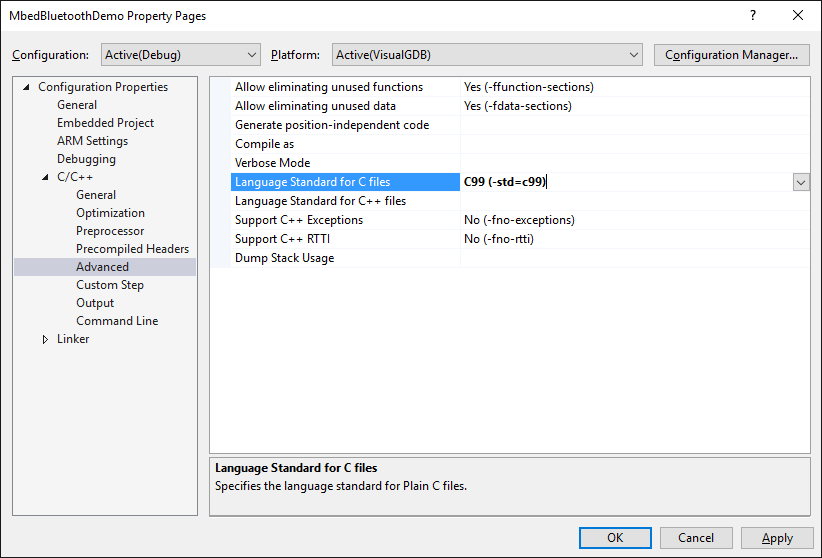
- If the build fails due to inline variable declarations in C files, open VS Project Properties and switch the C language standard to C99:
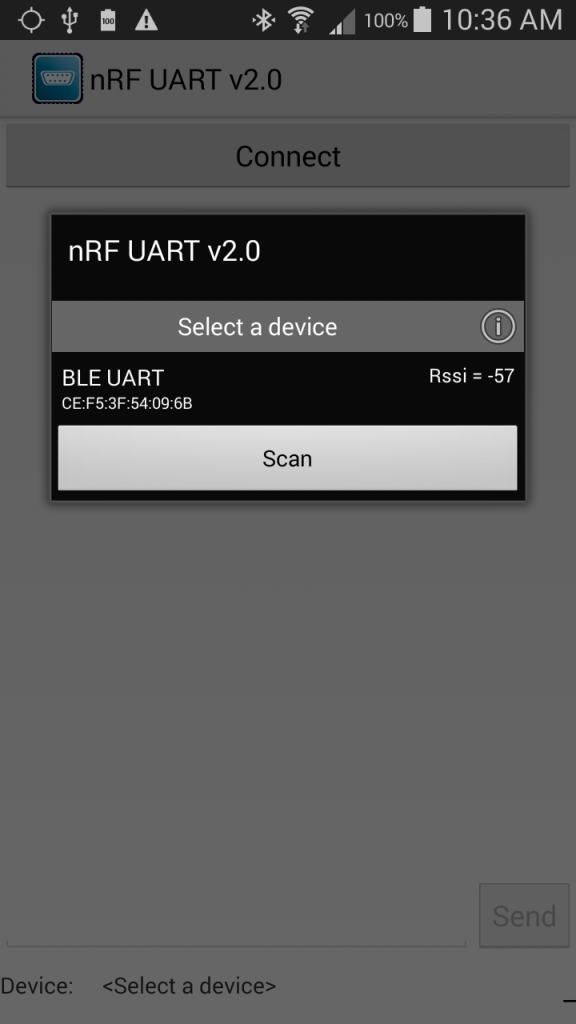
- Connect your Nordic board and press F5 to start debugging. On your Android device launch the Nordic UART app and connect to the virtual UART device:
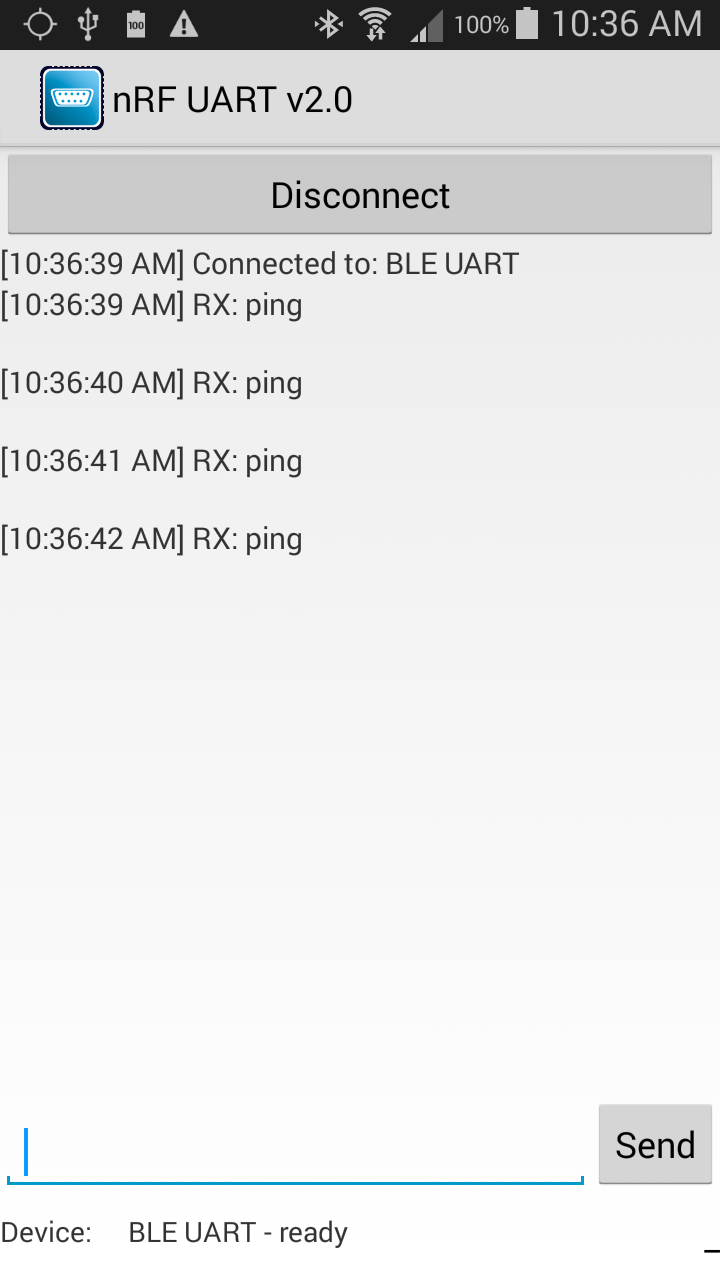
- Once you connect to the device, you should see the “ping” messages sent by the firmware:
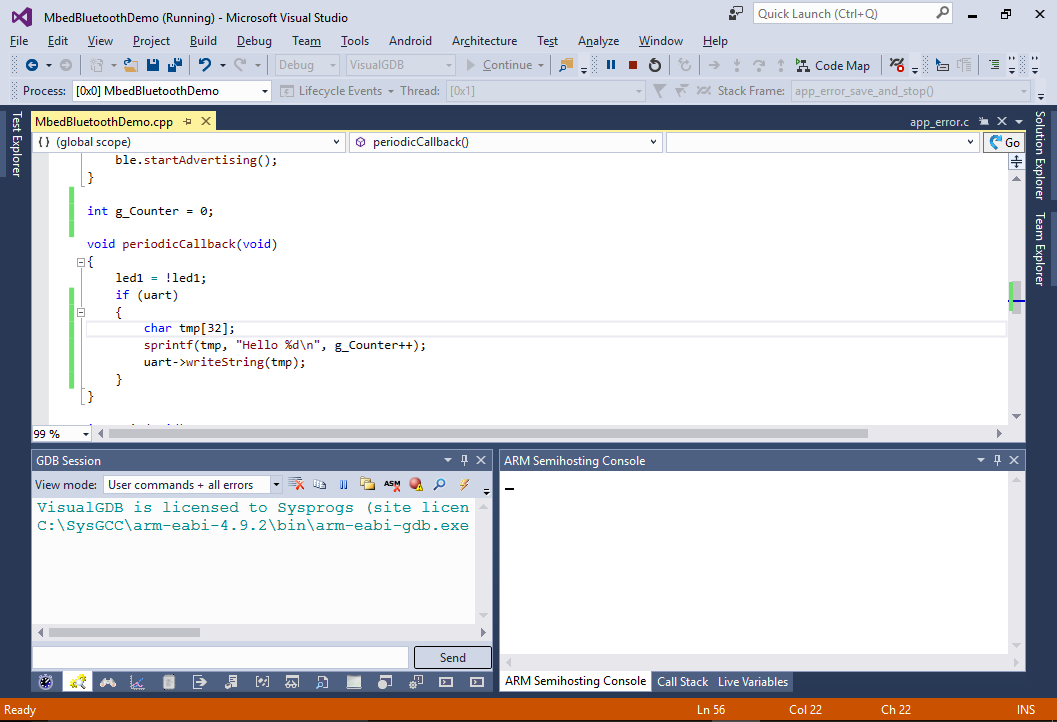
- Modify the periodicCallback() function as follows to replace the “ping” messages with “hello” messages having increasing numbers:
int g_Counter = 0;

void periodicCallback(void)
{
    led1 = !led1;
    if (uart)
    {
        char tmp[32];
        sprintf(tmp, "Hello %d\n", g_Counter++);
        uart->writeString(tmp);
    }
}
Then press F5 to start debugging:
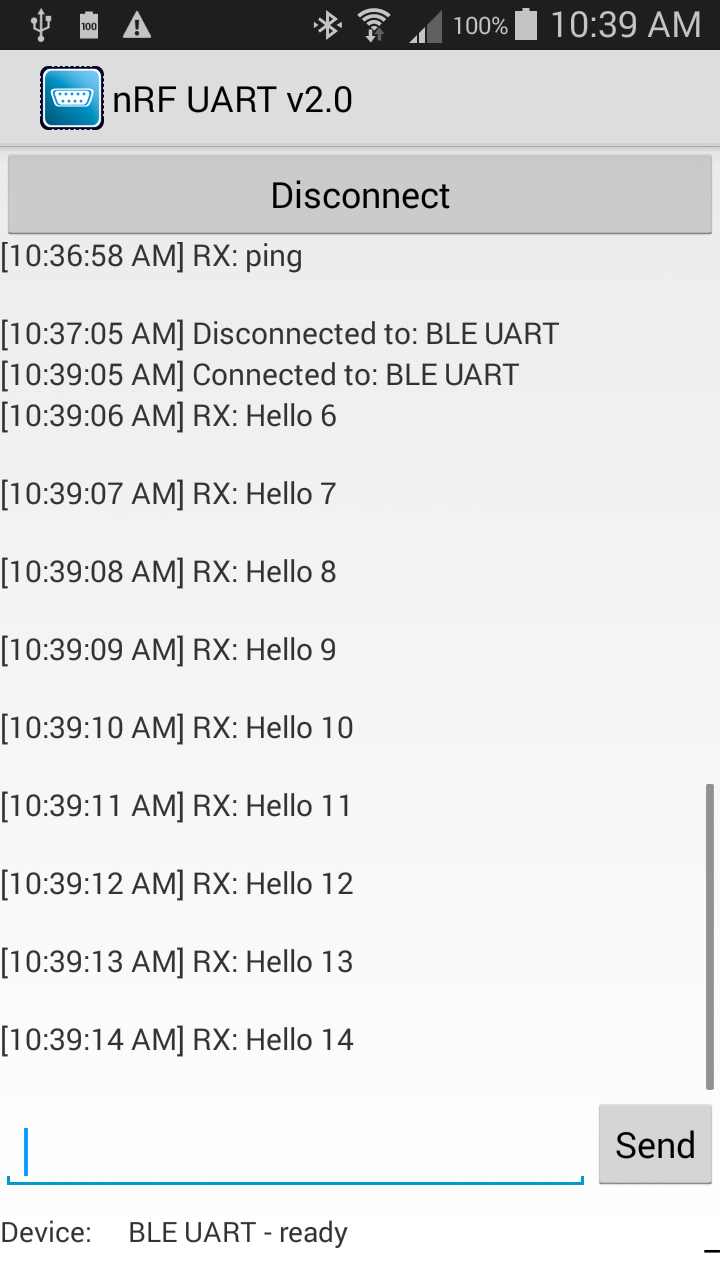
- Reconnect to the board from your Android device and see how the displayed messages have changed:
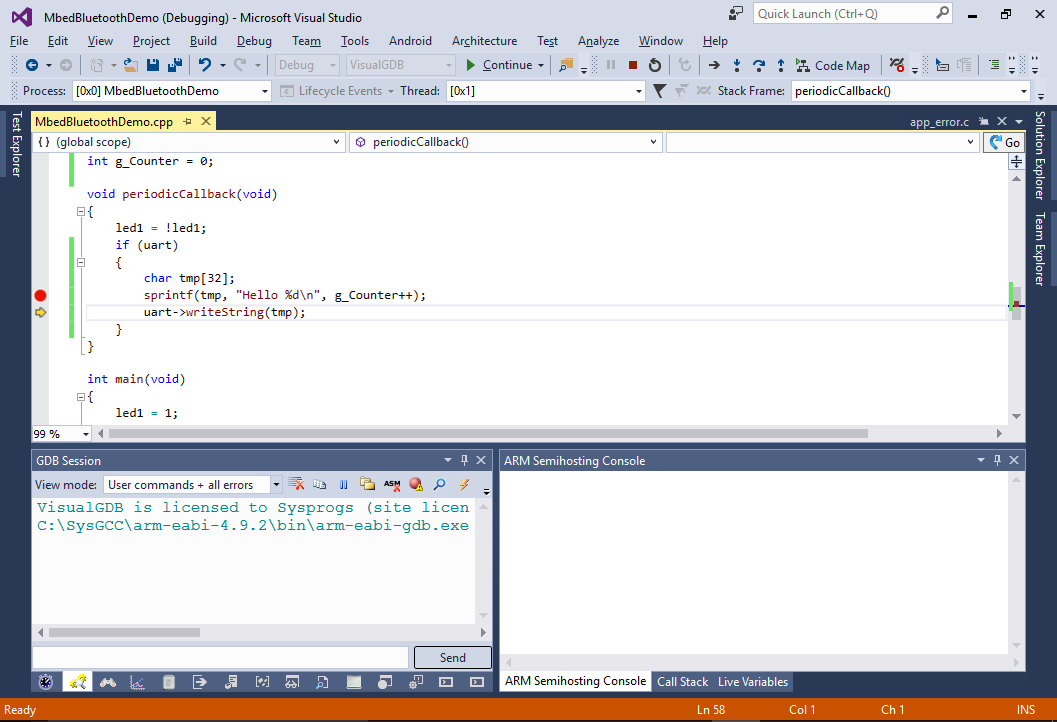
- If you try setting a breakpoint in the periodicCallback() function, it will trigger, but you won’t be able to continue debugging as the nRF5x watchdog will trigger an internal error:
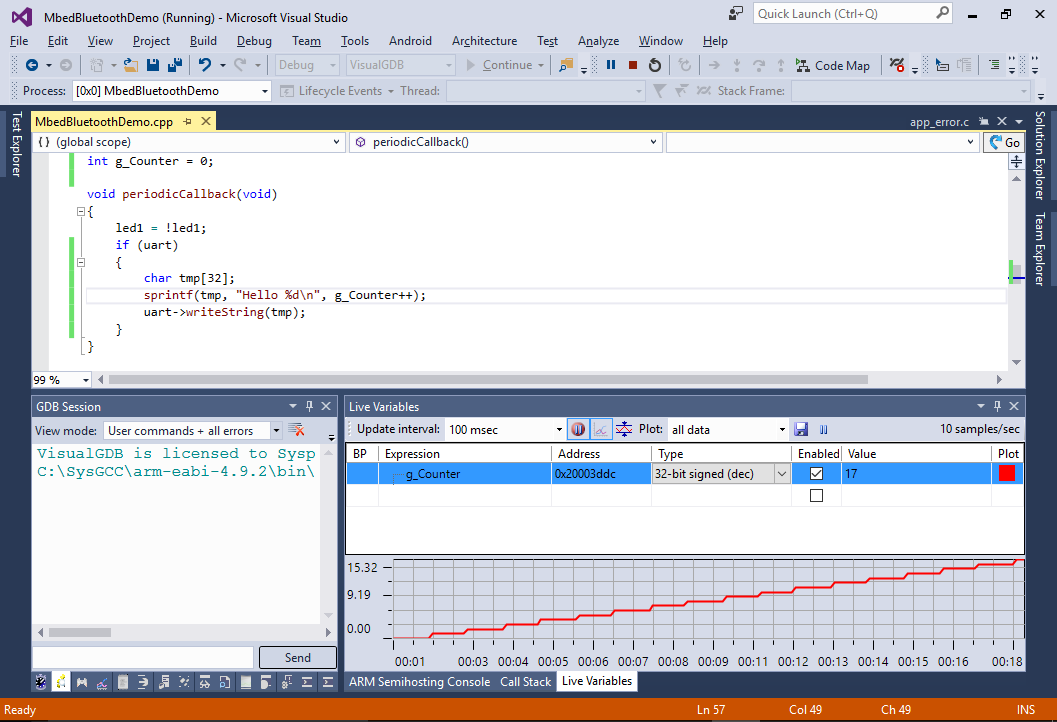
- To avoid this, we recommend using alternate debugging techniques like Live Variables (right-click on g_Counter to plot its value in real-time) and real-time watch that can show the executed functions in real time:
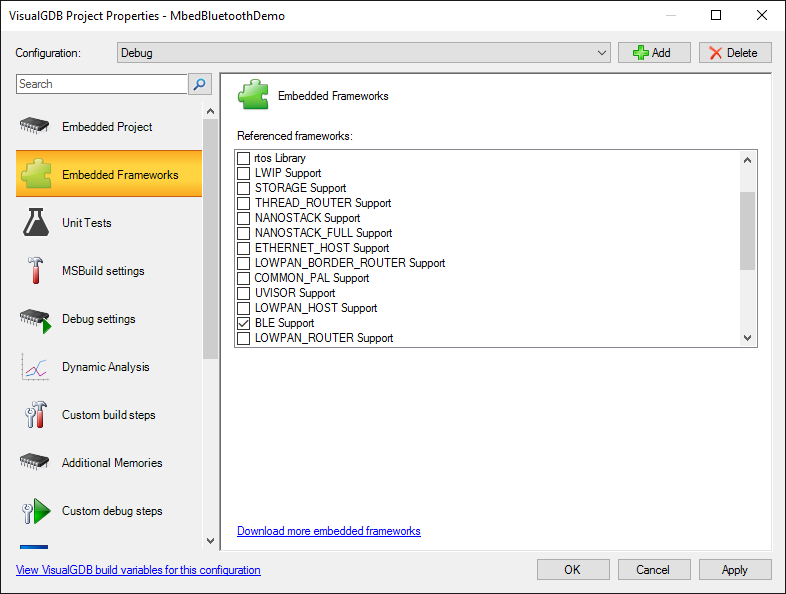
- Open VisualGDB Project Properties and go to the Embedded Frameworks page. You will see various mbed libraries and features (like BLE or LWIP) displayed as embedded frameworks. Checking the corresponding frameworks will automatically add them to your project:
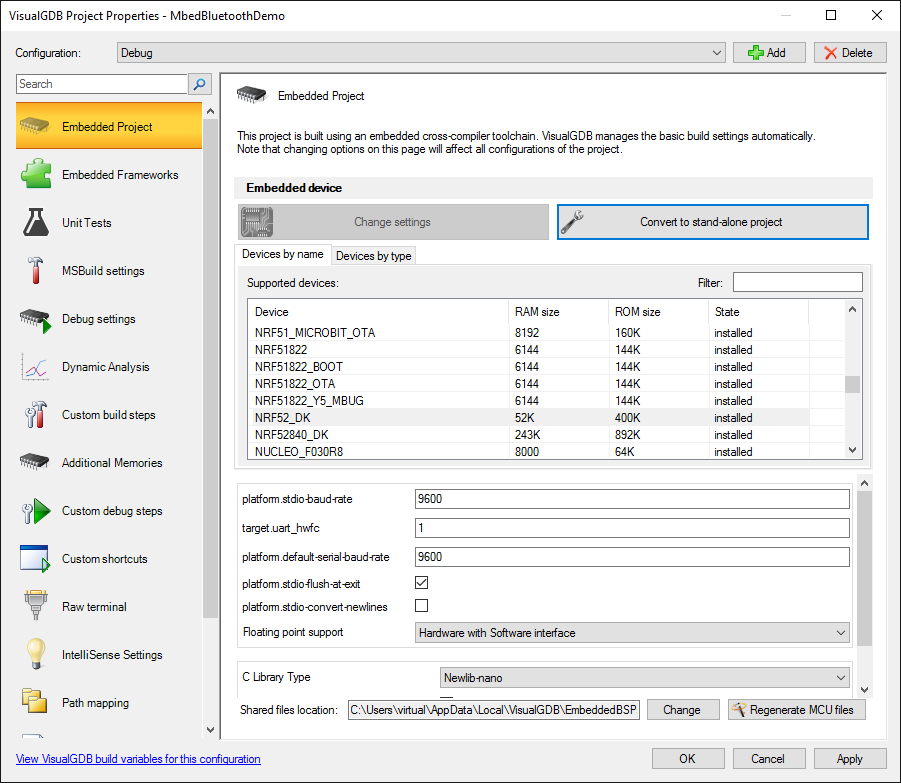
- You can also easily retarget an mbed project to a different platform or edit settings like baud rate via the first page of VisualGDB project properties: