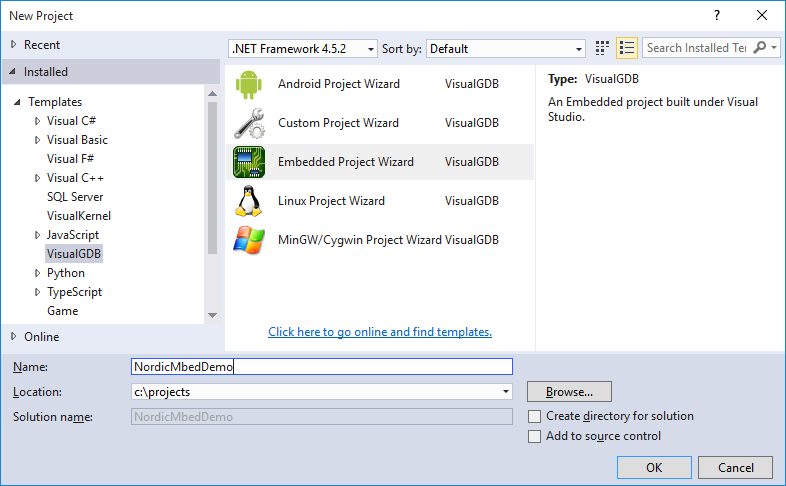
Developing applications for Nordic nRF51 with mbed
This tutorial shows how to use the mbed framework to develop applications for Nordic nRF51 devices. Before you begin, install VisualGDB 5.1 or later.
- Start Visual Studio and open the VisualGDB Embedded Project Wizard:
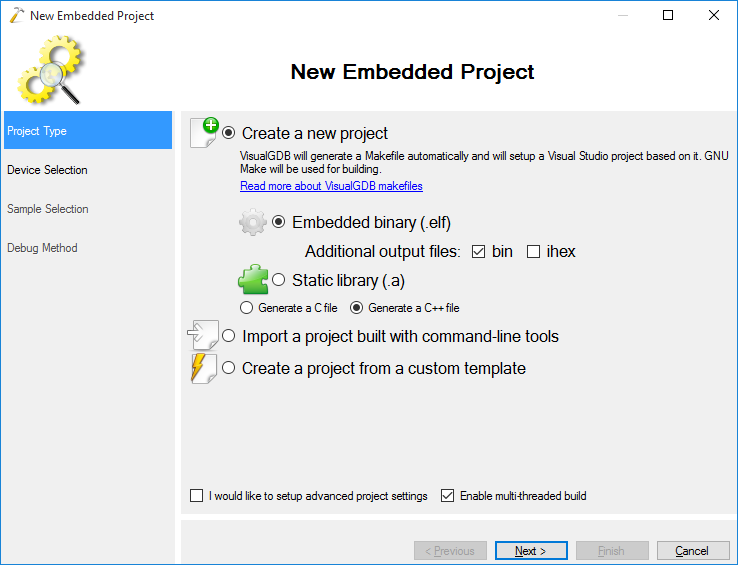
- Proceed with the default settings on the first page. Ensure you have the “enable multi-threaded build” option enabled if you are using a machine with multiple cores:
- On the next page select “Use ARM mbed” and then pick your nRF51 board from the list. In this example we will use the nRF51_DK board:
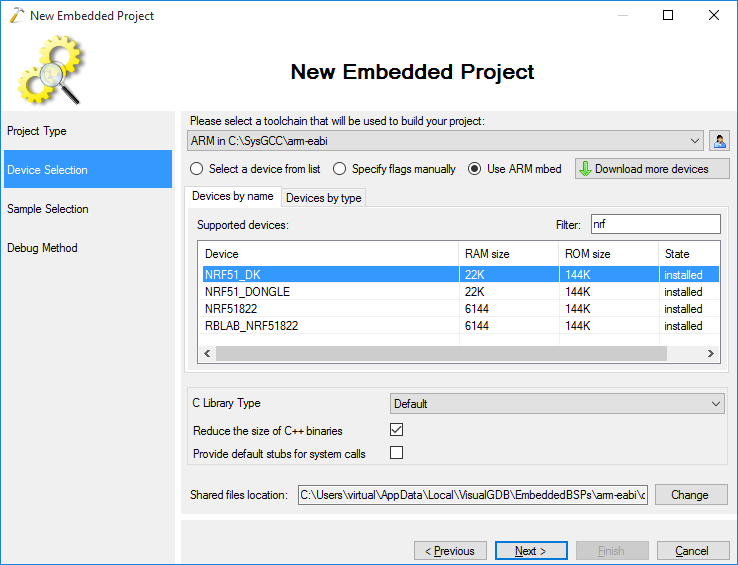 It is recommended to select “newlib-nano” as the C library instead of “default” as it will save considerable FLASH and RAM space.
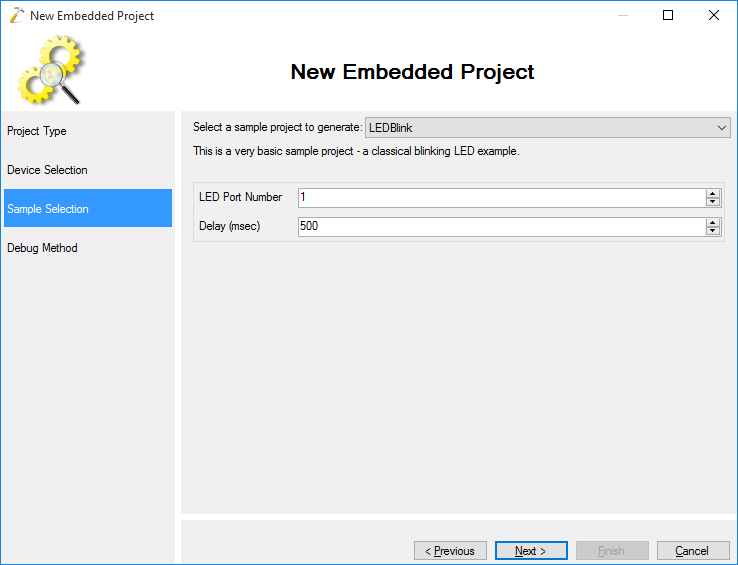
 - On the next page select the default “LEDBlink” sample and press “Next”:
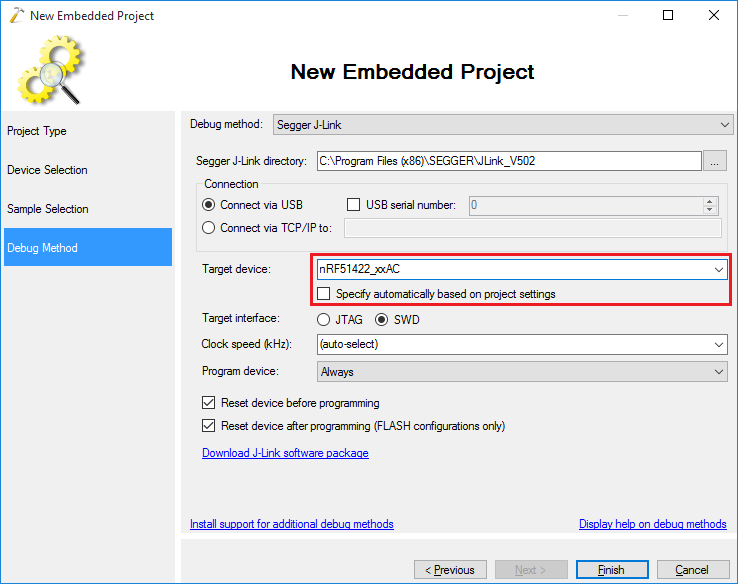
- On the next page select Segger J-Link as the debug method and specify the exact device type manually (the auto-filled nRF51 is too generic):
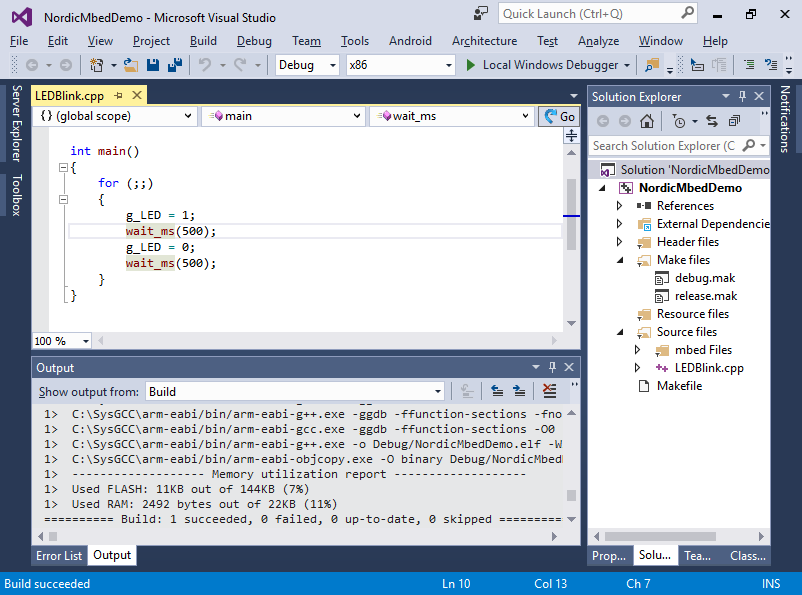
- Press “Finish” to create your project and build it by pressing Ctrl-Shift-B:
- If you try to debug the project now, you will most likely see something like this and the project won’t start properly:
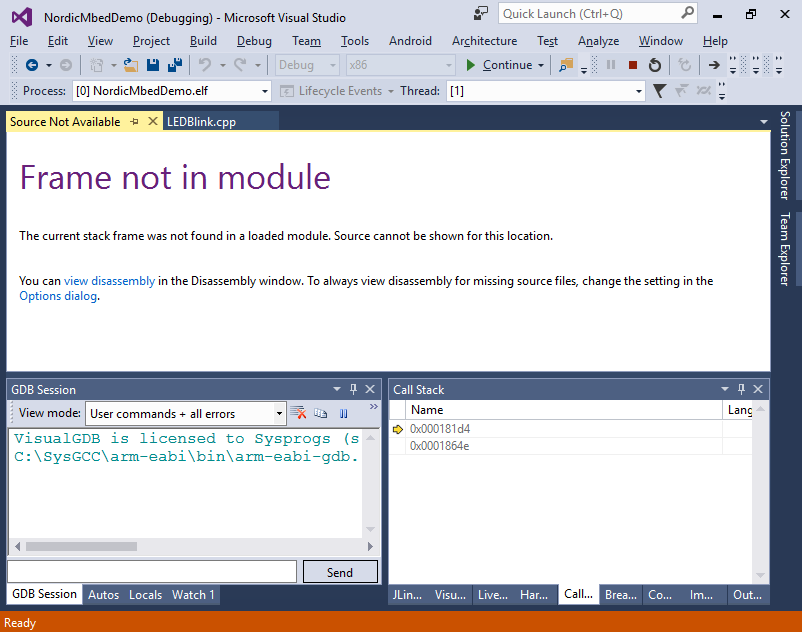 This happens because the mbed port of nRF51 does not include the softdevice into your project and expects you to program it separately. The rest of this tutorial will show how to include the softdevice binary into your project so that it gets programmed automatically.
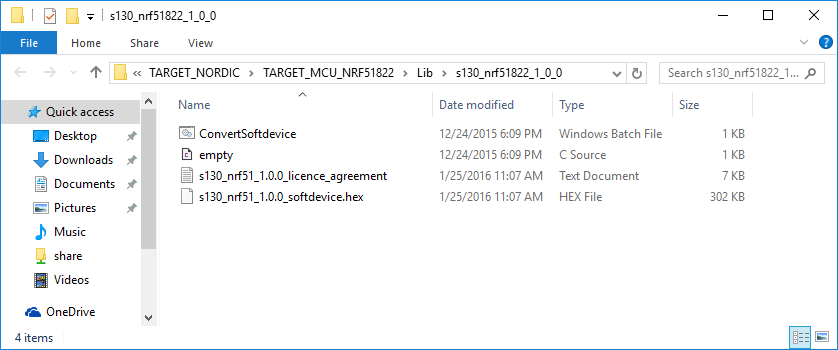
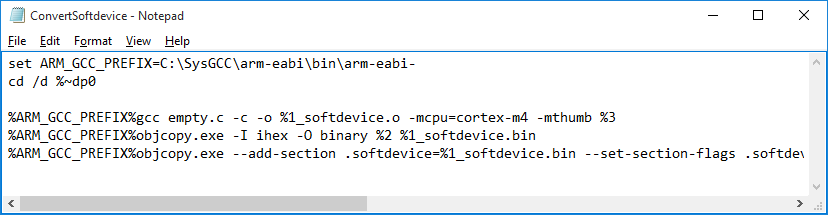
 - The mbed SDK contains the binaries for the softdevice, however they are stored in a format that requires some extra steps in order to be embedded into a project. VisualGDB’s package for nRF51 devices actually comes with a script that does the necessary conversion. To use it locate the %LOCALAPPDATA%\VisualGDB\EmbeddedBSPs\arm-eabi\com.sysprogs.arm.nordic.nrf5x\nRF51\SoftdeviceLibraries folder and copy the ConvertSoftdevice.bat and empty.c files to %LOCALAPPDATA%\VisualGDB\EmbeddedBSPs\arm-eabi\com.sysprogs.arm.mbed\libraries\mbed\targets\hal\TARGET_NORDIC\TARGET_MCU_NRF51822\Lib\s130_nrf51822_1_0_0.
 If you cannot find the %LOCALAPPDATA%\VisualGDB\EmbeddedBSPs\arm-eabi\com.sysprogs.arm.nordic.nrf5x folder, create a regular nRF51 project with VisualGDB and the necessary files will be automatically downloaded.
 - Edit the first line of the ConvertSoftdevice.bat file to reflect the location of your ARM toolchain:
- Run the bat file with the following arguments:
ConvertSoftdevice.bat <softdevice name> <softdevice .hex file>
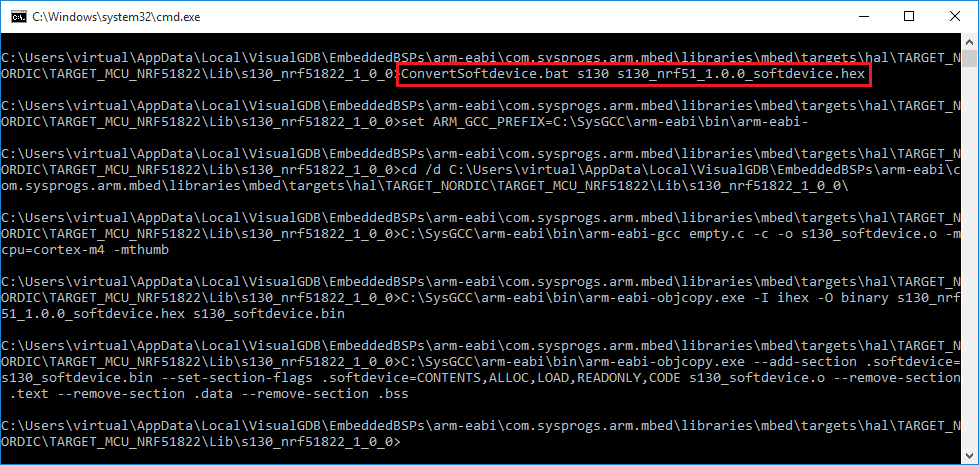 Ensure that the sXXX_softdevice.o file was created. The file contains the softdevice code wrapped as an object file, so you can simply link your project with it as long as the linker script specifies where to place it.
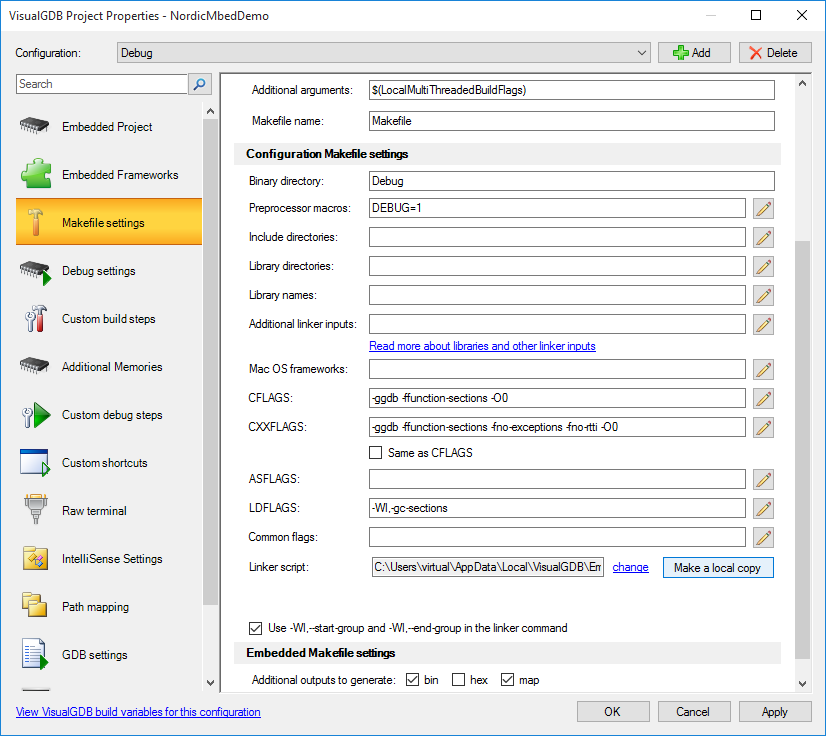
 - Open VisualGDB Project Properties and go to the Makefile settings page. Locate the “Linker script” field and press “Make a local copy”:
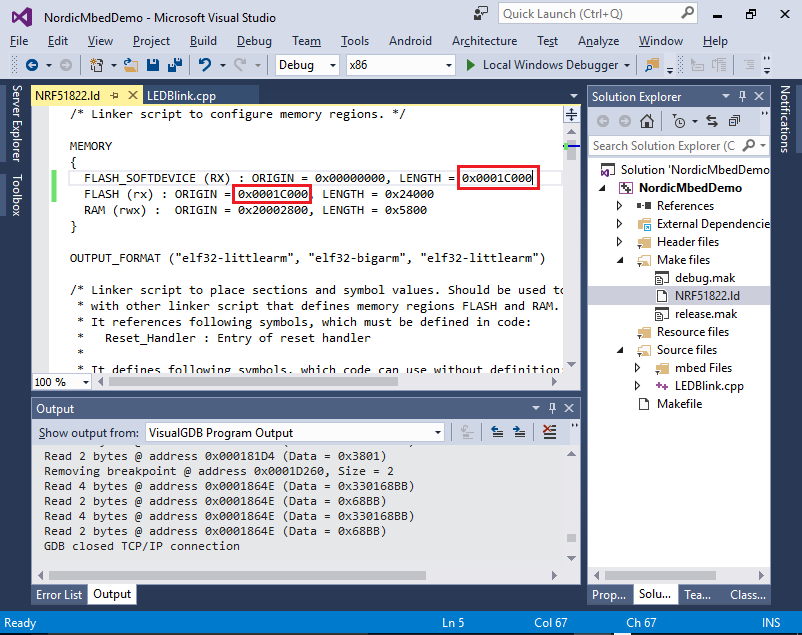
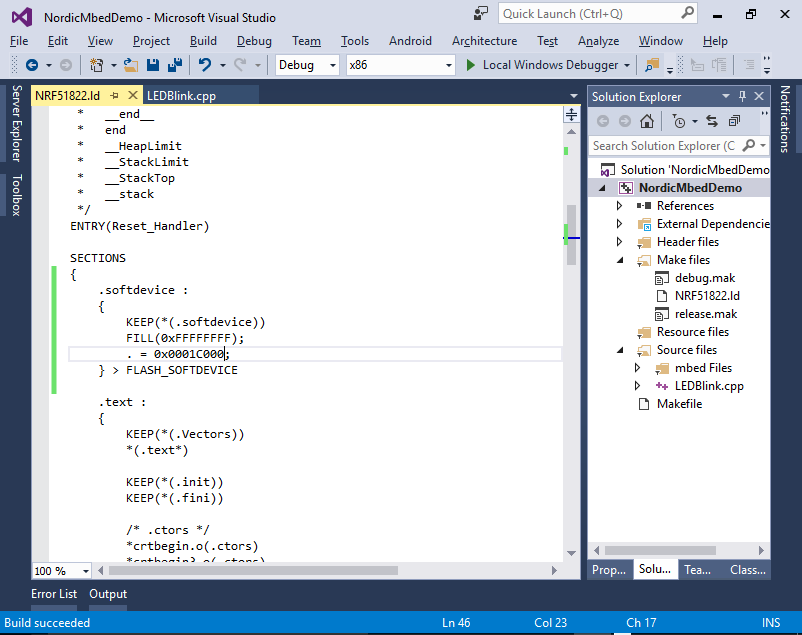
- The copied linker script will appear under “Make files” in Solution Explorer. Open it and add a FLASH_SOFTDEVICE section with ORIGIN = 0 and LENGTH equal to the ORIGIN of the FLASH section already present in the script:
- Go to the SECTIONS section and add the following section definition to the beginning of it:
    .softdevice :
    {
        KEEP(*(.softdevice))
        FILL(0xFFFFFFFF);
        . = 0x0001C000;
    } > FLASH_SOFTDEVICE
Replace 0x0001C000 with the actual start of the FLASH memory shown in the previous step.
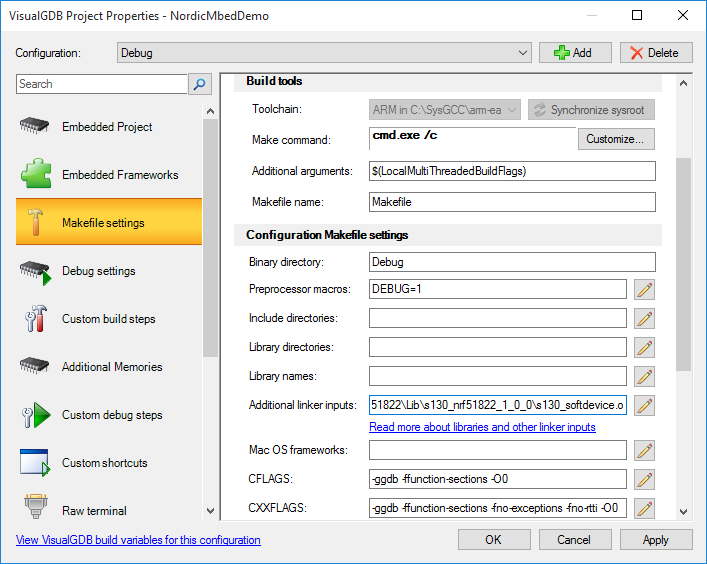
- Finally go to the Makefile Settings page of VisualGDB Project Properties and add the sXXX_softdevice.o file generated by running ConvertSoftdevice.bat to the additional linker inputs. This will ensure that the contents of the softdevice file will be actually placed in the FLASH_SOFTDEVICE memory you defined in the linker script:
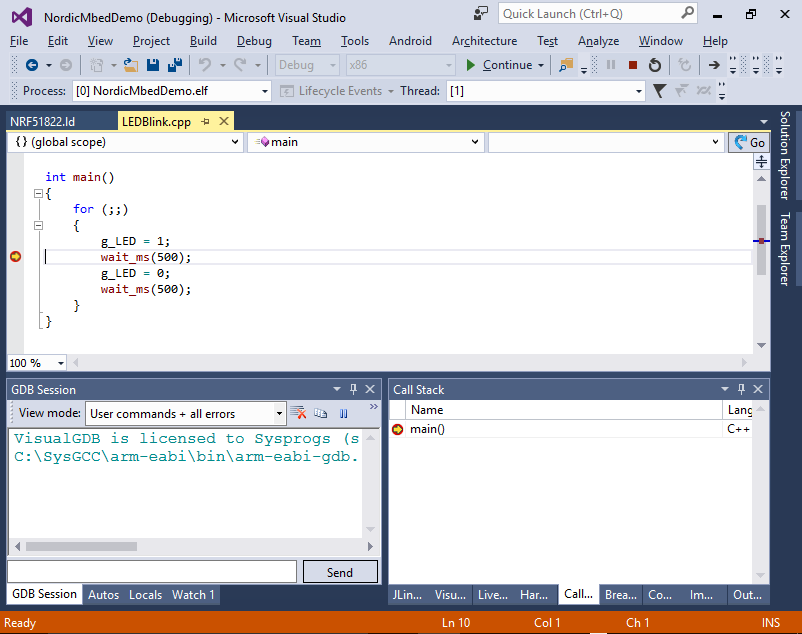
- Now you can build your project and hit F5 to begin debugging it. The LED should now blink properly and you should be able to step through the code:
- If you want to use the s110 softdevice instead of s130, simply repeat the conversion steps with it and edit the FLASH and RAM sizes and offsets in the linker script to reflect the size of the S110 device as shown in this post.


