Developing Linux C++ Python Modules with Visual Studio
This tutorial shows how to develop a basic C++ module used by a Python script using Visual Studio and debug both of them with VisualGDB. Before you begin, install VisualGDB 5.1 or later.
- Start Visual Studio and open VisualGDB Linux Project Wizard:
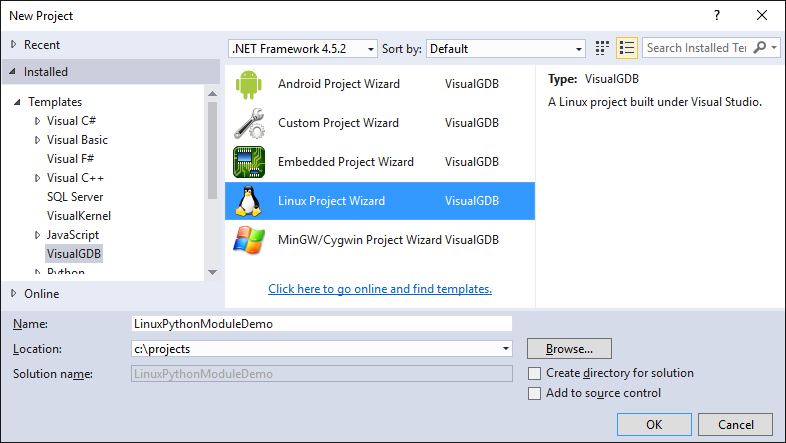
- Select “Python-based project” and choose the project template. In this example we will show how to debug a C++ module loaded into a Python script:

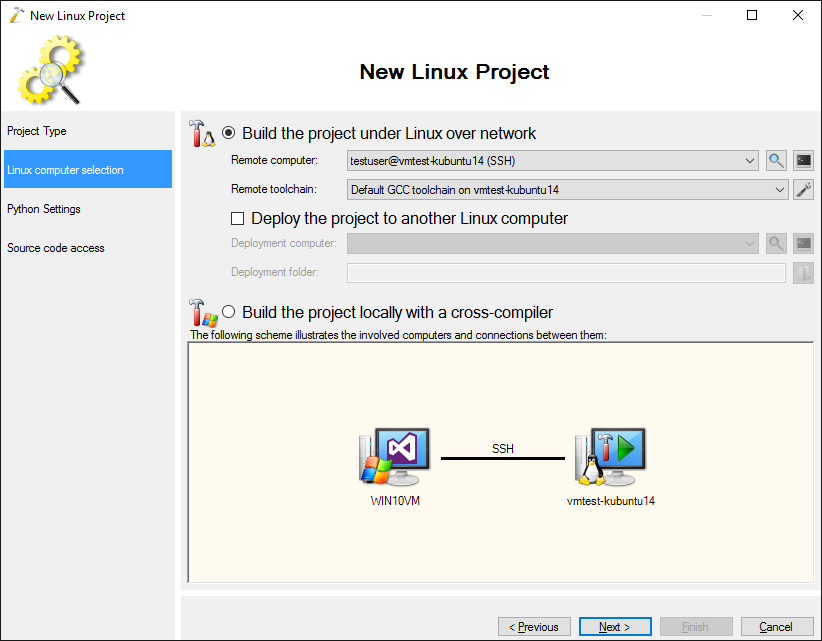
- On the next page select your Linux computer and click “Next” to continue. VisualGDB will automatically check the Linux system and install the missing Python symbols:
- The third page allows overriding the Python executable (e.g. switch from Python 2.x to Python 3.x by selecting python3) and the include directory used to build the modules. In this example we will simply continue with the default settings:

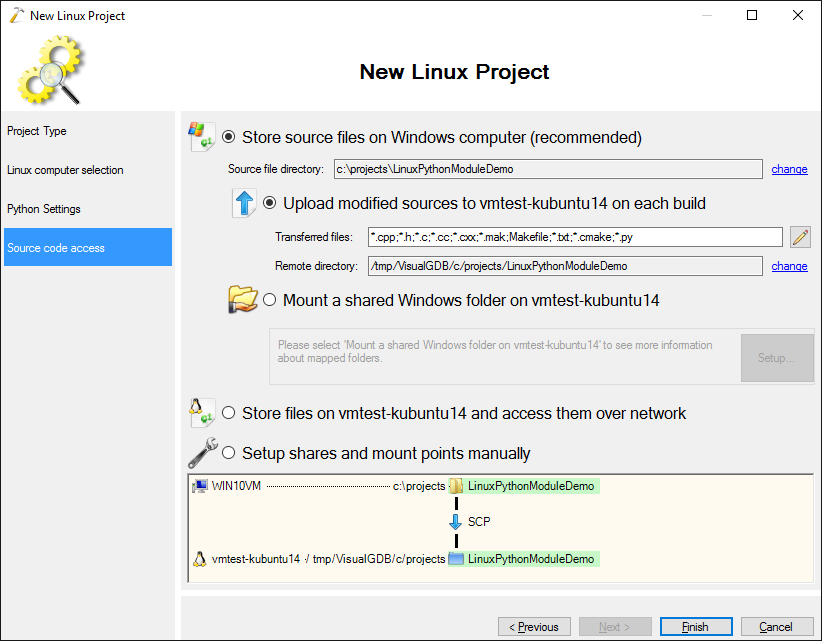
- On the last page you can change the location of the source files on the Linux side. Proceed with the default settings and press “Finish”:
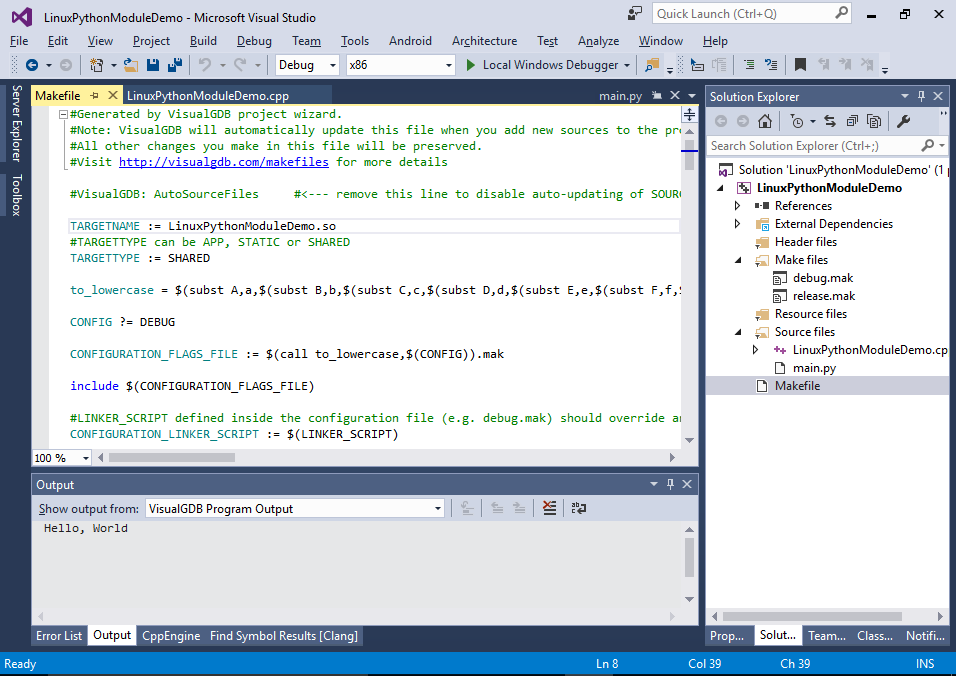
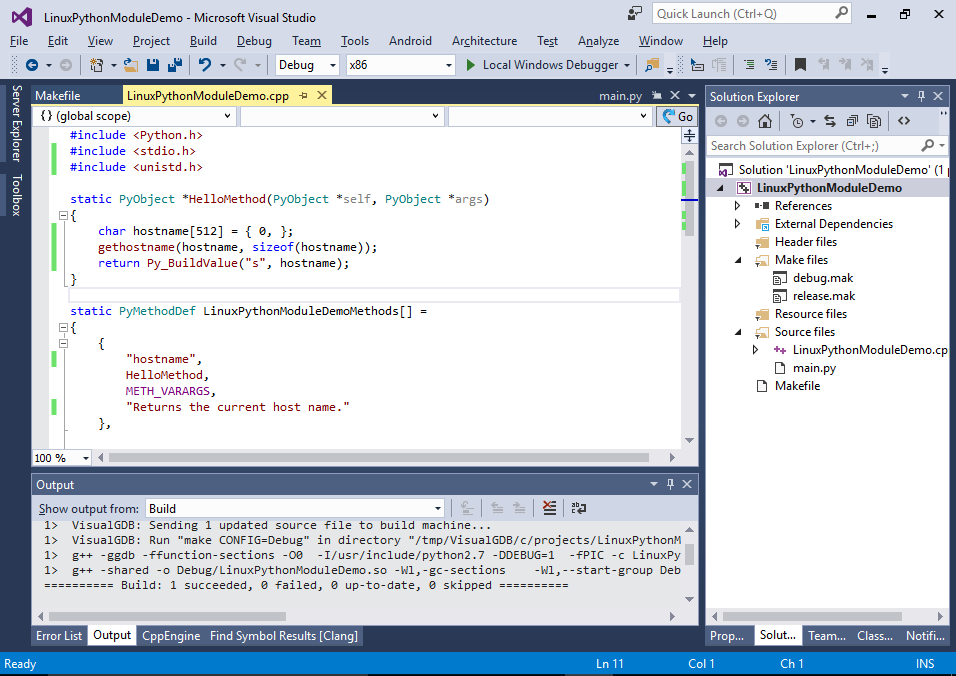
- VisualGDB will generate a project consisting of a Python script, a C++ file and a Makefile. Build the C++ module by pressing Ctrl-Shift-B:

- Now you can step into the Python code by simply pressing F10:
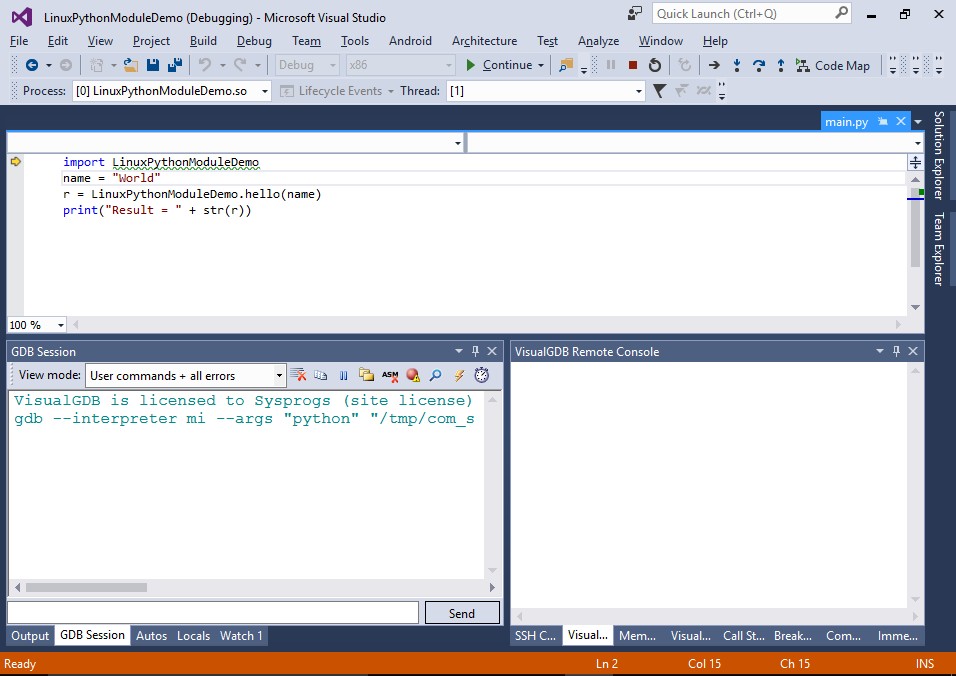
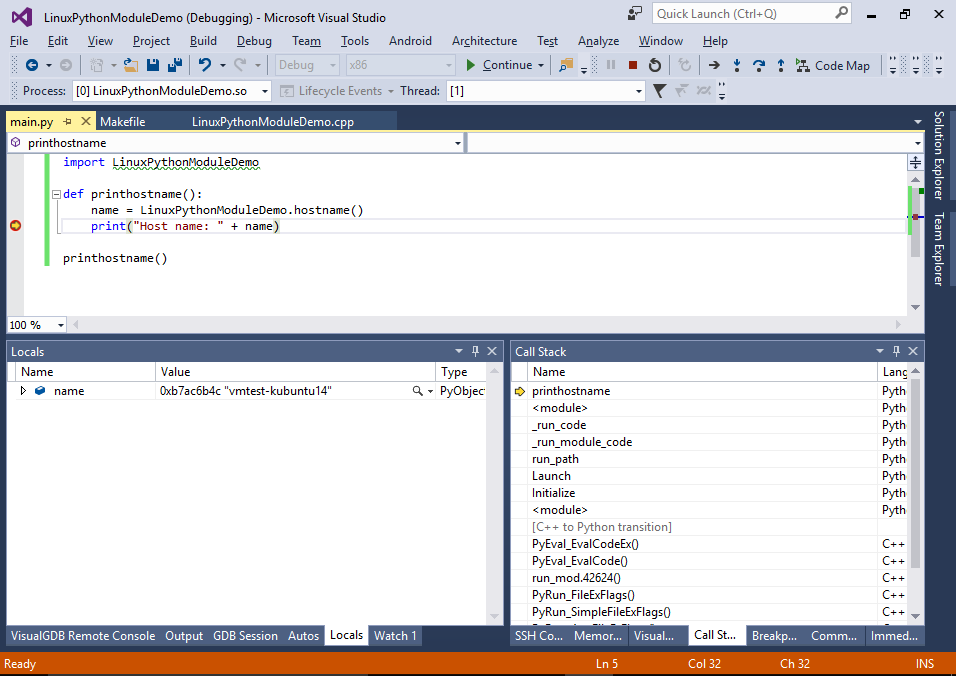
- Set a breakpoint inside the HelloMethod() function in the C++ file and press F5. Once the breakpoint triggers, you can see that the function was called from the Python code and the args variable contains an array of 1 string (“World”). VisualGDB will display the contents of the Python objects when debugging both C++ and Python code, so you don’t need to worry about their internal representation:
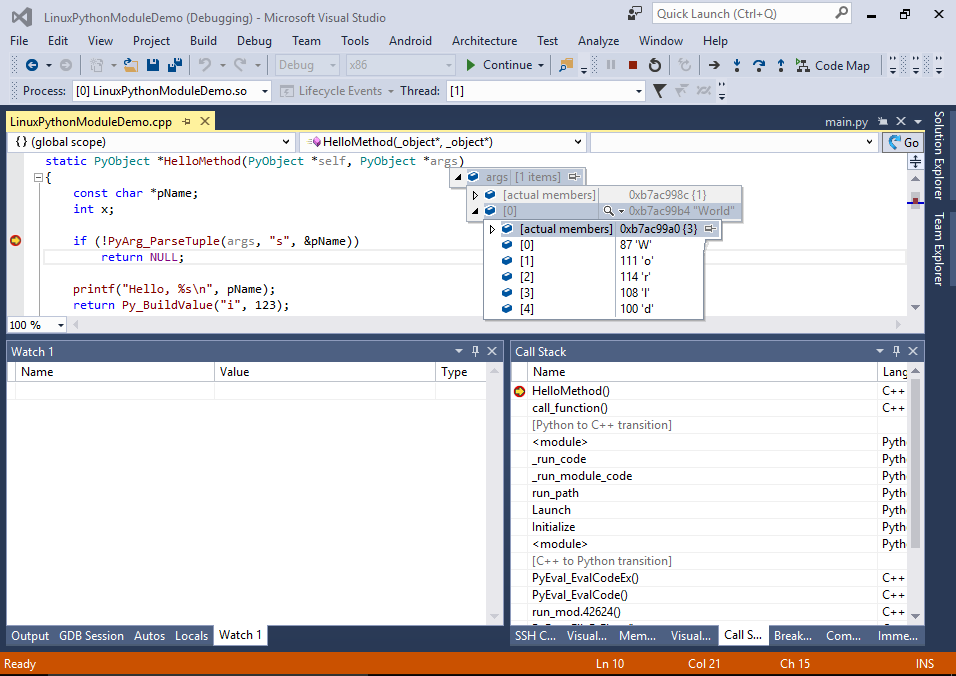
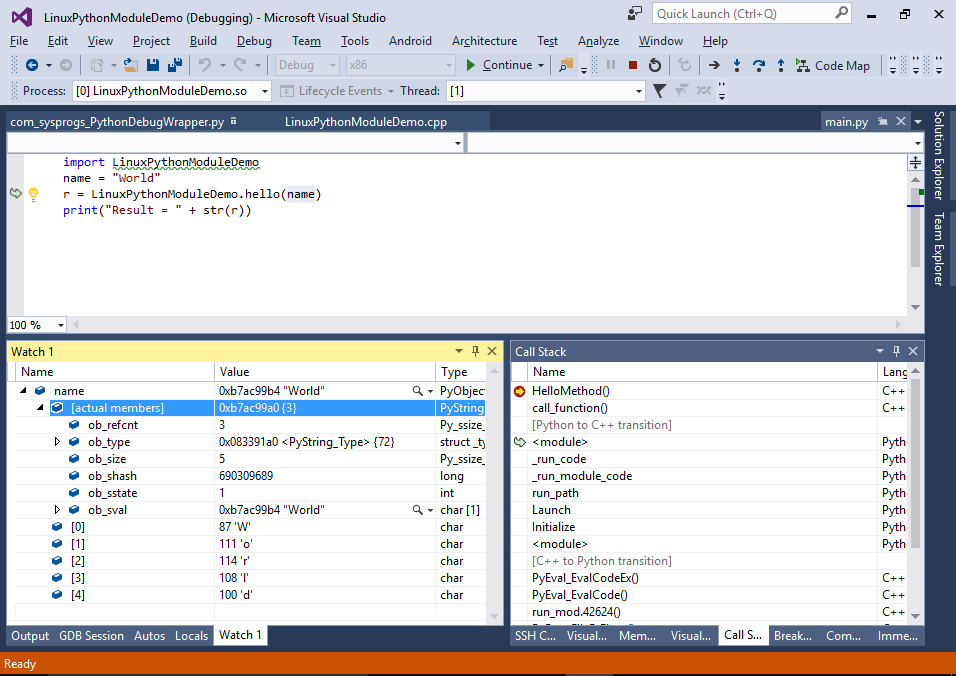
- Use the Call Stack to navigate to the python frame calling the HelloMethod(). You can view the contents of various variables there via the Watch window. Note how VisualGDB allows viewing both the meaningful representation of the variables and the internal view useful when debugging memory corruption problems:
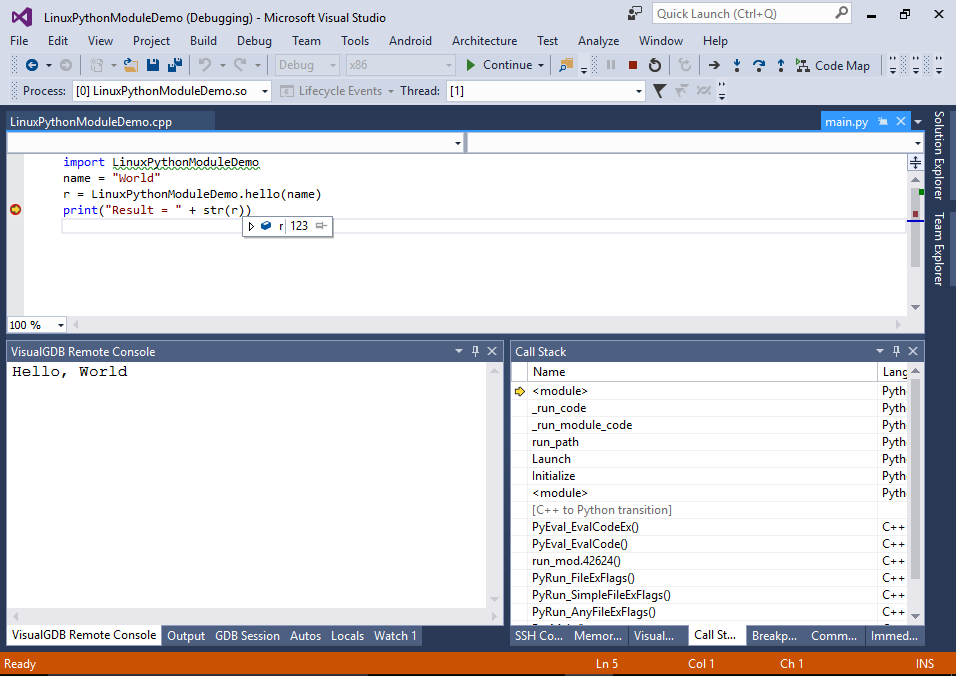
- Set a breakpoint on the print() line and press F5. The breakpoint will trigger and VisualGDB will show the value returned by the C++ function:
 Press Shift-F5 to stop debugging.
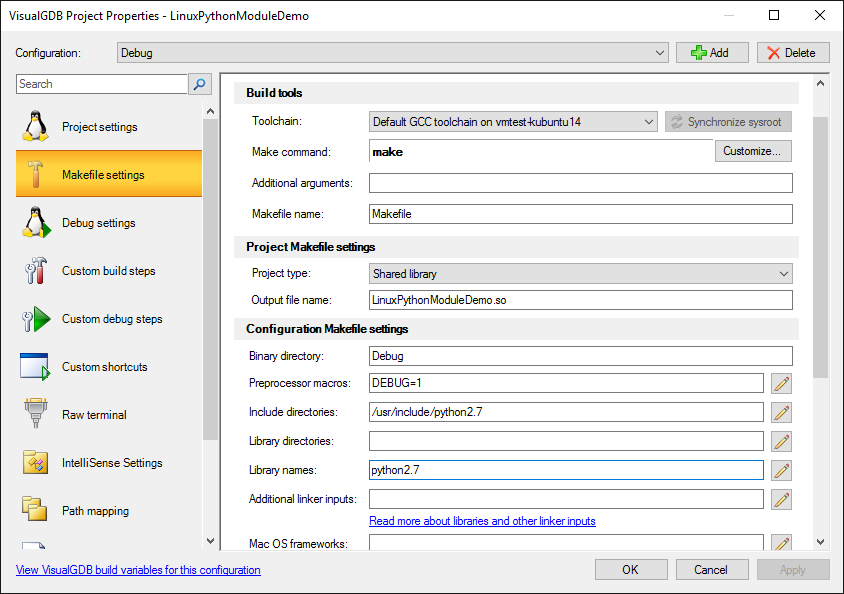
 - Now we will overview the structure of the files in the project. The Makefile is a standard VisualGDB Makefile for building a shared library and can be configured visually via VisualGDB Project Properties:
- Note that VisualGDB has automatically added the Python include directory and library name so that the C++ module can access the Python API:
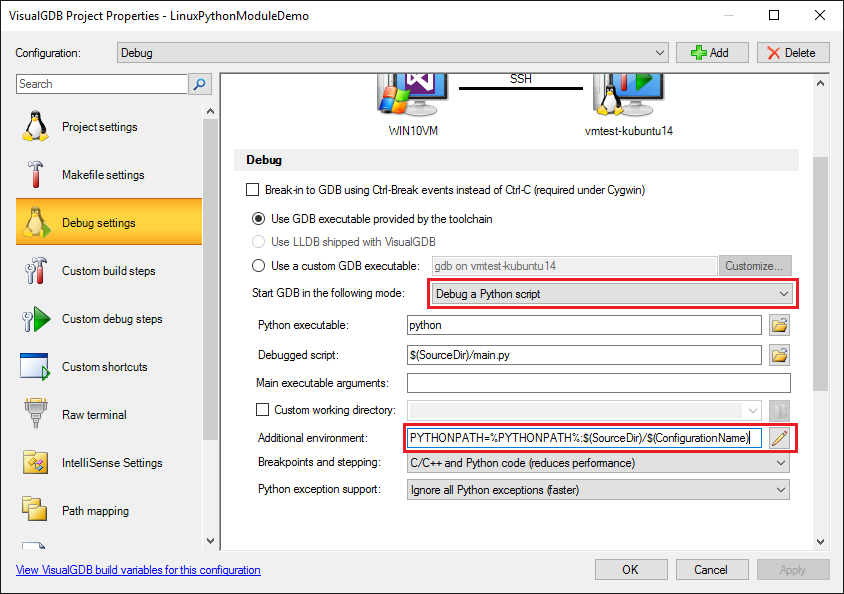
- The Debug setup is slightly different from the one for debugging normal C++ applications: it allows specifying a Python interpreter and a Python script that will be launched. It also adds your project’s output directory to PYTHONPATH so that Python can discover your module:
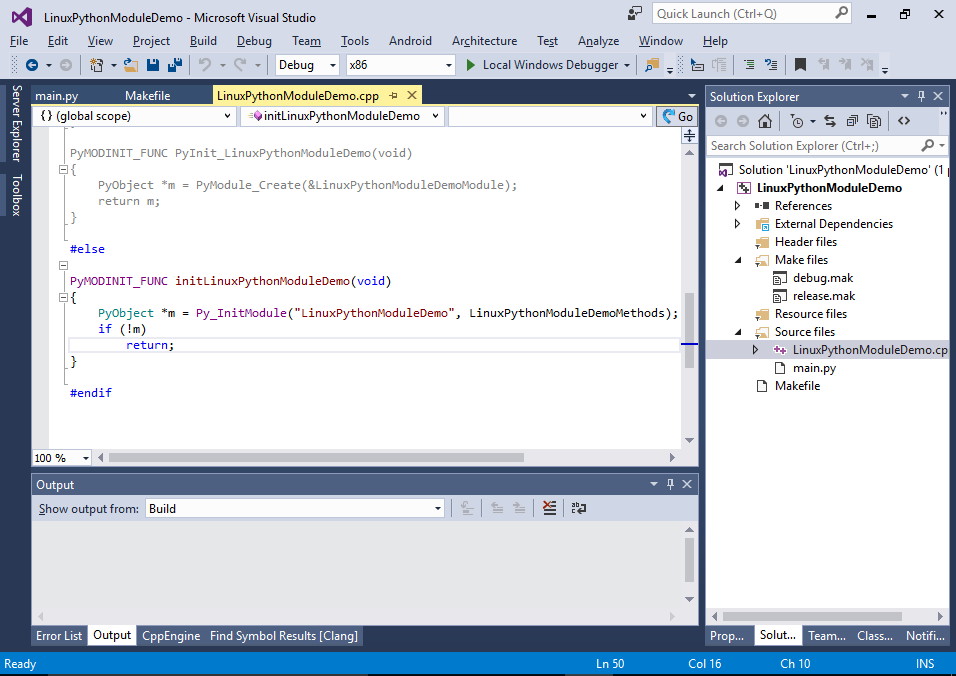
- The module in turn provides the initialization function (names vary between Python 2.x and 3.x) that reports the “hello” function to the interpreter:
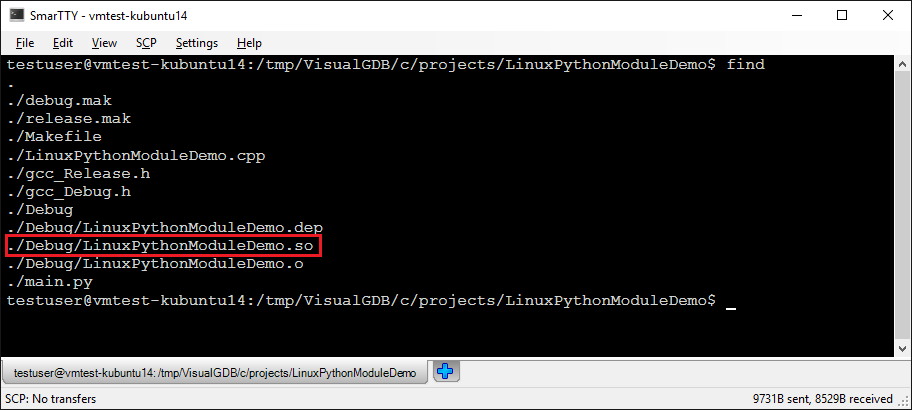
- When you launch the Python script, it will locate the library in the Debug directory:
 Then it will load the module, call the initialization function, see the “hello” method and call it.
 - Now we will change the HelloMethod() to call the gethostbyname() function and return the host name to the caller:
static PyObject *HelloMethod(PyObject *self, PyObject *args)
{
    char hostname[512] = { 0, };
    gethostname(hostname, sizeof(hostname));
    return Py_BuildValue("s", hostname);
}
- Change the Python module to call the new method:
import LinuxPythonModuleDemo

def printhostname():
    name = LinuxPythonModuleDemo.hostname()
    print("Host name: " + name)

printhostname()
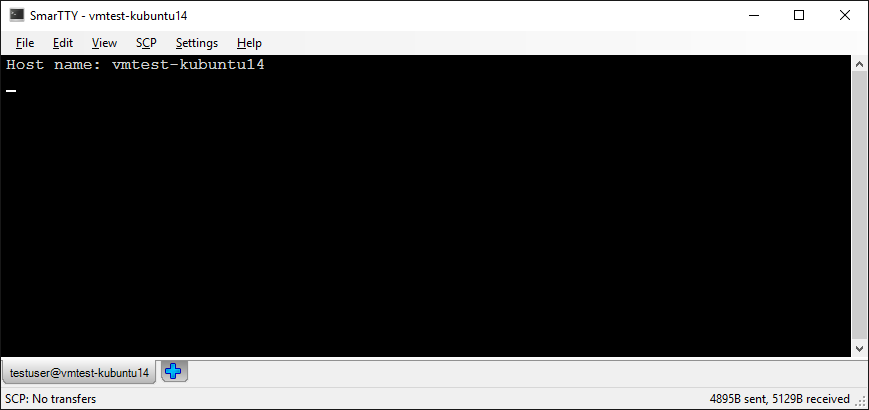
Then press F5 to build your project and start debugging it. See how the host name returned by the C++ method is how shown in the Python code:
- You can also launch your program without debugging by pressing Ctrl-F5. VisualGDB will deploy it, run it and display the output: