Building OpenOCD for Windows and Exploring its Internal Logic
This tutorial shows how to diagnose problems internal to OpenOCD using VisualGDB and the Sysprogs OpenOCD fork that includes convenient CMake build rules. Before you begin, install VisualGDB 5.4 or later.
We will show how to build OpenOCD from our Github repo, configure it to run with meaningful arguments and analyze its internal logic responsible for erasing FLASH memory.
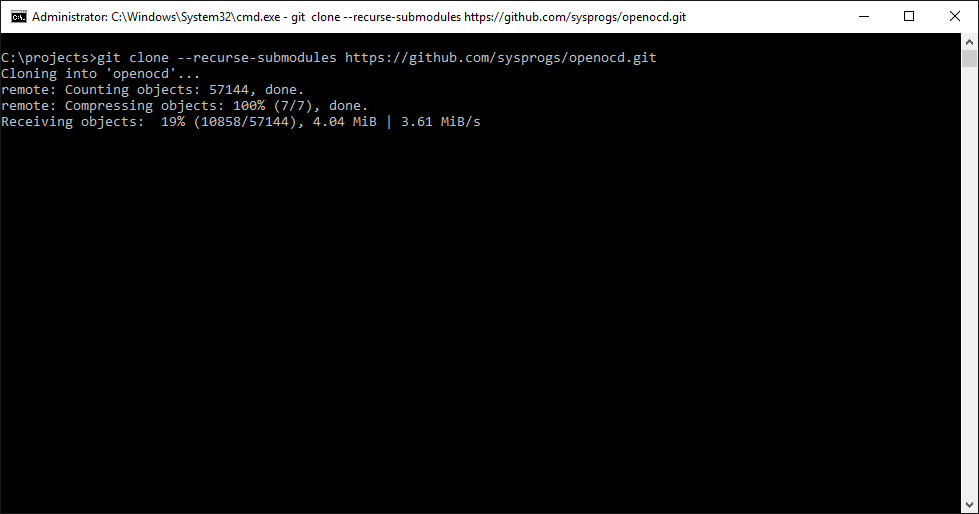
- Clone our OpenOCD repo (including submodules) into a folder on your computer:
git clone --recurse-submodules https://github.com/sysprogs/openocd.git
- Ensure you have VisualGDB 5.4 or later installed. Then locate and open the OpenOCD.sln file inside the repository. VisualGDB will ask for the location of the MinGW toolchain:
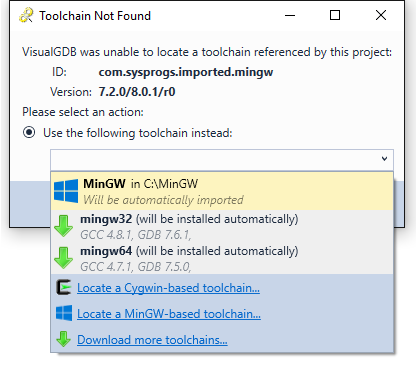
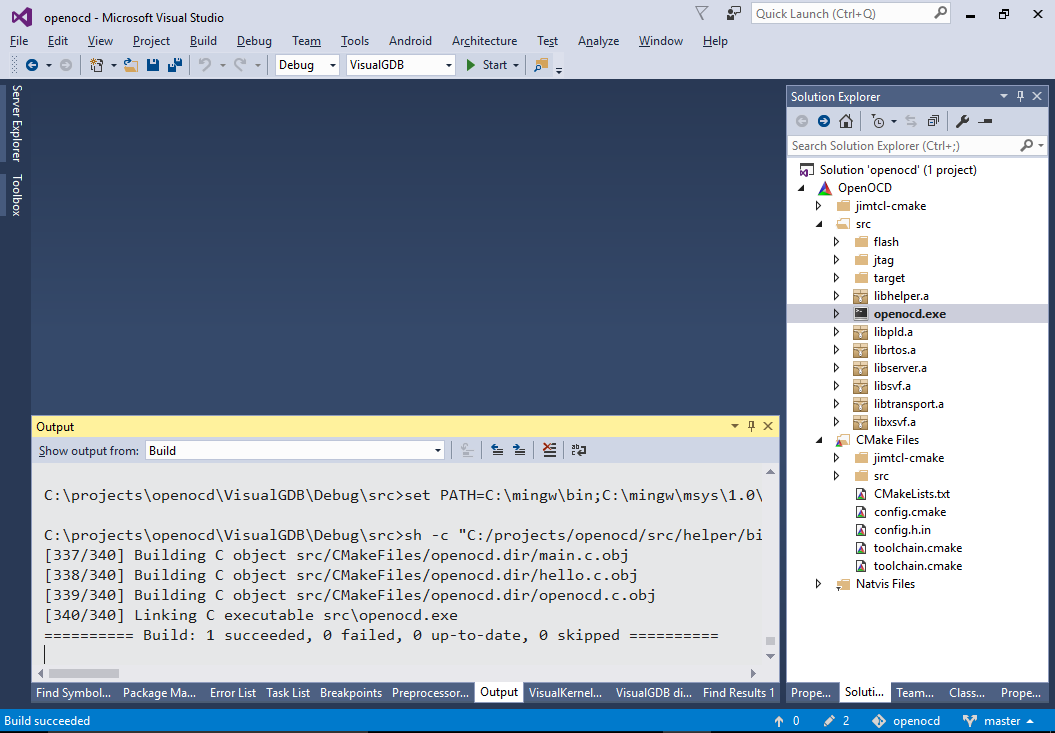
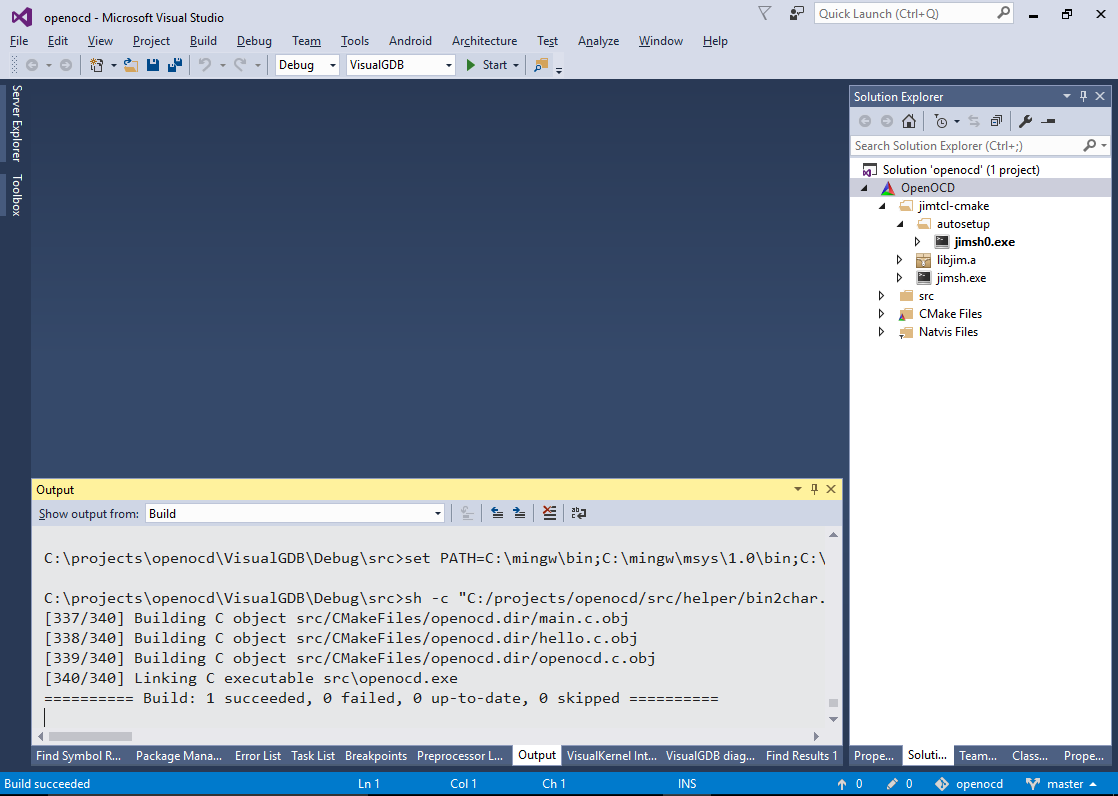
- Proceed with the automatic toolchain installation. Then build OpenOCD by pressing Ctrl-Shift-B:
 Warning: As of October 2019, our OpenOCD fork contains all the necessary dependencies and no longer requires a special toolchain, so the regular MinGW32 toolchain will suffice.
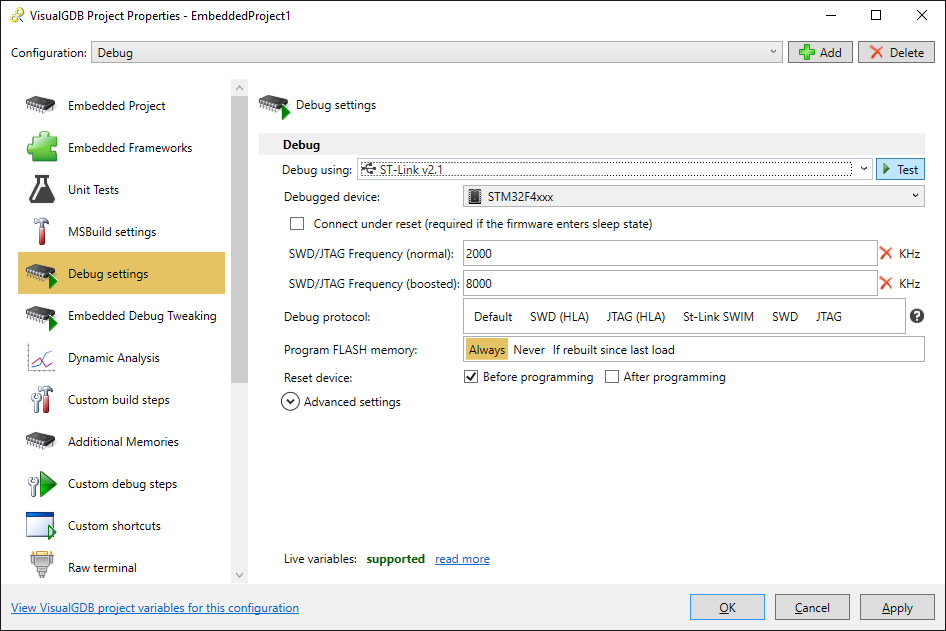
 - Open an embedded project that reproduces the issue you would like to diagnose, go to VisualGDB Project Properties -> Debug Settings and click “Test”:
- The “Testing settings” will show the command line used to launch OpenOCD. Copy it to clipboard:
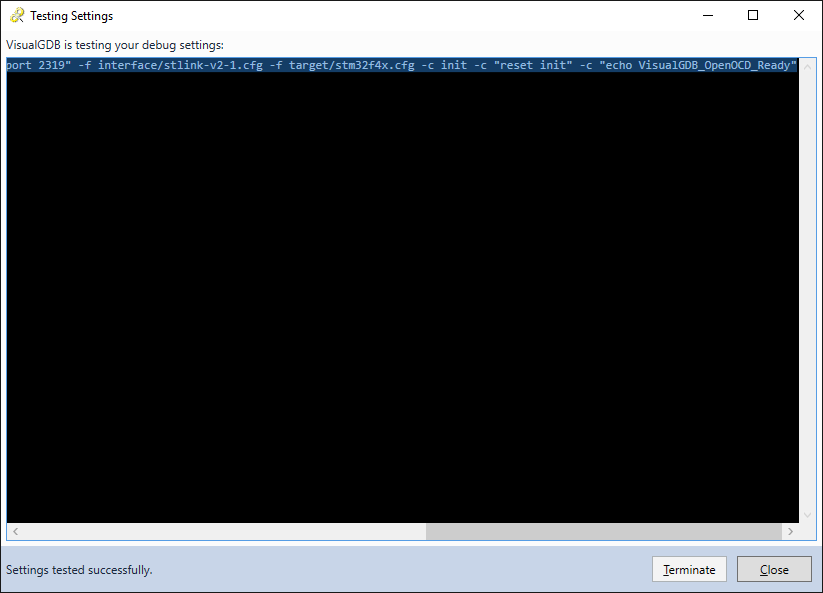 A typical command line for STM32F4 devices is shown below:
-c "gdb_port 2594" -c "telnet_port 2595" -f interface/stlink-v2-1.cfg -f target/stm32f4x.cfg -c init -c "reset init" -c "echo VisualGDB_OpenOCD_Ready"
- Switch back to OpenOCD.sln and open VS Properties for the openocd.exe target. Remove the “gdb_port ” and “telnet_port” commands (and the corresponding -“c” flags) from the command line and copy it to the “Command line arguments” field:

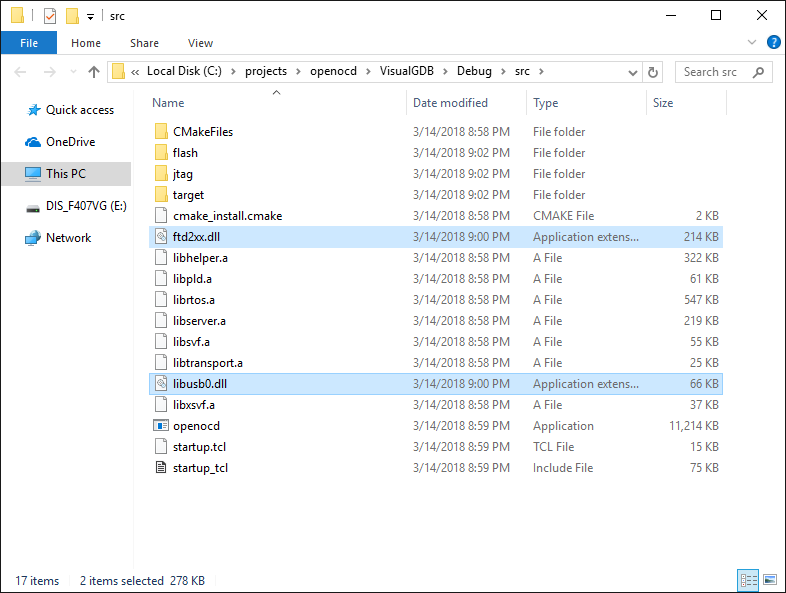
- Locate the original OpenOCD installation under %LOCALAPPDATA%\VisualGDB\EmbeddedDebugPackages\com.sysprogs.arm.openocd\bin and copy all .dll files from its directory to the VisualGDB\Debug\src subdirectory of the OpenOCD project:
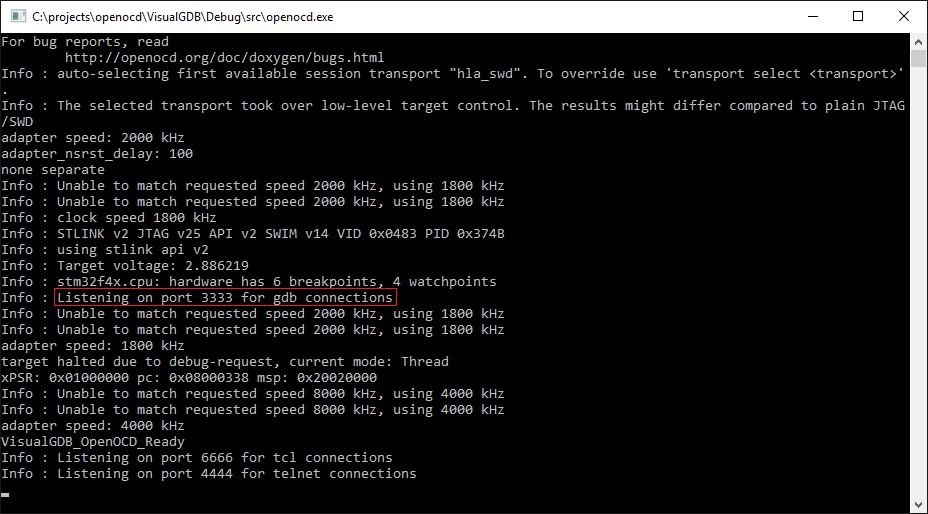
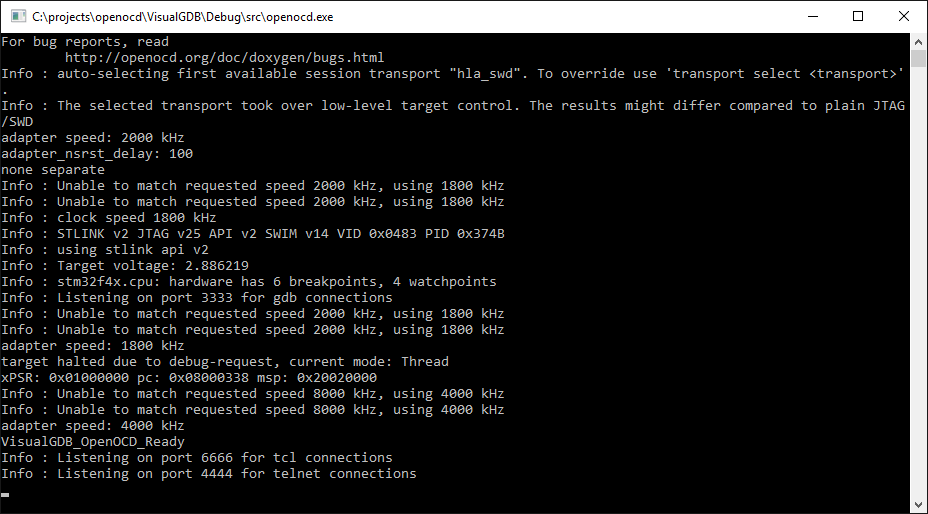
- Press F5 to start debugging. Confirm that OpenOCD starts listening on port 3333 for gdb connections:
- Now we will show how to step through the logic responsible for FLASH erasing. Ensure your embedded project is built and open its binary in gdb using the following command line:
<sysgcc>\arm-eabi\bin\arm-eabi-gdb.exe <ELF file from your embedded project>
The ELF file is typically located in the VisualGDB\Debug directory and has no extension. Then enter “target remote :3333” in the gdb command prompt in order to connect to OpenOCD:

- Locate the FLASH driver for your device family (e.g. stm32f2x.c for STM32F4) and set a breakpoint in the erase function. Then switch to gdb and run the “load” command in order to program the memory manually. The breakpoint inside OpenOCD will hit:
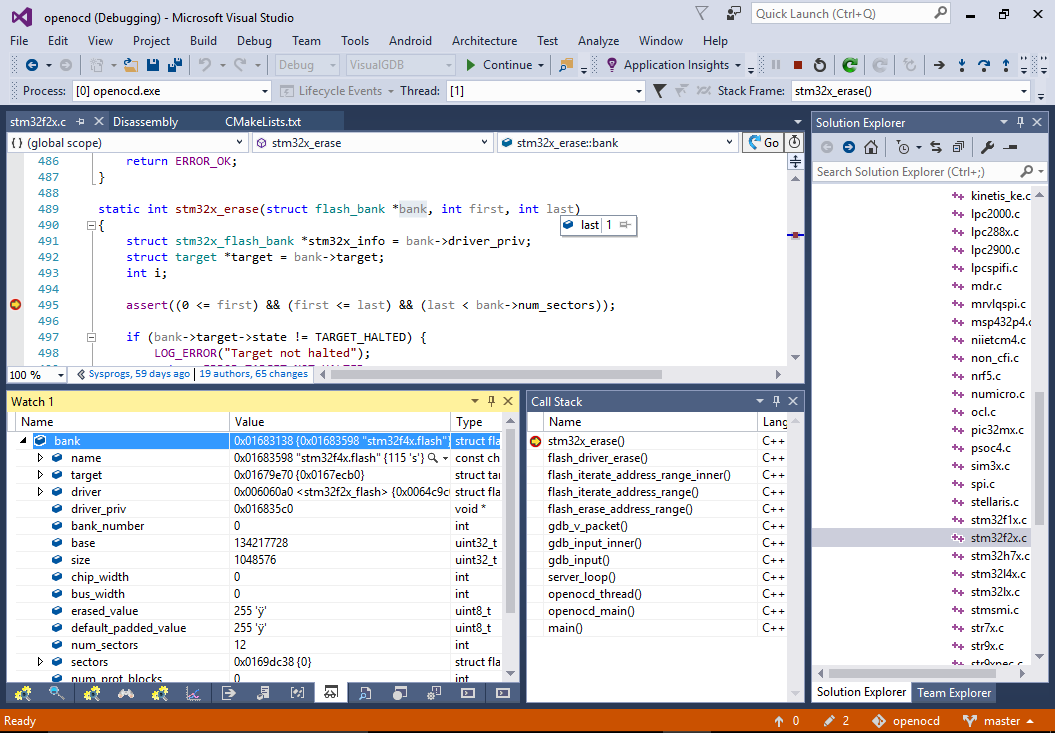 You can now step through the code to double-check the OpenOCD logic responsible for various parts of the erase process and fine-tune parts of it.
 - If you want to use a modified version of OpenOCD instead of the one shipped with VisualGDB, simply replace the %LOCALAPPDATA%\VisualGDB\EmbeddedDebugPackages\com.sysprogs.arm.openocd\bin\openocd.exe executable with the one you built and VisualGDB will use it instead.