Switching Advanced ESP-IDF Projects Between Different IDF Versions
This tutorial shows how to install several independent ESP-IDF checkouts into your ESP32 toolchain and switch the advanced ESP-IDF projects between those IDF versions. We will create a basic project based on the ESP-IDF 3.0 release and show how to switch it to the experimental master branch of ESP-IDF from github.
Before you begin, install VisualGDB 5.4 or later.
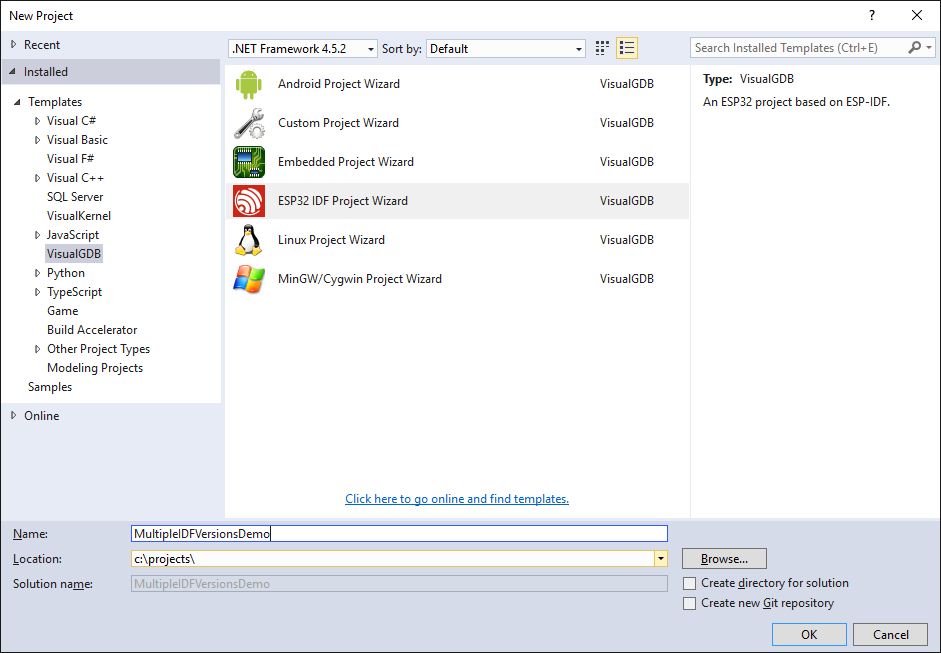
- Start Visual Studio and open the Advanced ESP-IDF Project Wizard:
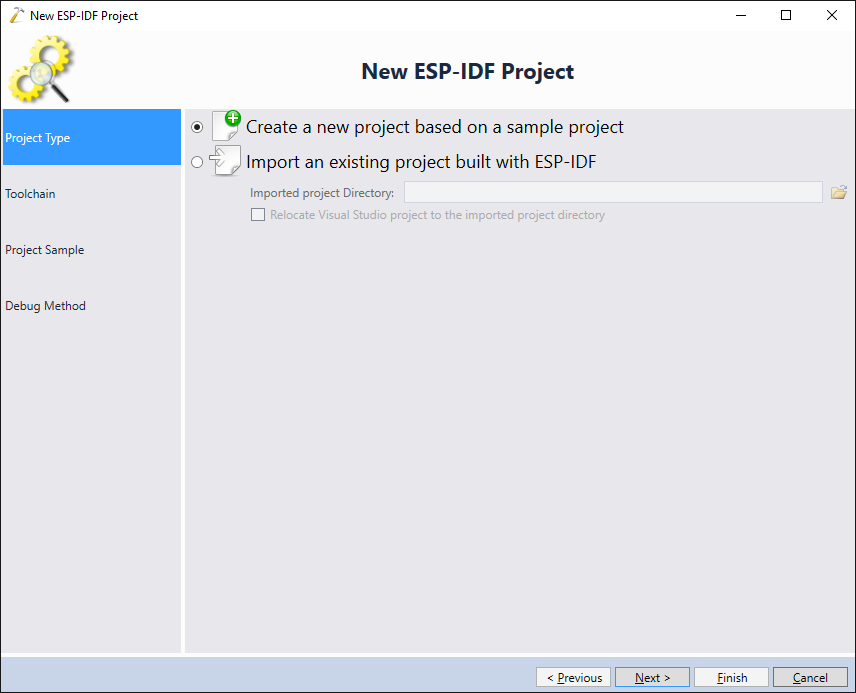
- On the first page of the wizard select “Create a new project” and click “Next”:
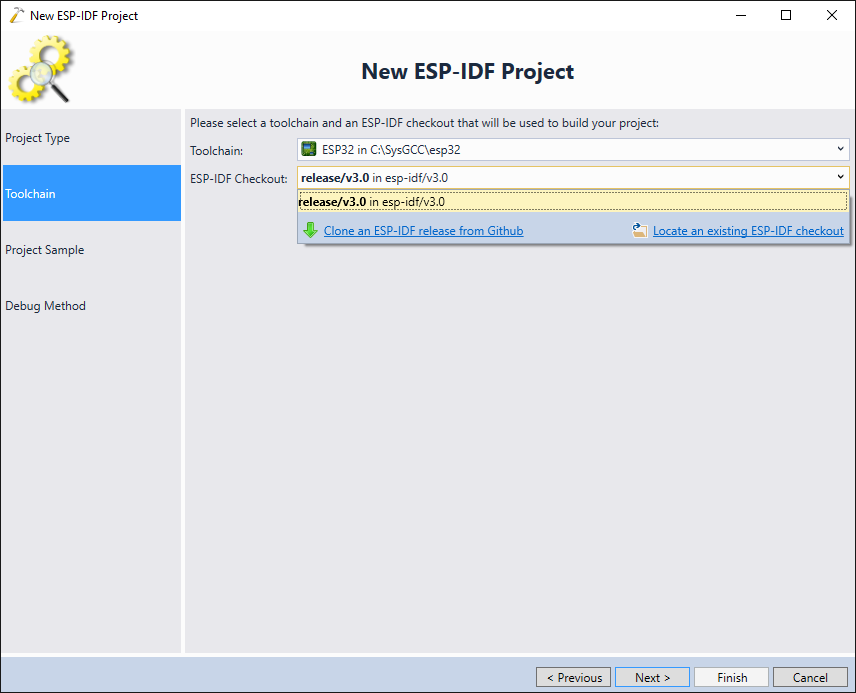
- On the next page select your ESP32 toolchain. VisualGDB will display the list of ESP-IDF checkouts installed into that toolchain. Select the default checkout and click “Next”:
- As different ESP-IDF versions may not be 100% compatible with each other, we will use the most basic “blink” project to demonstrate switching between IDF versions. Select it on the “Project Sample” page and click “Next”:

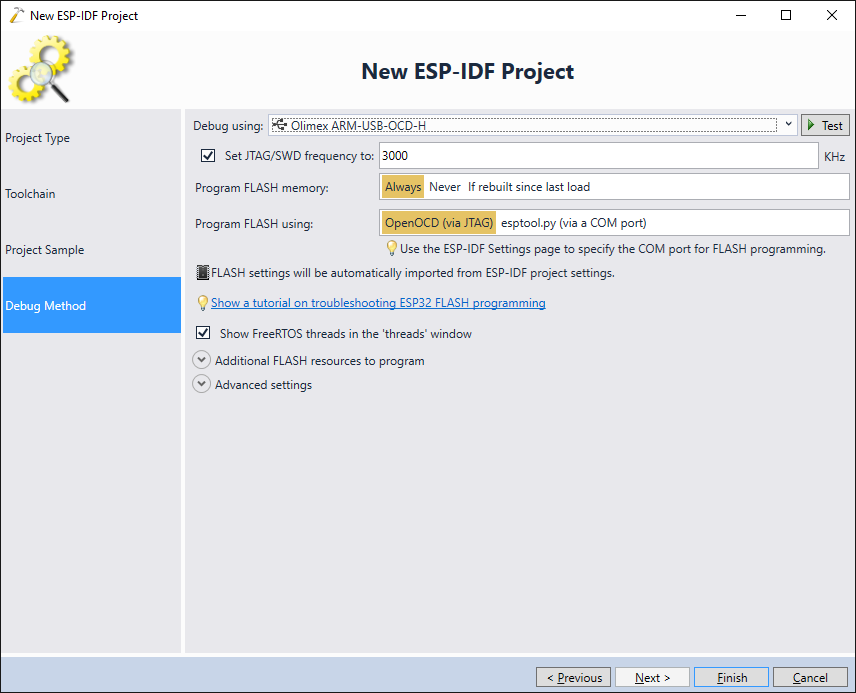
- Finally select the debugging settings that match your project and click “Finish” to create it.
- VisualGDB will create a basic project. Note that the project itself doesn’t include a copy of ESP-IDF and only includes the following files:
File Description Makefile Project-level Make file defining project name and other options. <project>.vgdbproj VisualGDB project file containing debugging settings, basic build settings and the list of configurations. sdkconfig-<configuration> Per-configuration sdkconfig files. They will be created first time you open the corresponding configuration of the project. main\component.mk Configuration file for the main project component. 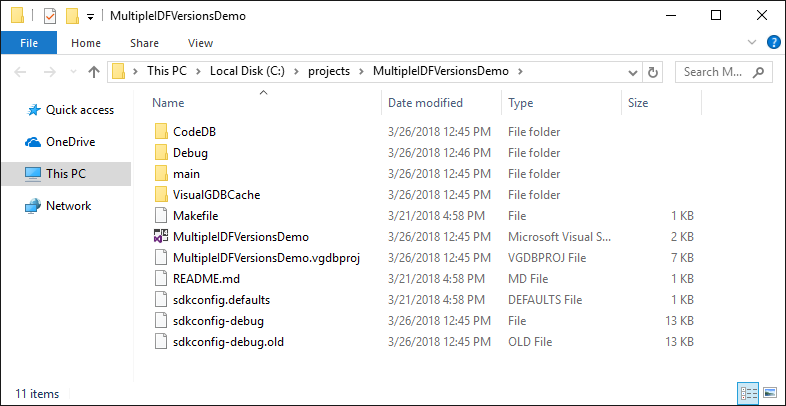
- Note that the ESP-IDF path is not stored in any of the project-specific Makefiles. Instead VisualGDB will locate and substitute it dynamically when you open or build the project:

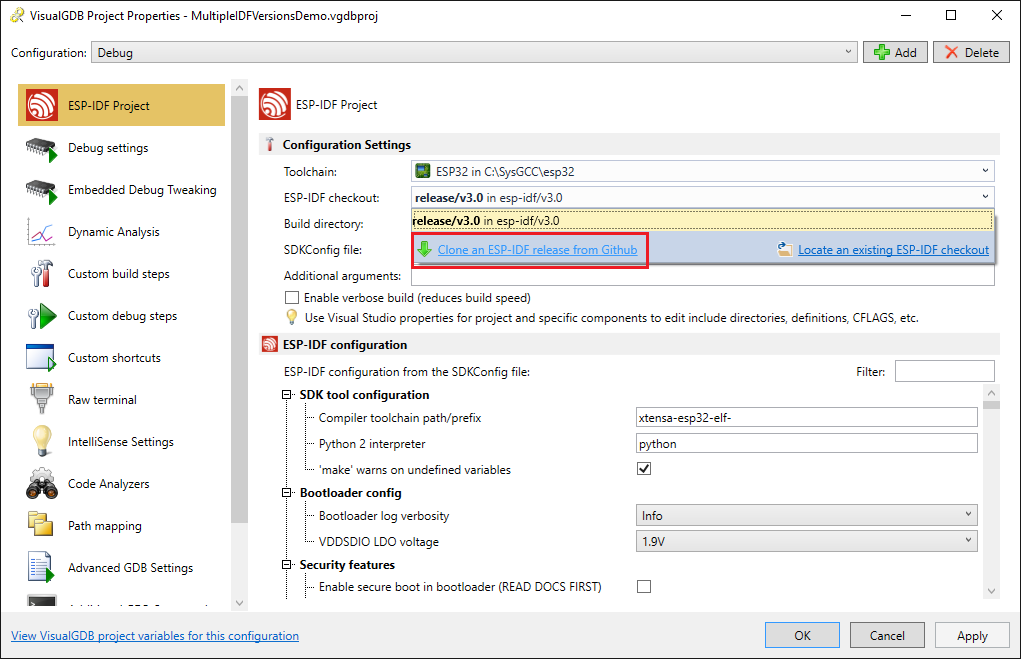
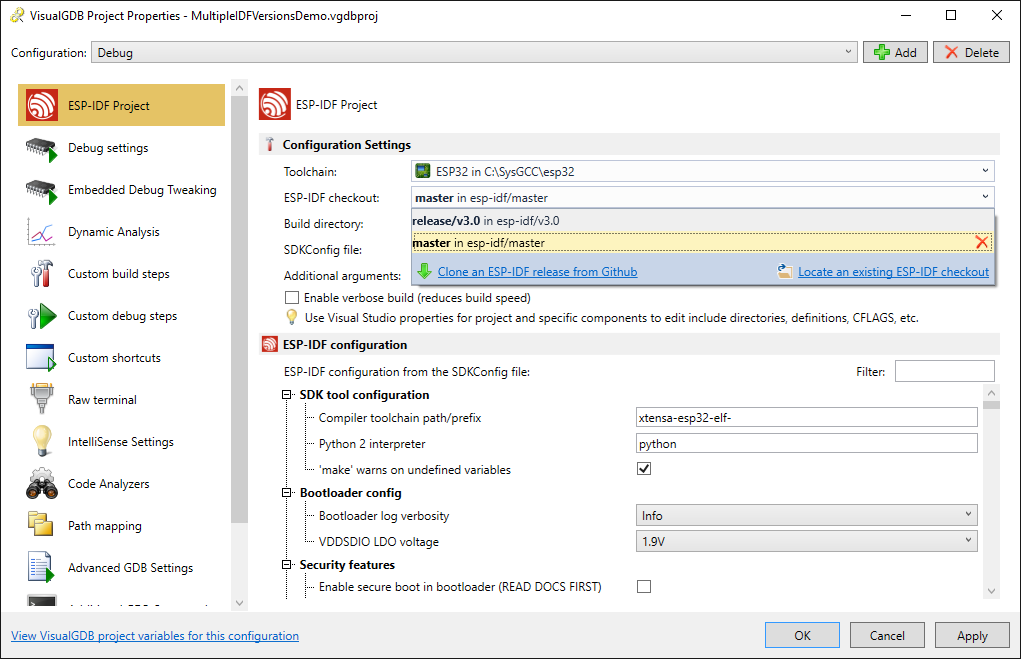
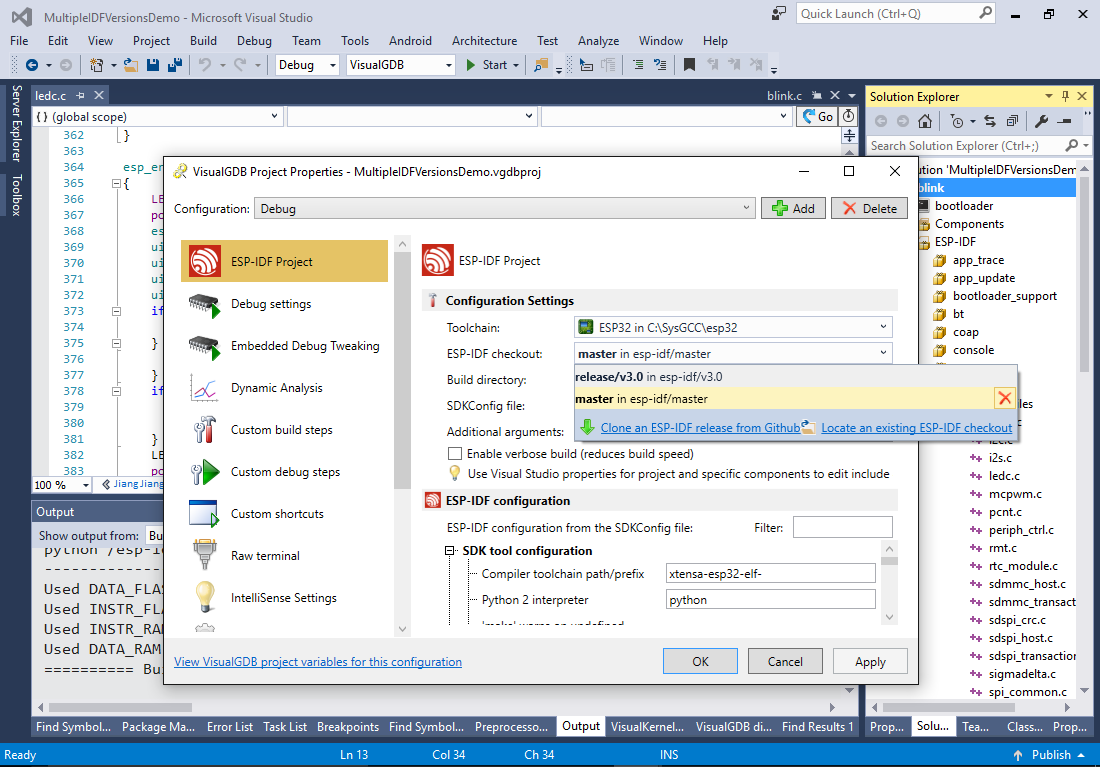
- Now we will show how to change the ESP-IDF version. Open VisualGDB Project Properties on the first page, select “Build Directory” -> “Clone an ESP-IDF release”:
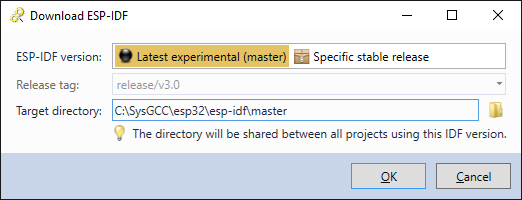
- Pick the version you want to clone (VisualGDB will automatically load the list of release tags from the github repository) and click OK:
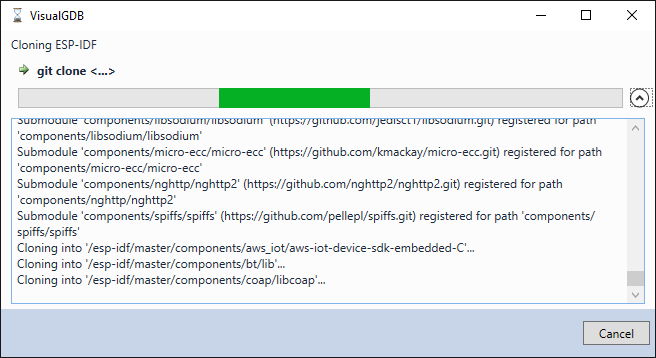
- VisualGDB will automatically launch git and create a recursive checkout of ESP-IDF and all related libraries:
- Once the checkout is complete, you will be able to select it in VisualGDB Project Properties or in the ESP-IDF project wizard:
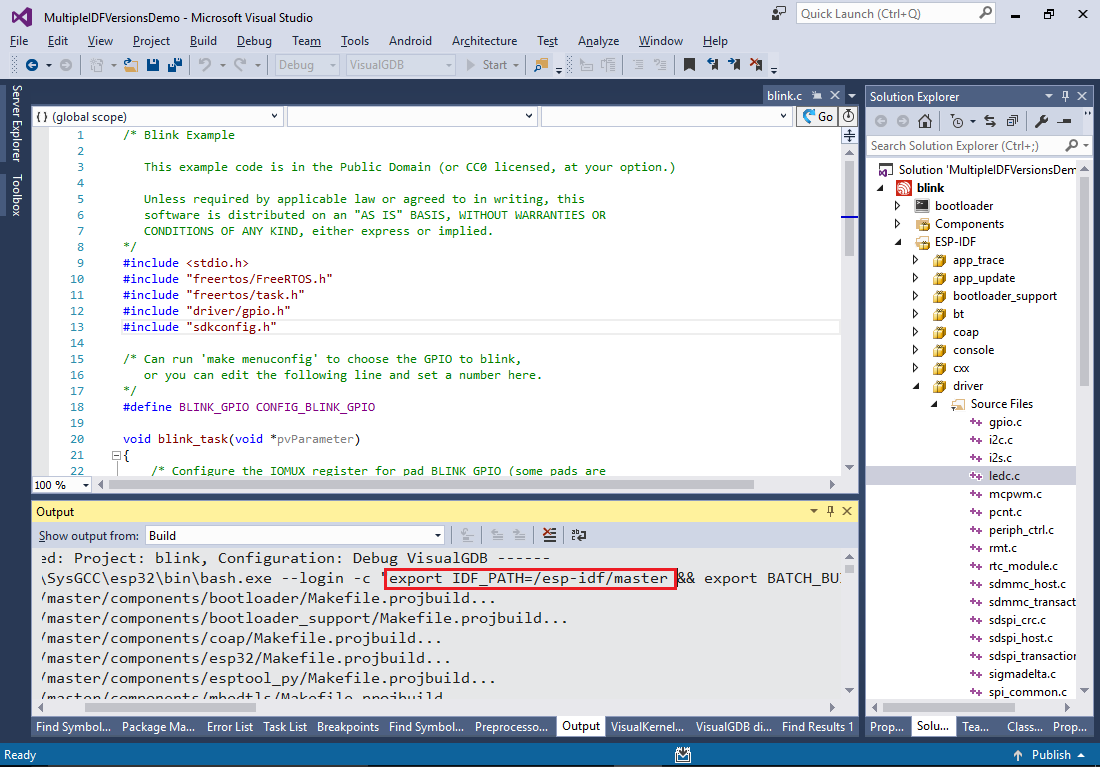
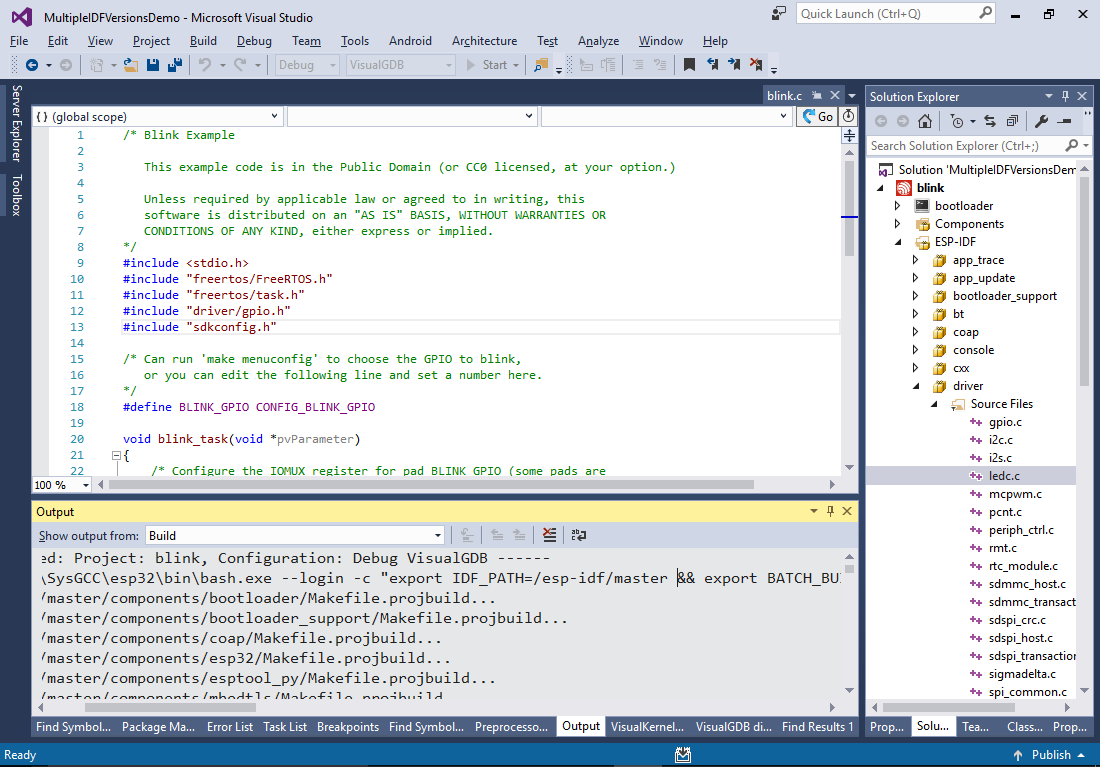
- Build the project again. Note how VisualGDB now sets IDF_PATH to match the new checkout location:
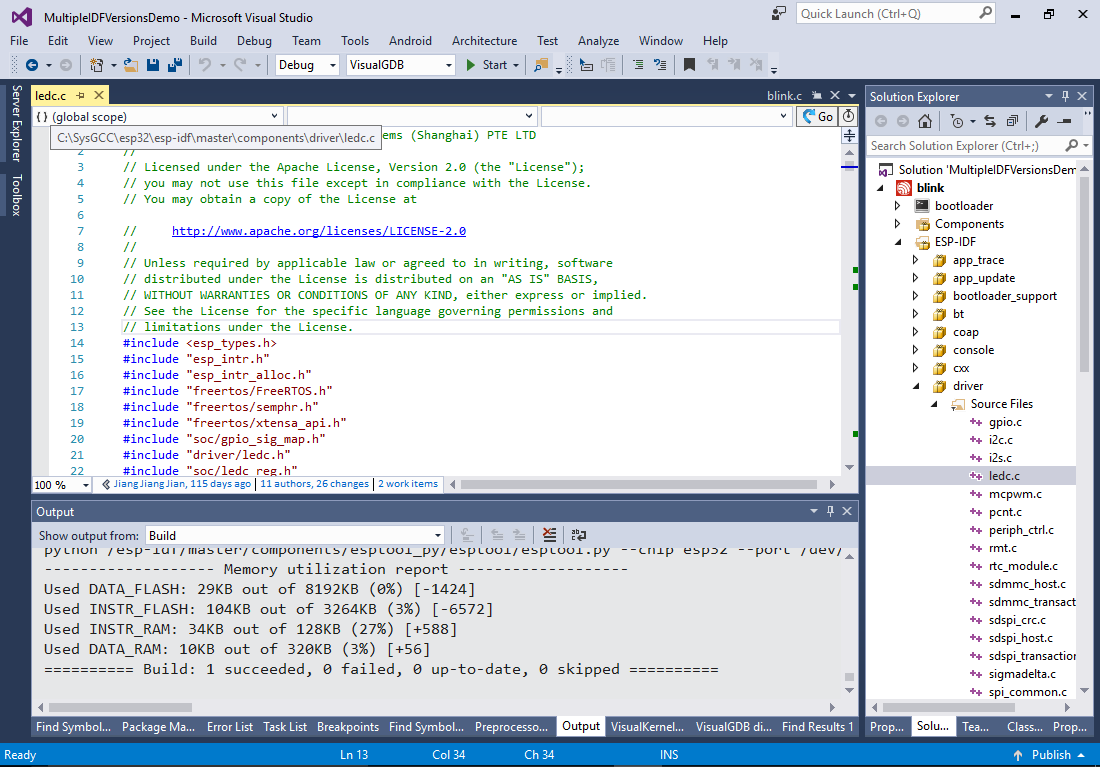
- Once VisualGDB updates the code model, Solution Explorer will switch to showing files from the new ESP-IDF checkout as well:
 You can always switch the checkout back and forth via VisualGDB Project Properties. As long as it is present in your toolchain directory, you don’t need to re-clone it each time.
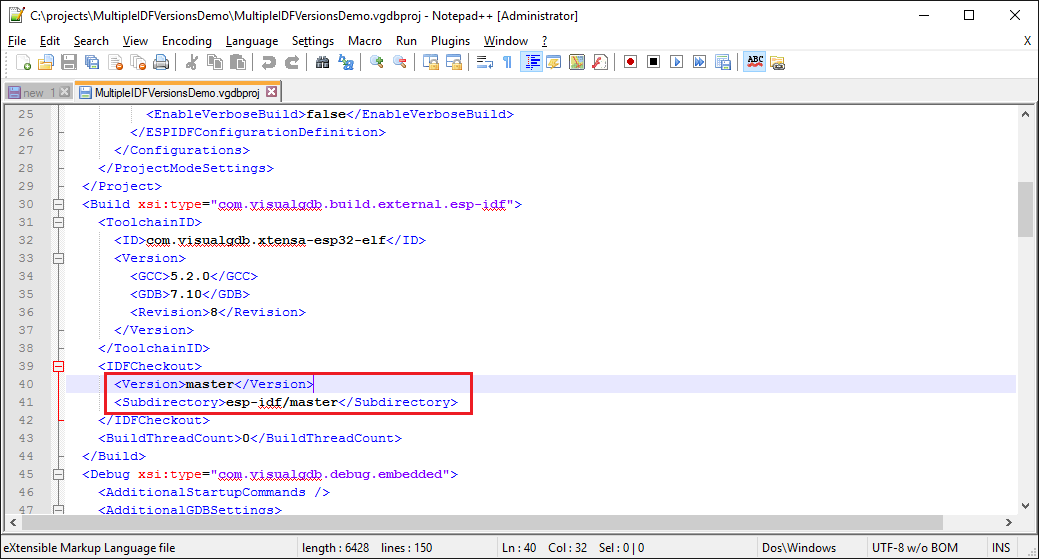
 - VisualGDB doesn’t hardcode the absolute path of the checkout in the project properties file. Instead it stores the git branch name and the subdirectory in the toolchain folder (in case multiple copies of the same branch are checked out to different locations):
 If you open the same project on another machine, VisualGDB will first try locating a checkout by both version and subdirectory, and if none is found, will fall back to using version only.
 - The list of ESP-IDF checkouts is stored in the <toolchain directory>\IDFCheckouts.xml file. If you decide to work on a private fork of ESP-IDF, ensure you distribute the same checkout (and the corresponding IDFCheckouts.xml file) to all your development machines:

- You can delete the checkouts you don’t need anymore directly from the checkout selector in VisualGDB Project Properties and the ESP-IDF project wizard: