Making a basic Cocos2D-x game for Android
This tutorial has been deprecated and the latest VisualGDB no longer supports Cocos2D-x. If you are looking for a simple way to develop Android games, consider trying the Godot engine.
This tutorial shows how to make a basic 2D game for Android using the Cocos2D-x framework. We will create a project based on the SimpleGame sample, build it on Windows and Android, and then do a simple modification to the game mechanics and use Visual Studio to debug it.
Before you begin, please install VisualGDB 4.2 or later (ensure that “Android Edition” is checked in the installer).
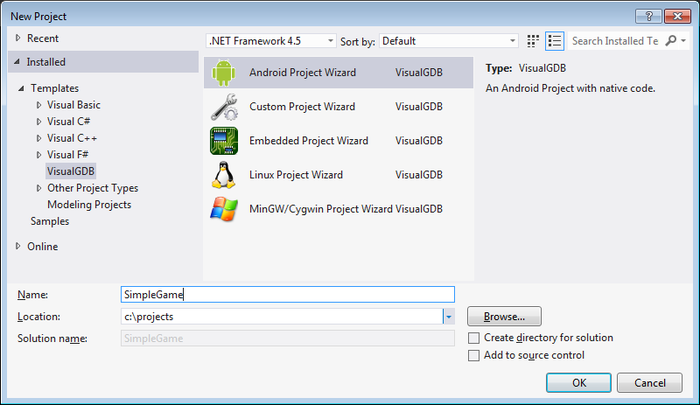
- Launch Visual Studio, select File->New->Project. Select VisualGDB->Android Project Wizard and specify a name for your project:
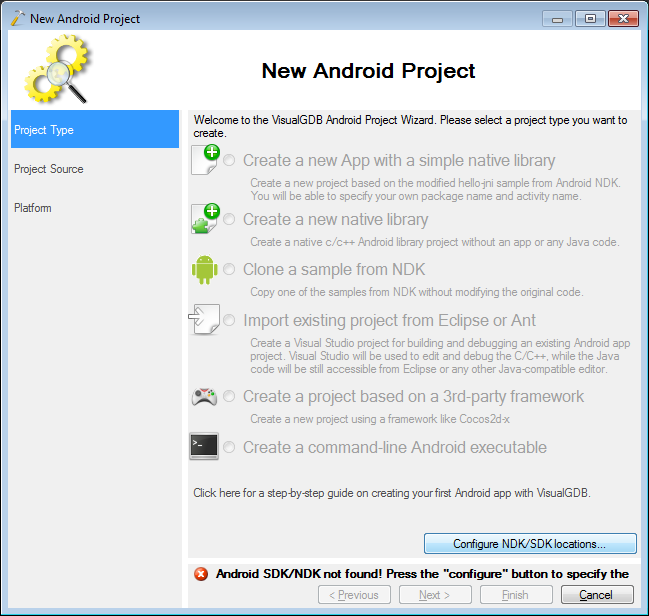
- If you are running VisualGDB for the first time and don’t have the Android tools installed or don’t have the paths configured, click “Configure NDK/SDK locations”:
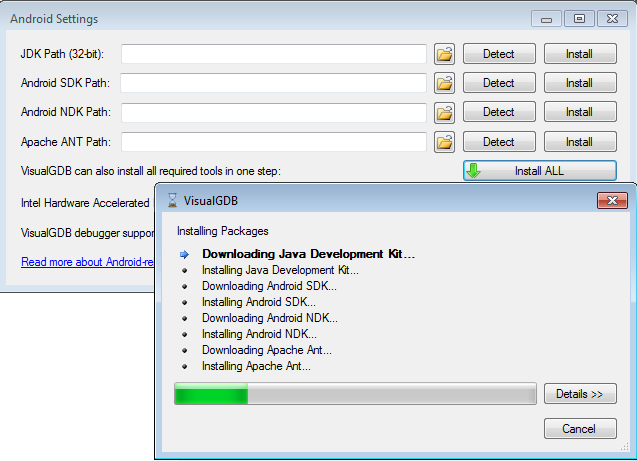
- If you don’t have the tools installed, you can conveniently use the “Install All” button to automatically install all necessary tools:
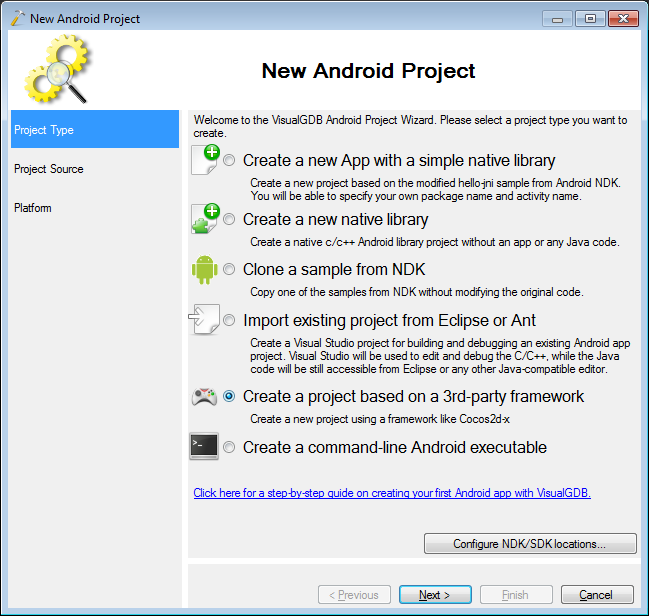
- Once the tools have been installed, select “Create a project based on a 3rd-party framework”:
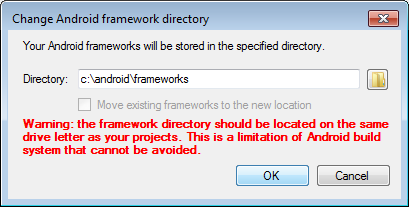
- VisualGDB will ask your for the directory where to keep your frameworks. Pick a location with at least 1GB of free space:
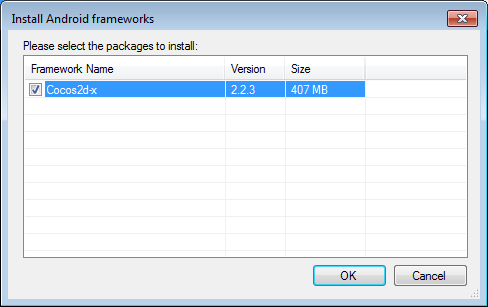
- Select “Install more Android frameworks” in the wizard. VisualGDB will show a list of supported frameworks. Select “Cocos2d-x” and press OK:
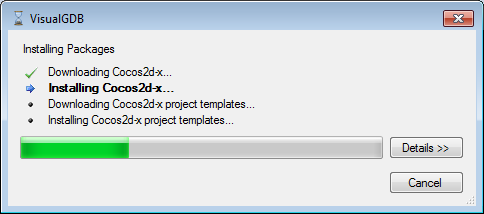
- VisualGDB will automatically download and install the framework:
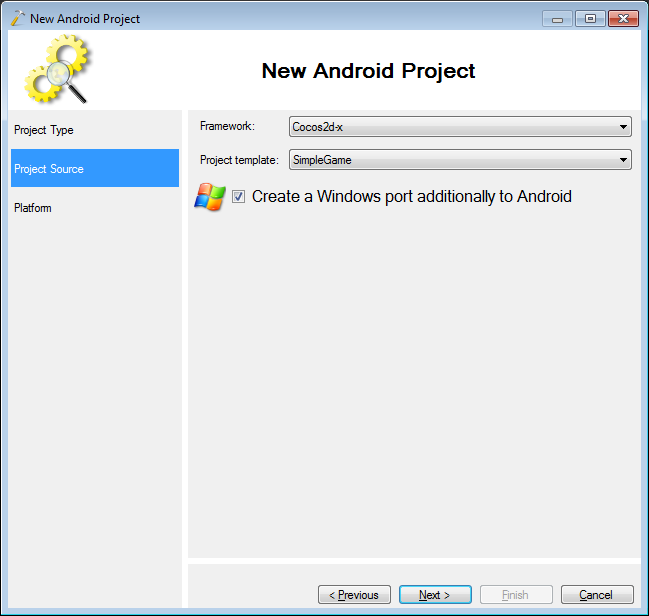
- Once the framework has been installed, select “SimpleGame” as the project template. If you are using Visual Studio 2010 or later, you can also enable the “Create a Windows port” option:
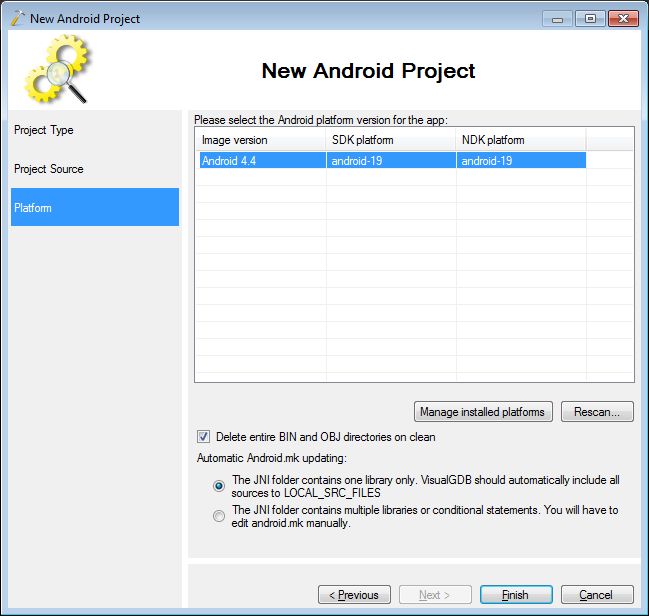
- On the last page select the Android version you want to target:
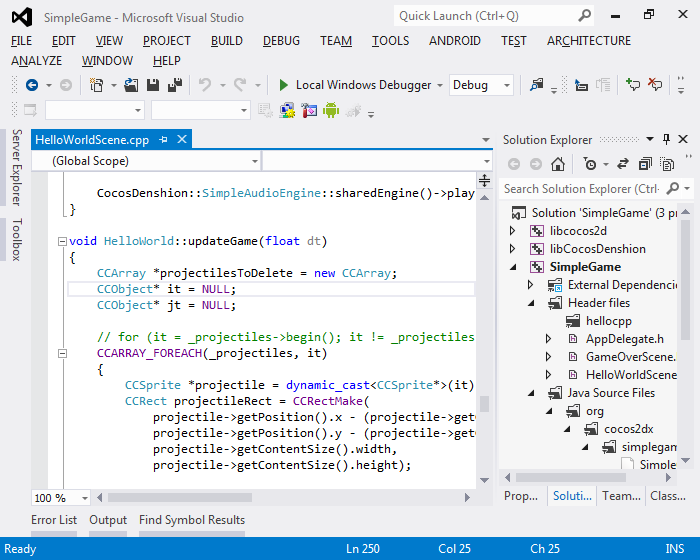
- Press “Finish” to create the project. You can build it with Ctrl-Shift-B. Note that the first build will take considerable time as the entire cocos2d-x framework will be rebuilt:
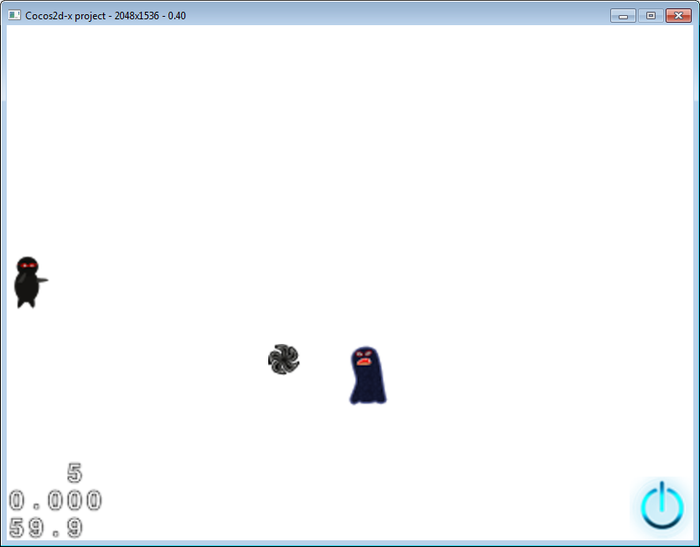
- If you now press F5, Visual Studio will start debugging the Windows port of the game:
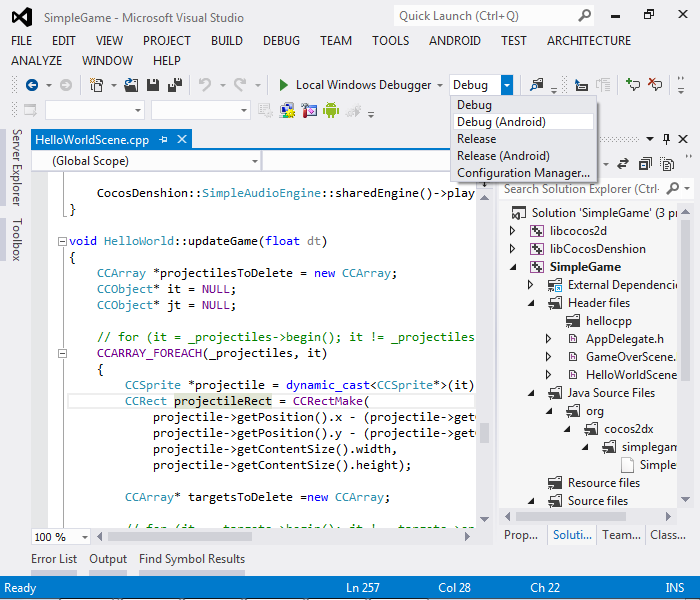
- Now we will build the game for Android. Switch the current configuration to “Debug (Android)”:
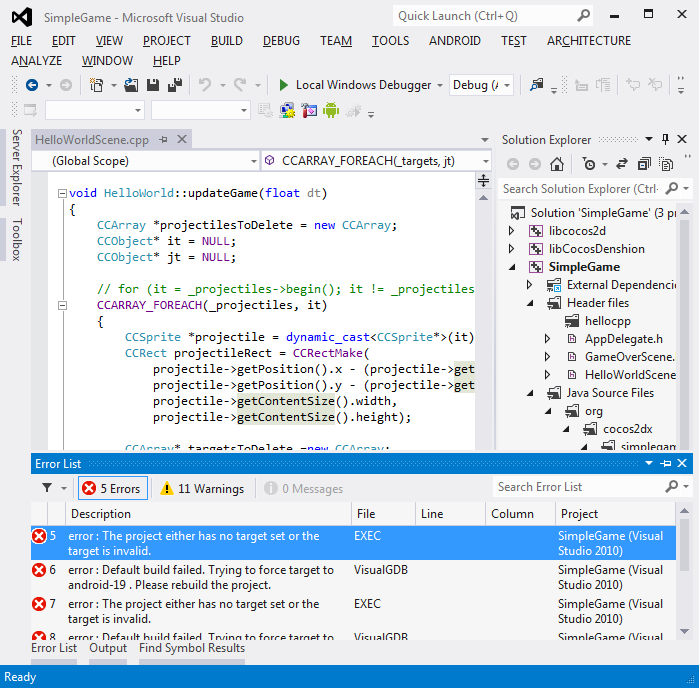
- Build the solution by pressing Ctrl-Shift-B. The initial build may fail and VisualGDB will report that it has fixed the configuration files and a rebuild is required:
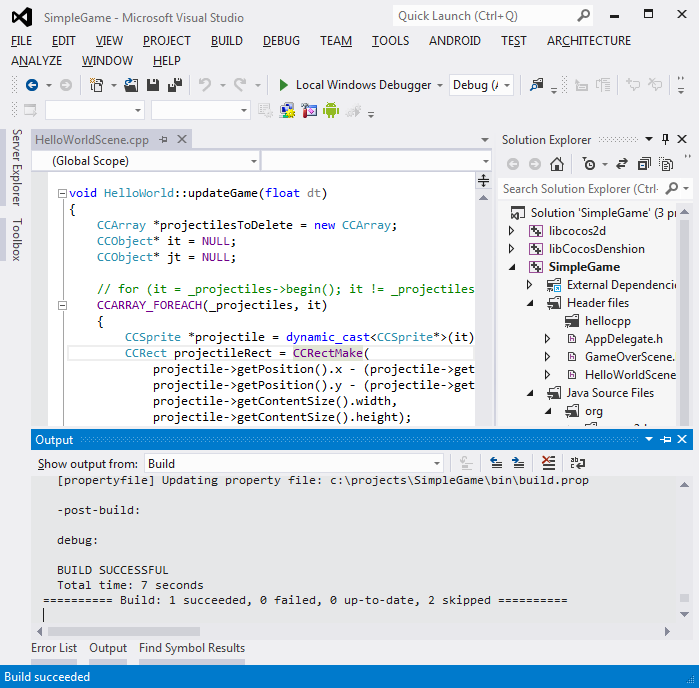
- Build the project again by pressing Ctrl-Shift-B. This time the build will succeed:
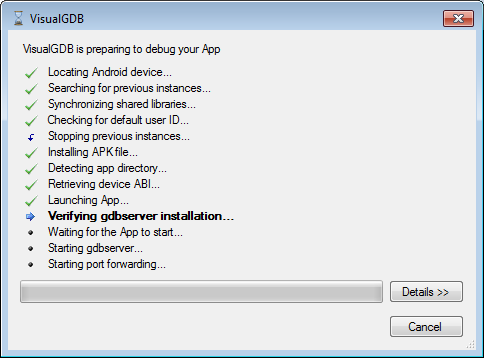
- Connect your Android device via USB and press F5 to start debugging. VisualGDB will automatically deploy the app on your device and start debugging it:
 Warning: Don’t use the Android emulator, as it does not support OpenGL reliably.
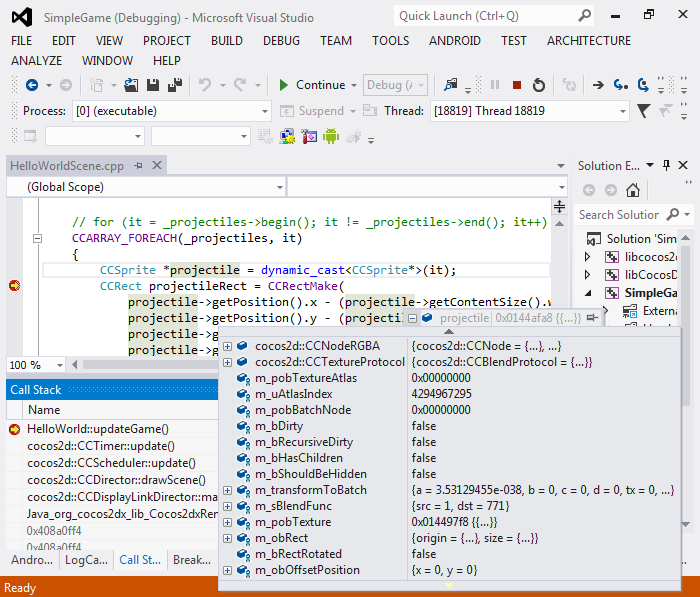
 - Set a breakpoint inside the HelloWorld::updateGame() method, wait until it hits and use call stack, watch window and mouse hovering to examine the state of the game:
- Now we will modify the game logic to make the
projectiles bounce off the screen borders. The code
responsible for defining the projectile trajectory is
located in HelloWorld::ccTouchesEnded():// Determine where we wish to shoot the projectile to float realX = origin.x+winSize.width + (projectile->getContentSize().width/2); float ratio = offY / offX; float realY = (realX * ratio) + projectile->getPosition().y; CCPoint realDest = ccp(realX, realY); // Determine the length of how far we're shooting float offRealX = realX - projectile->getPosition().x; float offRealY = realY - projectile->getPosition().y; float length = sqrtf((offRealX * offRealX) + (offRealY*offRealY)); float velocity = 480/1; // 480pixels/1sec float realMoveDuration = length/velocity; // Move projectile to actual endpoint projectile->runAction( CCSequence::create( CCMoveTo::create(realMoveDuration, realDest), CCCallFuncN::create(this, callfuncN_selector(HelloWorld::spriteMoveFinished)), NULL)); - The code above computes the destination point for the projectile and creates an action sequence consisting of 2 actions: moving the projectile and invoking the completion callback. We will replace it with the code that will limit the projectile trajectory within the screen borders and invert the vertical component of the speed each time a border is hit:
float ratio = offY / offX; // Determine the length of how far we're shooting float velocity = 480/1; // 480pixels/1sec CCArray *pActions = CCArray::create(); float xLimit = CCDirector::sharedDirector()->getVisibleSize().width + CCDirector::sharedDirector()->getVisibleOrigin().x; float yLimit = CCDirector::sharedDirector()->getVisibleSize().height + CCDirector::sharedDirector()->getVisibleOrigin().y; for (CCPoint start = projectile->getPosition(), end; start.x < xLimit; start = end) { end.x = xLimit; end.y = start.y + (end.x - start.x) * ratio; bool fixPending = false; if (end.y < 0) { end.y = 0; fixPending = true; } else if (end.y > yLimit) { end.y = yLimit; fixPending = true; } end.x = start.x + (end.y - start.y) / ratio; ratio = -ratio; float offRealX = end.x - start.x; float offRealY = end.y - start.y; float length = sqrtf((offRealX * offRealX) + (offRealY*offRealY)); float realMoveDuration = length/velocity; pActions->addObject(CCMoveTo::create(realMoveDuration, end)); } pActions->addObject(CCCallFuncN::create(this, callfuncN_selector(HelloWorld::spriteMoveFinished))); // Move projectile to actual endpoint projectile->runAction( CCSequence::create(pActions)); pActions->release(); - Set a breakpoint inside the ‘if (end.y < 0)’ block, run the Windows port of the game and click somewhere in the lower half of the screen (y = 0 corresponds to the bottom of the window). Once the breakpoint is hit, step through the algorithm to see how the bouncing is calculated:

- Switch to the Android configuration, press F5 to begin debugging and touch the screen of your Android device in a similar location. Your breakpoint will be hit. If you look at the call stack, you will notice that most of the cocos2d-x frames are the same as on Windows and the only difference is the Java frame below:

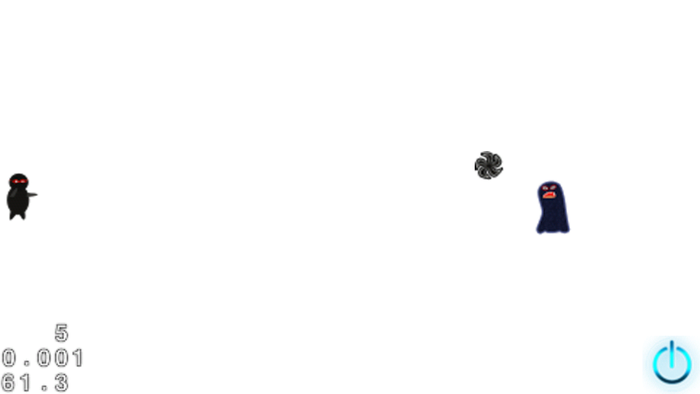
- Press F5 to resume debugging. Tap the device screen in different locations to see how bouncing works: