Debugging the native-audio project with Visual Studio
This tutorial shows how to build and debug the Native-activity sample provided with Android NDK.
Before you begin, please install VisualGDB 2.0 or later (ensure that “Android Edition” is checked in the installer). If you are not familiar with VisualGDB, please first go through the Android Quickstart tutorial.
- Start Visual Studio. Select File->New project->VisualGDB->Android Project Wizard.
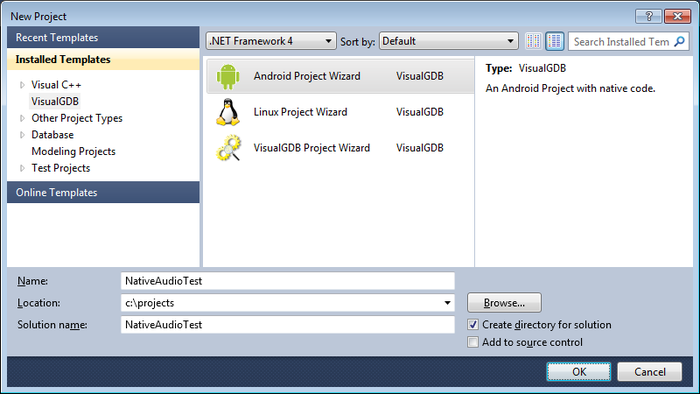
- Specify the path for the new project and an arbitrary project name (e.g. NativeAudioTest) and press OK.
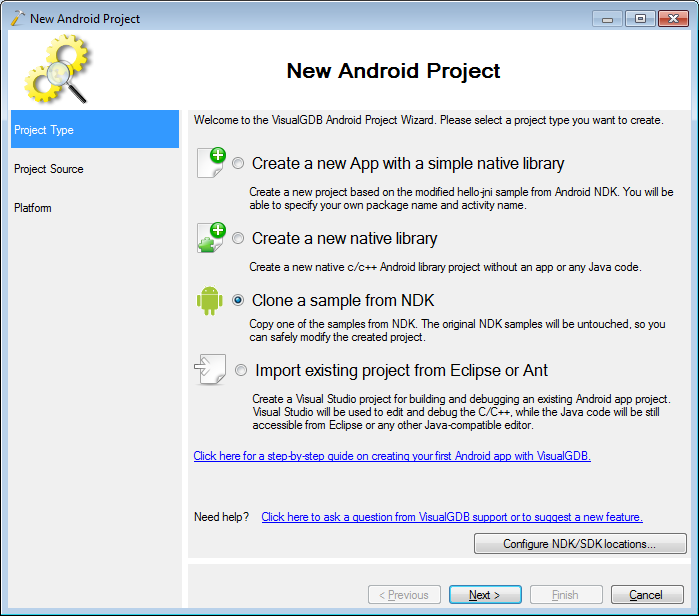
- In VisualGDB wizard select Clone a Sample from NDK.
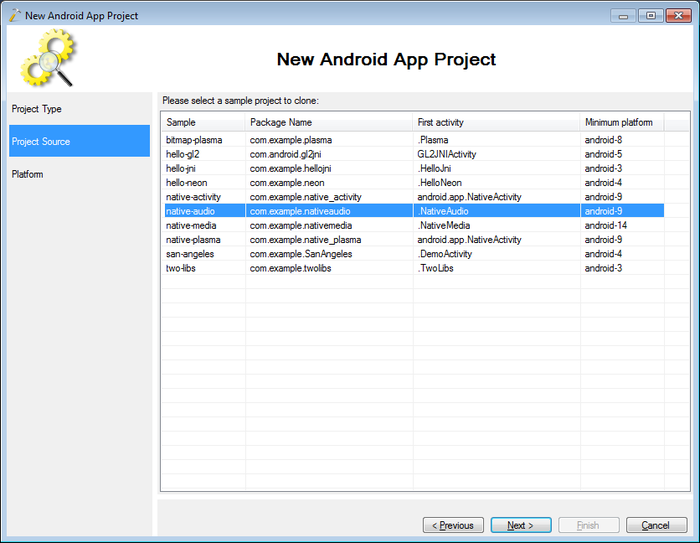
- On the next page select native-audio from the sample list.
- On the last wizard page select a platform that supports Native Audio API (e.g. Android 2.3.3).
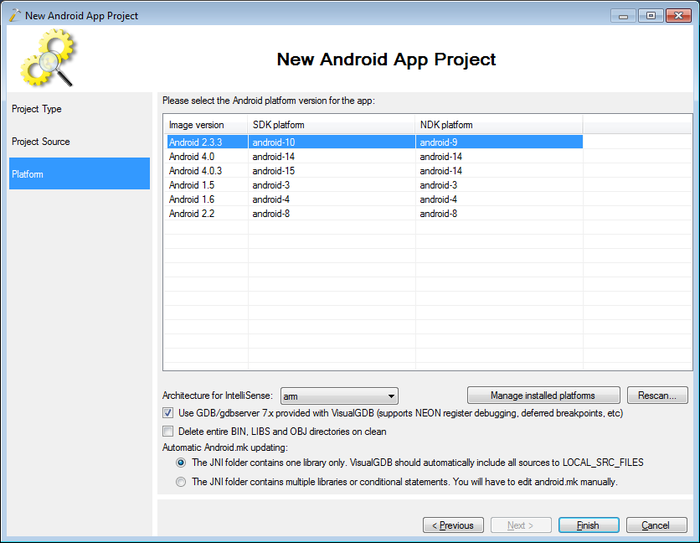
- Press Finish to create the project. Build it by selecting Build->Build Solution.
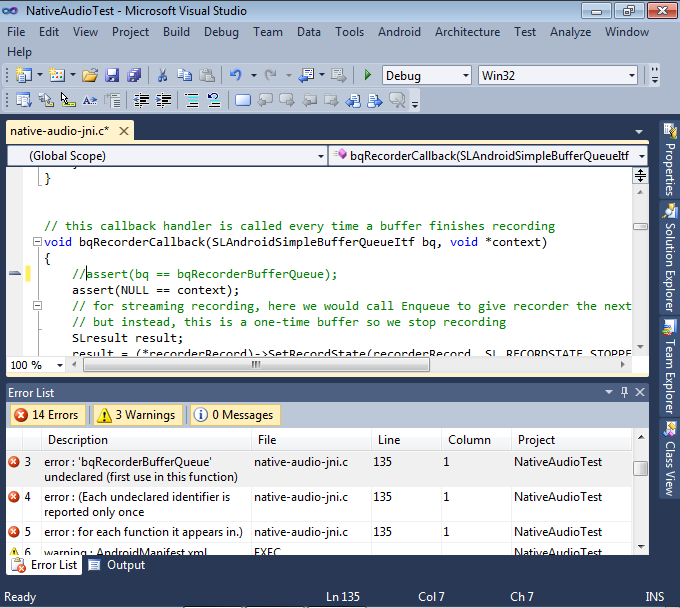
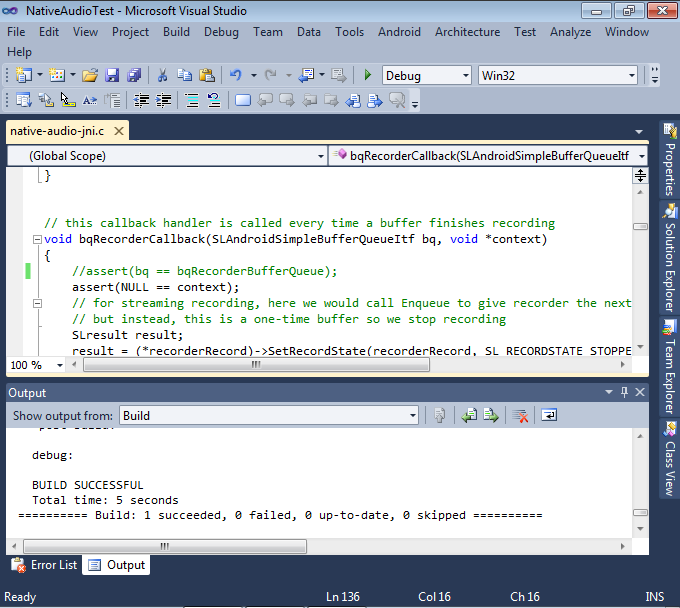
- If you see build errors related to bqRecorderBufferQueue variable, double-click at the error message in Error list so that Visual Studio will navigate to the problem. Then comment out the line causing it. Build the solution again.
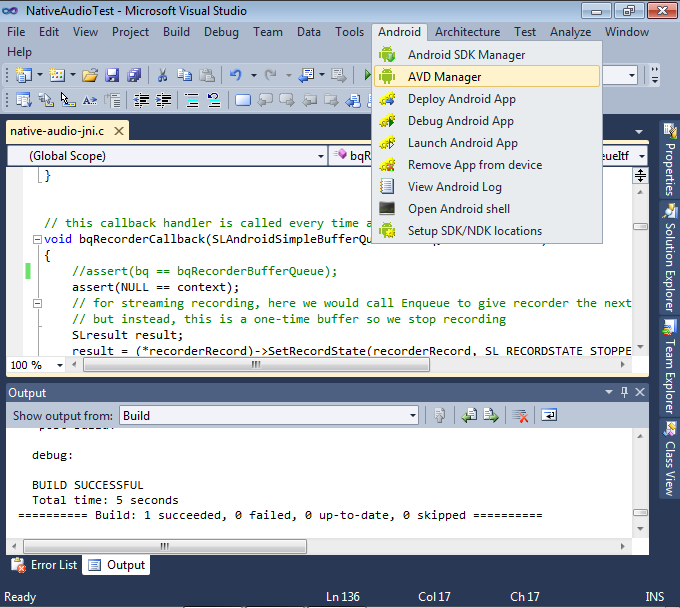
- If you want to use a physical device, prepare it for debugging and connect it. If you want to use Android Emulator, select Android->AVD Manager in Visual Studio. When the AVD Manager opens, create a virtual device based on Android 2.3.3 or later and start it. Wait till the device starts up completely.
- To test debugging functionality, we’ll set a
breakpoint inside the function selecting a buffer to play
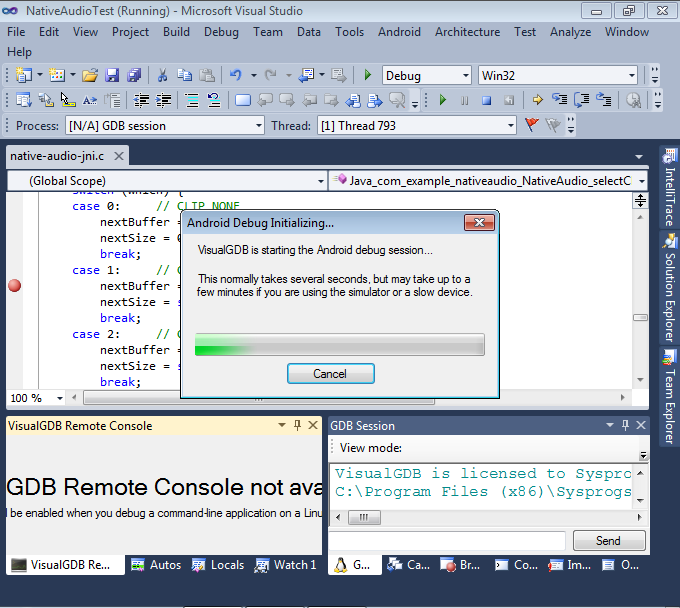
with native audio API (Java_com_example_nativeaudio_NativeAudio_selectClip() ). Please put the breakpoint after the line with the CLIP_HELLO comment. Then select Android->Debug Android App.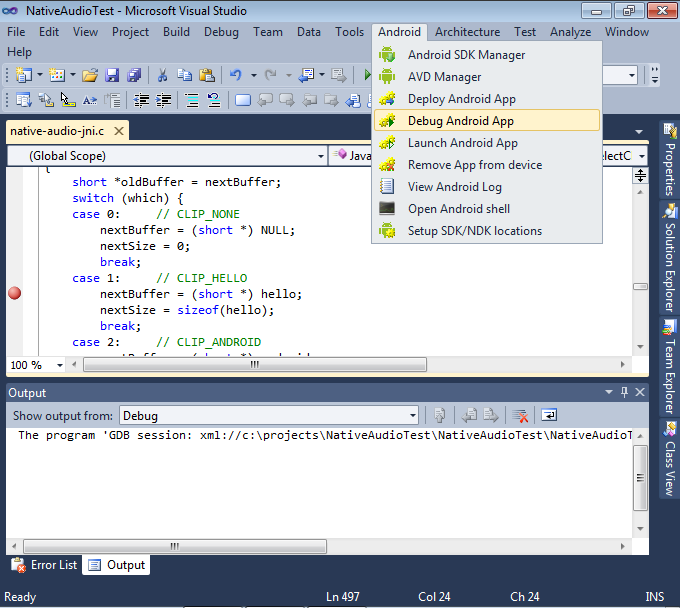
- If you are using the emulator, installing the APK file and loading it might take some time. Wait until the “Debug Initializing” window disappears.
- Go to Android emulator and press the “Hello” button in the app.

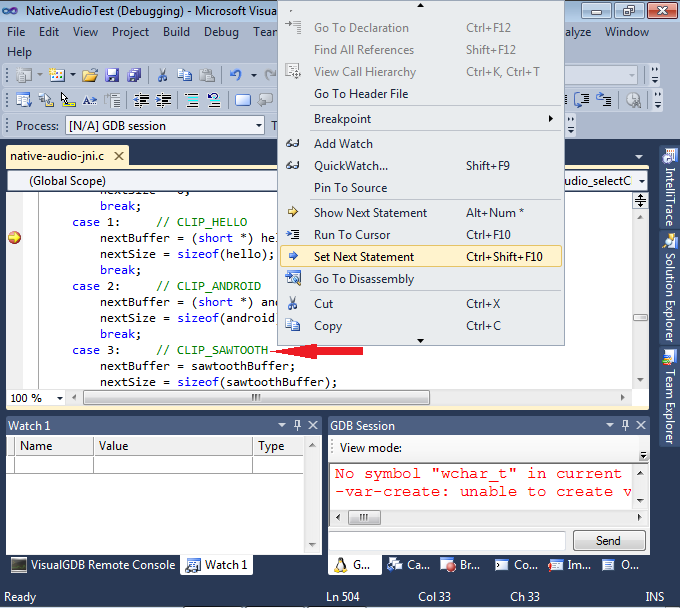
- The breakpoint will trigger. Normally, this should result in playing the “hello” sample. However, we’ll test the debugger by forcing it to play the sawtooth sample instead. Right-click at the line with the CLIP_SAWTOOTH comment and select Set Next Statement.
- Notice that your the line selecting sawtoothBuffer became active.
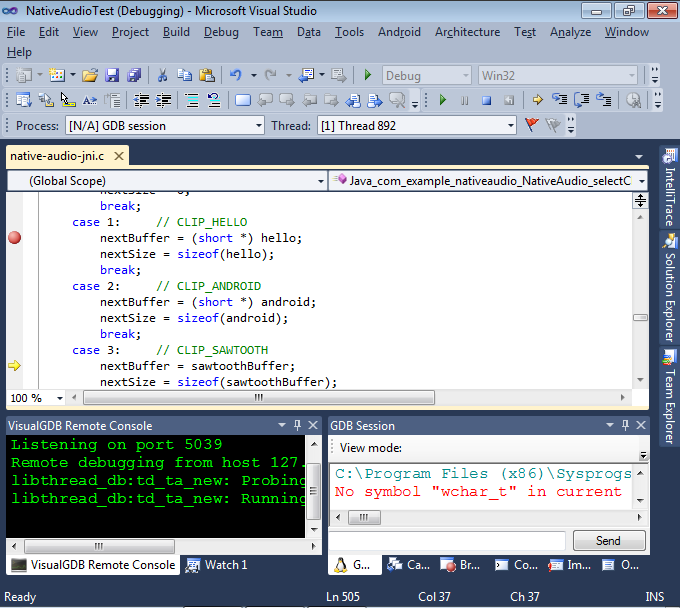
- Press F5 to continue running the program. The emulator will play the sawtooth sample.
- To finish debugging, press Shift+F5.


