Creating C++ OpenGL apps for OUYA with Visual Studio
This tutorial shows how to build and debug a simply OpenGL application for the OUYA game console using VIsual Studio. We will create a project based on the San-Angeles sample that is included with Android NDK.
Before you begin, please install VisualGDB 4.0 or later (ensure that “Android Edition” is checked in the installer).
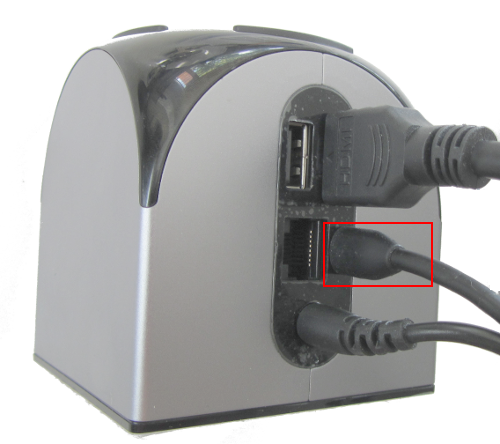
- Connect your OUYA console to your development machine over USB:
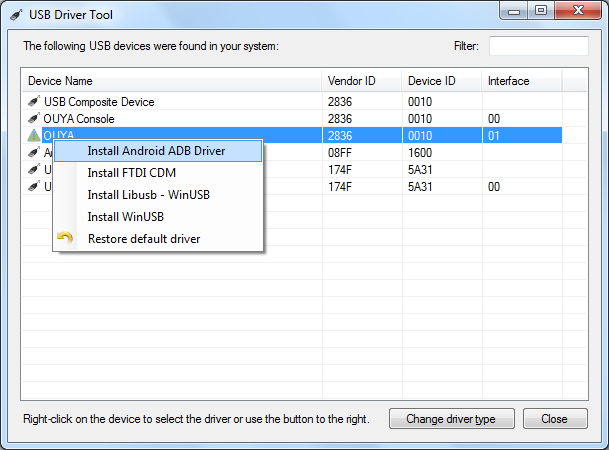
- Download, unpack and start UsbDriverTool. Select “OUYA” in the device list, right-click, and select “Install Android ADB Driver”:
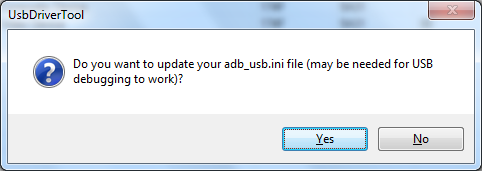
- When asked whether you want to update adb_usb.ini, select “yes”:
 If you encounter problems with finding your device, try installing the driver manually according to the official OUYA USB driver instructions for Windows if you have not already.
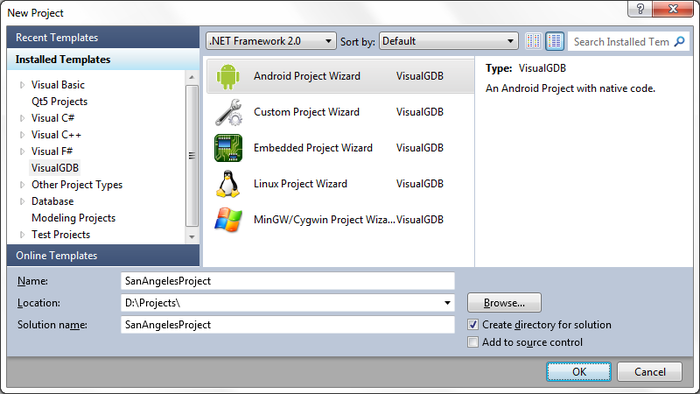
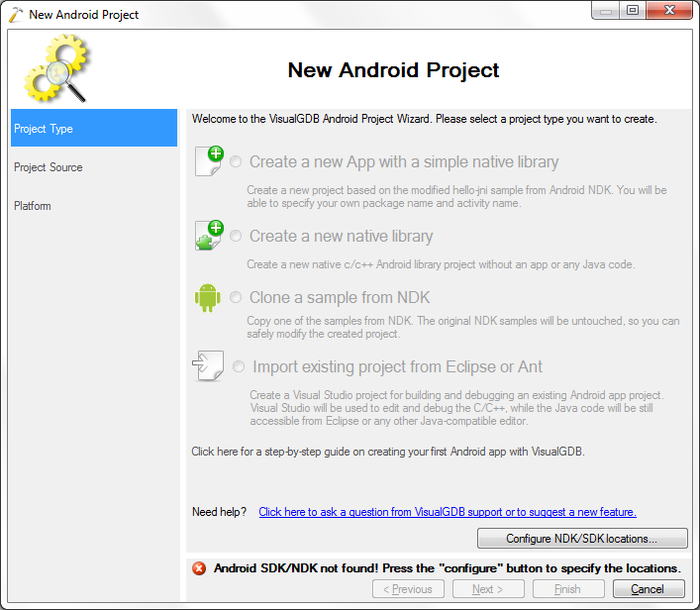
 - Start Visual Studio. Select File->New project->VisualGDB->Android Project Wizard. Select a name and location for the project, click on ‘OK’.
- If this is your first time making an Android project with VisualGDB, you are asked to configure the locations for the Android tools beforehand. Click on ‘Configure NDK/SDK locations’.
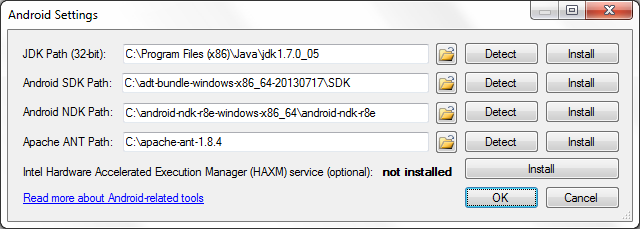
- As you already installed the Android SDK when installing the USB driver, detect or browse to the Android SDK and Java installation directories. Specify the Android NDK and ant installation directories or install them. Press ‘OK’ when done.
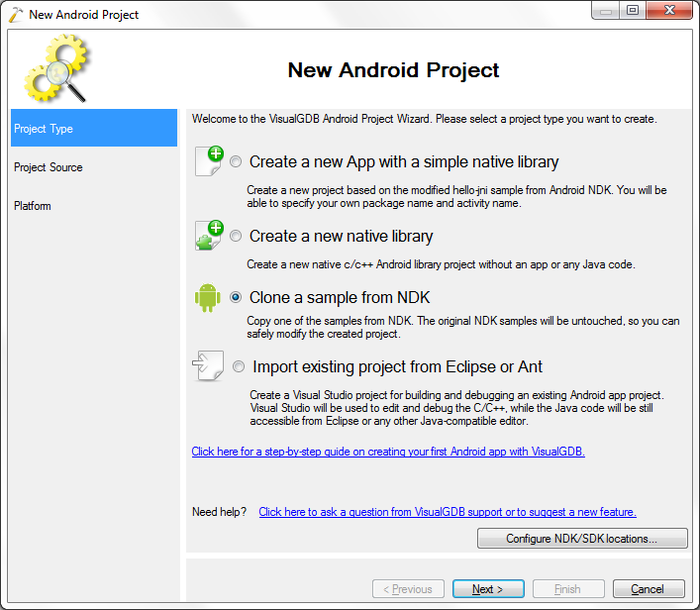
- Choose ‘Clone a sample from NDK’ and press on ‘Next’.
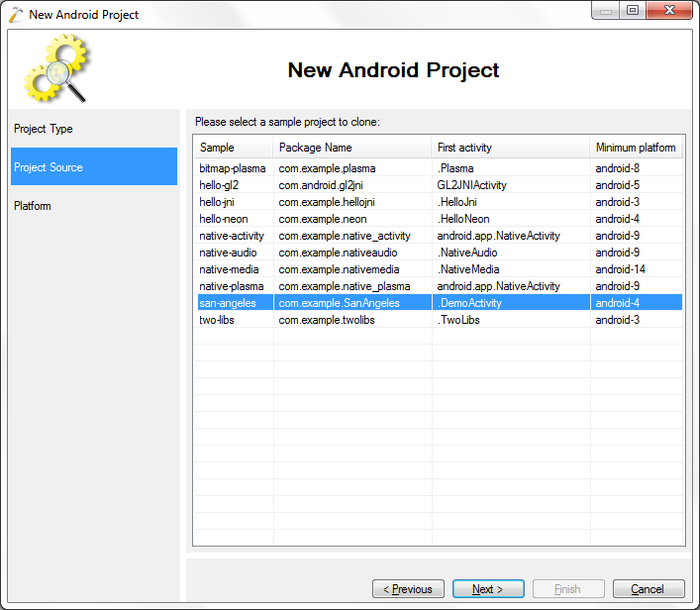
- Choose ‘san-angeles’ and press on ‘Next’.
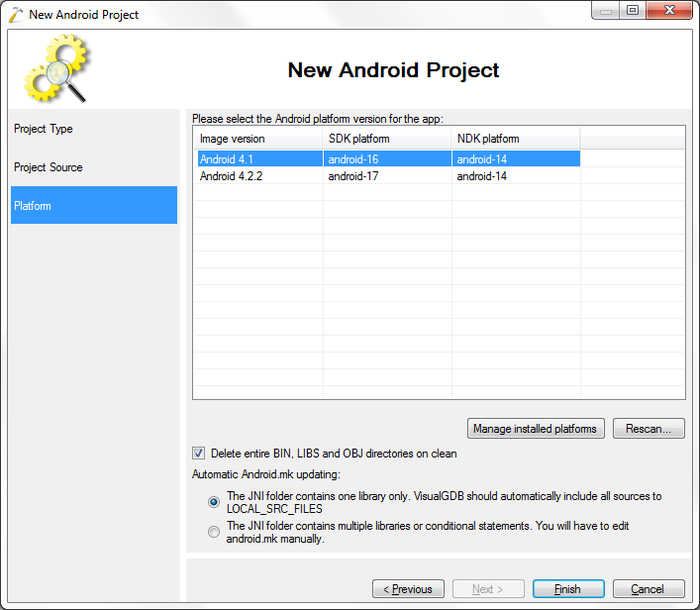
- Choose ‘Android 4.1’ and press on ‘Finish’.
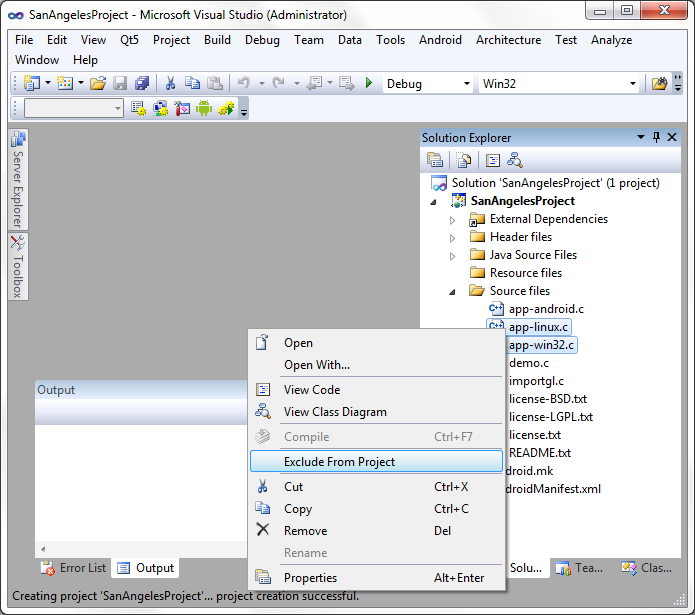
- Now the project has been created. Next we make some fixes to be able to build the project. Right-click on both app-linux.c and app-win32.c and choose ‘Exclude from Project’.
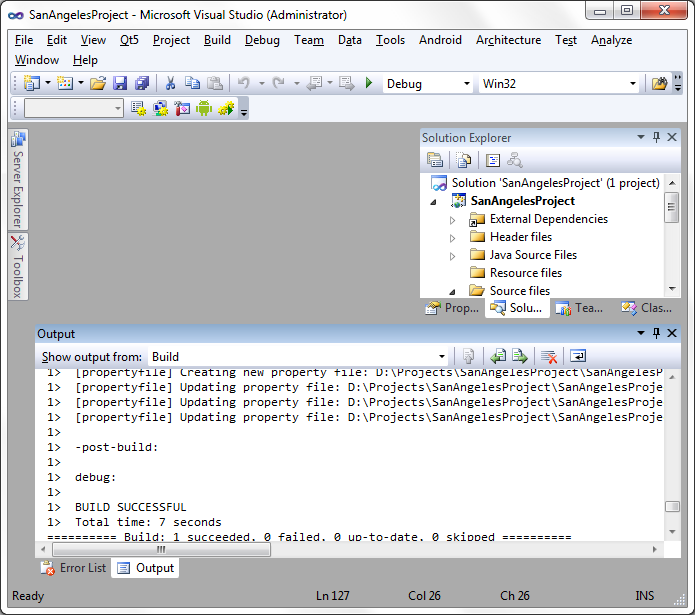
- Build the project Build->Build Solution.
- Now make sure the OUYA is started and connected to the development computer via USB and that a screen is connected to OUYA.
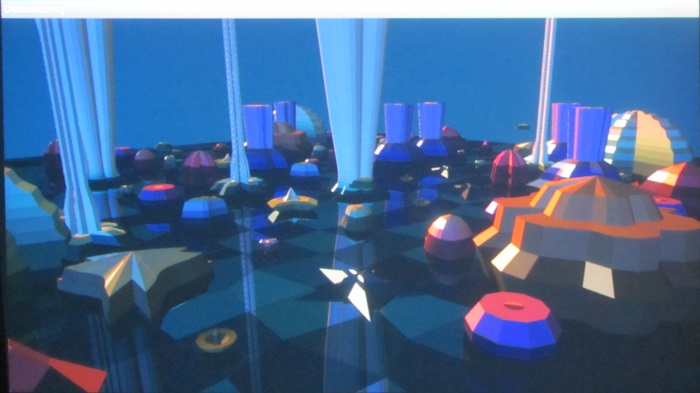
- Start debugging. You will see the san-angeles example running on the sceen connected to OUYA:
- Set a breakpoint in the _getTime function in app-android.c to test that breakpoints are working.
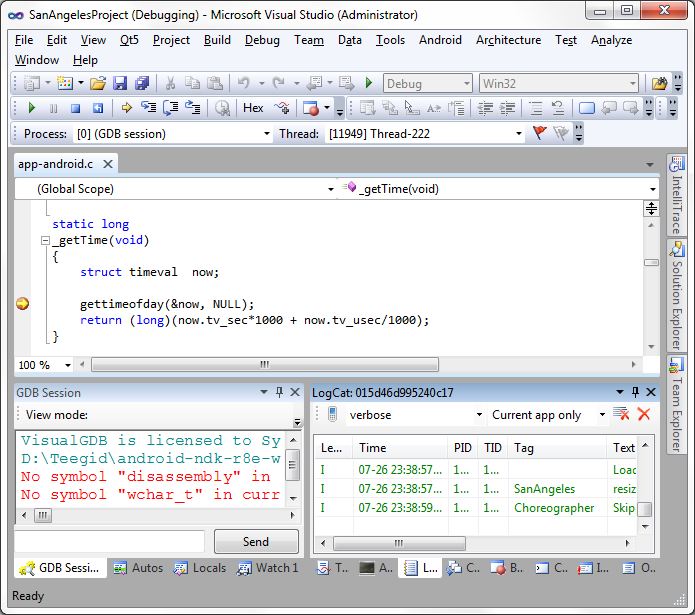
- The breakpoint will hit, however after 5 seconds the app will be terminate.. This happens because OUYA detects
the ‘activity not responding’ condition and believes the app
has frozen. We will now fix it by telling OUYA that the
current app is being debugged. In the main OUYA menu select
“manage”: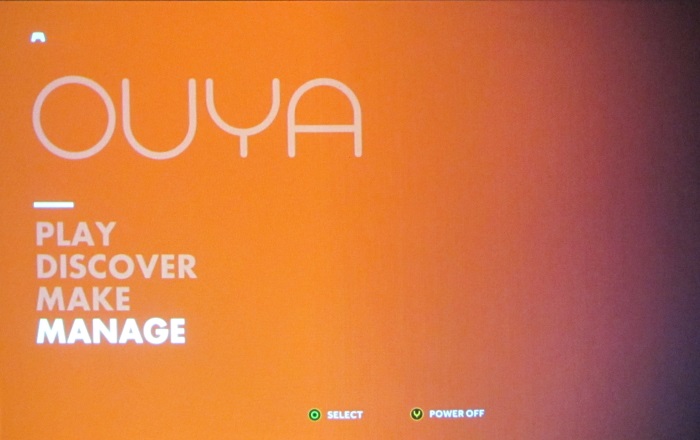
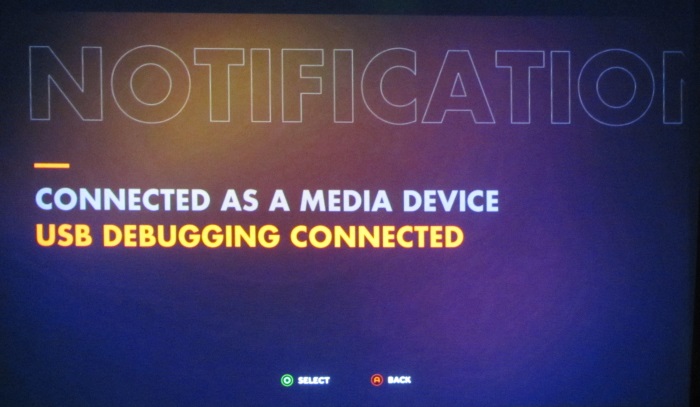
- In the “manage” menu select “Notifications”:

- On the next screen select “USB debugging connected”:
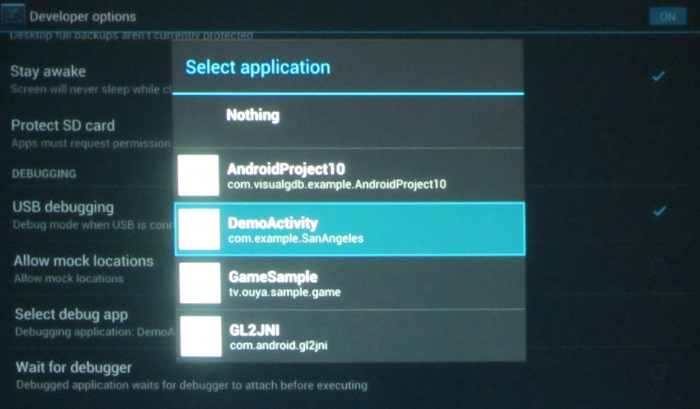
- Scroll down until you see “select debug app” and select this item:

- Select the activity you are intending to debug. Note that the activity name is not equal to the application name:
- Once the debugged activity is selected, start debugging again and let VisualGDB stop on a breakpoint. You will notice that OUYA will not terminate you app and you will be able to debug it reliably.


