Developing Qt Projects for Android with VisualGDB
This tutorial shows how to debug and build Qt 5.1 projects for Android.
Before we begin, ensure that VisualGDB is installed.
In this tutorial we will create a Qt widget project for Android in Qt Creator and then build and debug the APK file from Visual Studio using VisualGDB. We use Qt Creator to create the project as the initial project creation sets up Qt support libraries.
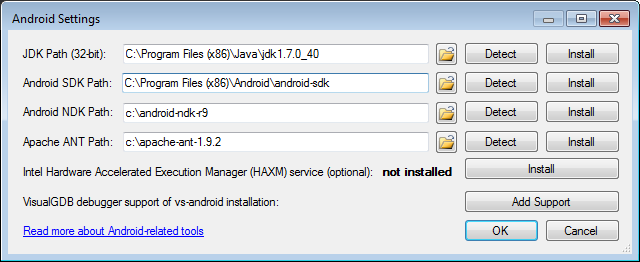
- Start Visual Studio and go to Android->Setup SDK/NDK locations. Set the paths to existing Android tools there or install them.
- Download and install Qt Creator for Android meant for a Windows host.
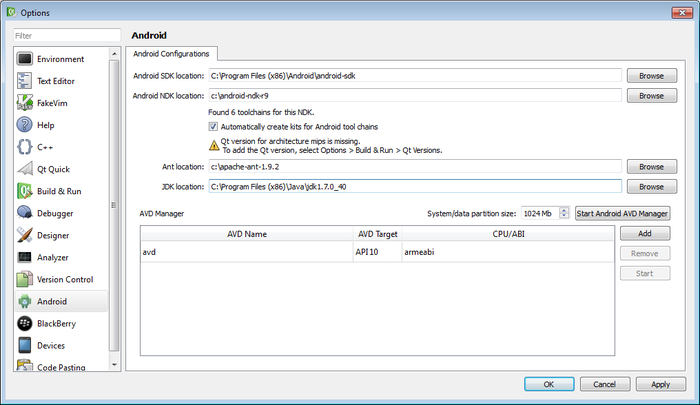
- Start Qt Creator. Go to Tools->Options->Android. Set the Android tool paths there to be the same as in VisualGDB. Press on OK.
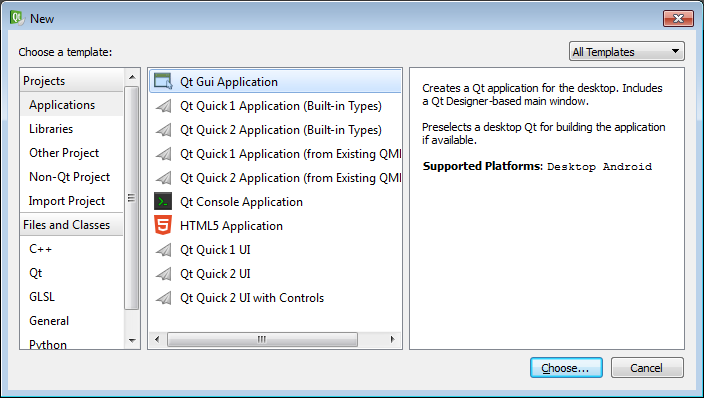
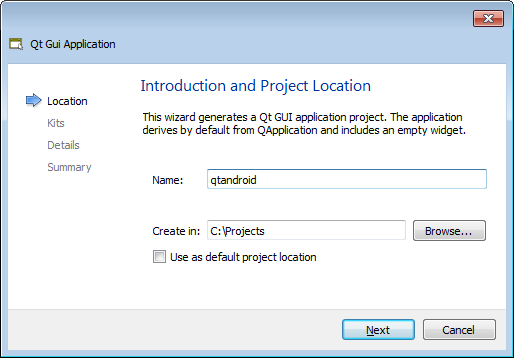
- Go to File->New File or Project. Choose Qt GUI Application.
- Choose a name and location for the project. Press on ‘Next’.
- Uncheck the Desktop kit and select an Android kit instead. Here we choose arm, choose “Android for x86” as well or instead if you intend to support Android for Intel CPUs as well. Note that arm here actually means armeabi-v7a as Qt 5 is not supported for regular armeabi. That means for running and debugging the app, you will also need a armeabi-v7a device.
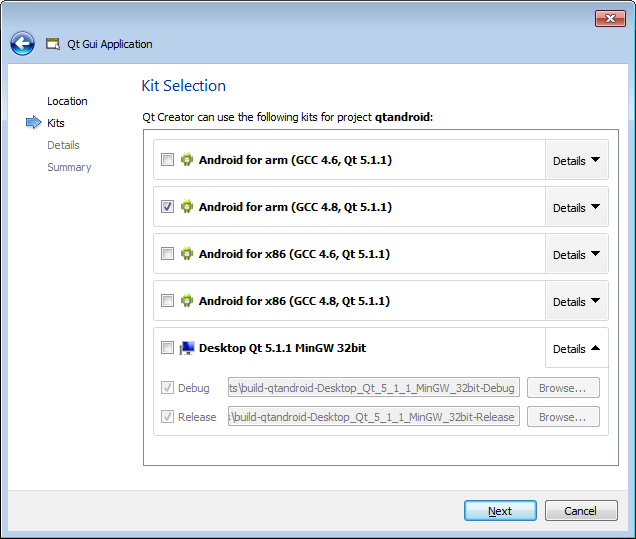
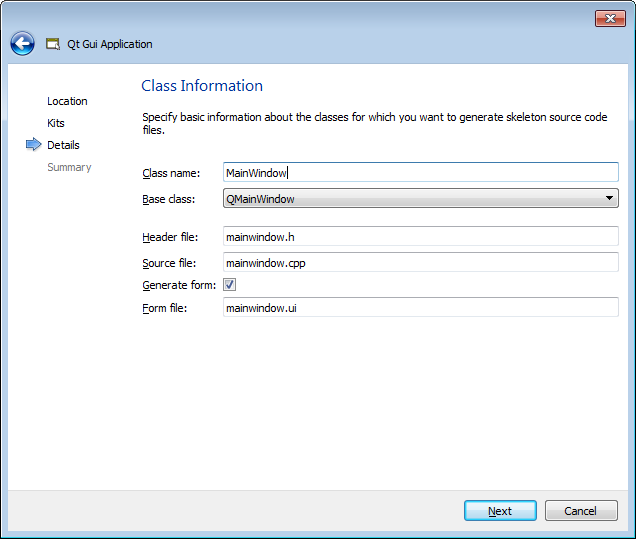
- The default settings are fine for the rest of the project settings. Choose ‘Next’ and then ‘Finish’ on the next page.
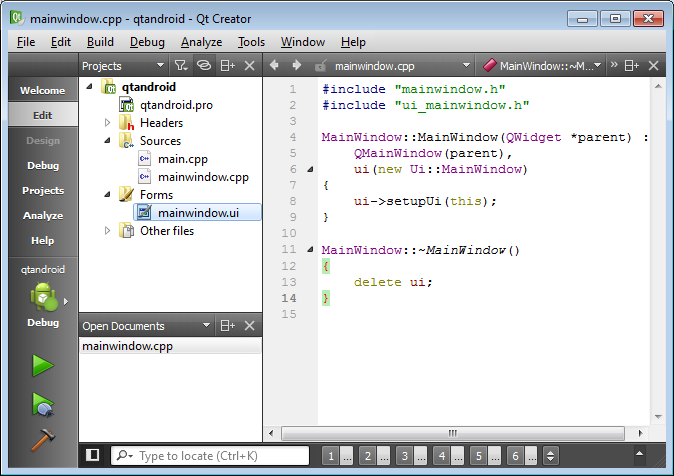
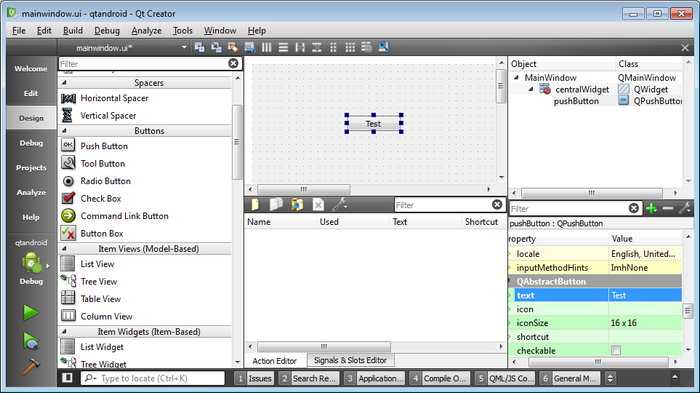
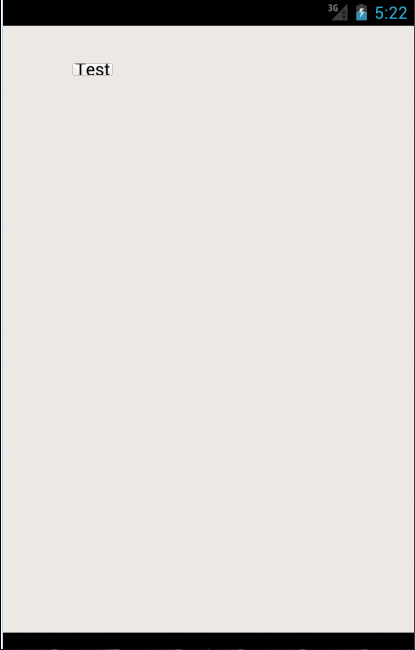
- We have now made a Qt5 project for Android. Currently the form is empty, let’s add a button to have something to see and test when the app is run. Open the ui file.
- Drag and drop a simple push button from the toolbox. We also change its text to “Test”.
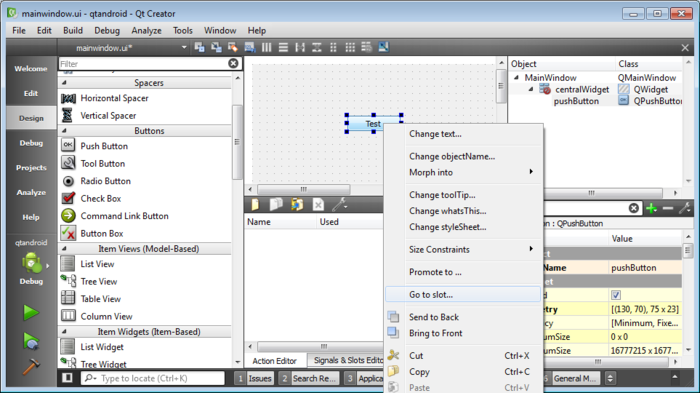
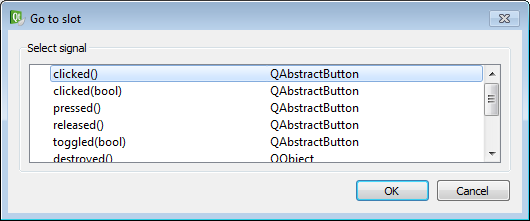
- Next we add a clicked handler to it. Right-click on the placed button choose ‘Go to slot’. Select ‘clicked’ from the slots. Now a clicked handler has been made and we are ready to build the project.
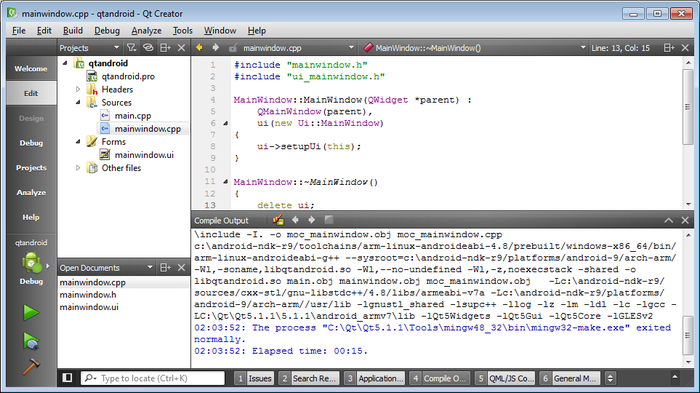
- Both build and run the project. This is important as currently the build step of copying the Qt libraries is only done by Qt Creator and not an external tool. Once the project has been run by QtCreator, it can be built by other tools as well. In case running the project crashes or does not succeed, it still may have been enough to copy the libraries. In that case, check inside the “android/bin” subfolder in the project folder, it must contain the Qtandroid-debug.apk file before we can proceed.
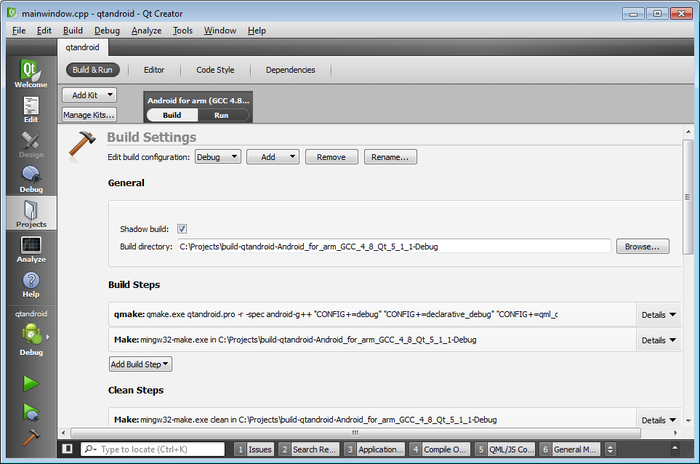
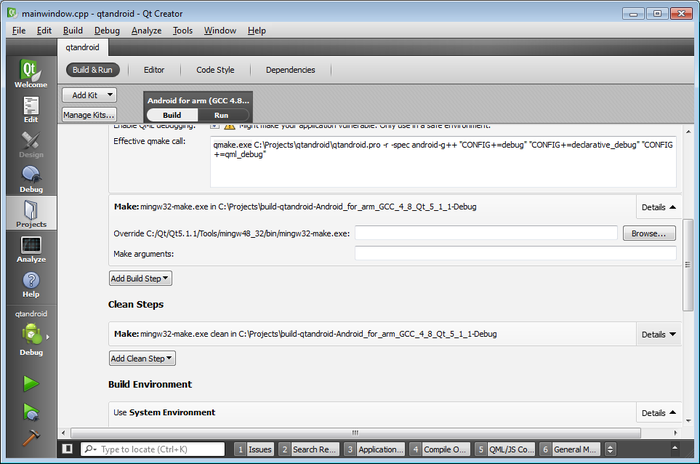
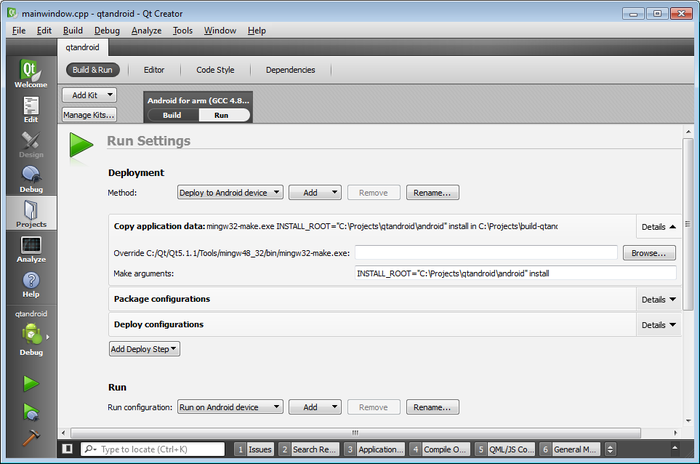
- Open the ‘Projects’ tab, we will use these settings to create a project with VisualGDB.
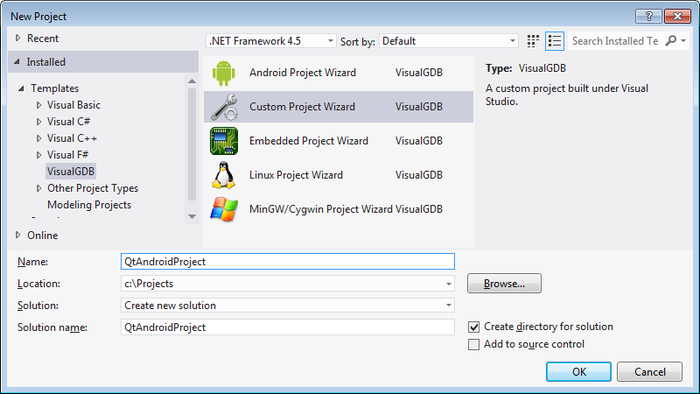
- Start Visual Studio. Go to File->New->Project. Choose the ‘Custom Project Wizard’, choose a name and location and press on ‘OK’.
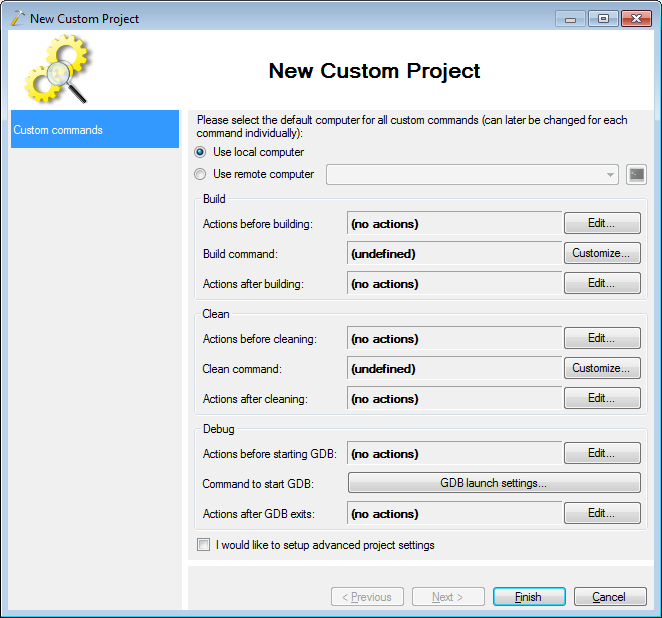
- Custom projects allow specifying arbitrary commands for building and debugging. We start by specifying the actions before building. We will use the main make command as the main build command and arrange all other commands before or after.
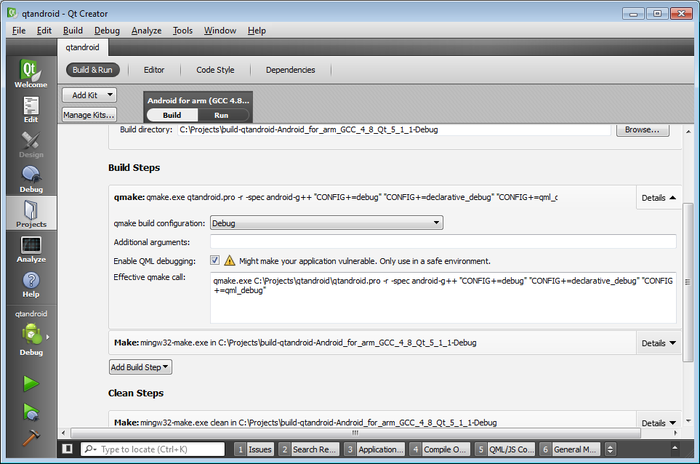
- The first command is the qmake command. We base it on the qmake command from QtCreator.
 Add a new command to the sequence.
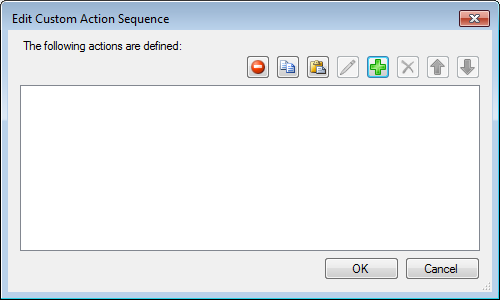 Create a new custom command line. Copy the details of the command from Qt Creator.
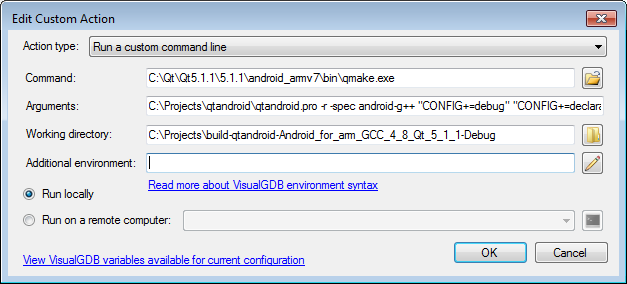 We also need to add additional environment variables to the command. Click to edit additional environment. Then click on ‘Add’.
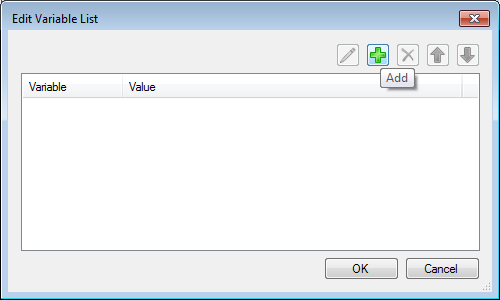 Look in the variables list from Qt Creator for variables to add. Most do not need to be added as they are system variables.
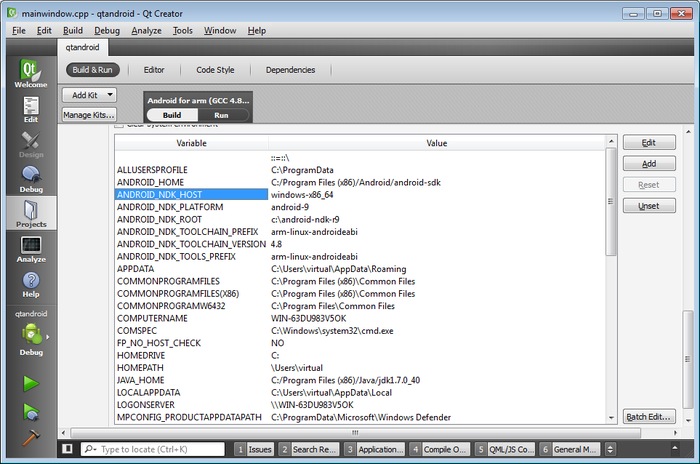 We only add the following variables.
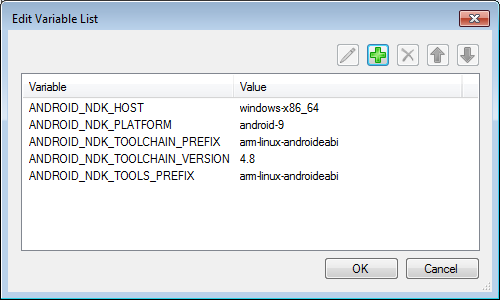 The ready command looks as follows.
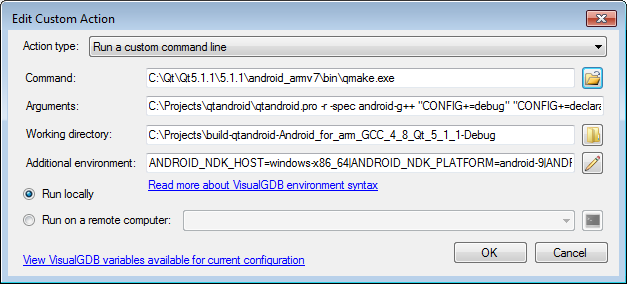
- Next add the build command. Fill in the command details based on the make command from QtCreator.
 The ready command looks as follows.
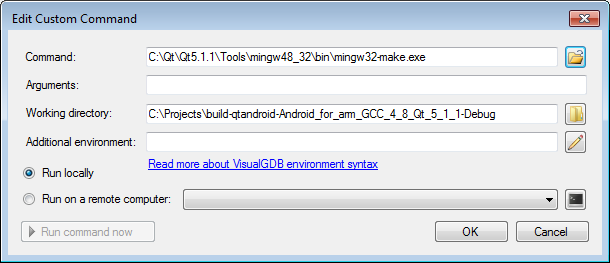
- Now we add a post build command based on the deployment install command from Qt Creator. This command will copy the built library from the Qt project’s build directory to the android subdirectory.
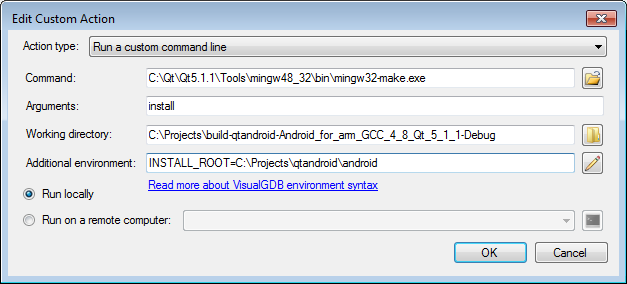
- Finally we add the last command to post build actions. This will build the Android app.

- We also add a clean command based on the clean command from Qt Creator.
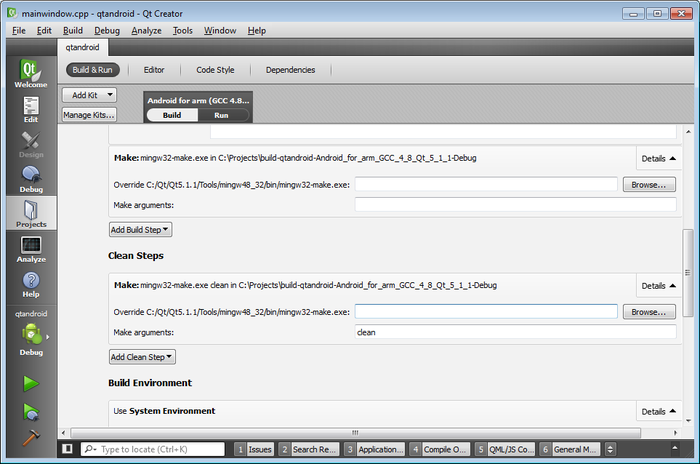

- All of the build and clean commands now look as follows. Click on ‘Finish’ to complete the wizard.
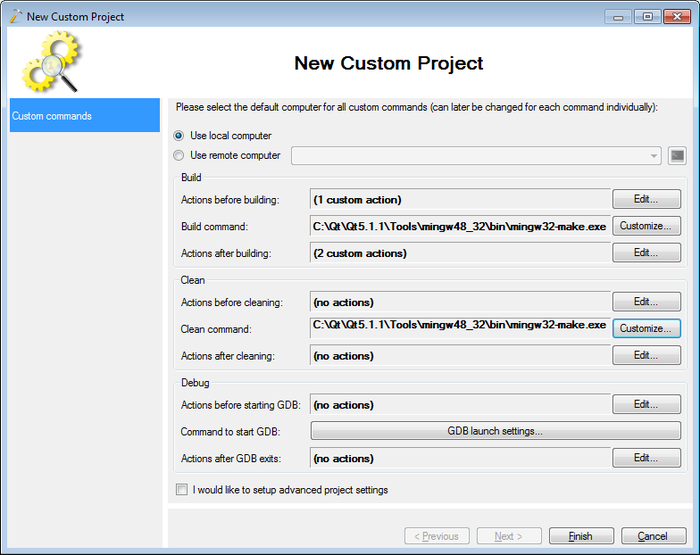
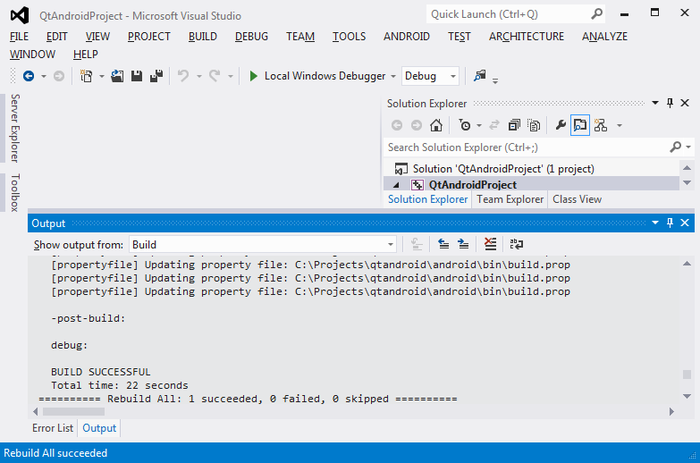
- Now we have successfully created a project in VisualGDB building the Qt Creator created Android project. Rebuild the project to test the build commands.
- We will use the Custom APK debug feature to debug the project. Go to Android->Debug custom APK file.
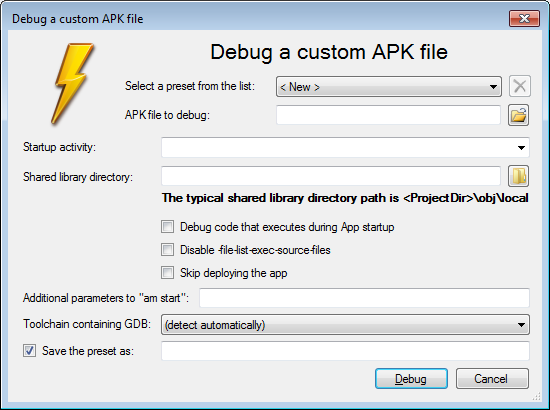 Choose the Qtandroid-debug.apk file and choose a name for the debug preset. Press on ‘Debug’.
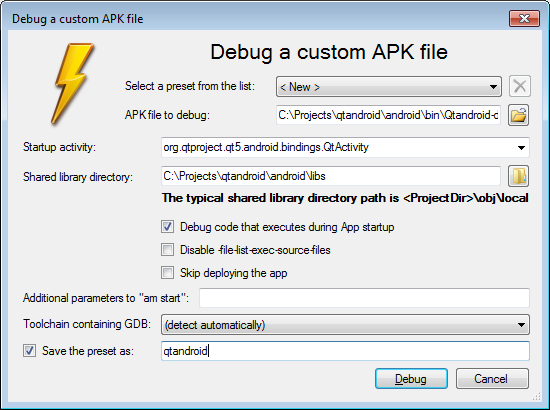
- Now the app will be automatically deployed and started on the connected Android device.
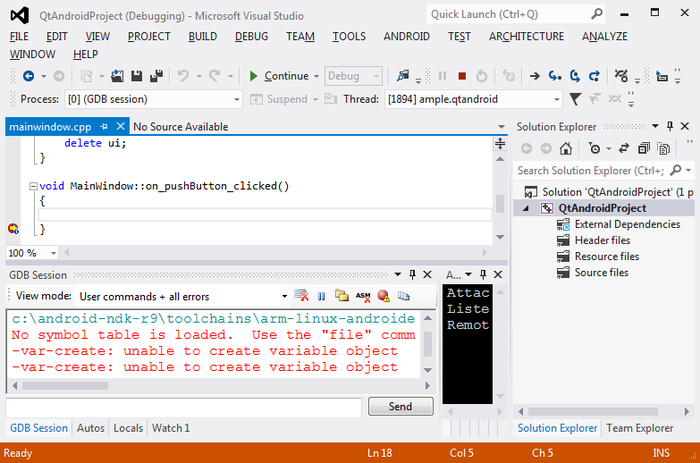
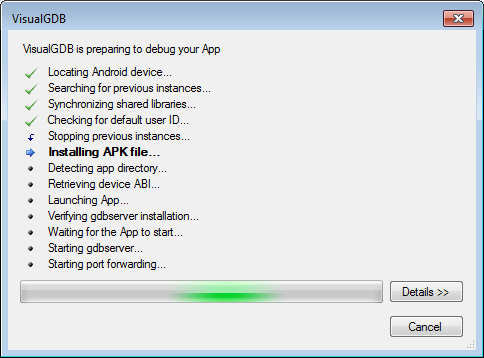 Finally the debug session is started.
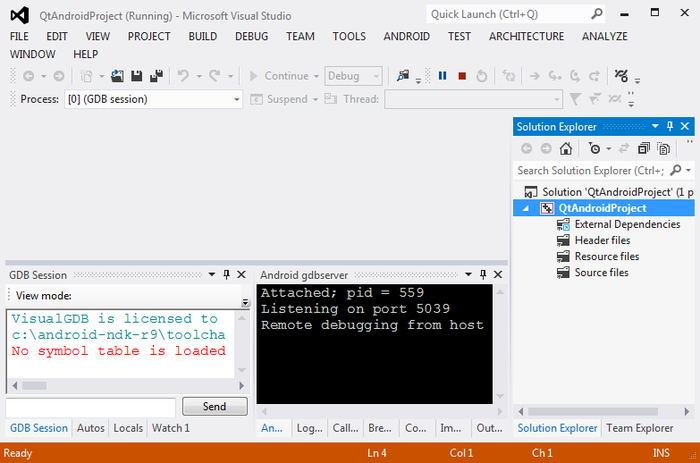 Pause execution and use the ‘Show a list of all source files’ function.
 Open the mainwindow.cpp file.
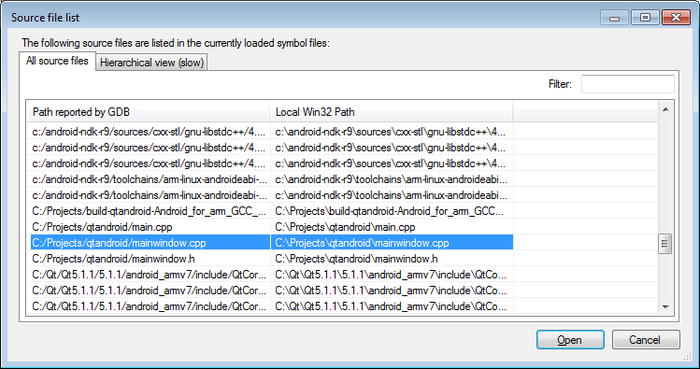 Set a breakpoint in the clicked function and continue execution.
- Go to the app running on the device and click on the button.
 Go back to Visual Studio. The breakpoint we set earlier has been hit now.