Developing projects for the Mbed LPC812 board with Visual Studio
This tutorial shows how to setup the LPC812 mved/Xpresso board to develop projects with Visual Studio and VisualGDB.
Before you begin, install VisualGDB 5.1 or later.
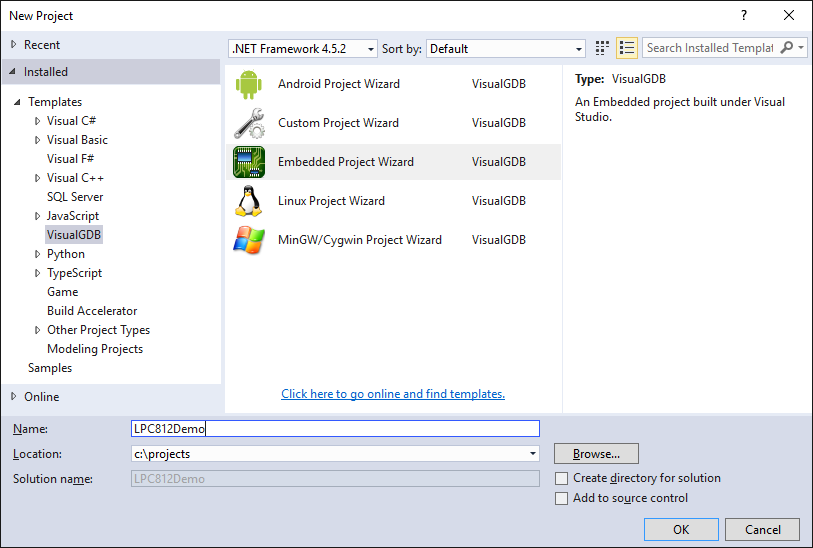
- Start Visual Studio and open the VisualGDB Embedded Project Wizard:
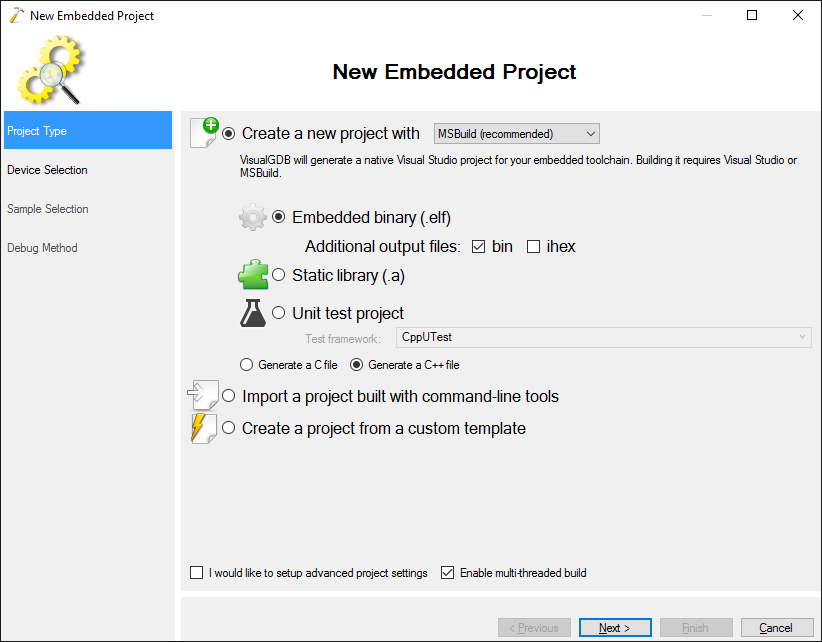
- Proceed with the default “Embedded binary” project type:
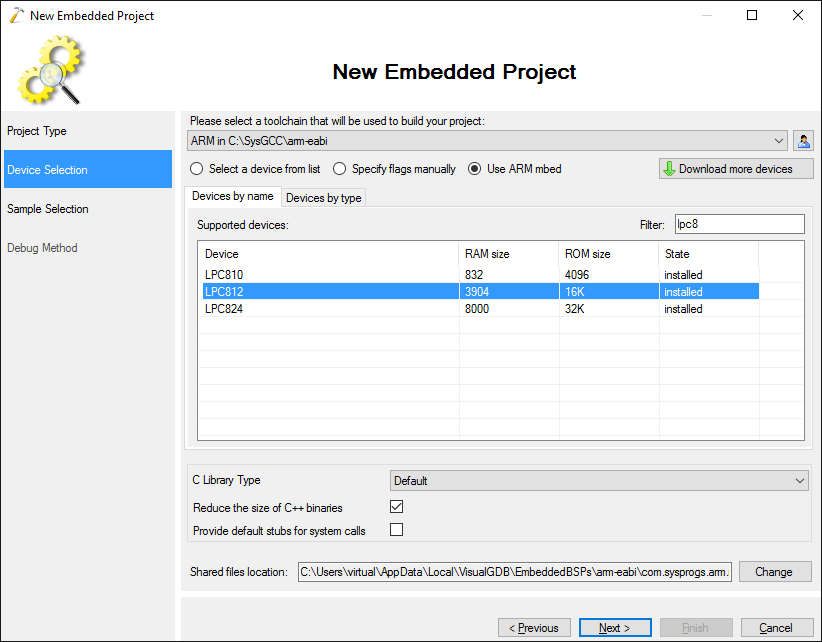
- On the next page click “Use ARM mbed” and select the LPC812 board from the list:
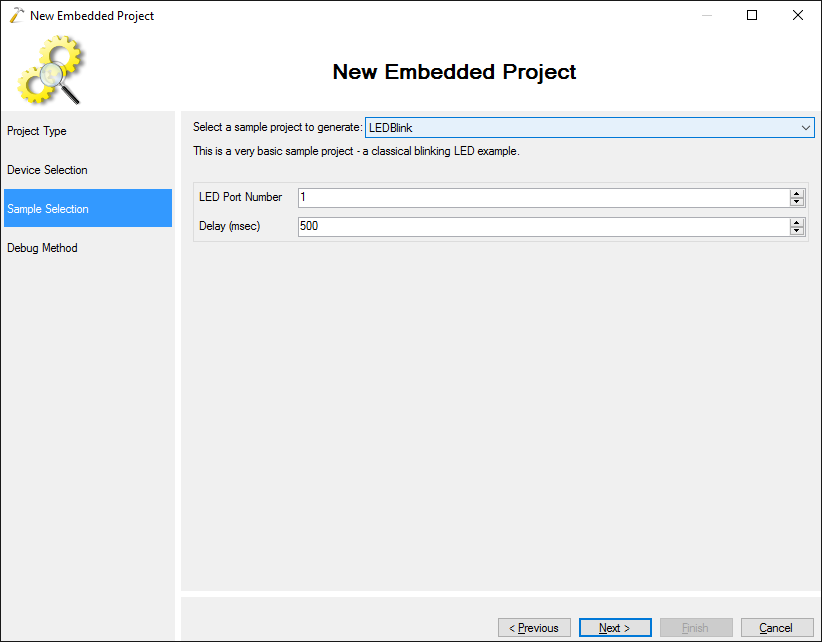
- On the Sample Selection page pick the LEDBlink sample and click “Next” to proceed:
- Plug in your board. If you are using the latest OpenOCD package, it should detect it automatically. Click “Test OpenOCD” to verify that the debugging works. If the mbed driver is not installed on your computer, you will get an error shown below:
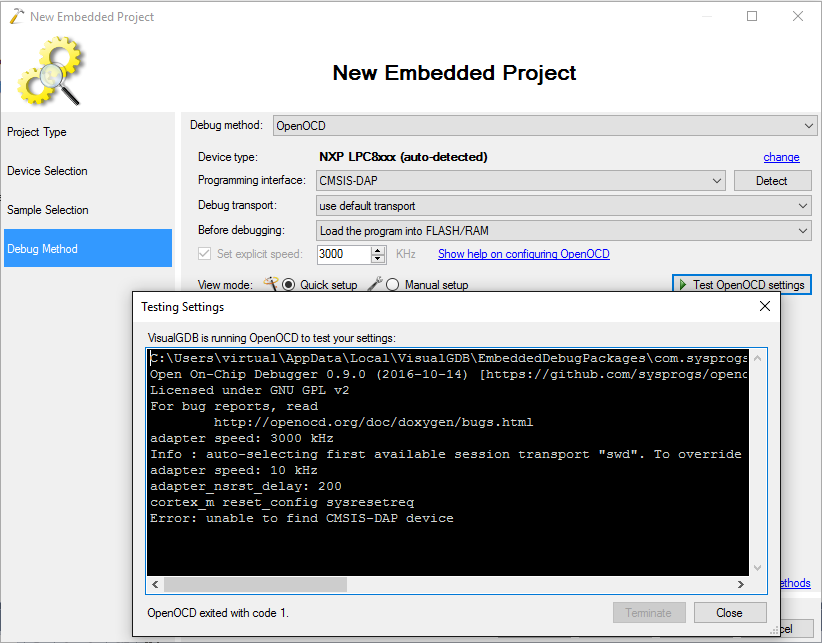
- If this happens, download and install the mbed serial port driver:

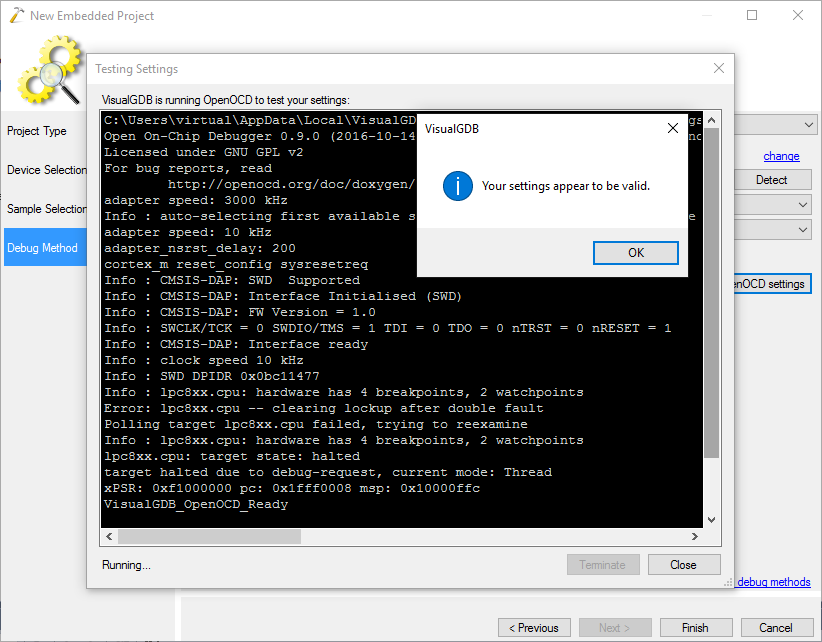
- Now the test should pass successfully. OpenOCD may report the “clearing lockup after double fault” error, but it should not affect debugging:
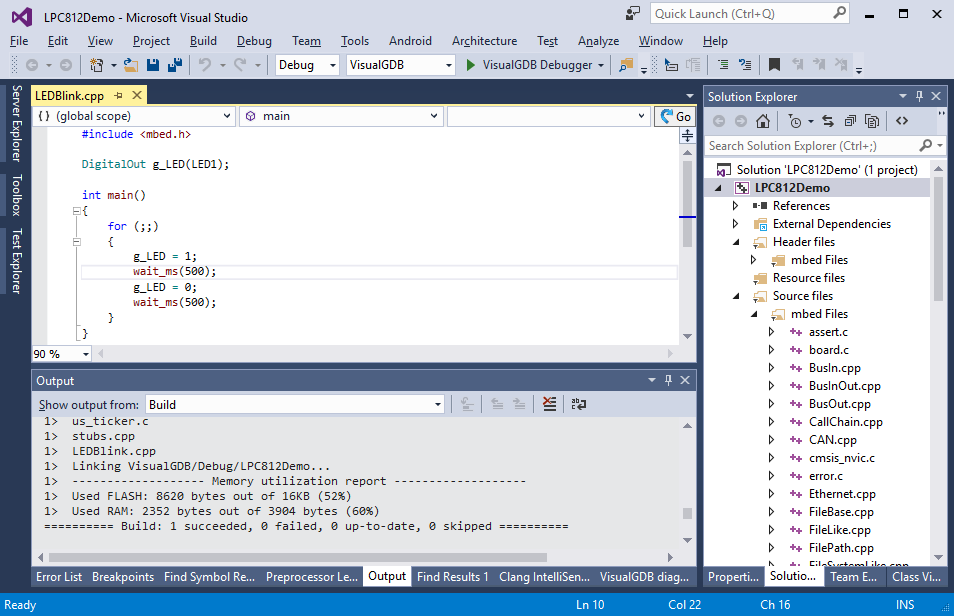
- Press “Finish” to generate the project. Build it with Ctrl-Shift-B:
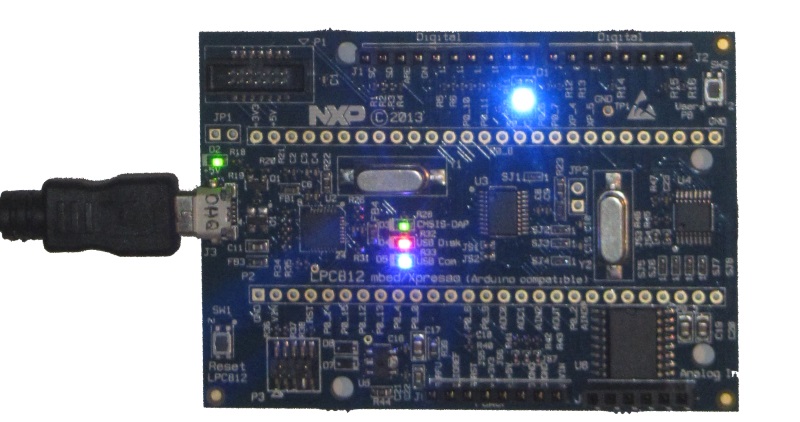
- Press F5 to start debugging. Note how the big blue LED starts blinking:
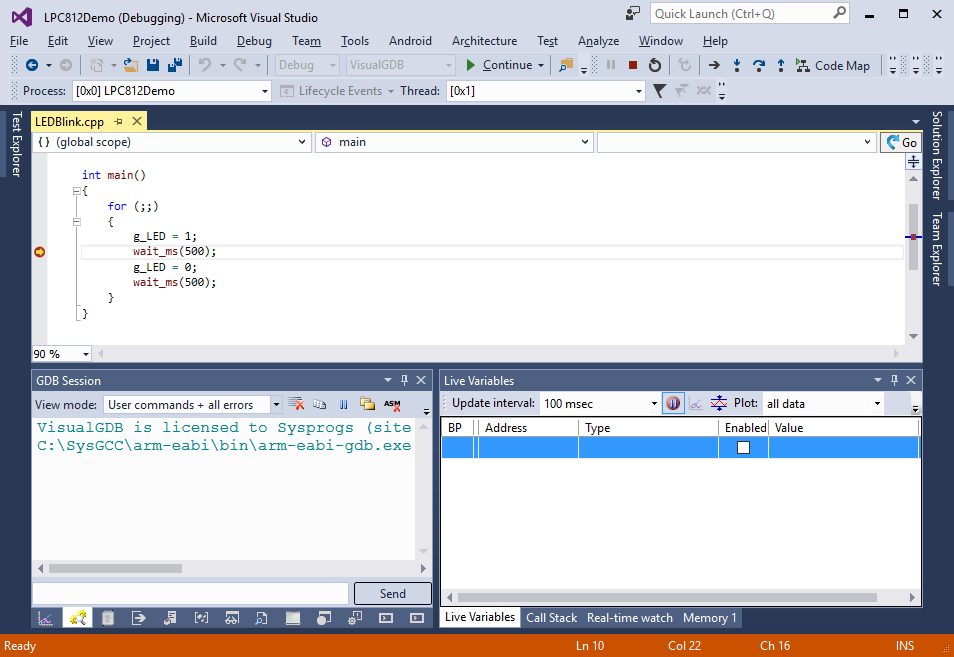
- Set a breakpoint somewhere in the loop inside main(). Once it triggers, you will be able to debug your program as usual:
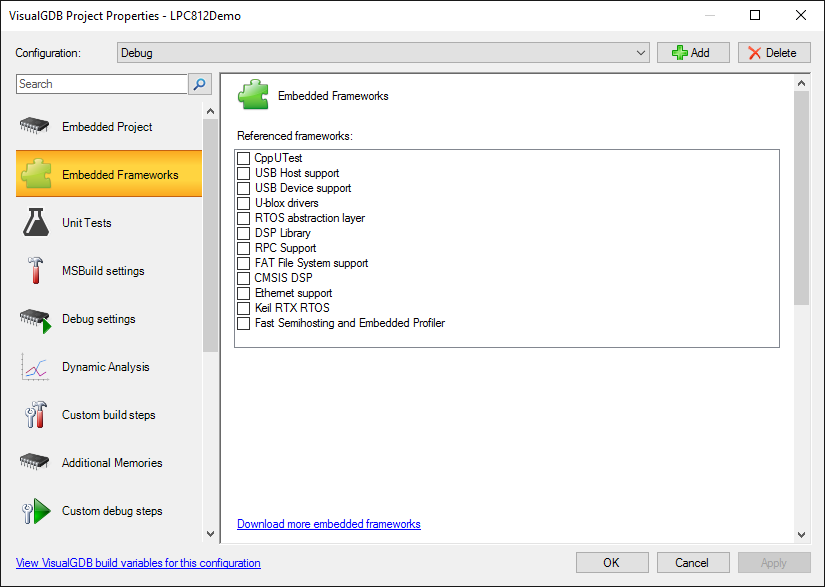
- You can easily reference various mbed libraries via the Embedded Frameworks page of VisualGDB Project Properties:
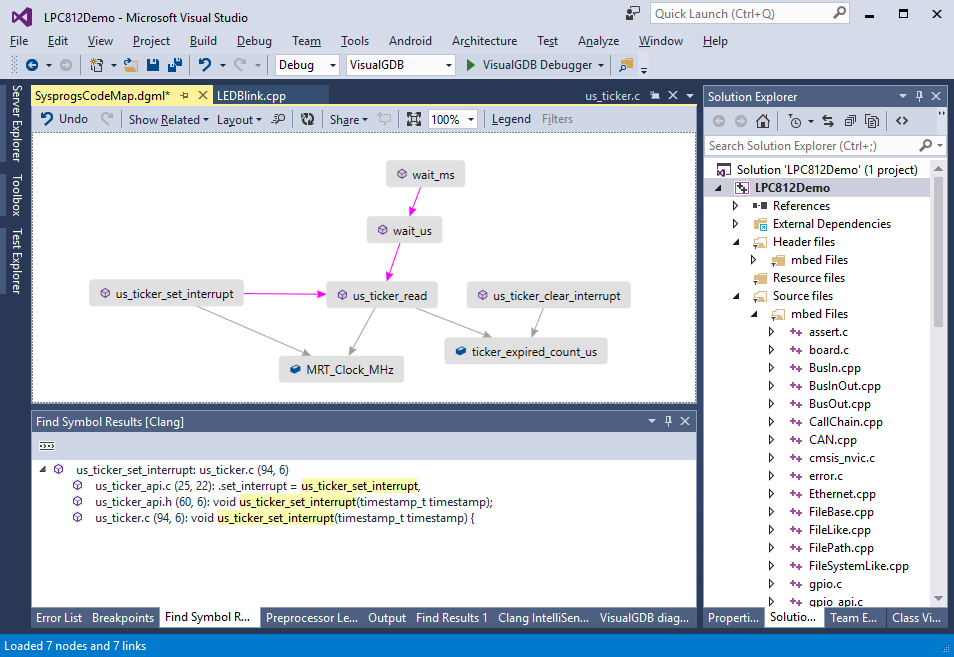
- The project automatically includes the relevant source code from mbed, so you can use go-to-definition and Code Map to explore it. E.g. you can quickly check how the wait_ms() function works by finding the data it accesses and showing other functions that access the same data: