Creating Projects for the Nordic nRF52840 Chip with VisualGDB
This tutorial shows how to create a basic project for the nRF52840 chip using VisualGDB. We will create a basic “Blinking LED” project based on the example from the Nordic SDK and show how to build and debug it.
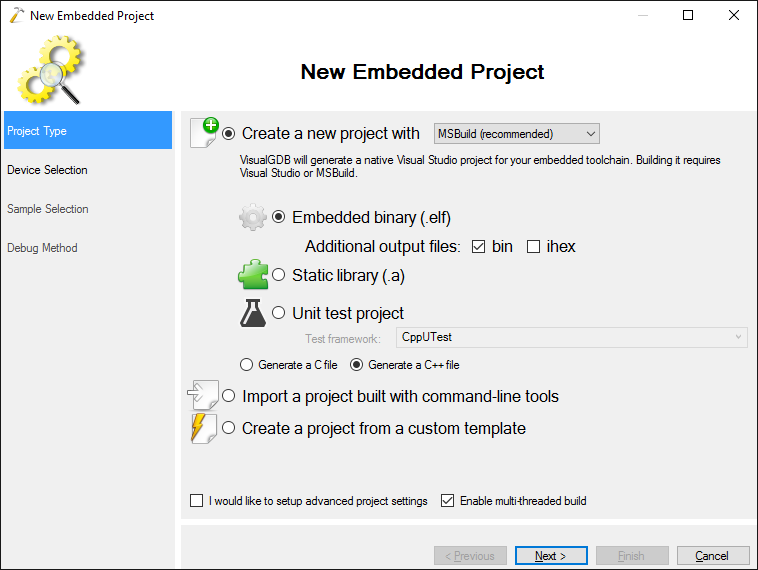
- Open the VisualGDB Embedded Project Wizard and select the MSBuild subsystem:
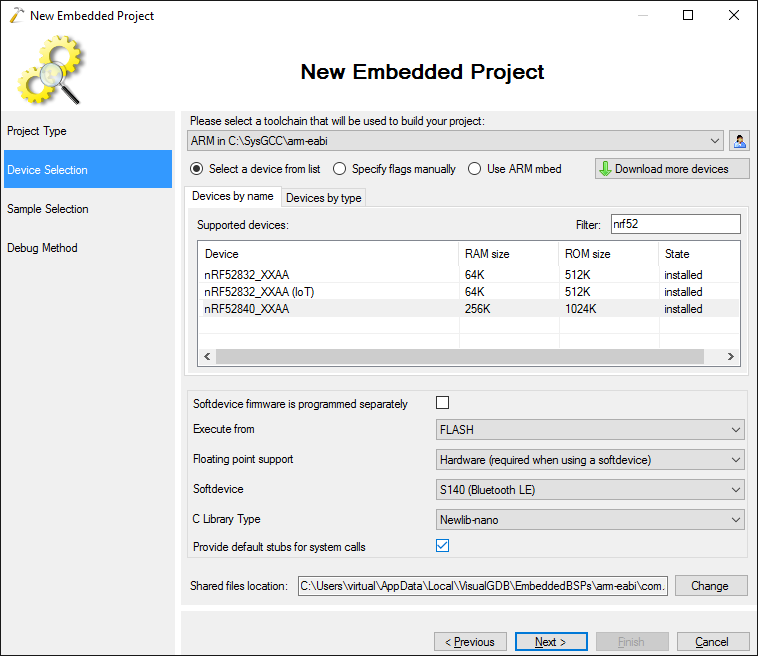
- On the next page select the nRF52840_XXAA device and enable the “Provide default stubs for system calls” checkbox:
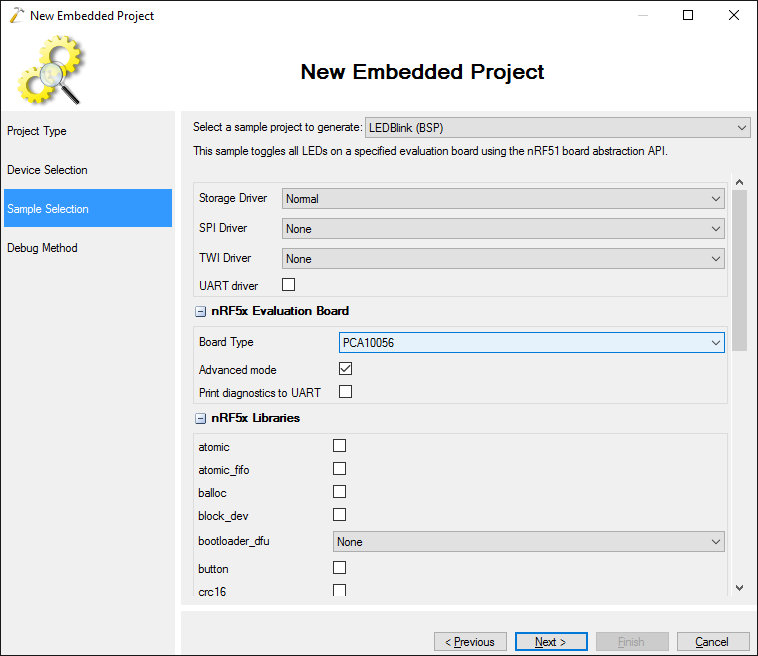
- On the next page select a sample. We recommend starting with the LEDBlink (BSP) sample to test out the board connectivity before trying anything more complex. Select the PCA10056 board type that corresponds to the nRF52840 development kit:
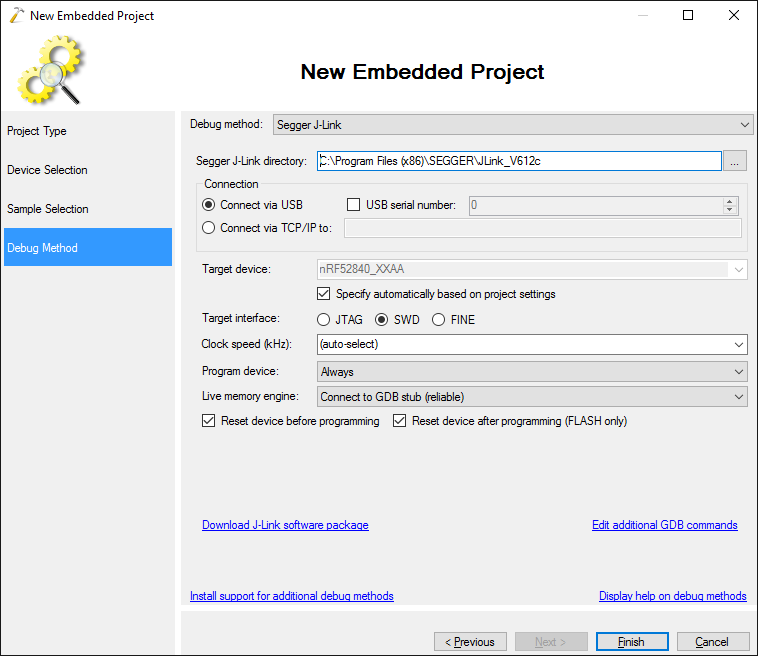
- Install Segger J-Link software, then select “Segger J-Link” on the Debug Method page and press “Finish” to generate the project:
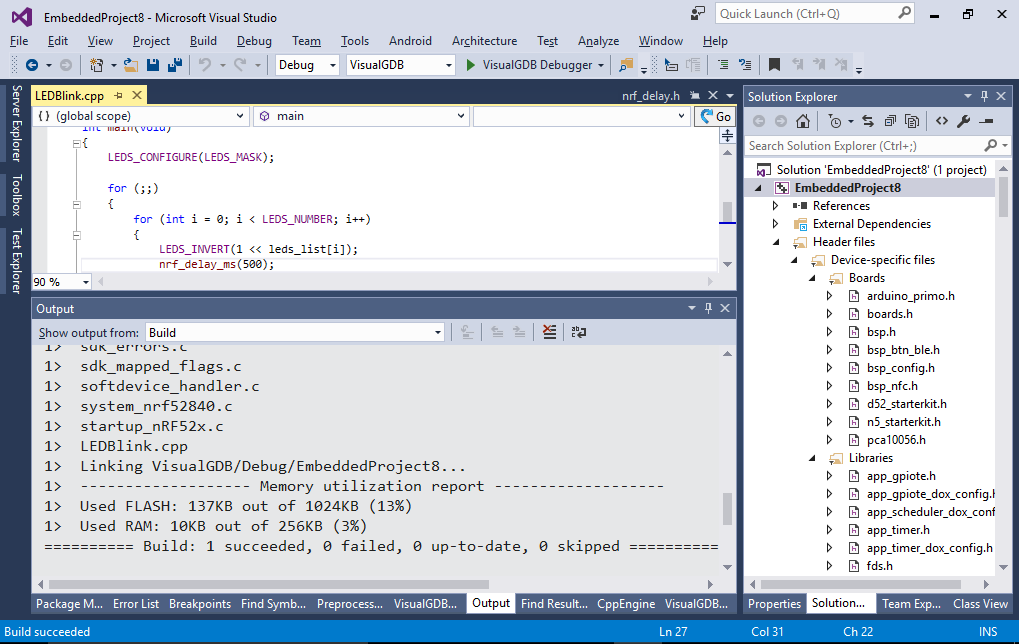
- Now you can build the project with Ctrl-Shift-B:
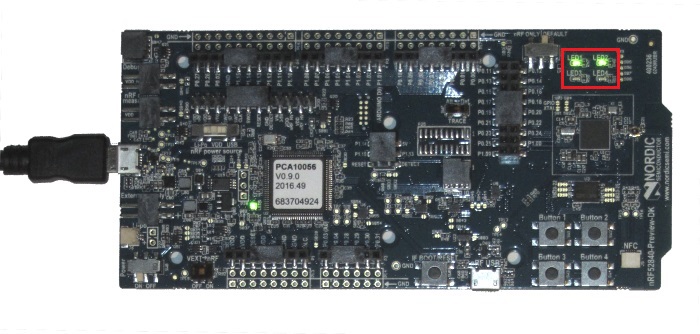
- Press F5 to begin debugging. Observe how the 4 LEDs on the board are blinking:
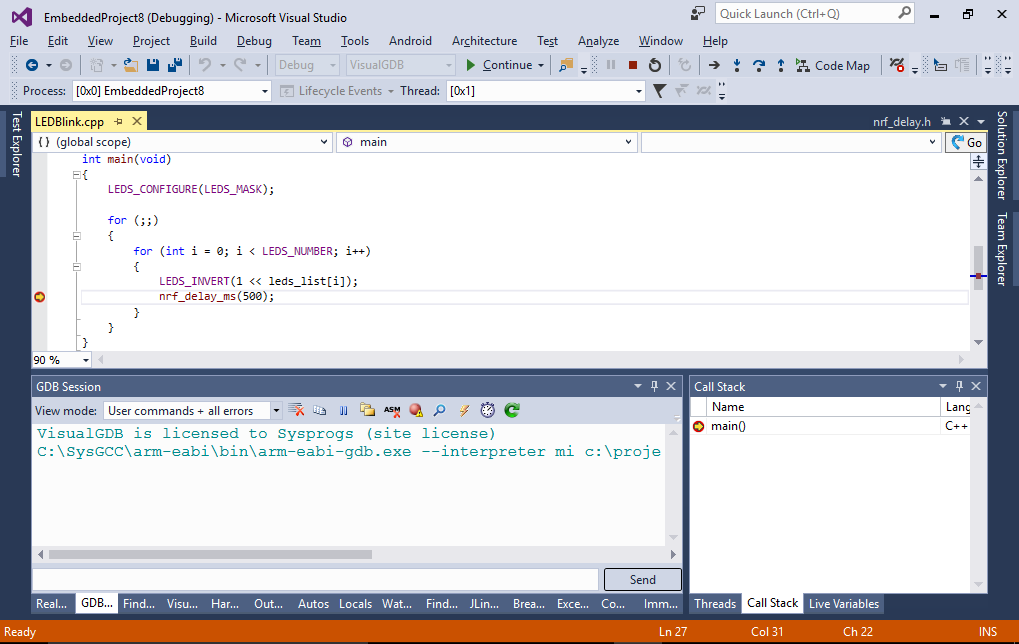
- Set a breakpoint somewhere in the main loop to quickly check that breakpoints and stepping work:
- Now you can try creating projects based on more complex samples. Keep in mind that the Alpha release of the SDK is unstable and some of the examples may not work. E.g. in our tests the BLE Mouse example did not work on the nRF52832 chip and only worked first time after erasing bonds on nRF52840.


