Using Stand-alone Embedded VisualGDB Projects
This tutorial shows how to convert an Embedded VisualGDB project into a stand-alone project. Unlike normal projects that reference common BSP files (e.g. driver libraries), the stand-alone projects are self-contained and hence can be fully modified without affecting other projects. Stand-alone projects are supported since VisualGDB 4.3.
We will first create a basic project for the STM32F4Discovery board using the HAL library and then convert it to a stand-alone project and replace the HAL library with the older peripheral driver library.
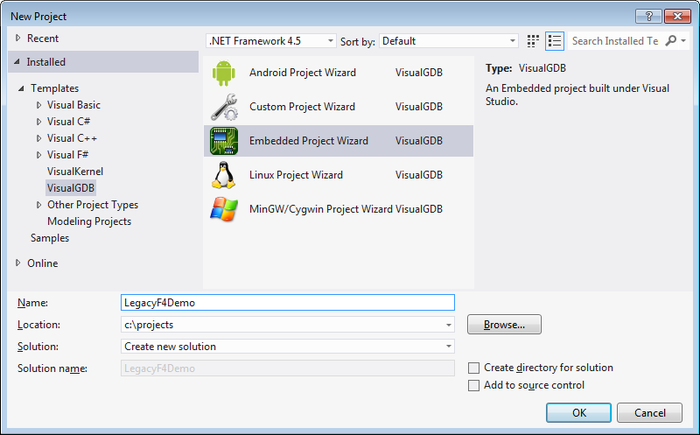
- Create a new project using the VisualGDB Embedded Project Wizard:
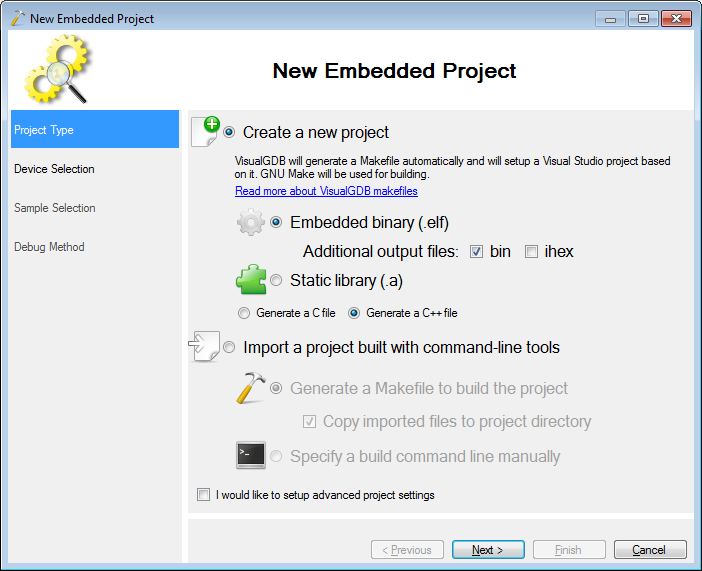
- Select “Embedded binary” on the first page:
- Select your device on the next page:

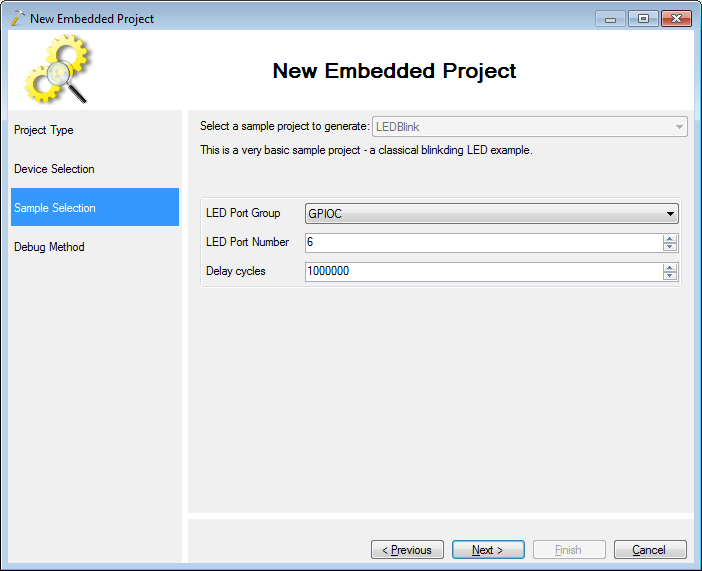
- As we will be heavily modifying the main source file to remove references to the HAL library, you can proceed with the default sample settings:
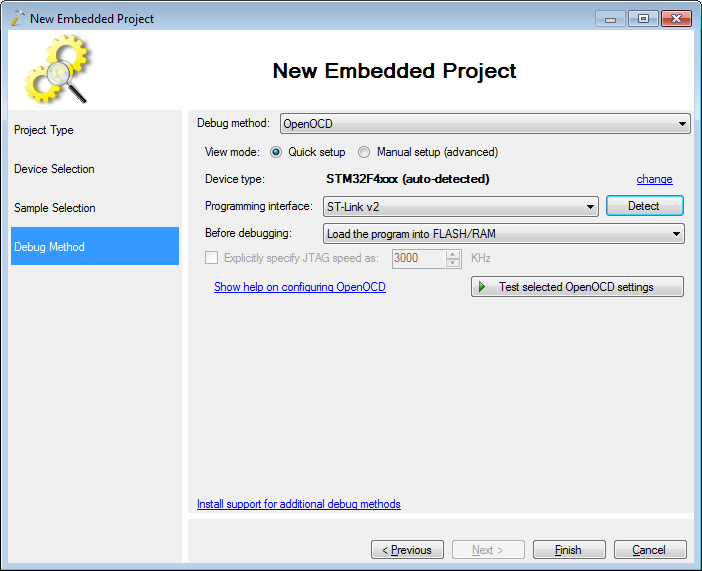
- Select the debugging method you want to use:
- Once you press “Finish”, VisualGDB will create a new project using the STM32F4 HAL library:
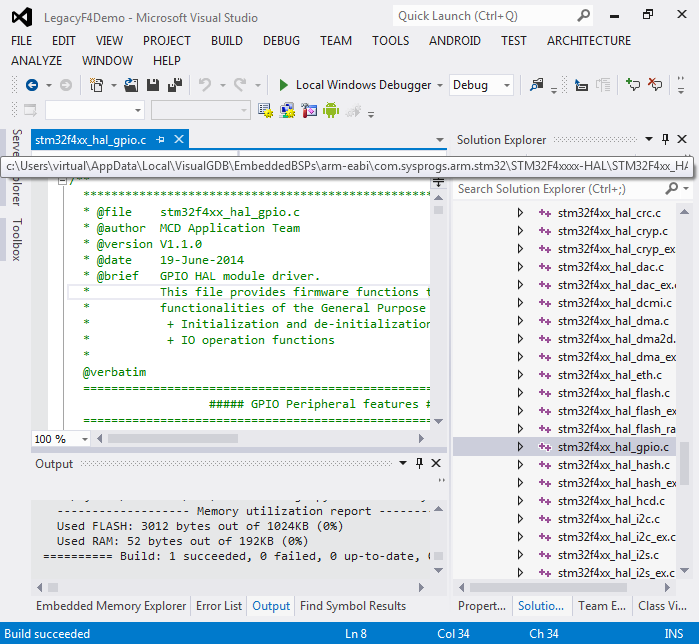
- We will now convert it to a stand-alone project and replace the HAL library with the old peripheral drivers.
Copy the legacy STM32F4 files from %LOCALAPPDATA%\VisualGDB\EmbeddedBSPs\arm-eabi\com.sysprogs.arm.stm32\STM32F4xxxx to a different folder (e.g. c:\projects\STM32F4xxxx). Then open VisualGDB Project Properties, press the “Convert to stand-alone project” and select “Remove references to BSP files”:
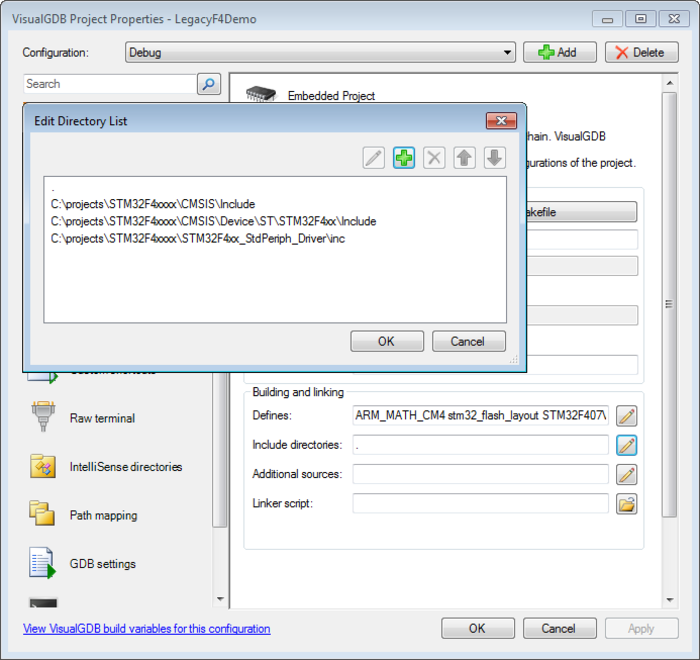
- We will now add the references to the legacy files manually. First reference all include directories from the legacy package that contain .h files:
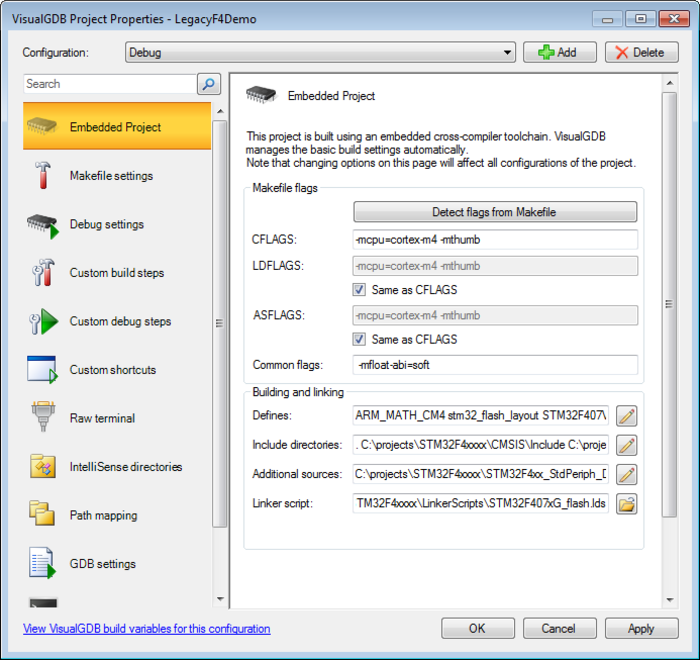
- The add the contents of the STM32F4xx_StdPeriph_Driver\src folder as well as the startup_stm32f4xx.c and the system_stm32f4xx.c files to Additional Sources and specify the linker script matching your device:
- If you try building your project now, the STM32 header file will report an error because the device type definitions of the legacy driver library are incompatible with the ones retained from the HAL project:

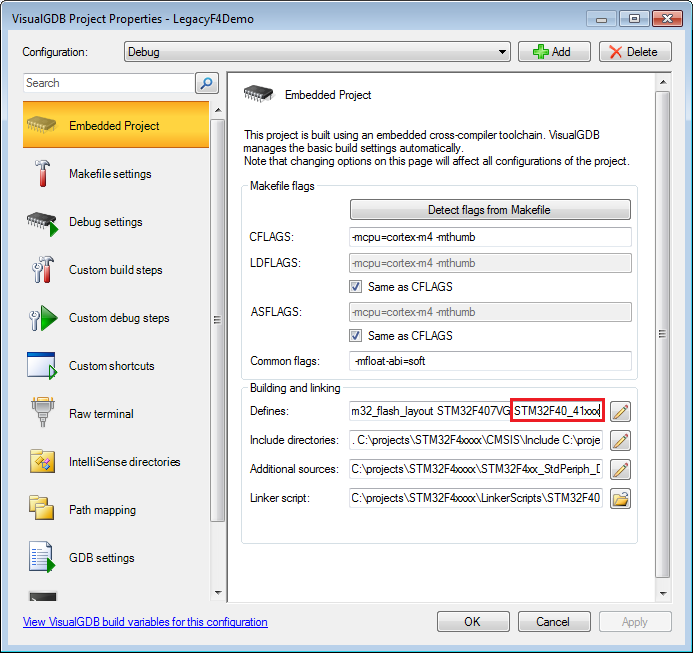
- Go to VisualGDB Project Properties and replace the STM32F407xx definition with STM32F40_41xxx:
- Finally replace the contents of the main file with an equivalent depending on the legacy API:
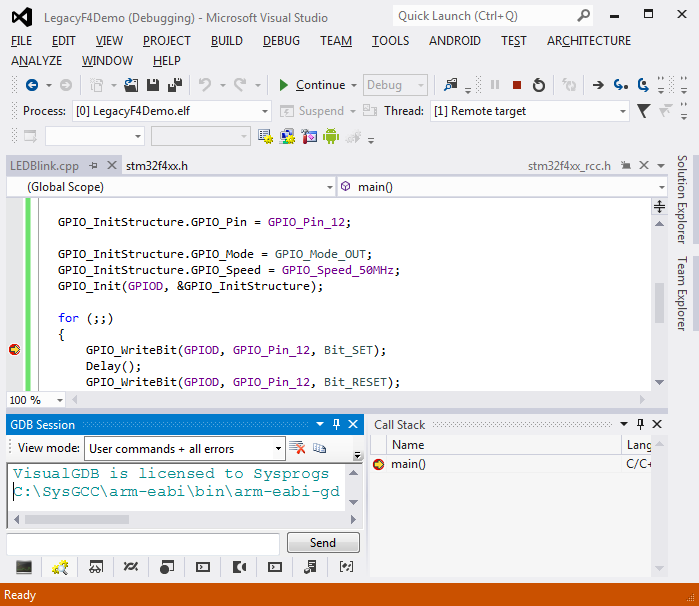
#include<stm32f4xx_gpio.h> #include<stm32f4xx_rcc.h> void Delay() { int i; for (i = 0; i < 1000000; i++) asm("nop"); } int main() { GPIO_InitTypeDef GPIO_InitStructure; RCC_AHB1PeriphClockCmd(RCC_AHB1Periph_GPIOD, ENABLE); GPIO_InitStructure.GPIO_Pin = GPIO_Pin_12; GPIO_InitStructure.GPIO_Mode = GPIO_Mode_OUT; GPIO_InitStructure.GPIO_Speed = GPIO_Speed_50MHz; GPIO_Init(GPIOD, &GPIO_InitStructure); for (;;) { GPIO_WriteBit(GPIOD, GPIO_Pin_12, Bit_SET); Delay(); GPIO_WriteBit(GPIOD, GPIO_Pin_12, Bit_RESET); Delay(); } } - Now you can build and debug your project as usual:


Let’s summarize the differences of a stand-alone project compared to a normal project:
- Stand-alone project does not depend on any VisualGDB-maintained files (unless specified explicitly)
- You can freely modify the startup files, peripheral drivers, etc. Only the projects explicitly using the files in the same location will be affected, while the normal projects using files from %LOCALAPPDATA% will remain unchanged.
- You cannot use the GUI to conveniently change the MCU of a stand-alone project, instead you need to modify various compiler settings directly.