Importing Cygwin-based Projects to Visual Studio
This tutorial shows how to import existing cygwin-based projects to Visual Studio. We will download the sources for the GNU diffutils package, configure it with cygwin and use Visual Studio to build and debug them.
Before you begin, please install Cygwin and VisualGDB.
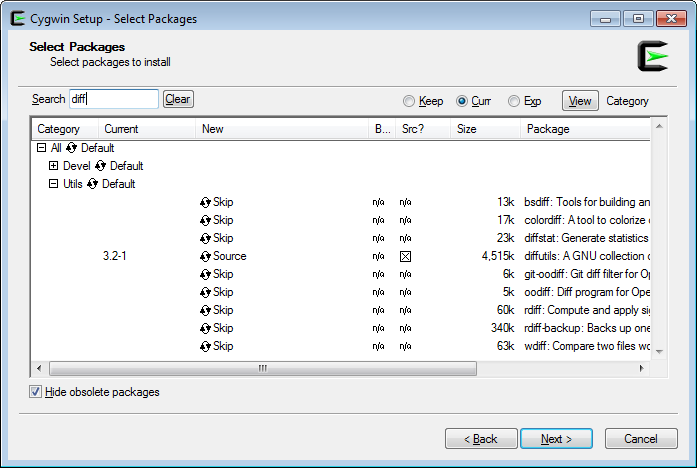
- To fetch the source archive, open Cygwin installer, find the diffutils package and check the “Source” checkbox.
- When the installation completes, the source package will be automatically extracted to /usr/src/diffutils-<version>. Please start cygwin shell, go to the diffutils directory and configure them by typing the following command:
./configure
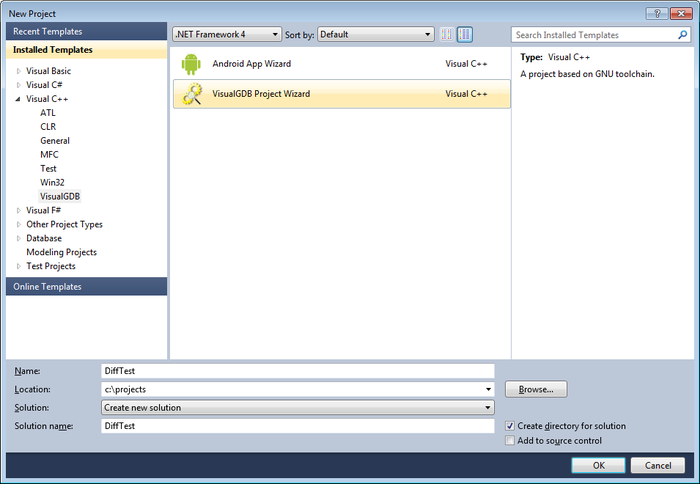
- Now open Visual Studio, select File->New->Project and choose VisualGDB wizard:
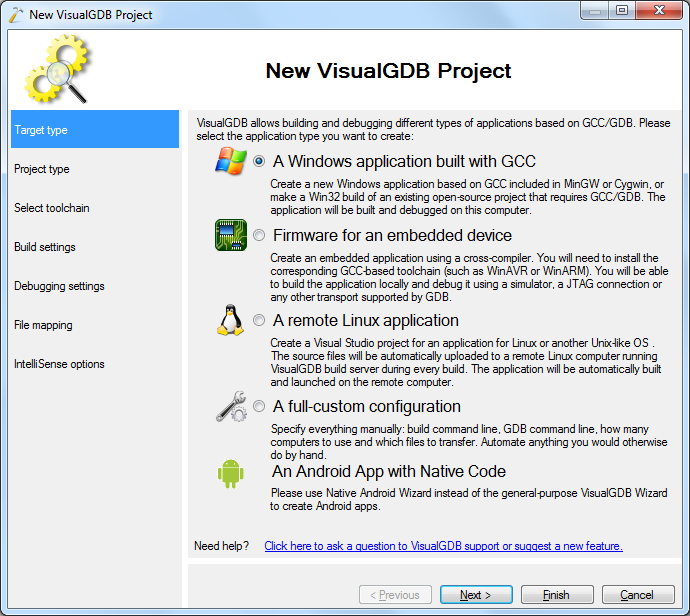
- In the VisualGDB wizard select “Windows Application”
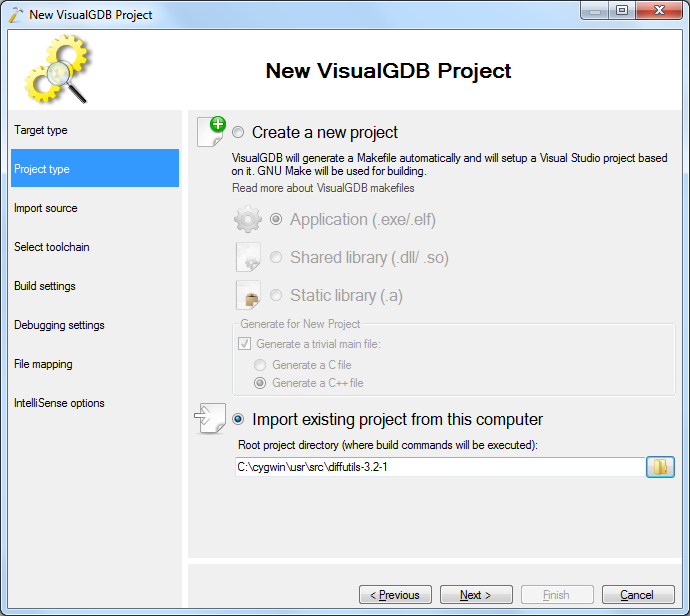
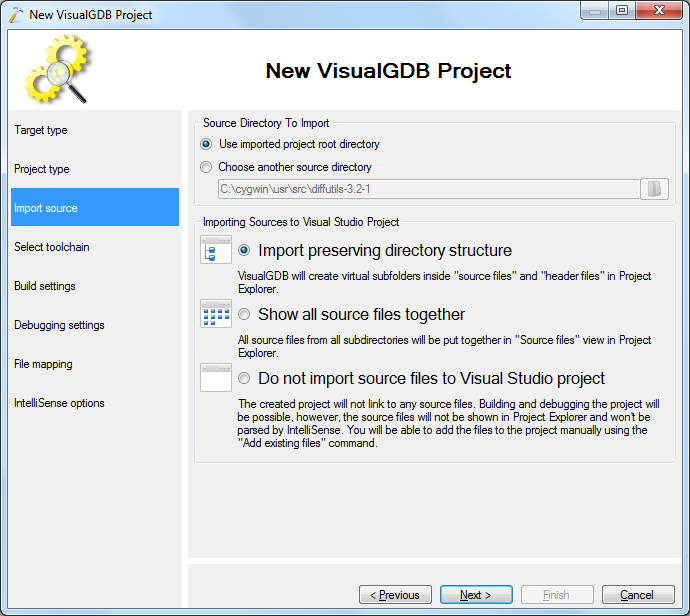
- On the next page select “Import existing” and specify the directory where you have configured diffutils.
- The next page allows to choose whether you want to import the source files into the Solution Explorer. This will make Visual Studio parse them with IntelliSense so that the Go To Definition function will work, but might take some time. Importing files to Solution Explorer does not affect building or debugging. In this tutorial we will choose the first option:
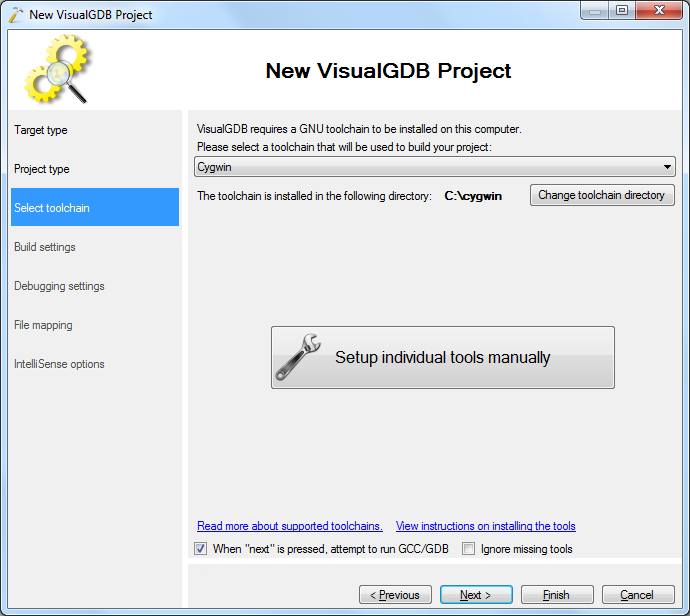
- On the next page select “Cygwin” as the toolchain.
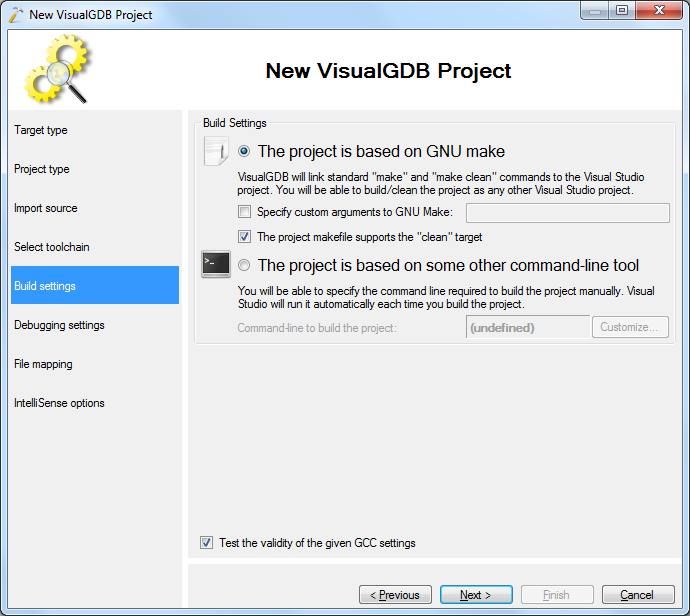
- Ensure that the “Project is based on GNU Make” checkbox got selected automatically. If not, you have either selected a wrong directory, or the configure script has failed to create the Makefile.
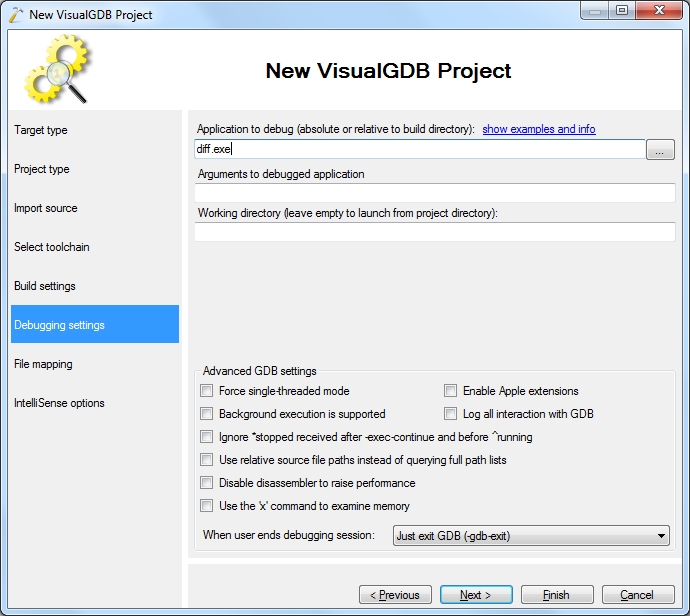
- This page allows selecting the application to debug. As we don’t know the exact path right now, just enter “diff.exe”. We will change it later. Press Finish.
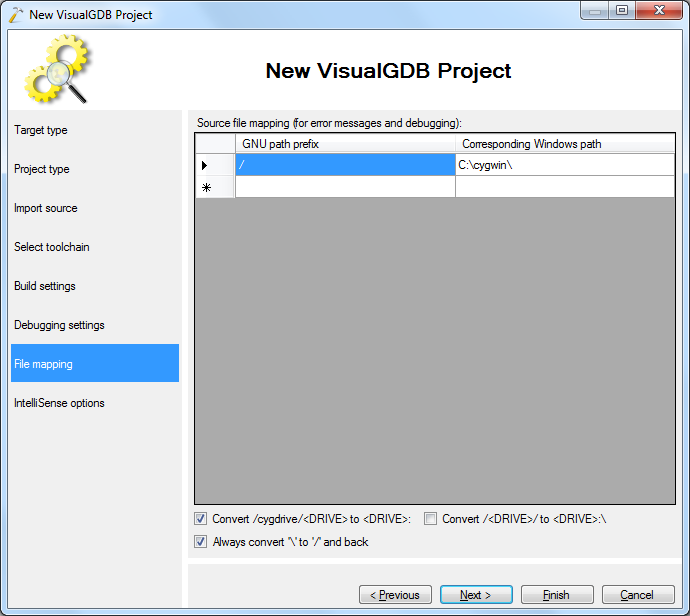
- The next page allows setting custom path mapping for error messages. You don’t need to change anything here now.
- When the project is created, build it by pressing Ctrl+Shift+B in Visual Studio. If you get any errors, Visual Studio will show them in the Errors window.
- In order to find out the name of the EXE file, run the following command in the directory that you have specified when importing the project:
find -name *.exe
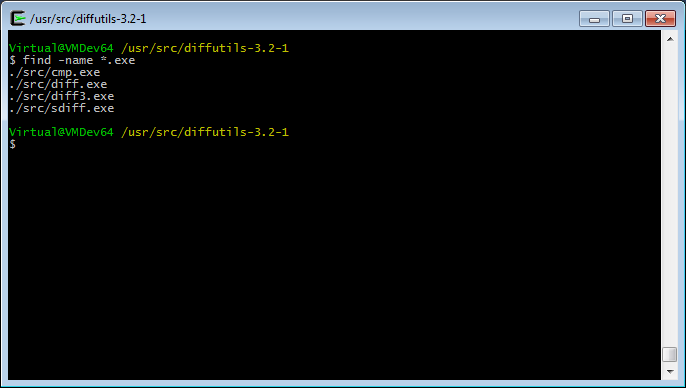
- We will debug diff.exe, thus the relative path is src/diff.exe
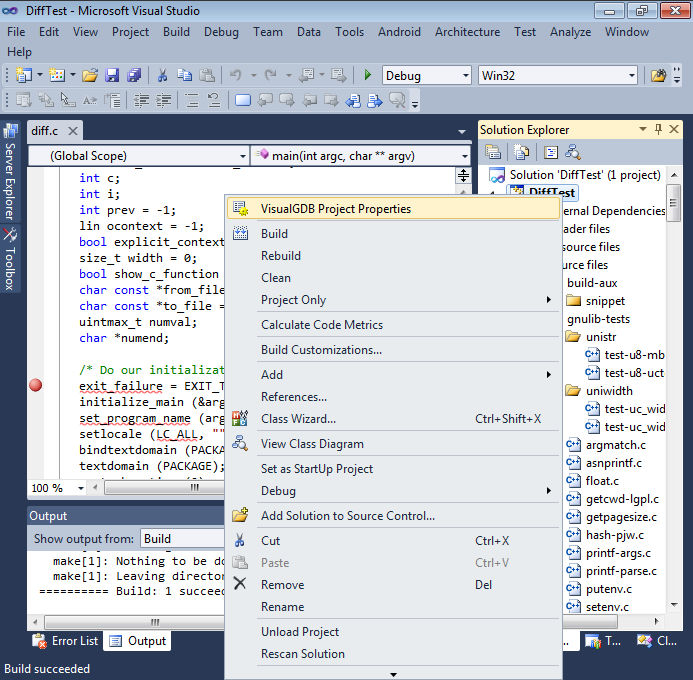
- Go back to Visual Studio, right-click at the project and select VisualGDB Project Properties:
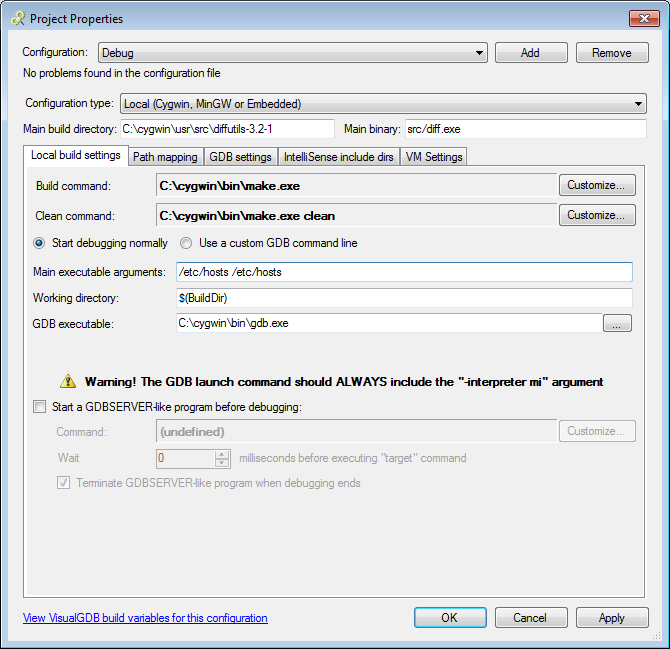
- Enter the relative path to the debugged executable (src/diff.exe) to the “Main Binary” field. Just to run a simple test, we will let diff.exe compare the /etc/hosts file to itself. Enter the following arguments in the “Main executable arguments” field:
/etc/hosts /etc/hosts
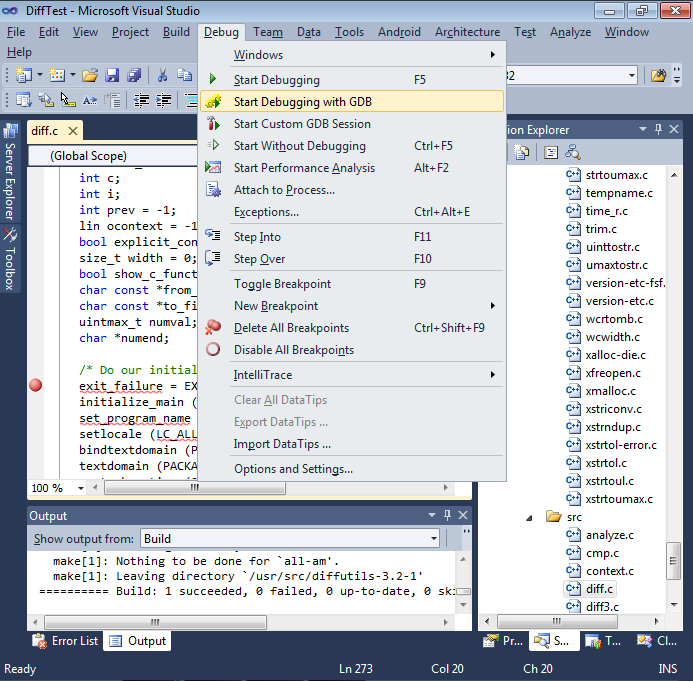
- Open the “diff.c” file and put a breakpoint on the diff_main() function. Then select Debug->Start Debugging with GDB:
- When the breakpoint is hit, you can inspect the values of argv[] array by using GDB array syntax. Enter the following expression to the watch window:
*argv@3
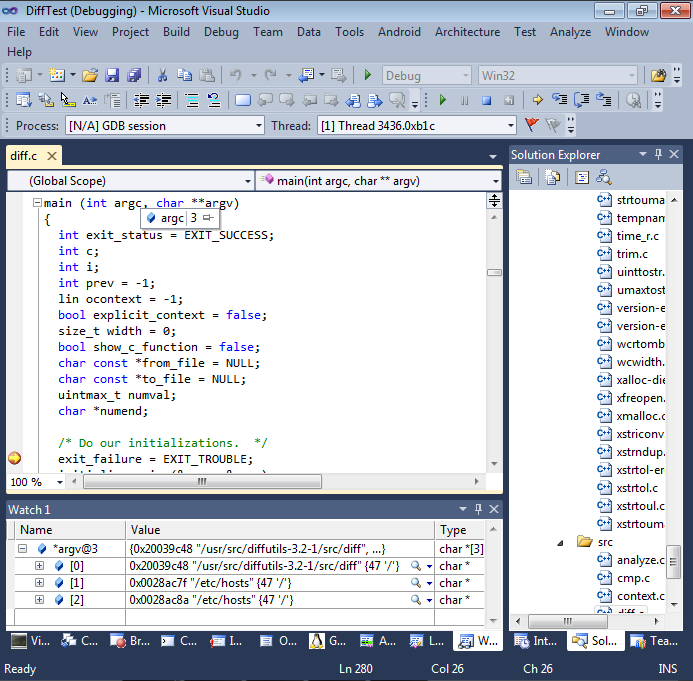
- Visual Studio will show you the diff path and both arguments exactly as GDB reports it.
- You can now set breakpoints, step through your program and use any other Visual Studio debugging techniques. To stop debugging, press Shift-F5.


