Creating llvm/clang Linux projects with Visual Studio
This tutorial shows how to create, build and debug a Linux application using the clang compiler under Visual Studio with VisualGDB.
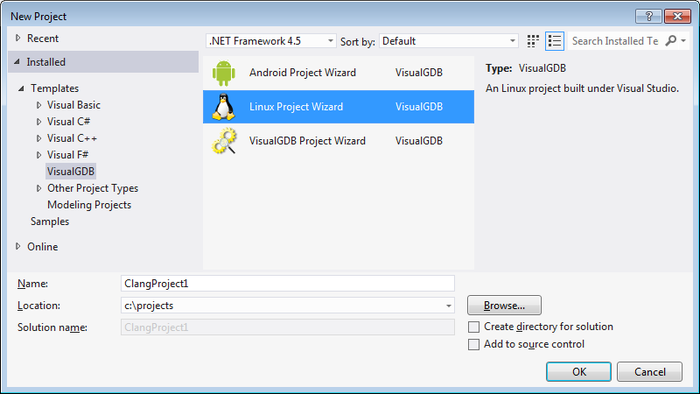
- Install VisualGDB on your Windows machine with Visual Studio. Start Visual Studio, select File->New Project->VisualGDB->Linux Project Wizard:
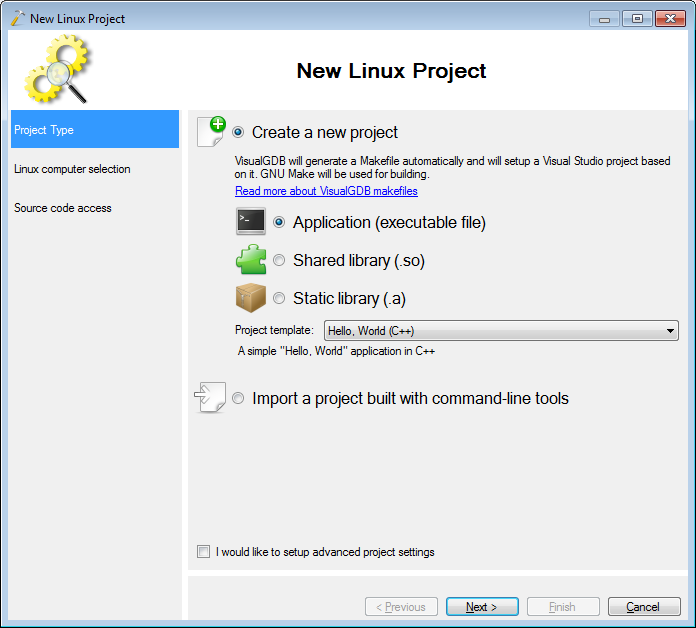
- On the first wizard page select “New Application”:
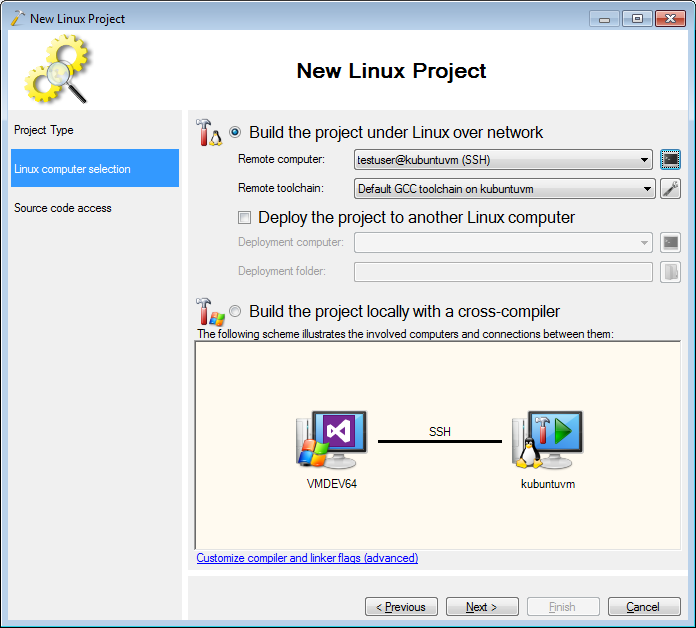
- Select a computer where you want to run clang. If you have troubles setting up the SSH connection, follow the Linux quickstart manual.
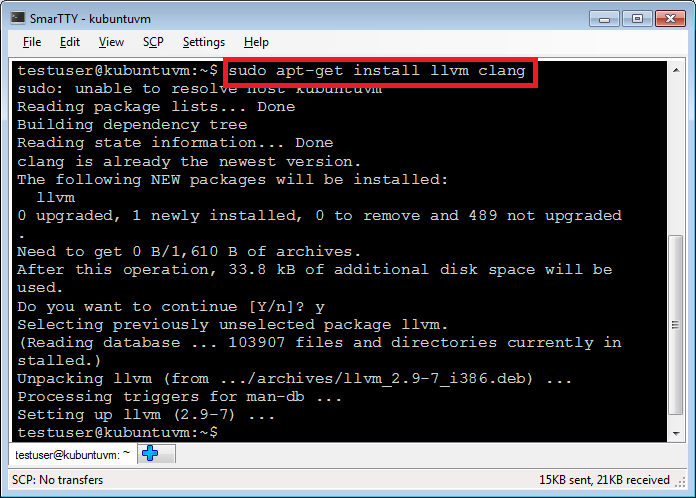
- If you don’t have clang installed, or are unsure about it, click at the terminal icon to the right from the computer selection. A new terminal window will open. Run the following command to install clang on your Debian-based Linux system:
sudo apt-get install llvm clang
If you are using a Red Hat-based system instead, use yum to install LLVM/clang.
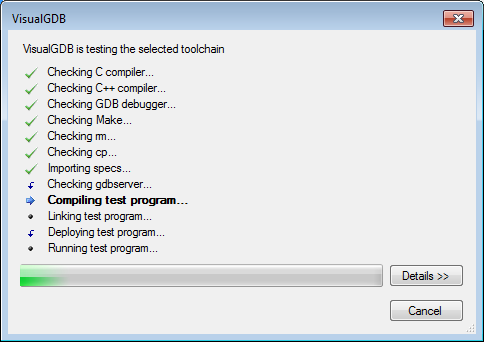
- The terminal window is running in a separate process, so you can safely go back to the wizard and keep it running in the background. Once you press the “Next” button in the wizard, VisualGDB will automatically test your toolchain:
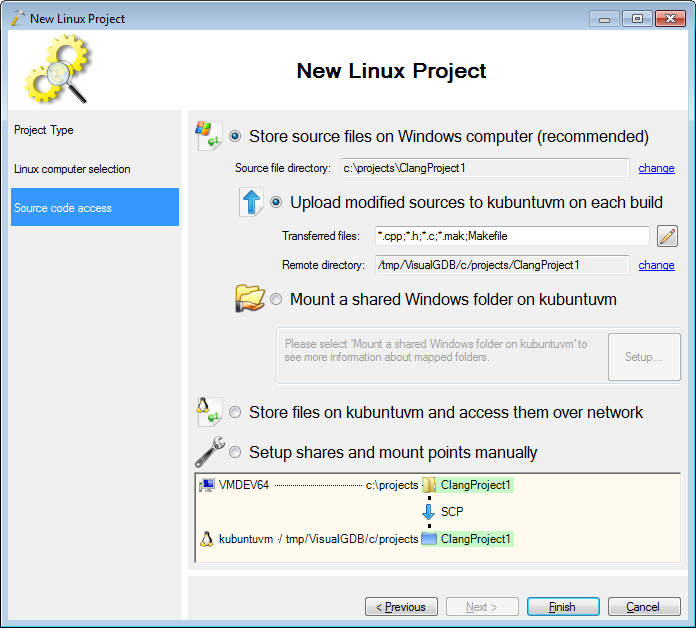
- The last wizard page allows customizing the way source files are transferred between the Windows and the Linux computers. The easiest way is to accept the default settings:
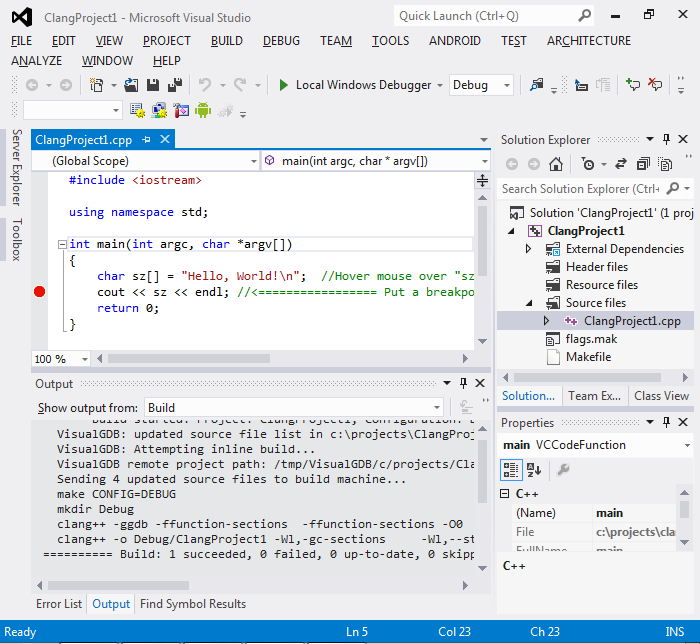
- When you press Finish, VisualGDB will create a new Visual Studio project for you. Press Ctrl-Shift-B to build it. You will see how clang is invoked in the background:
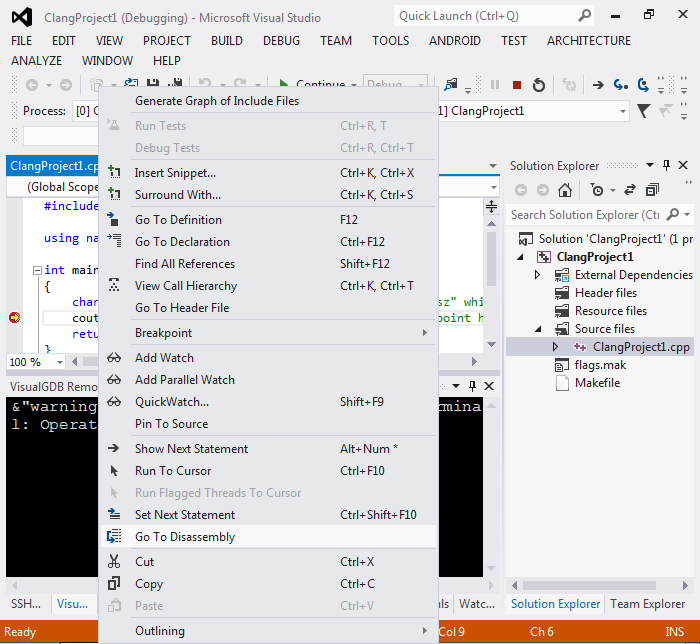
- Set a breakpoint anywhere in the code and press F5 to start debugging. When a breakpoint is hit, right-click anywhere in the source code and select “Go to disassembly”:
- You can use the disassembly view to see the source code and the corresponding disassembler dump:
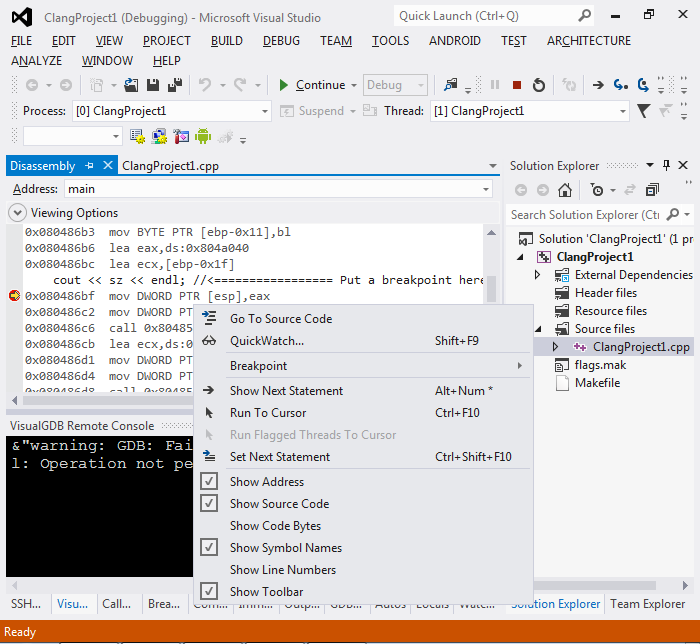 Use the context menu to set various disassembly options and select which information to show.
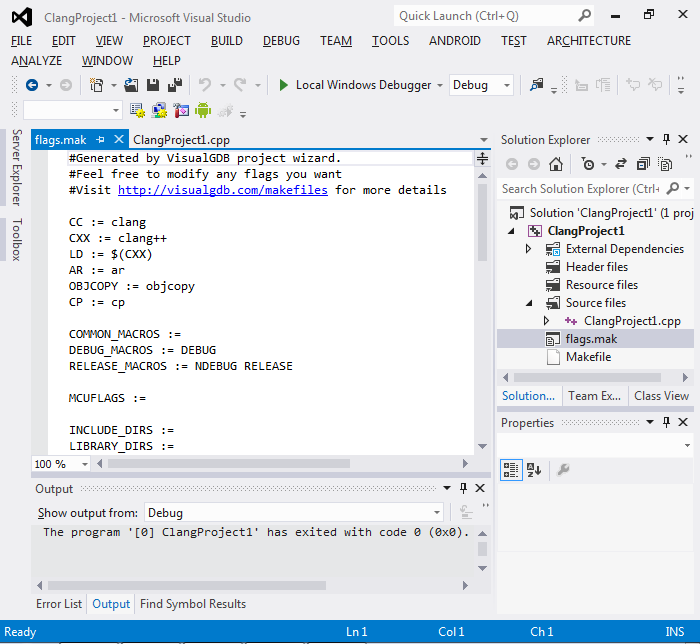
 - You can easily modify the compiler flags by editing the flags.mak file: