Creating Qt5 projects on Ubuntu with Visual Studio
This tutorial shows how to create, build and debug a simple Qt5 project on a Kubuntu machine using Visual Studio.
Before you begin, make sure that VisualGDB 4.1 or later is installed.
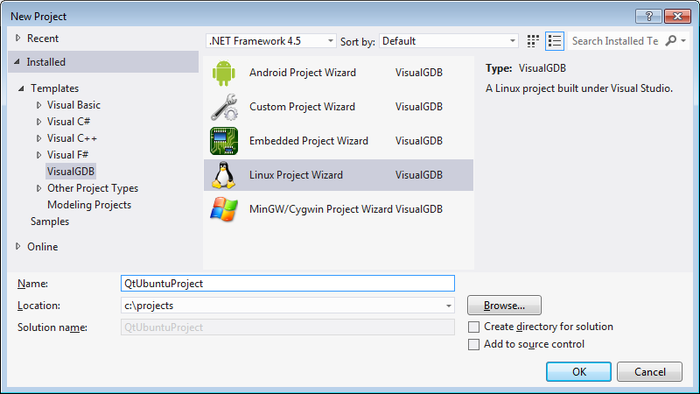
- Start Visual Studio. Start creating a new project using the Linux Project Wizard from VisualGDB folder:
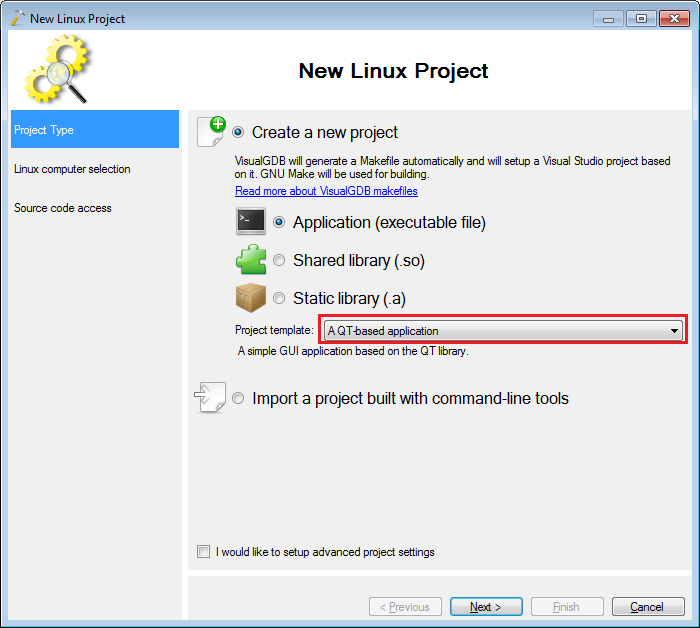
- On the first wizard page select “A QT-based application”:
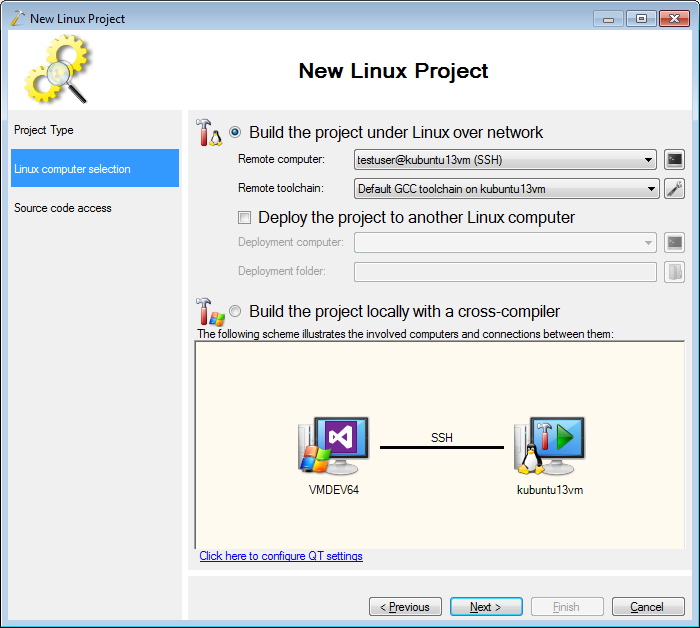
- On the next page specify the Ubuntu machine that you want to target. Note that the machine should have an SSH server installed and running:
- By default VisualGDB will generate a QT4-based project. To switch it to QT5 click “configure QT settings” and select “QT5” from the list:

- Press “Next”. VisualGDB will check you QT5 installation and , VisualGDB will offer installing it automatically:
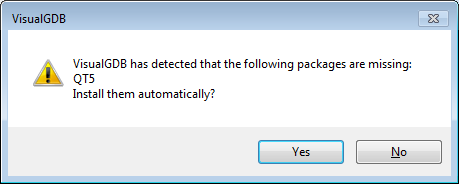 If the automatic installation fails, run the following commands on your Ubuntu machine to install it manually:
apt-add-repository -y ppa:canonical-qt5-edgers/qt5-proper
apt-get update
apt-get install qtdeclarative5-dev
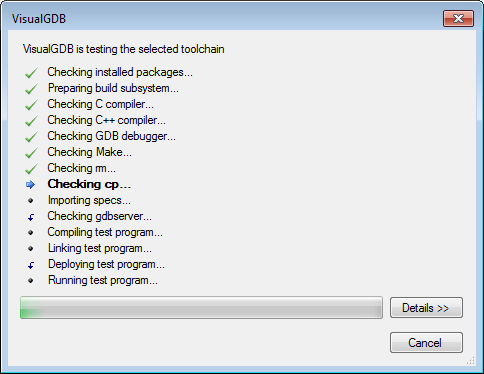
- After checking/installing QT5 VisualGDB will test other tools necessary to build your project:
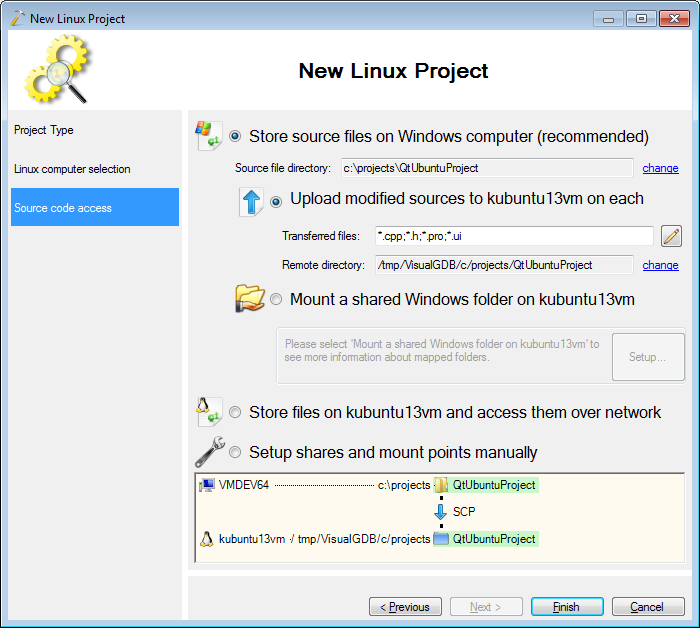
- On the last wizard page you can setup the method that will be used to synchronize source files between your Windows and Ubuntu machines. If you keep the default settings the sources will be stored on the Windows machine and the modified files will be automatically uploaded on each build:
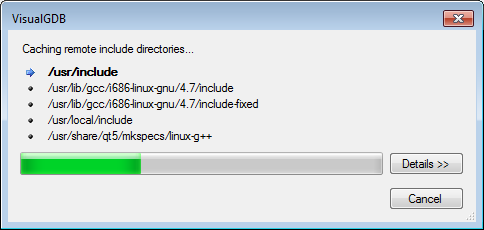
- Press Finish to let the wizard create a project for you. VisualGDB will automatically create a local copy of include directories from the Ubuntu machine and make them available to IntelliSense:
- Build your project by pressing Ctrl-Shift-B. Note how the sources are uploaded to the Ubuntu machine and built there:
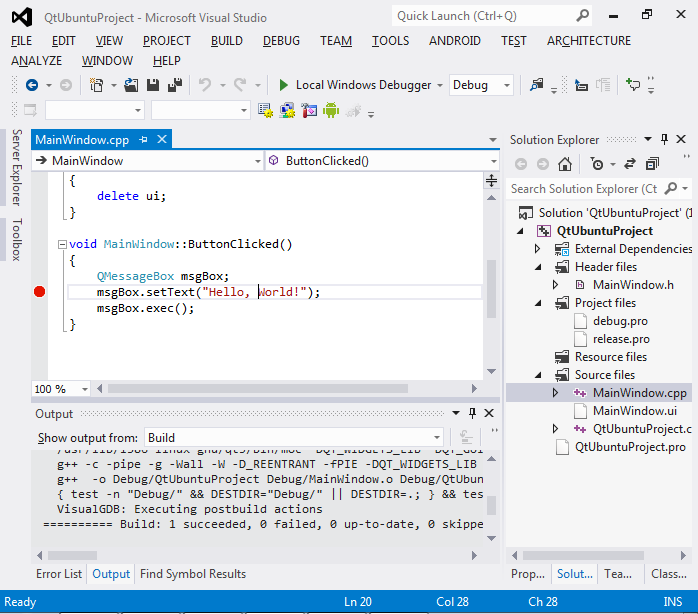
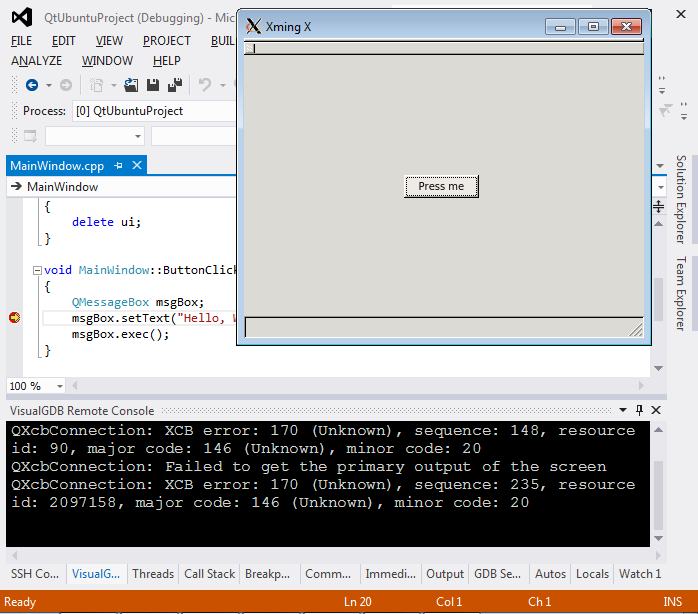
- Set a breakpoint in ButtonClicked() and press F5 to begin debugging. The application will be stared on the Ubuntu machine and its windows will be displayed on the development machine via XMing X server. Click at the button to trigger your breakpoint:
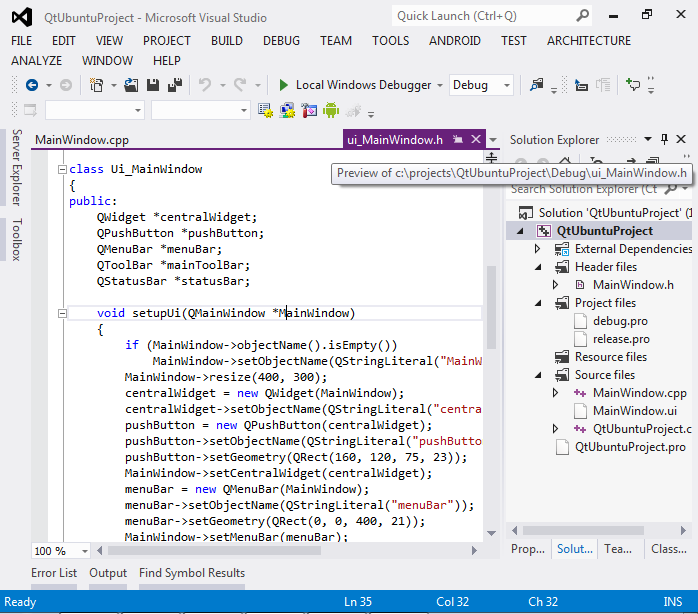
- When done debugging, note that IntelliSense does not recognize the ui_MainWindow.h file. This happens because the file is generated during the build process and is only present on the Ubuntu machine. We will fix it by adding a custom build action that will download the generated files after build. Right-click on your project in Solution Explorer and select VisualGDB Project Properties, then go to the Custom Build Steps page:
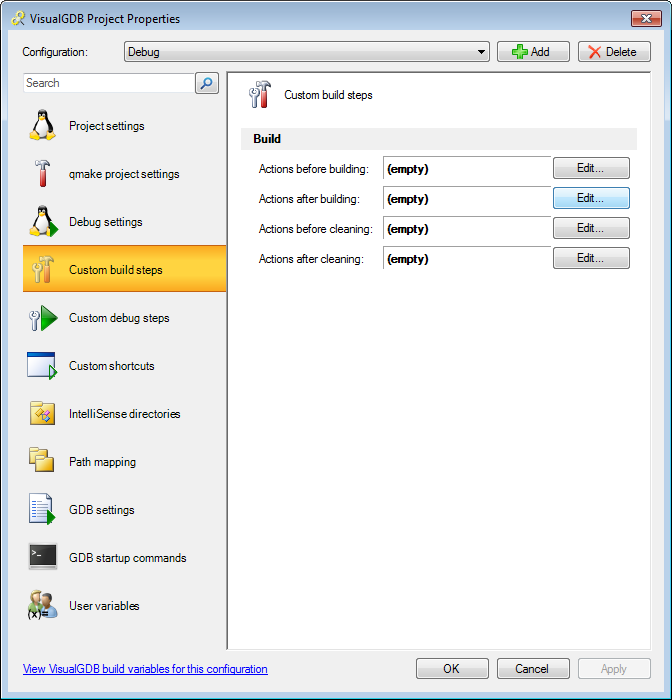
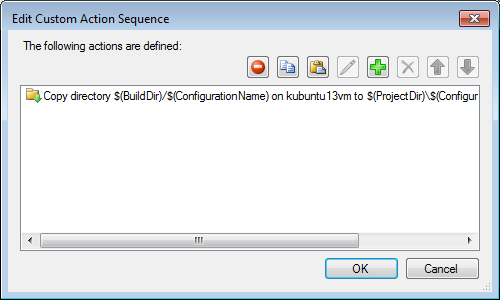
- Click “edit” near the “actions after building” list, then click “add”. Select “download a directory from a remote computer” and enter the following settings:
Remote computer Your Ubuntu machine Remote directory $(BuildDir)/$(ConfigurationName) Local directory $(ProjectDir)\$(ConfigurationName) 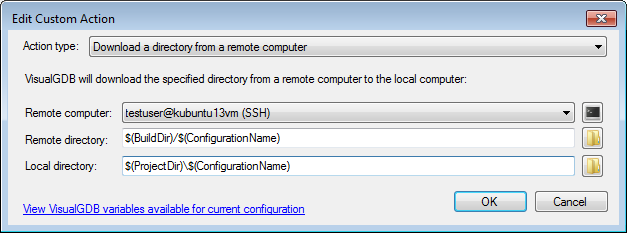
- Press OK to add action to the post-build action list:
- Build your project and reload it. Select the setupUi() call, right-click on it and select “Go to Definition”. Note how Visual Studio opens the generated ui_MainWindow.h file that was downloaded from the Ubuntu machine: