Developing Mbed firmware with Visual Studio
This tutorial shows how to create and debug a basic “Blinking LED” application using mbed – an IoT framework from ARM. Before you begin, install VisualGDB 5.1 or later and update your embedded tools via Tools->Embedded Tools Manager.
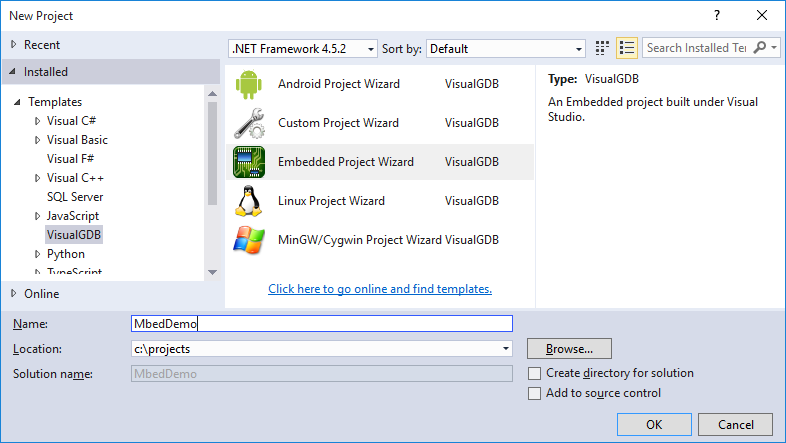
- Start Visual Studio and open the VisualGDB Embedded Project Wizard:
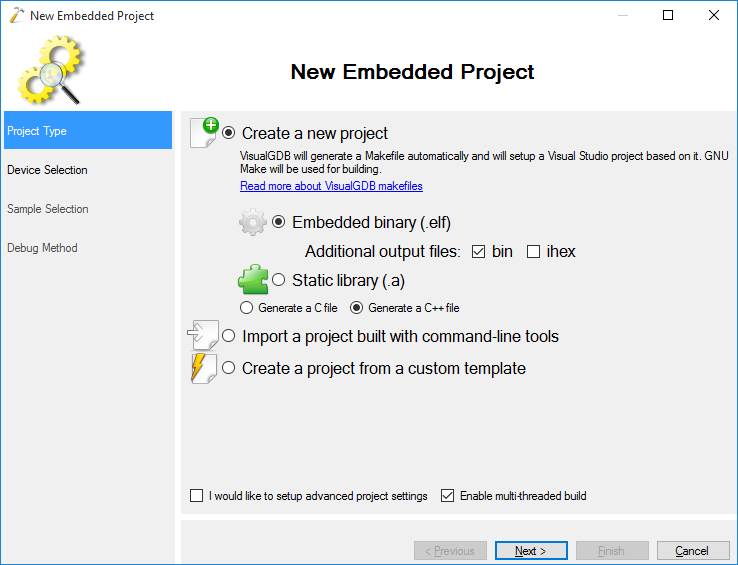
- Continue with the default settings on the first page of the wizard:
- On the next page select “Use ARM mbed” and select your device from the list. As the mbed framework includes all necessary code for each supported targets, VisualGDB will support all targets that are supported by mbed, even if it otherwise does not have separate BSPs for those targets. In this tutorial we will use the STM32F4Discovery board that corresponds to the DISCO_F407VG target in mbed, however you can use any device supported by mbed:
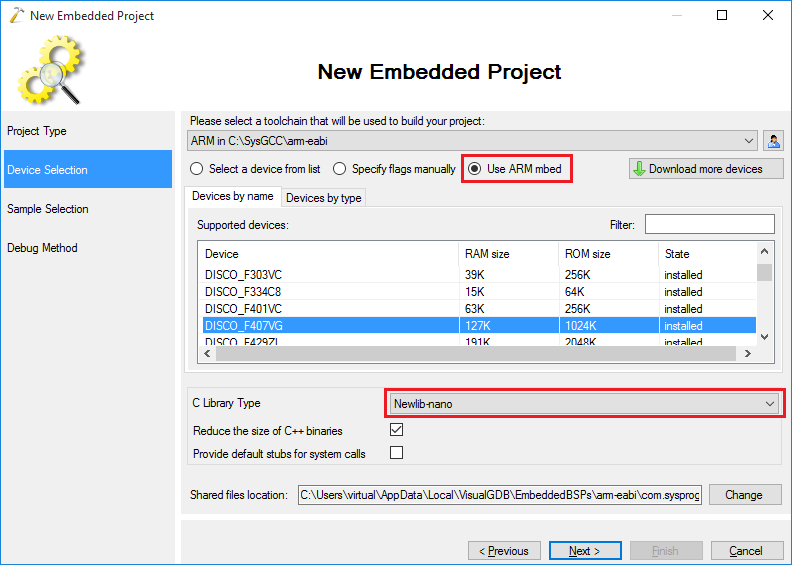 Select newlib-nano as your C library as the default C library requires considerable amount of FLASH memory
 - Continue with the default LEDBlink sample. There is no need to change the LED port number as LED1 will always correspond to the first LED on the selected board:
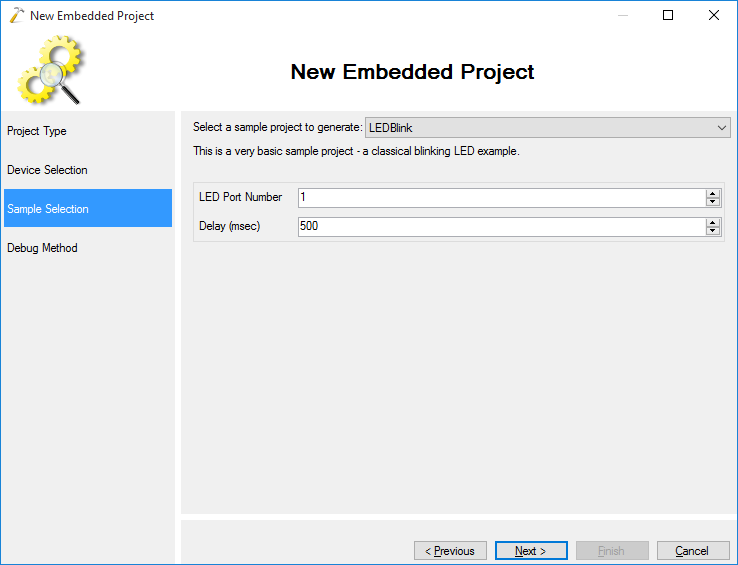
- On the Debug Settings page select the debug method that works with your board. For STM32 devices we recommend using OpenOCD, for NXP LPC and nRF51 we recommend Segger J-Link. For STM32 devices the OpenOCD configuration page will automatically select the necessary scripts. For other devices you will need to select the OpenOCD script from the list:
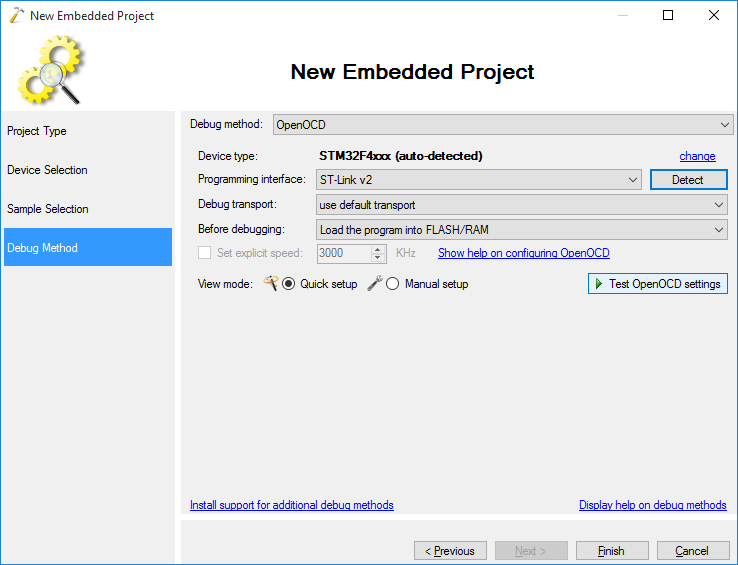
- Press Finish to create your project and then build it by pressing Ctrl-Shift-B:
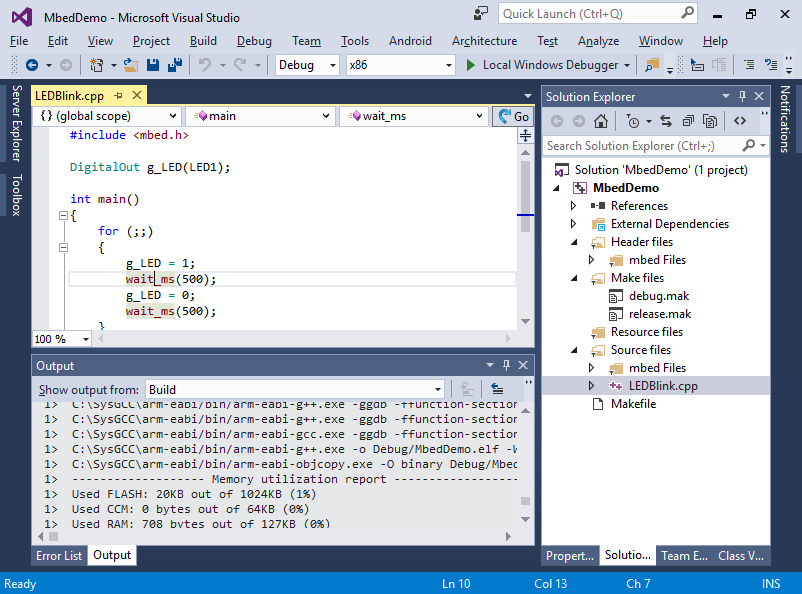
- Press F5 to start debugging. Observe how the LED blinks on your board. Set a breakpoint on the wait_ms() call and wait for it to trigger:
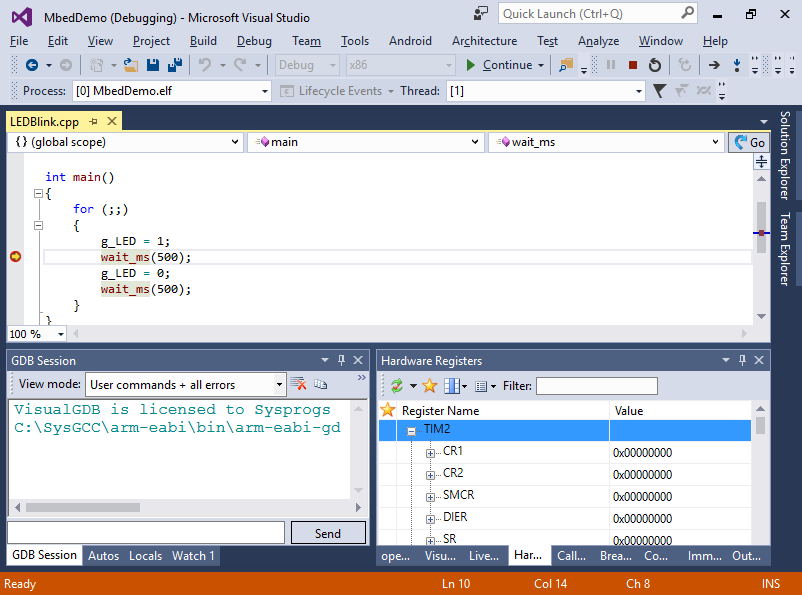
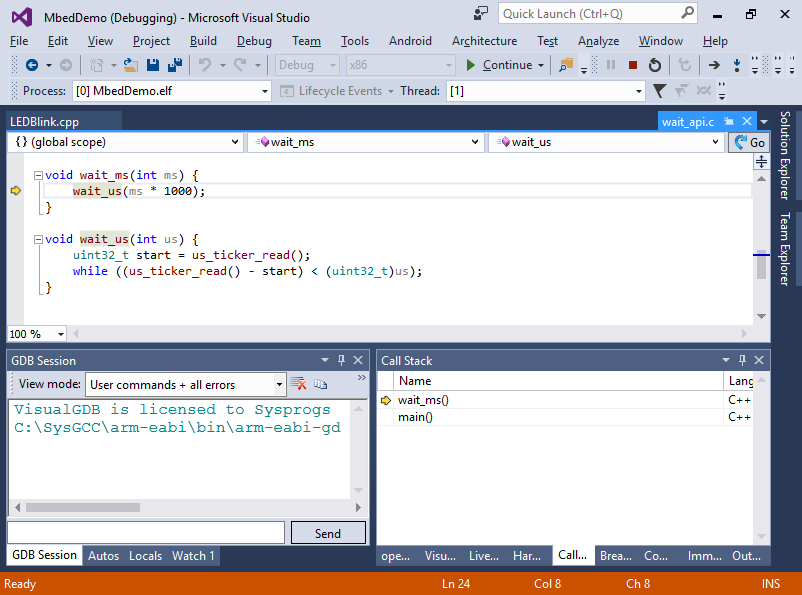
- Press F11 to step into the wait_ms() function. Your project includes all necessary mbed sources, so you will be able to step into them and even modify them:
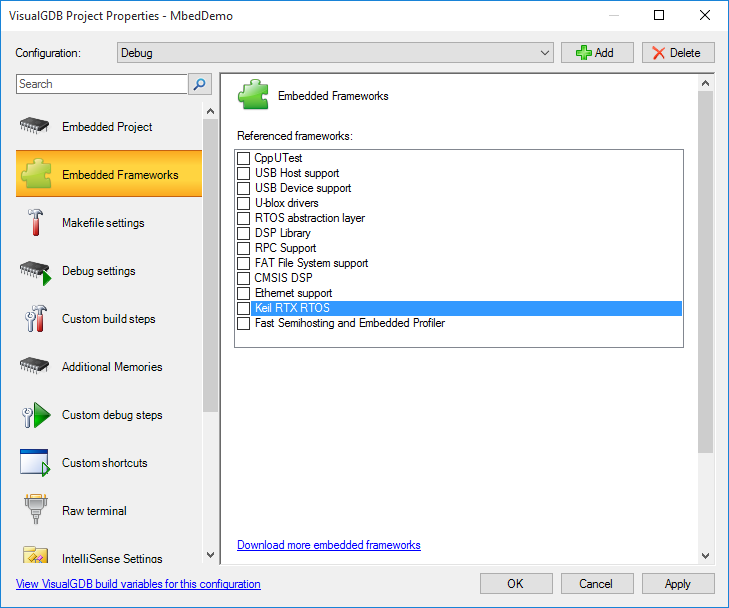
- When you are done debugging, open VisualGDB Project Properties and go to the Embedded Frameworks page. It will show the list of mbed frameworks (e.g. RTOS) that can be referenced by your project:
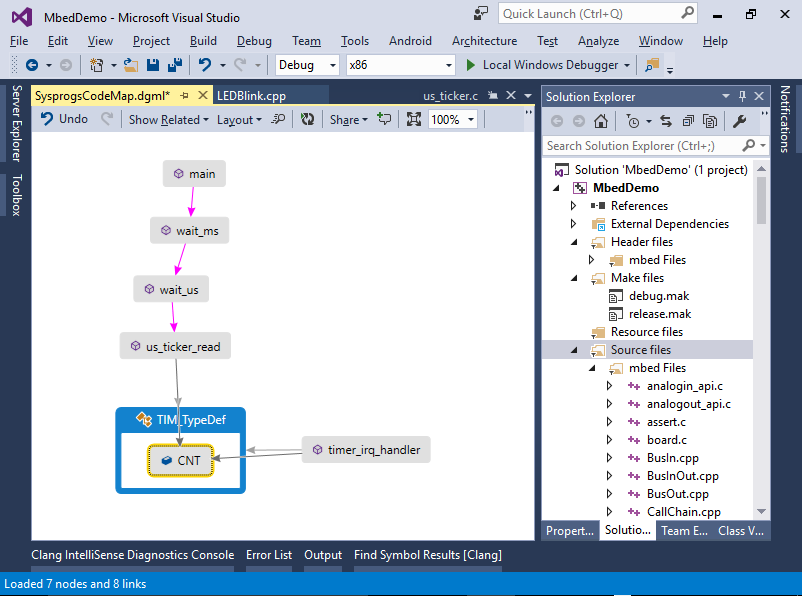
- You can also explore the mbed code visually by using the Code Map powered by the Clang-based IntelliSense engine. E.g. you can quickly visualize that the wait_ms() function called by main() reads in the TIM_TypeDef::CNT field assigned from the timer interrupt handler:
