Building and Debugging OpenGL on Linux with Visual Studio
In this tutorial we create, build and debug a OpenGL application on Linux with Visual Studio.
Before you begin, make sure that VisualGDB 3.1 or later is installed.
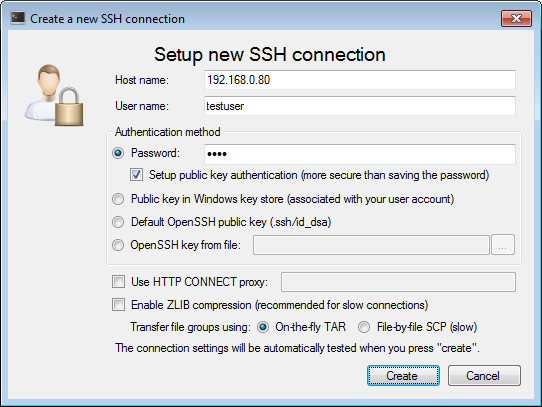
- First let’s install the OpenGL libraries on the Linux machine. You can use the SSH client provided with VisualGDB for it. Start Visual Studio and go to Tools->SSH Host Manager.
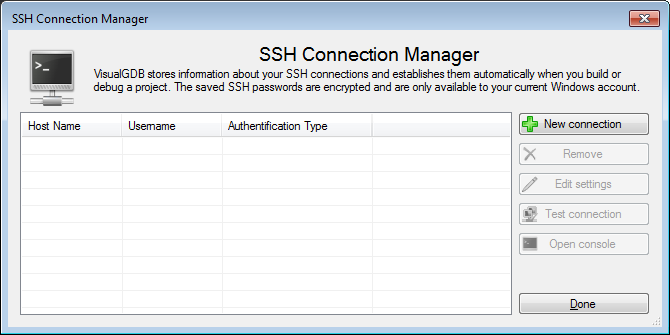
- Click on New Connection. Fill the host name, user name and password details to match the Linux machine details you intend to use. Check the box to setup public key authentication. Click on Create when done.
- Click on Open Console.
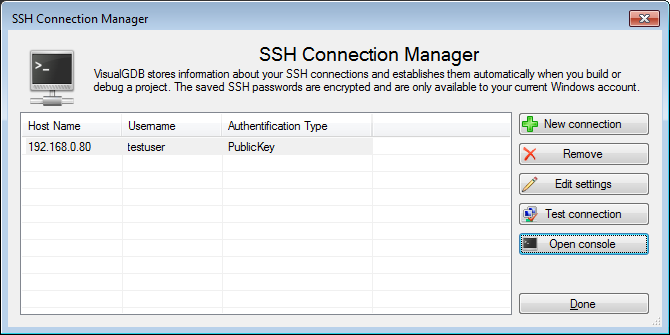
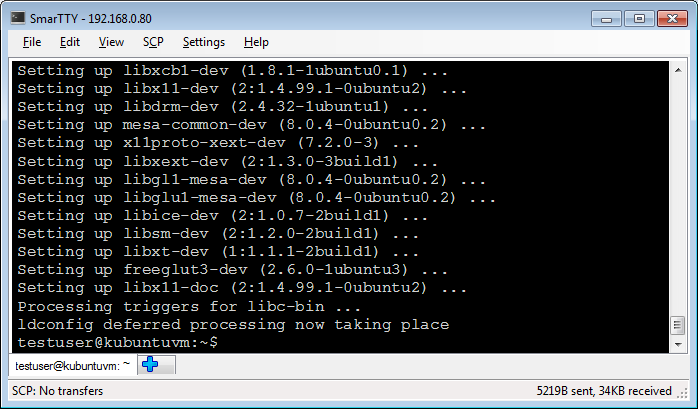
- Once the console is open. Use the following command.
sudo apt-get install libglu1-mesa-dev freeglut3-dev mesa-common-dev
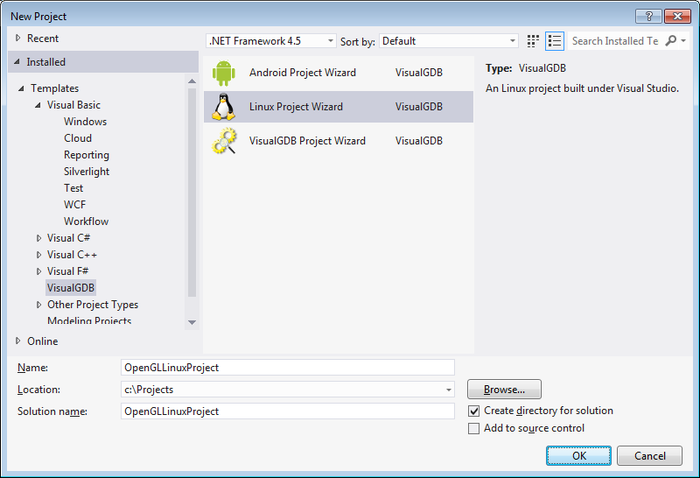
- Once installing completed, close the console and the SSH Host Manager. Go to File->New->Project. Select VisualGDB->Linux Project Wizard. Choose a name and location for the project. Click on OK when done.
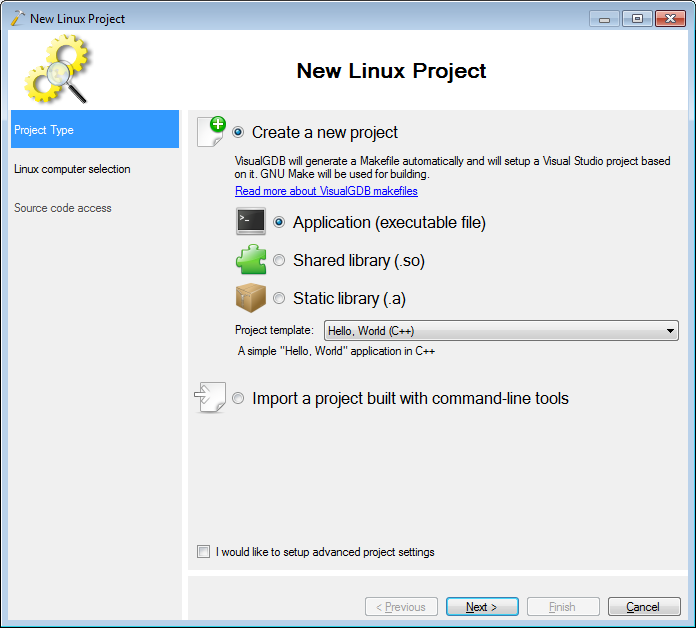
- Make sure that the options for a new application are checked. Click on Next.
- Choose a remote computer for building, the connection made in the initial steps of this tutorial is listed there. Click on Next.
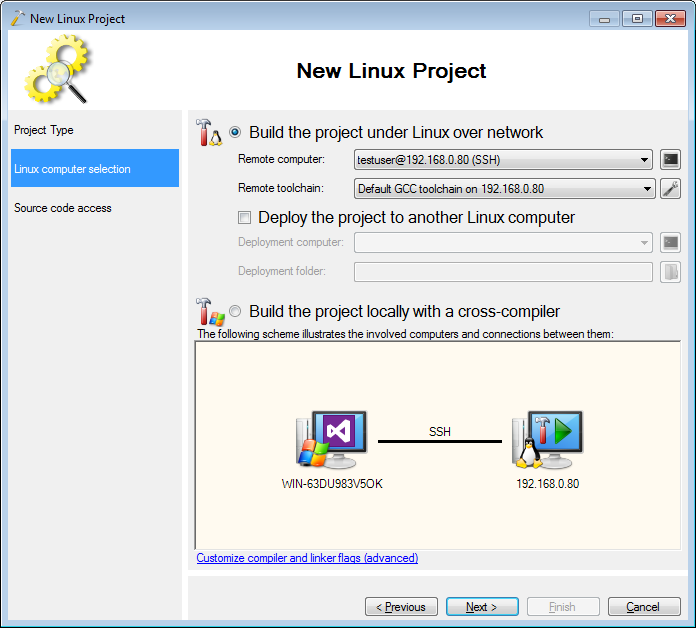
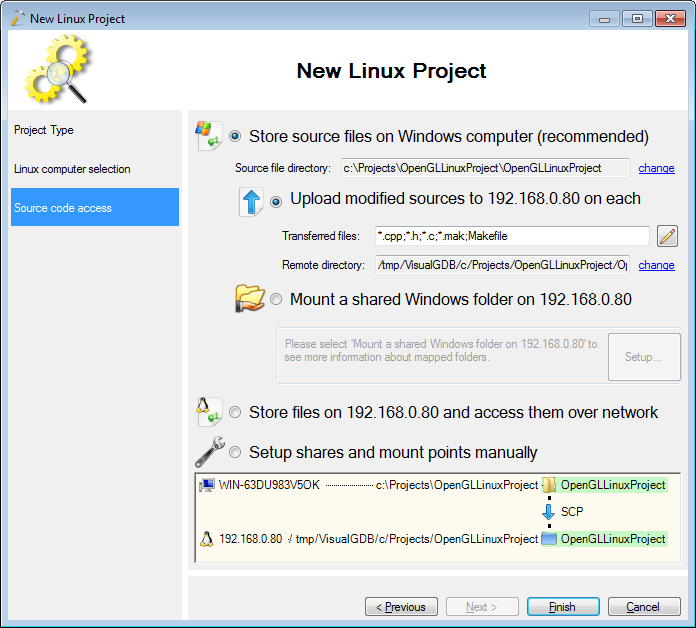
- Click on Finish. If prompted to cache the include folders from this machine, choose Yes.
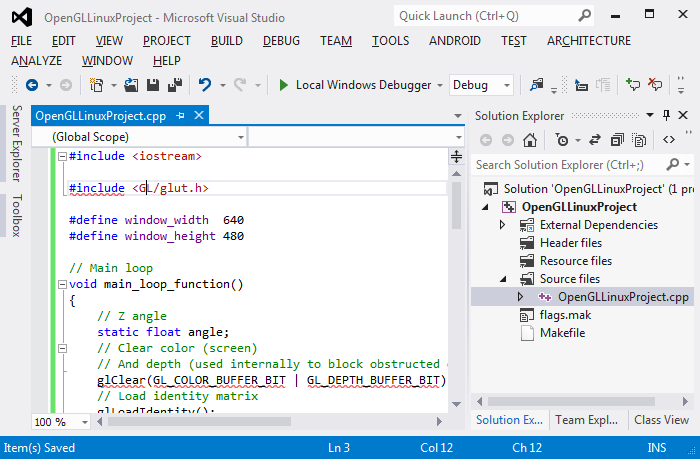
- Replace the main code file contents with the following code originating from here.
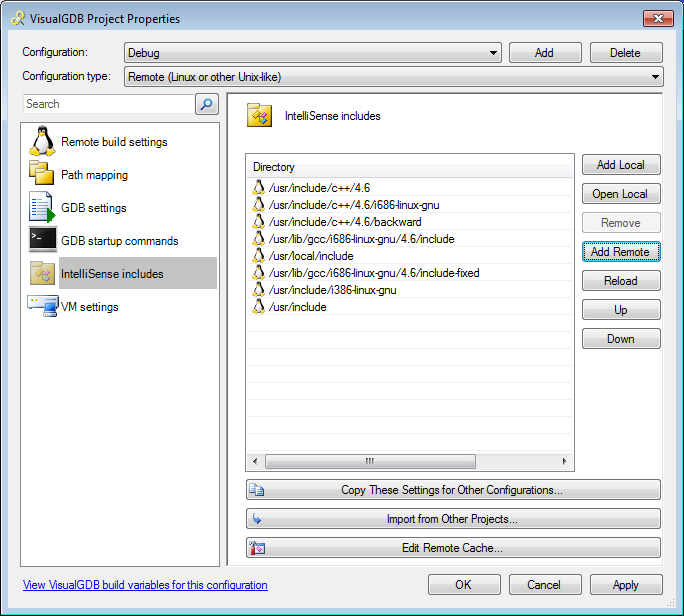
#include <iostream> #include <GL/glut.h> #define window_width 640 #define window_height 480 // Main loop void main_loop_function() { // Z angle static float angle; // Clear color (screen) // And depth (used internally to block obstructed objects) glClear(GL_COLOR_BUFFER_BIT | GL_DEPTH_BUFFER_BIT); // Load identity matrix glLoadIdentity(); // Multiply in translation matrix glTranslatef(0,0, -10); // Multiply in rotation matrix glRotatef(angle, 0, 0, 1); // Render colored quad glBegin(GL_QUADS); glColor3ub(255, 000, 000); glVertex2f(-1, 1); glColor3ub(000, 255, 000); glVertex2f( 1, 1); glColor3ub(000, 000, 255); glVertex2f( 1, -1); glColor3ub(255, 255, 000); glVertex2f(-1, -1); glEnd(); // Swap buffers (color buffers, makes previous render visible) glutSwapBuffers(); // Increase angle to rotate angle+=0.25; } // Initialize OpenGL perspective matrix void GL_Setup(int width, int height) { glViewport( 0, 0, width, height ); glMatrixMode( GL_PROJECTION ); glEnable( GL_DEPTH_TEST ); gluPerspective( 45, (float)width/height, .1, 100 ); glMatrixMode( GL_MODELVIEW ); } // Initialize GLUT and start main loop int main(int argc, char** argv) { glutInit(&argc, argv); glutInitWindowSize(window_width, window_height); glutInitDisplayMode(GLUT_RGB | GLUT_DOUBLE); glutCreateWindow("GLUT Example!!!"); glutIdleFunc(main_loop_function); GL_Setup(window_width, window_height); glutMainLoop(); } - If any IntelliSense errors appear with red underlines, then right-click on the project and select VisualGDB Project Properties.
- Go to the IntelliSense panel and make sure that /usr/include is present. Reload or Add Remote the directory. Click on OK to close the window. Rebuilding or editing the source file should fix any IntelliSense errors now.
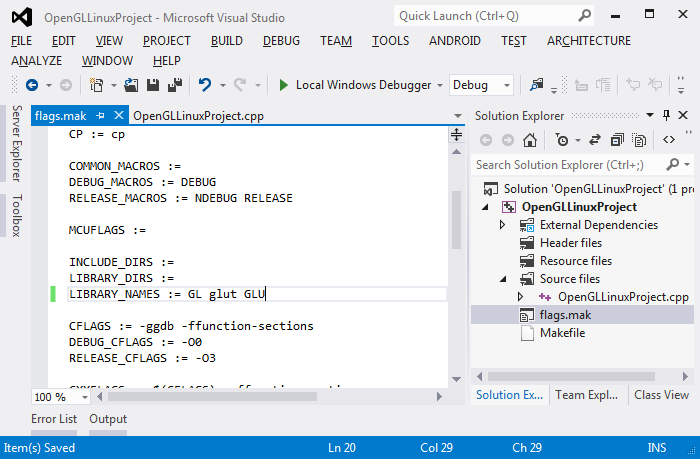
- Open the flags.mak file and add the following libraries to the LIBRARY_NAMES variable.
GL glut GLU
- Build the project.
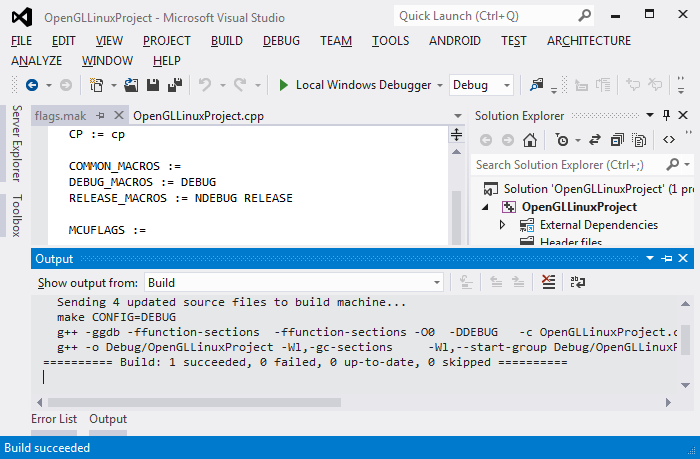
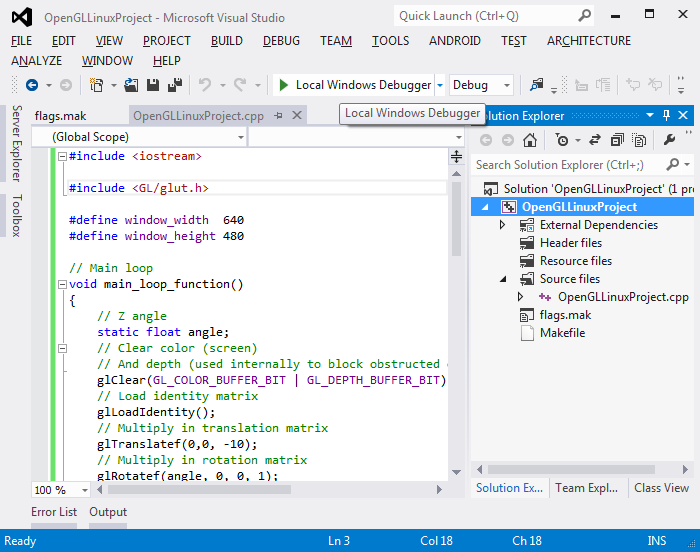
- Start debugging.
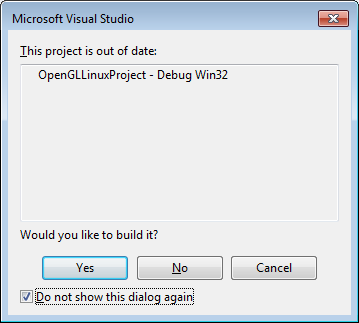
- When prompted to build the project again, choose Yes and check the checkbox.The project will not actually get rebuilt if there are no changes, but choosing Yes allows make to make that decision.
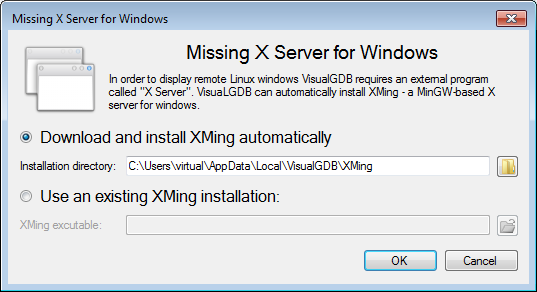
- If prompted to find X Server, choose its install directory or let our autoinstaller install it. X Server is used to show Linux graphical applications in Windows.
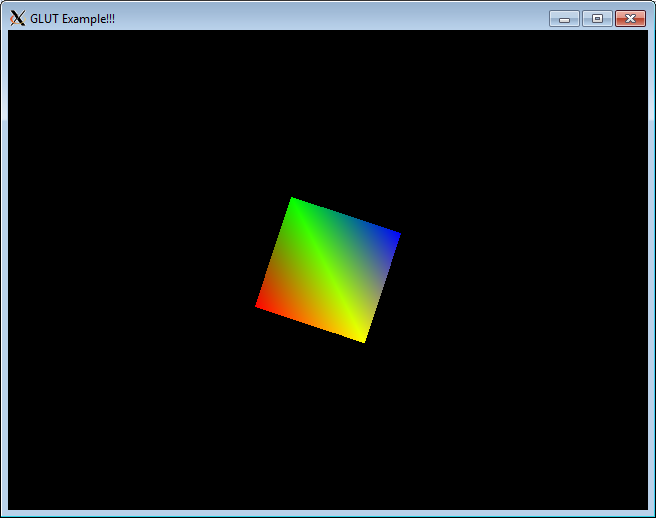
- The example will be shown on the Windows development machine as follows.
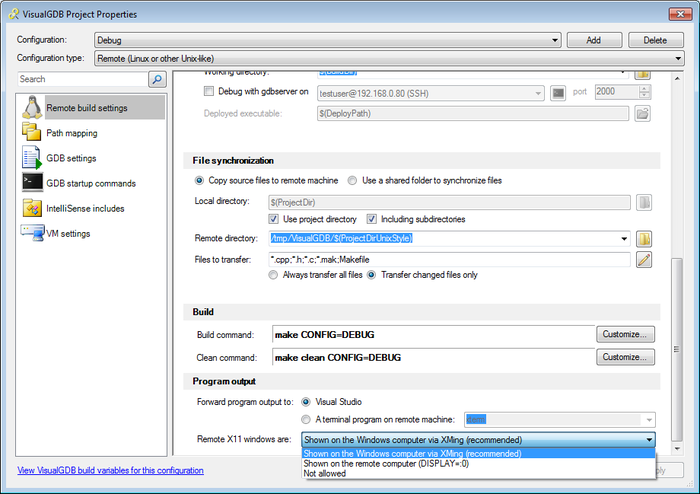
- If you want the graphical output instead to be displayed on the Linux machine, then go to VisualGDB Project Properties and choose the suitable option from the Program output category.
