Co-developing Android projects with Gradle Flavors with Visual Studio
This tutorial shows how to develop C/C++ code in an Android Studio project using Visual Studio and VisualGDB. We will show how to use the Gradle flavors and translate them into Visual Studio configurations for better usability.
Before you begin, install VisualGDB 5.0 or later and Android Studio 1.3 or later.
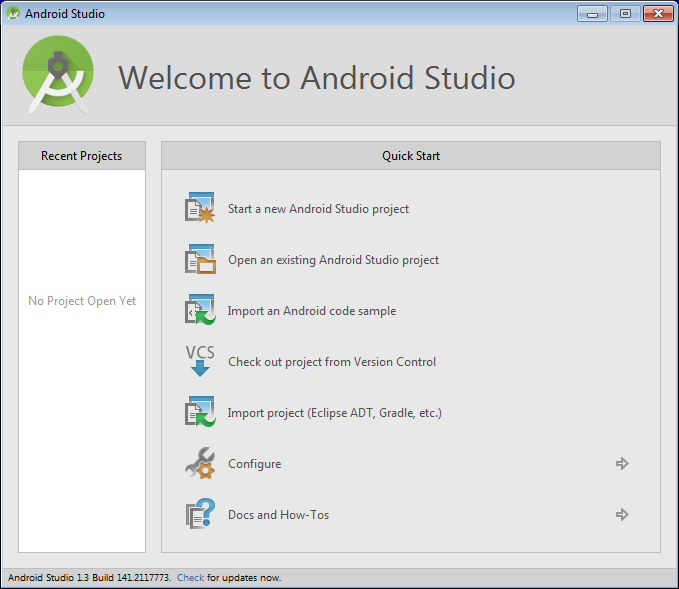
- Start Android Studio and click “Start a new Android Studio project”:
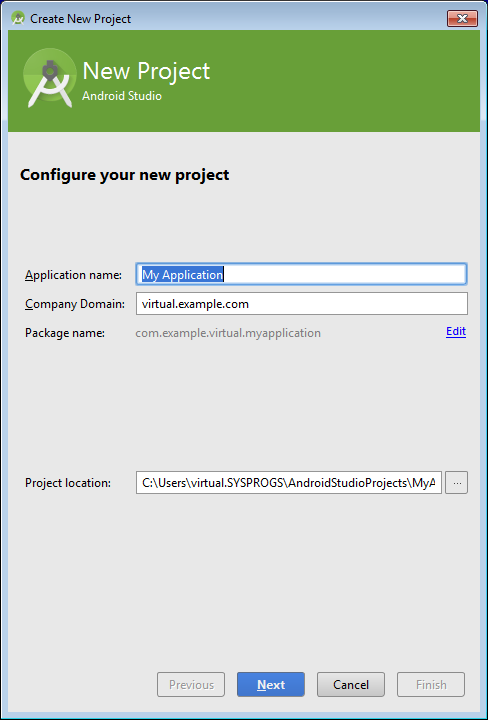
- Specify your app name and domain:
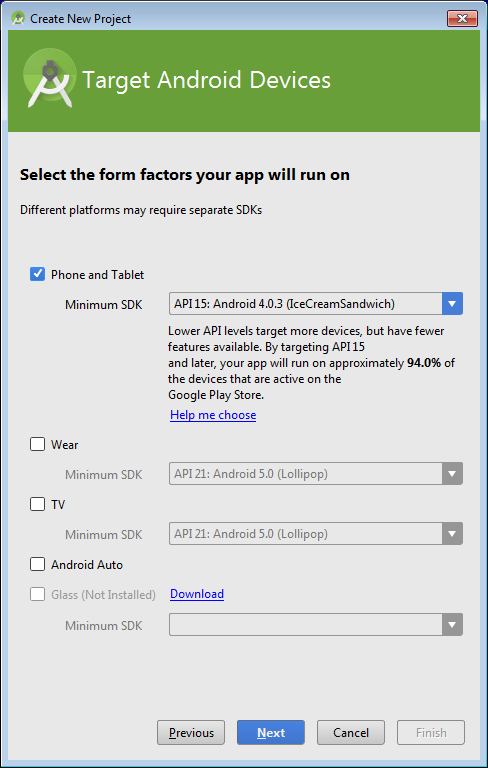
- Select the SDK you want to use with your app:
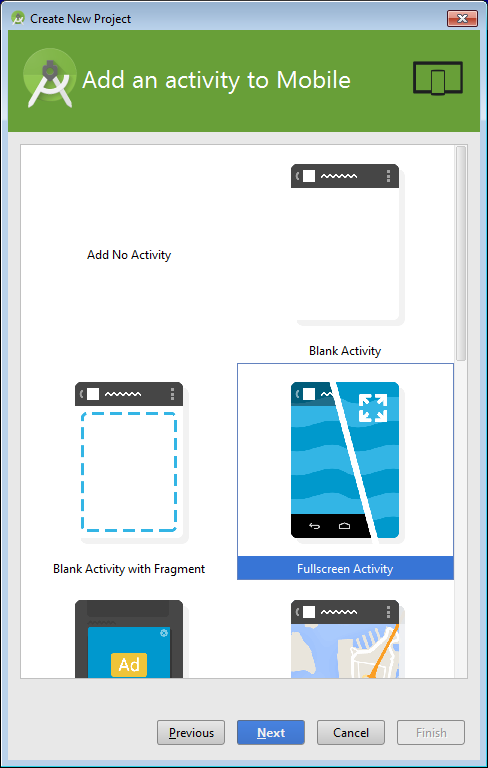
- Select the template for the first activity. In this tutorial we will use the Fullscreen Activity:
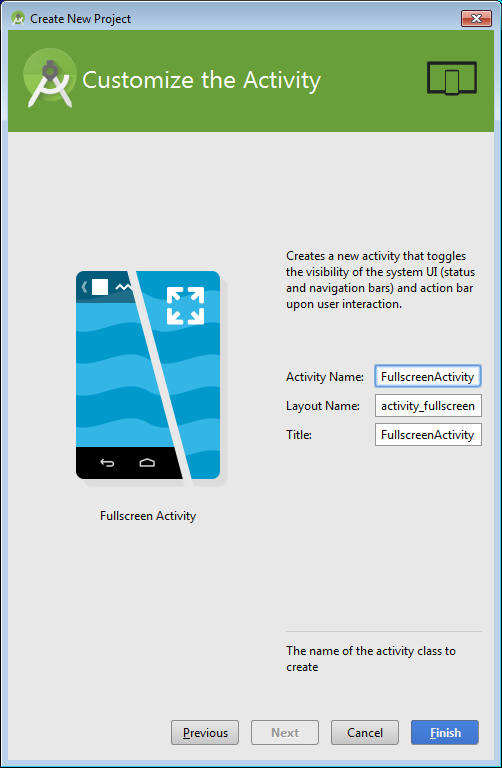
- On the next page you can customize the activity names or proceed with the default ones:
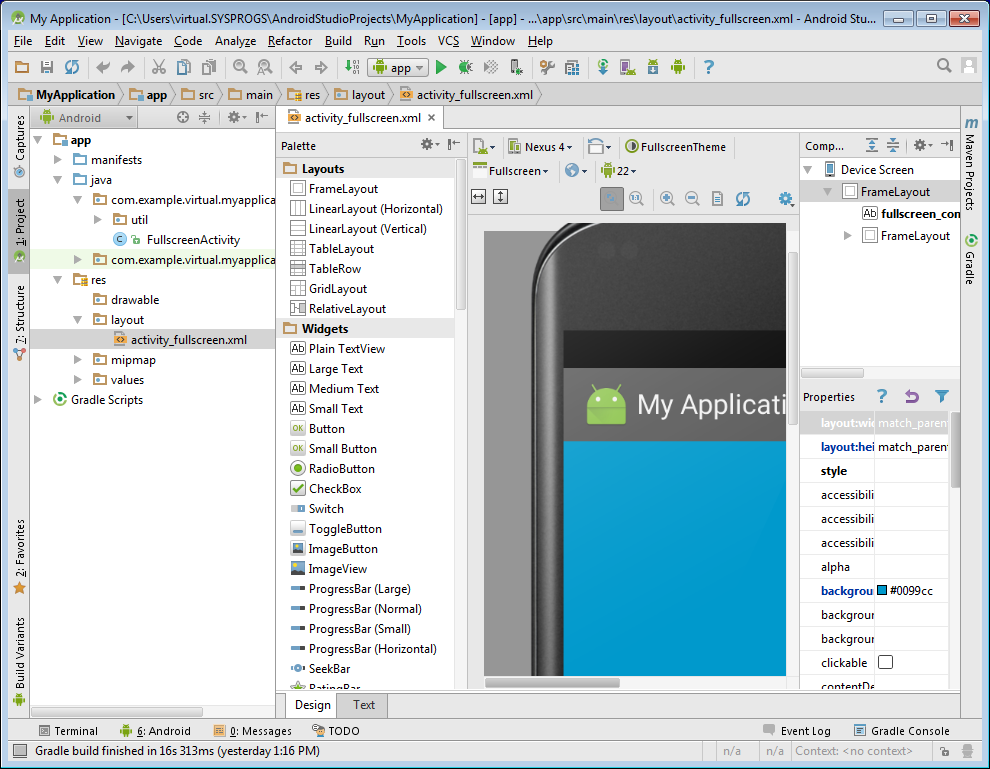
- Click Finish and wait until Android Studio finishes parsing your project:
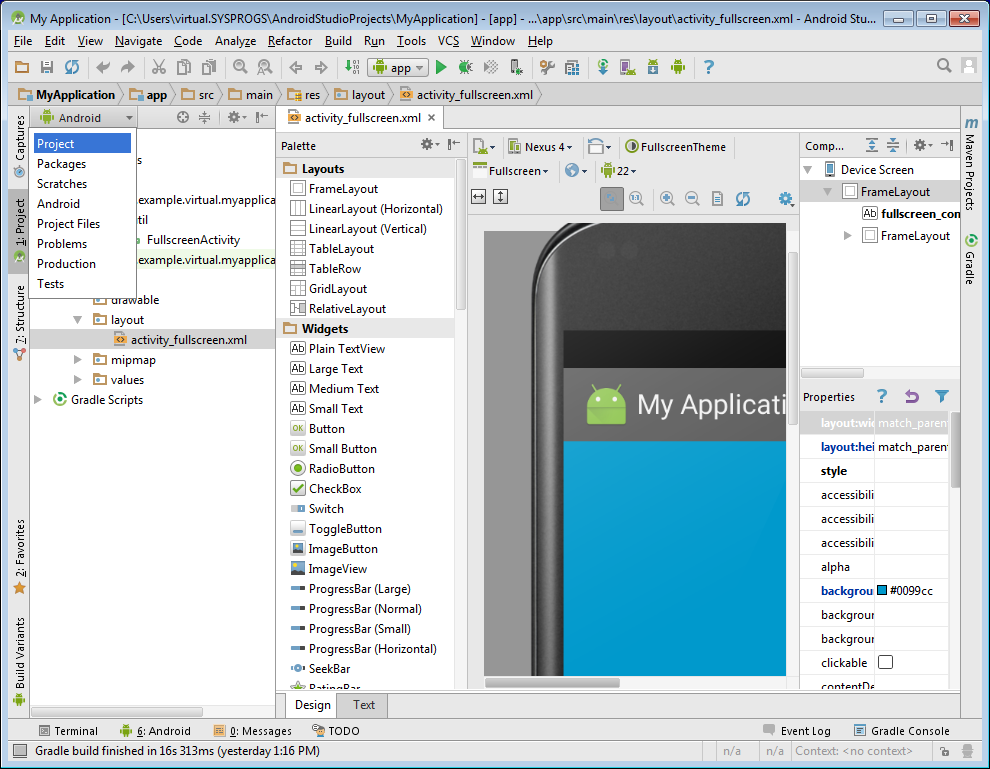
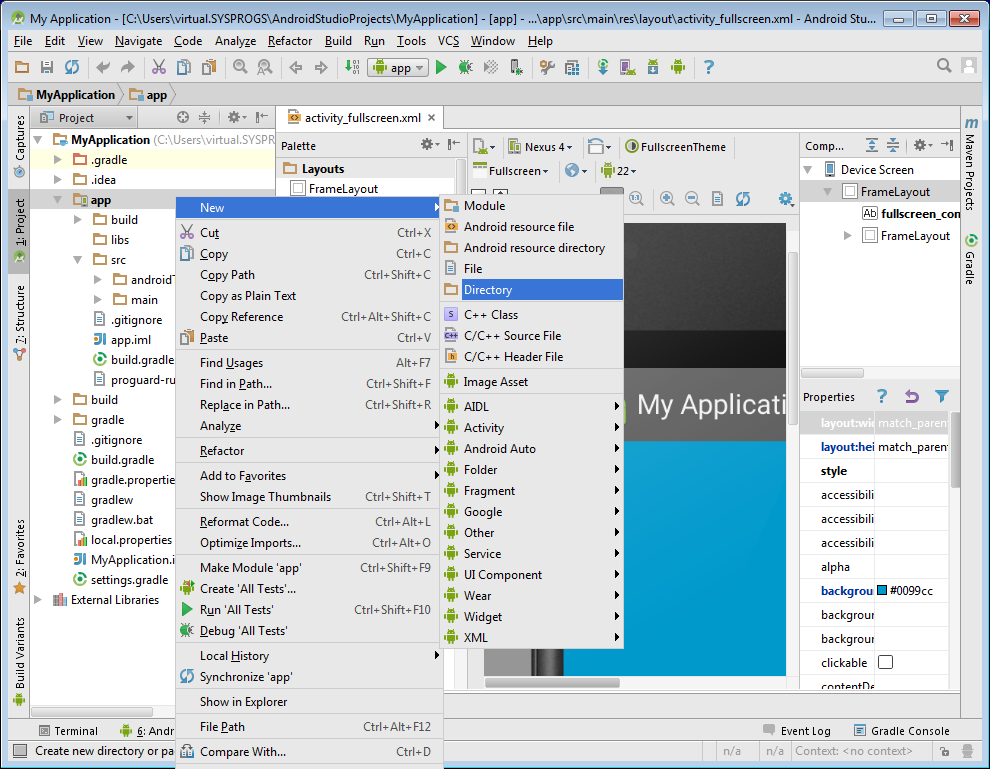
- Now we will add a native C file to our project. As of August 2015, Android Studio (v1.3) cannot build native code with debug support unless you use the experimental Gradle plugin. The experimental plugin, however, is not stable and is not backward compatible with the stable plugin, so in this tutorial we will use the Android NDK build system to build the native code with proper debug support. To do that, the jni directory with the native files should be located under the “app” directory and not in the location used by Gradle. To add the jni directory, first switch the project to the “Project” view:
- Then click on the “app” folder and select “New->Directory” and enter the “jni” name:
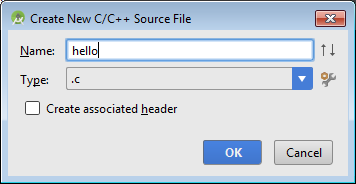
- Add a new .c file called “hello” to the jni directory:
- Add the following contents to the hello.c file:
<span class="auto-style4"> <span class="keyword">#include</span> <span class="string"><string.h></span>
 <span class="auto-style2">#include </span> <span class="auto-style3"><jni.h>
 </span><span class="auto-style2">#include</span> <span class="auto-style3"><stdio.h>
 </span>
 <span class="auto-style2">int</span></span> <span class="auto-style4">s_ButtonPressCounter = 0;

 jstring Java_com_example_virtual_myapplication_FullscreenActivity_stringFromJNI(JNIEnv* env, jobject thiz)
 {
     <span class="auto-style2">char</span> szBuf[512];
     sprintf(szBuf, <span class="auto-style3">"%d"</span>, s_ButtonPressCounter++);

     jstring str = (*env)->NewStringUTF(env, szBuf);
     <span class="auto-style2">return</span> str;
 </span>}
Note that if your activity is named differently, the function will need to be renamed accordingly.
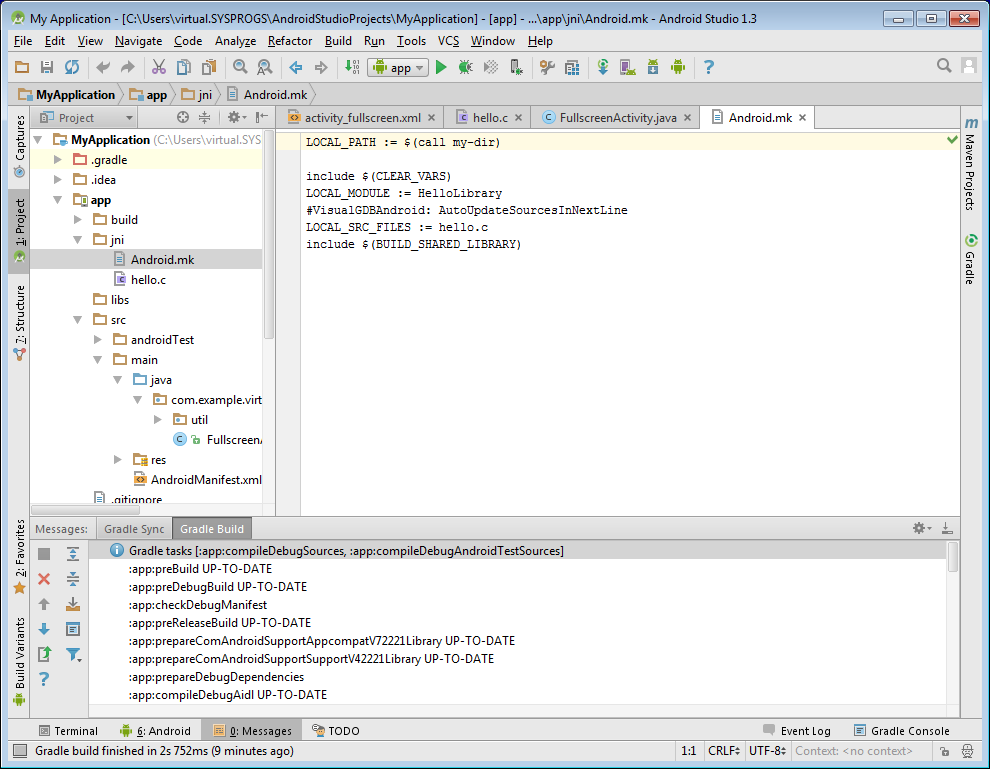
- Add a file called Android.mk to the jni directory and paste the following text in it:
LOCAL_PATH := $(call my-dir)

 include $(CLEAR_VARS)
 LOCAL_MODULE := HelloLibrary
 #VisualGDBAndroid: AutoUpdateSourcesInNextLine
 LOCAL_SRC_FILES := hello.c
 include $(BUILD_SHARED_LIBRARY)
- Double-check that the jni folder is located under the app folder at the same level as the src folder:
- Open the FullScreenActivity.java file and add the following code inside the activity class:
<span class="keyword">public native</span> String stringFromJNI();

 <span class="keyword">static</span> {
    System.loadLibrary(<span class="string">"HelloLibrary"</span>);
}
- Then add code that will create a new button and update it based on a call to the native function inside the onCreate() method:
<span class="auto-style2">final</span> Button button = (Button)findViewById(R.id.dummy_button);
button.setOnClickListener(new View.OnClickListener() {
    <span class="auto-style2">public</span> <span class="auto-style2">void</span> onClick(View v) {
    String str = stringFromJNI();
    button.setText( str);
    }
});
- You will need to import the “button” class to compile the newly added code. Android Studio can do it automatically via a smart tag:

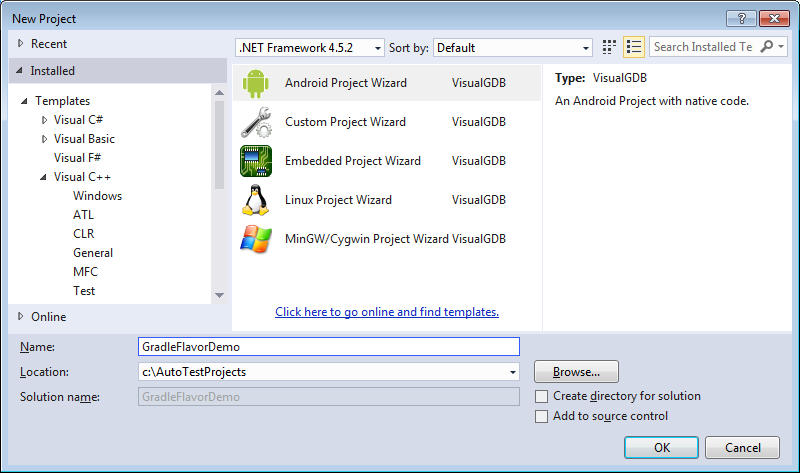
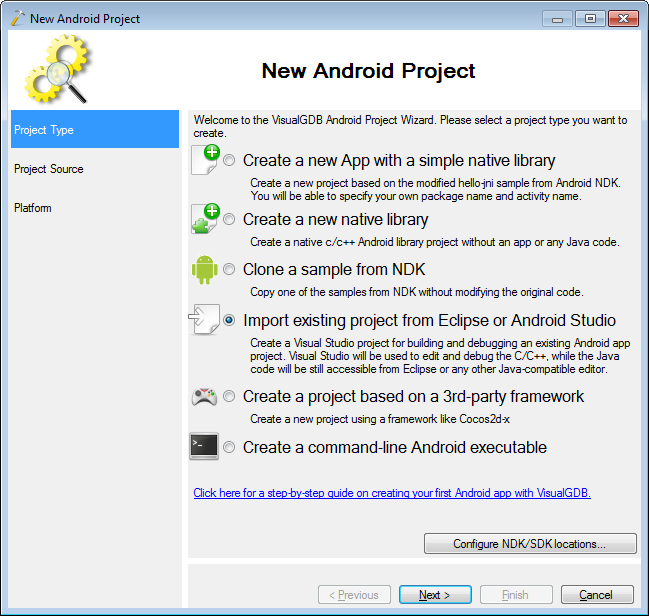
- Now we will import the Android Studio project into Visual Studio to be able to develop and debug the C/C++ part from it. Start Visual Studio and launch the VisualGDB Android Project Wizard:
- On the first page select “Import existing project from Eclipse or Android Studio”:
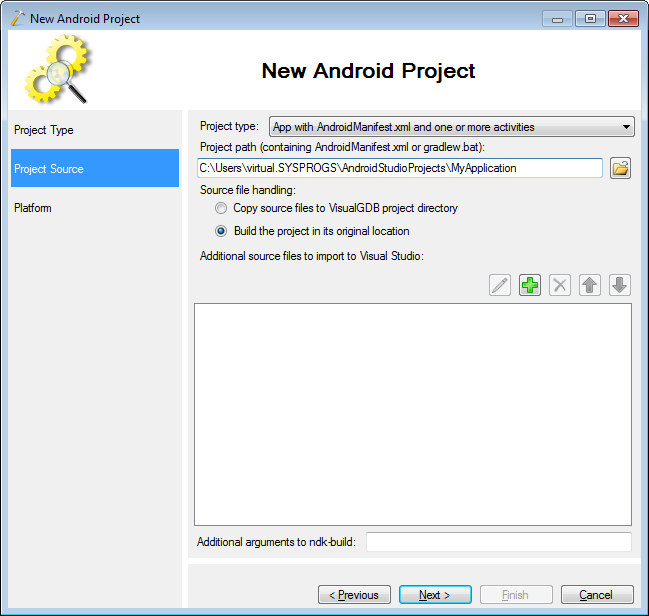
- Then specify the folder containing your project:
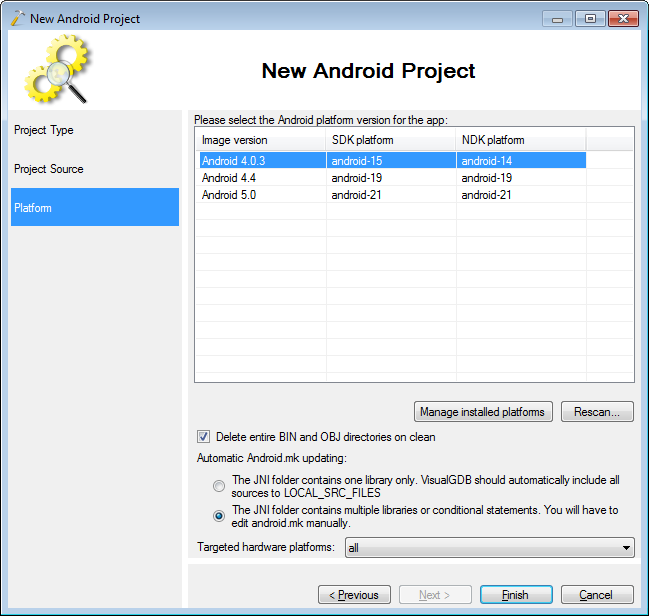
- Finally choose a platform you want to target:
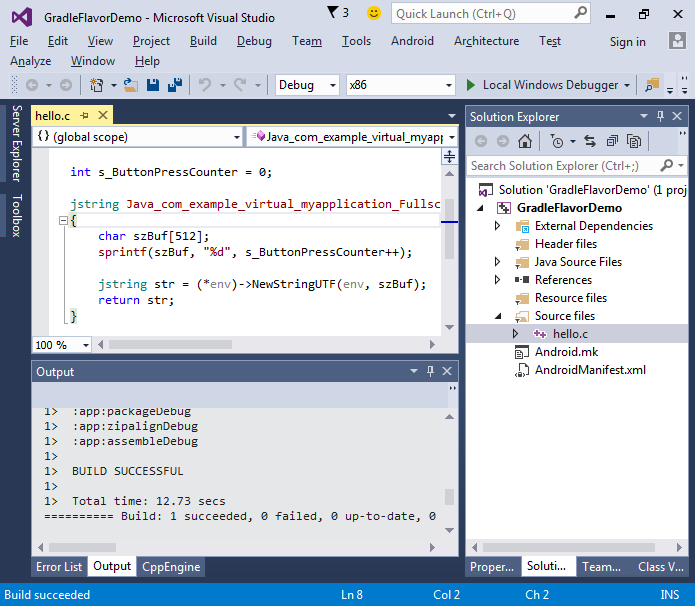
- Press “Finish” to create the Visual Studio project. Build it with Ctrl-Shift-B:
- Verify that the .apk file built by Gradle contains the lib\<eabi>\gdbserver file. You can check this by copying the .apk file to a .zip file and opening it in Windows Explorer:
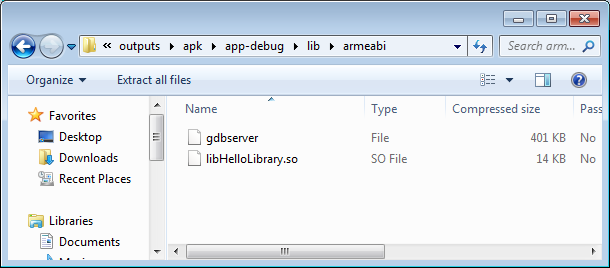
- Some versions of Gradle may have troubles placing the gdbserver inside the APK file. If that happens, add the following lines to your Android.mk file to work around this by renaming gdbserver to libgdbserver.so. VisualGDB will recognize this and use libgdbserver.so to debug:
installed_modules: $(dir $(NDK_APP_GDBSERVER))/libgdbserver.so
$(dir $(NDK_APP_GDBSERVER))/libgdbserver.so: $(NDK_APP_GDBSERVER)
    copy /y $(subst /,\,$(NDK_APP_GDBSERVER) $(dir $(NDK_APP_GDBSERVER))/libgdbserver.so)
    del $(subst /,\,$(NDK_APP_GDBSERVER))
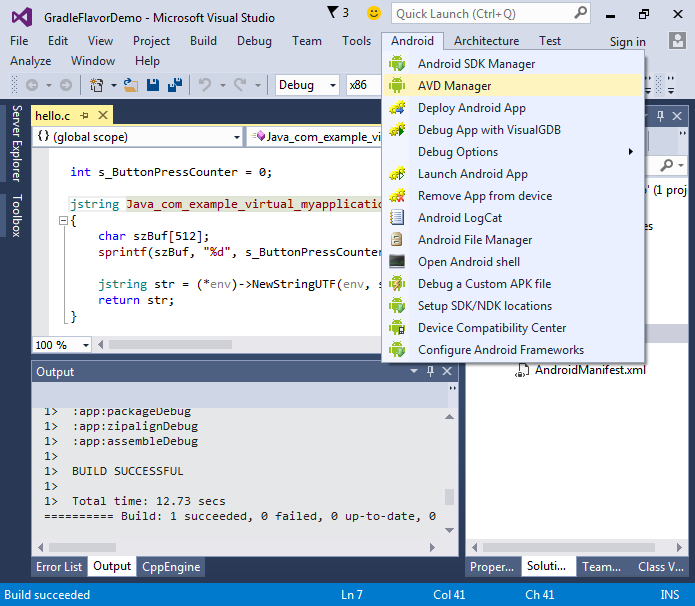
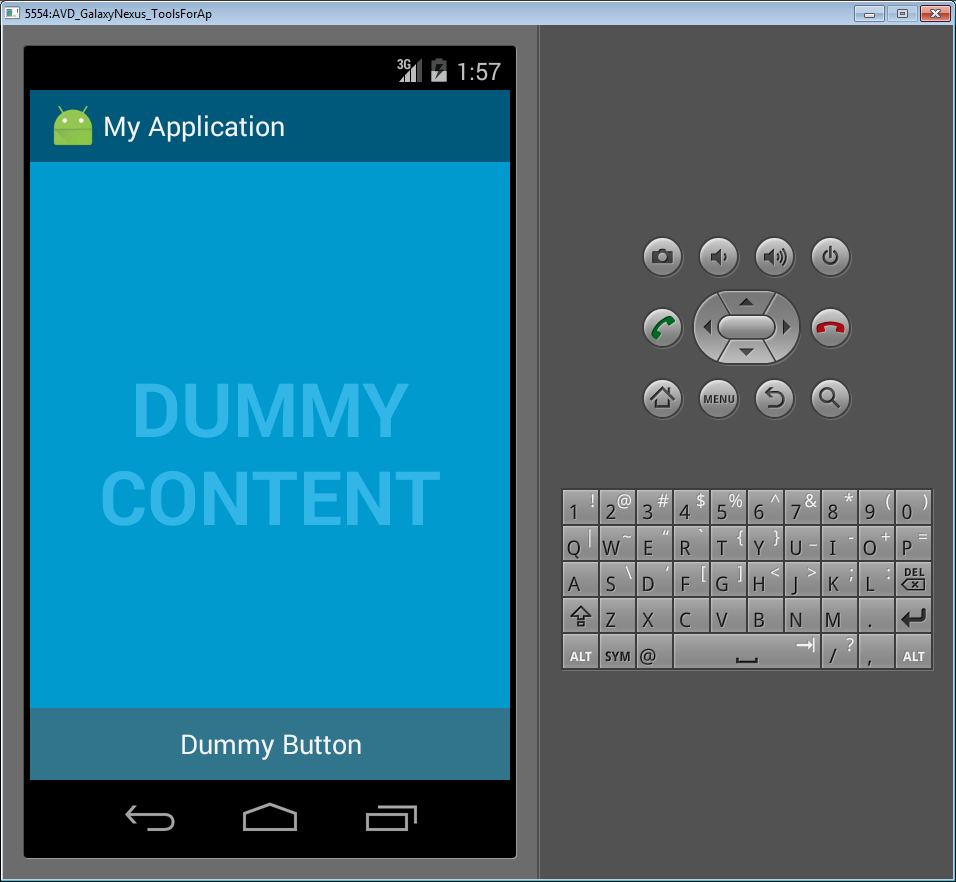
- Connect your Android device or launch the emulator via AVD Manager:
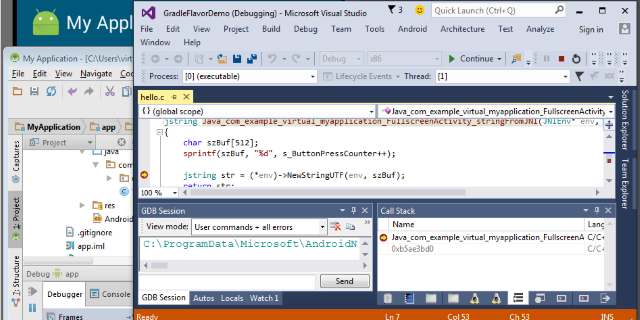
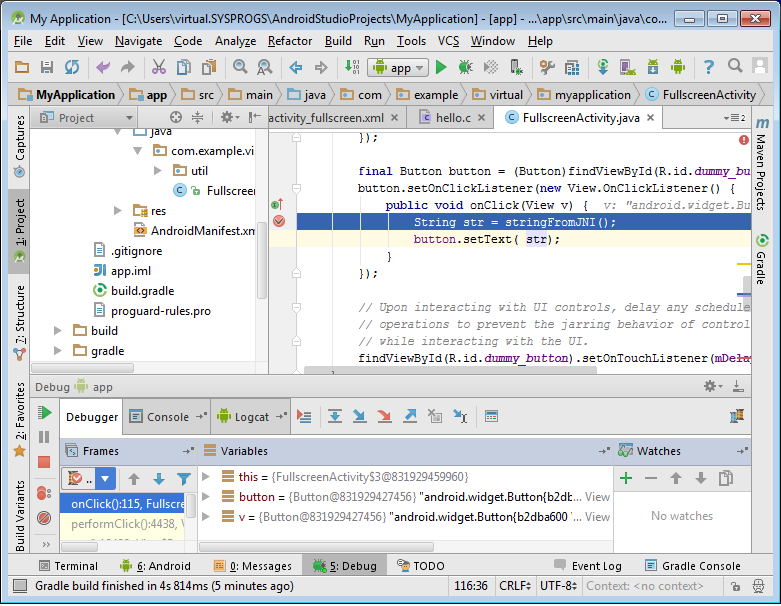
- Go back to Android Studio and start debugging your project. Put a breakpoint on the call to stringFromJNI() and click the button on your device to trigger the call:
- The Java breakpoint will now trigger. You can step over the method, however the Java debugger won’t be able to step into it:
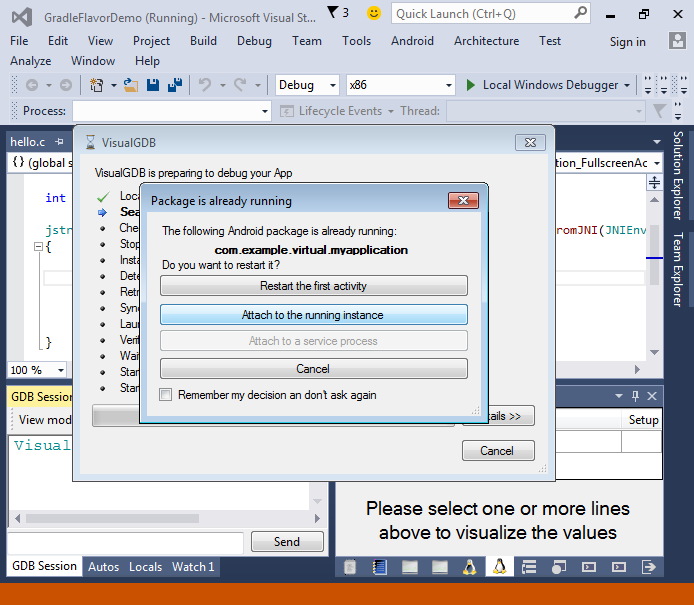
- That’s where Visual Studio comes into play. Go back to the VisualGDB project and start debugging. When VisualGDB asks you whether to restart the app, select “Attach to the running instance”:
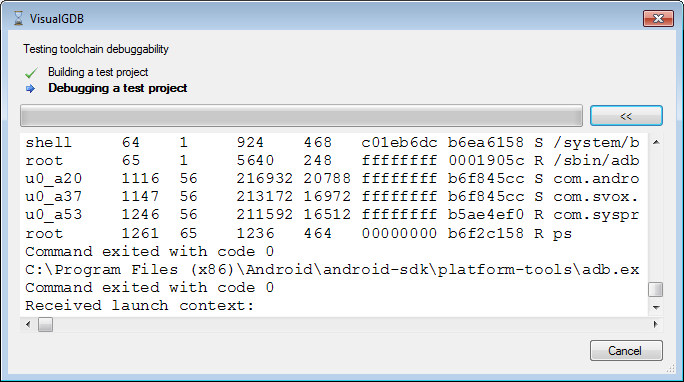
- If you debugging this device for the first time, VisualGDB will suggest testing the debugging functionality on it. On many Android devices the debugging won’t work out of the box, so VisualGDB will try several known workarounds and select the one that works with your device automatically:
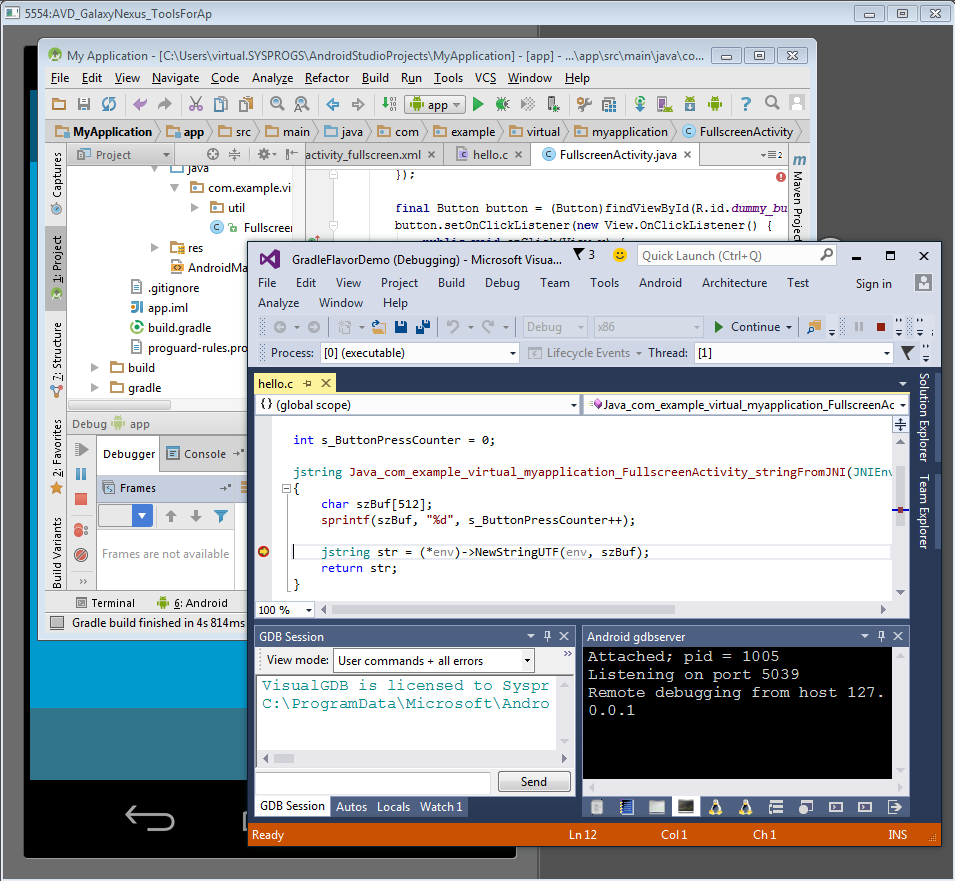
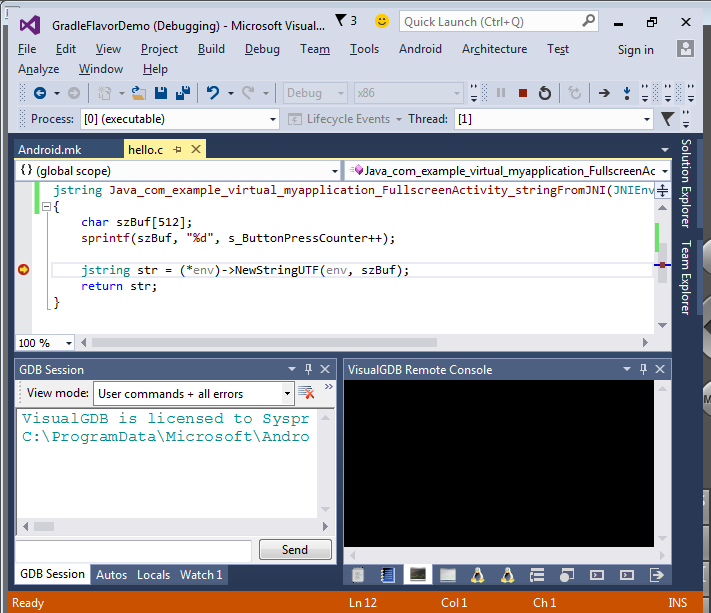
- Now you can set a breakpoint on the native function in Visual Studio and step into it in Android Studio. The Visual Studio breakpoint will trigger and once the control returns to the Java code, you can continue debugging in Android studio:
- Now we will add a different flavor to the app. Add the following text to the build.gradle file in your app directory:
    productFlavors {
        normal {
        }
        advanced {
            applicationId = "com.example.virtual.myapplication.advanced"
        }
    }
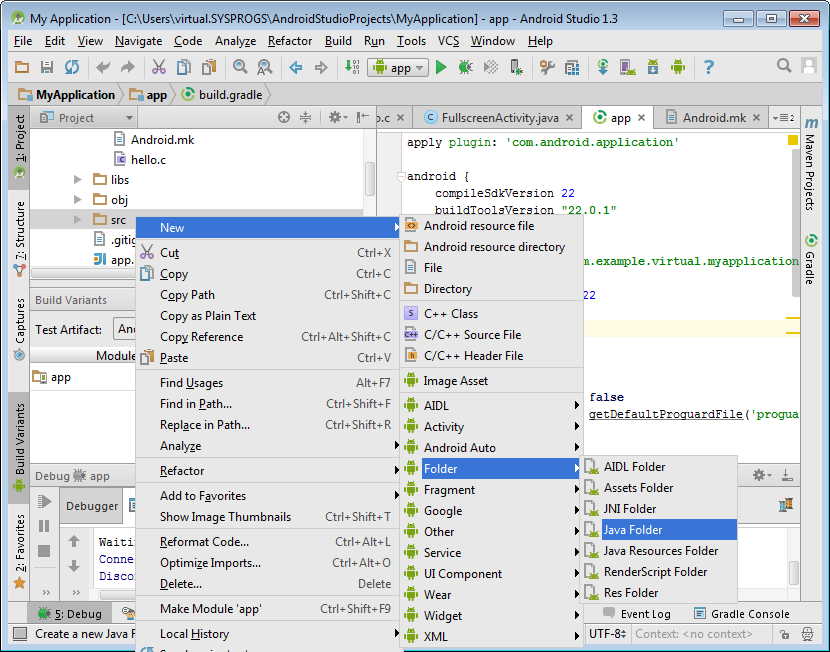
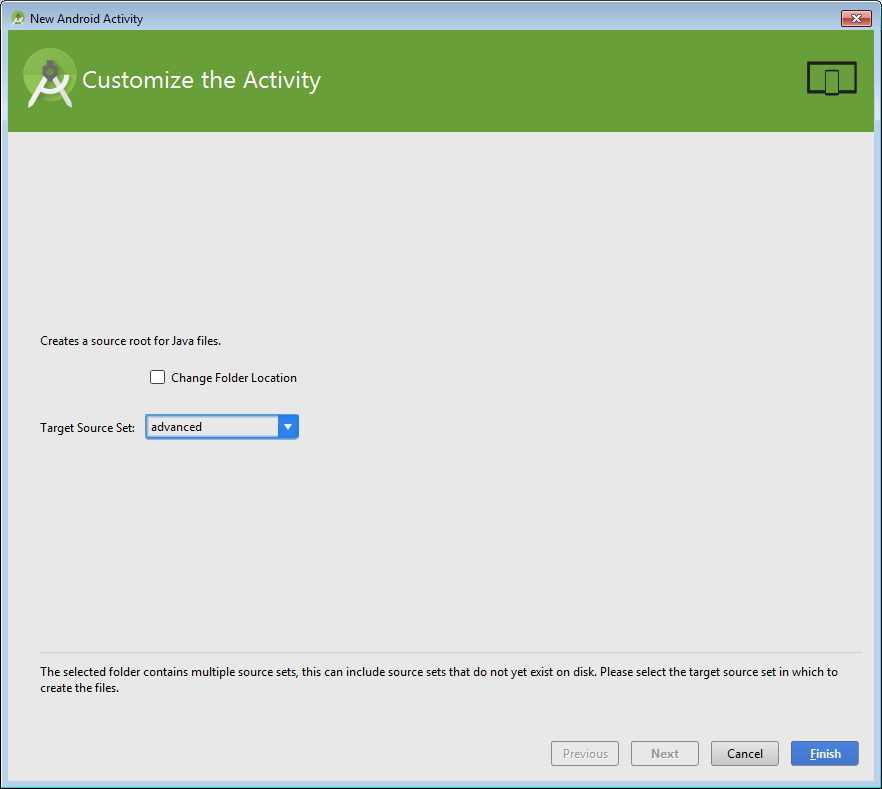
- Then add a Java source set folder that will only build for the Advanced flavor. Right-click on “src” and add a Java folder:
- Select the “advanced” source set:
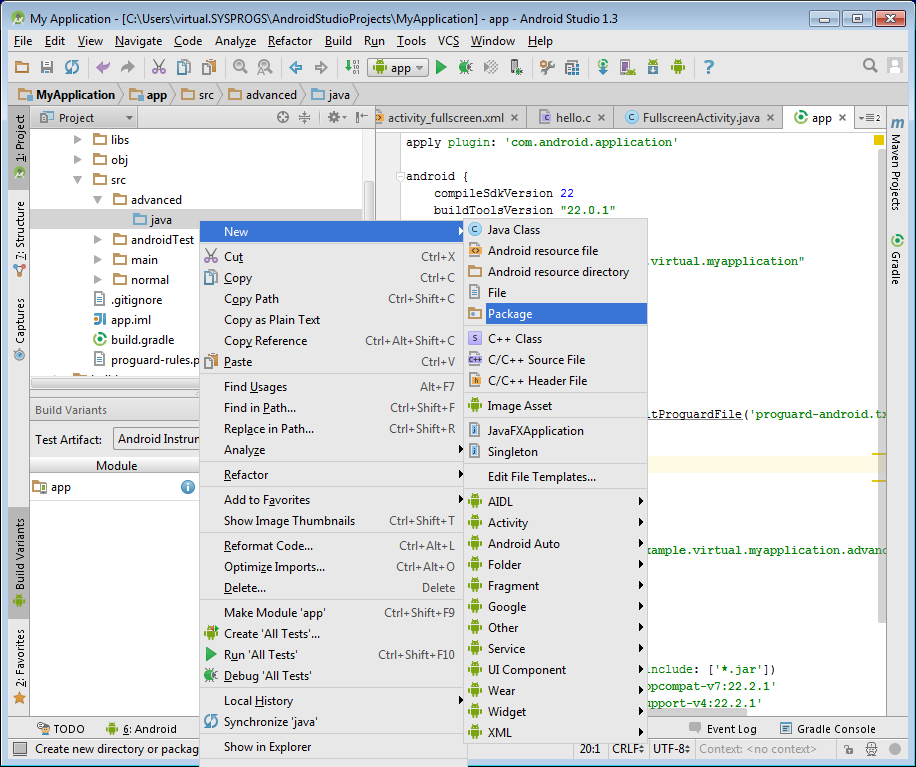
- Add a package to the folder (specify the normal package name such as “com.example.virtual.myapplication”, not the app ID introduced by the flavor):
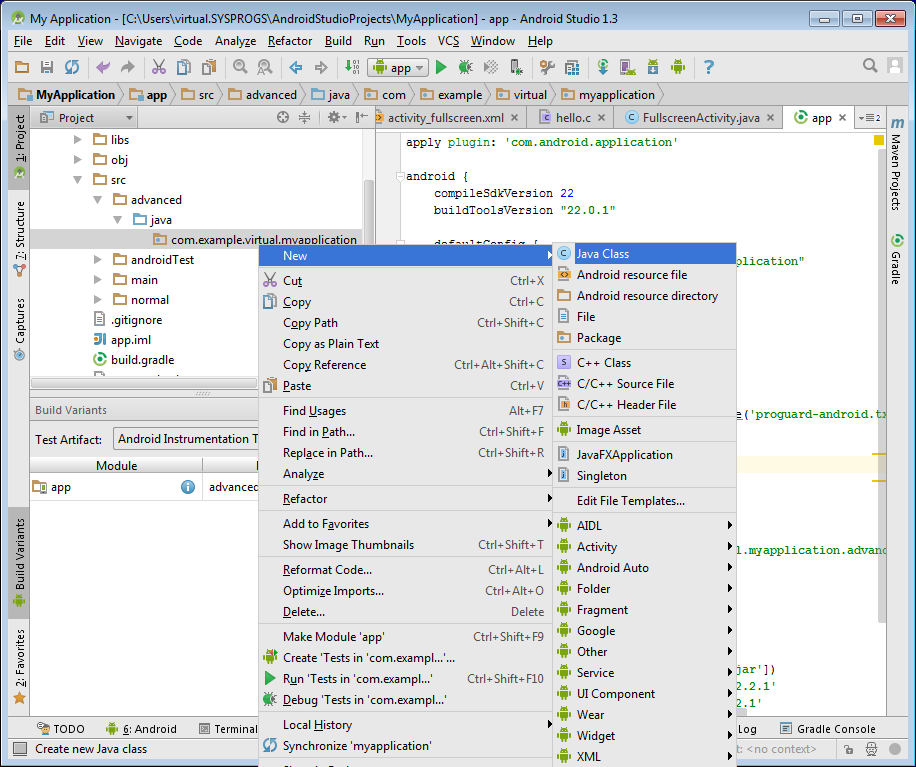
- Finally add a new Java class called “Constants”:
- Put the following contents to the Constants class:
package com.example.virtual.myapplication;
public class Constants {
    public static final String ButtonLabel = "Advanced Button";
}
- Similarly create a normal source set and a “normal” constants file:
package com.example.virtual.myapplication;
public class Constants {
    public static final String ButtonLabel = "Normal Button";
}
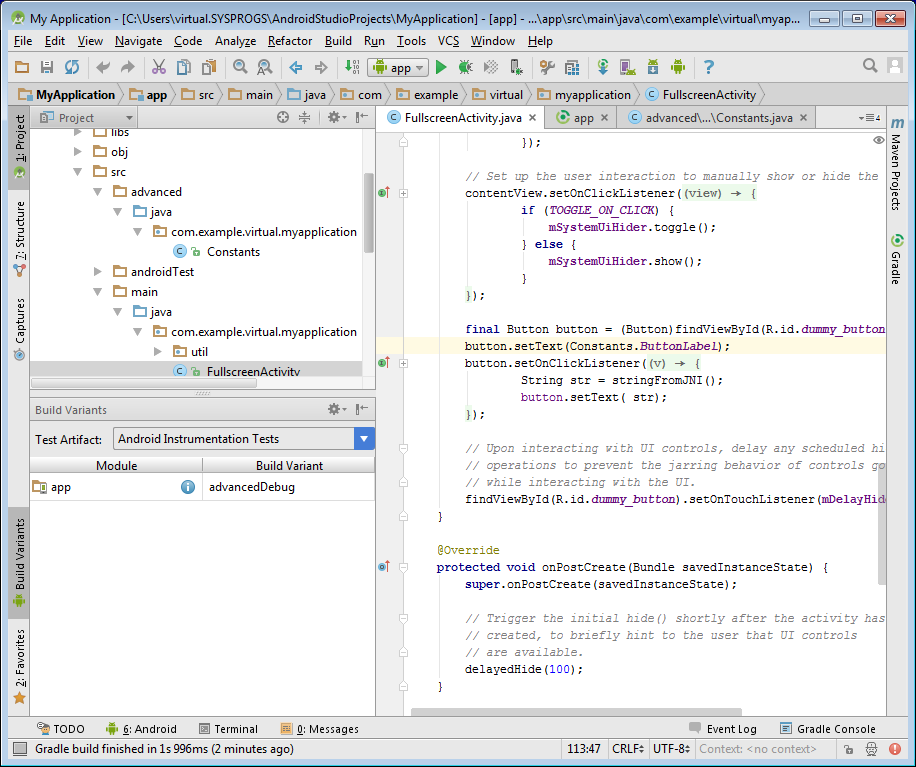
- Now you can set the initial button text to a flavor-dependent value:
button.setText(Constants.ButtonLabel);
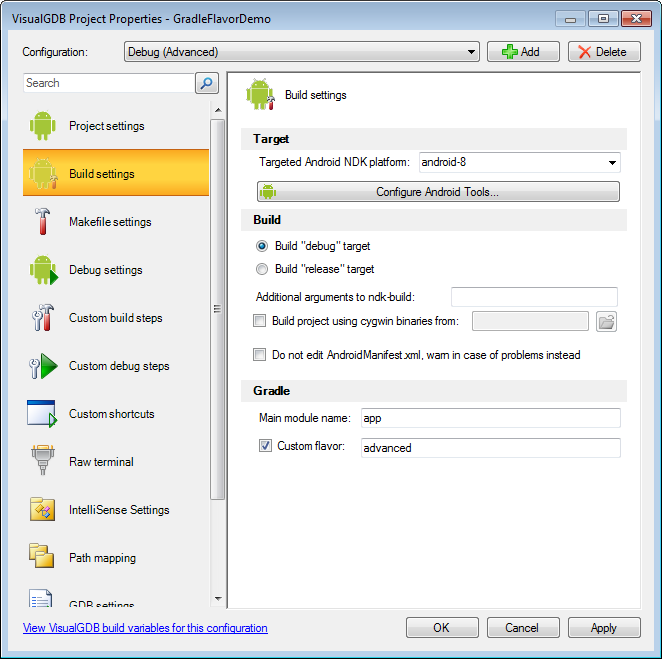
- Go back to Visual Studio and open VisualGDB Project Properties. Enable the “Custom Flavor” checkbox and specify the “normal” flavor:

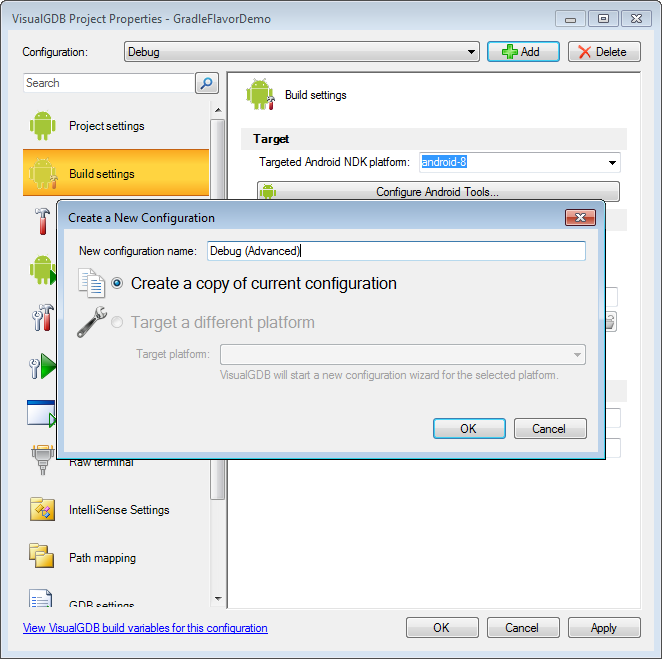
- Click the “Add” button and create a copy of the current configuration:
- Specify the “Advanced” flavor for the new configuration:
- Now you can build any of the configurations and see that VisualGDB will build the selected flavor:

- When you start debugging with F5, VisualGDB will launch the correct flavor based on the selected configuration:
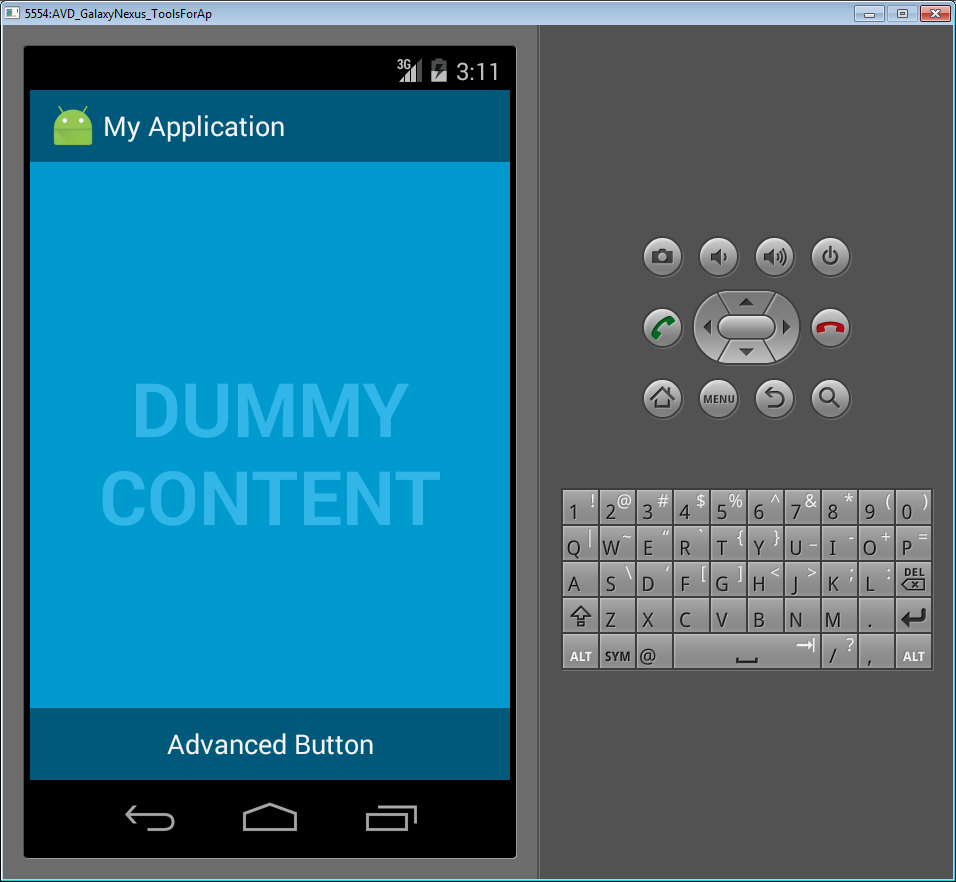
- Click the button to verify that the breakpoints are working as usual:
- If you now select the normal Debug configuration instead of “Debug (Advanced)”, VisualGDB will launch the “normal” flavor as specified in the configuration settings:


