Using VisualGDB with the Official ARM Toolchain
This tutorial shows how to use VisualGDB to build and debug embedded firmware for ARM devices using the GCC ARM toolchain maintained by ARM.
Before you begin, install VisualGDB 5.0+ and download the ARM toolchain from https://launchpad.net/gcc-arm-embedded
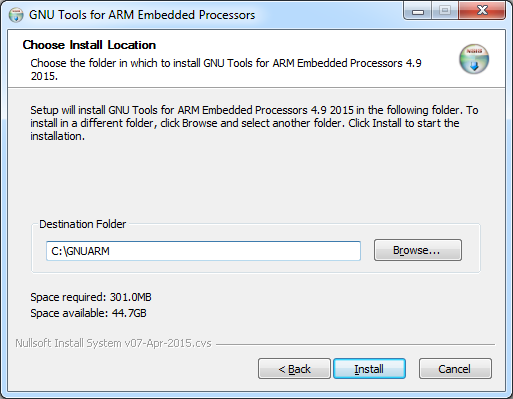
- Install the GNU ARM toolchain to a directory that does not contain spaces:
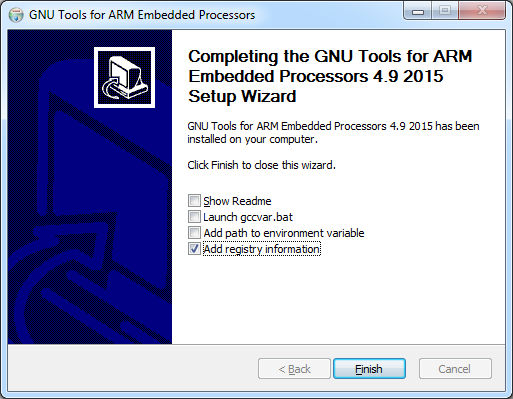
- Enable the “Add Registry Information” checkbox on the last page of the toolchain installer:
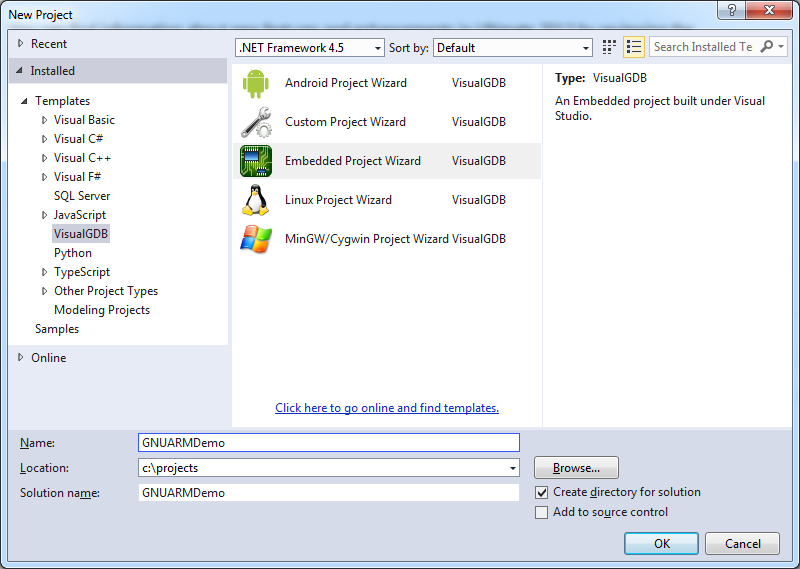
- Launch Visual Studio and start creating a new project via File->New Project->VisualGDB->Embedded Project Wizard:
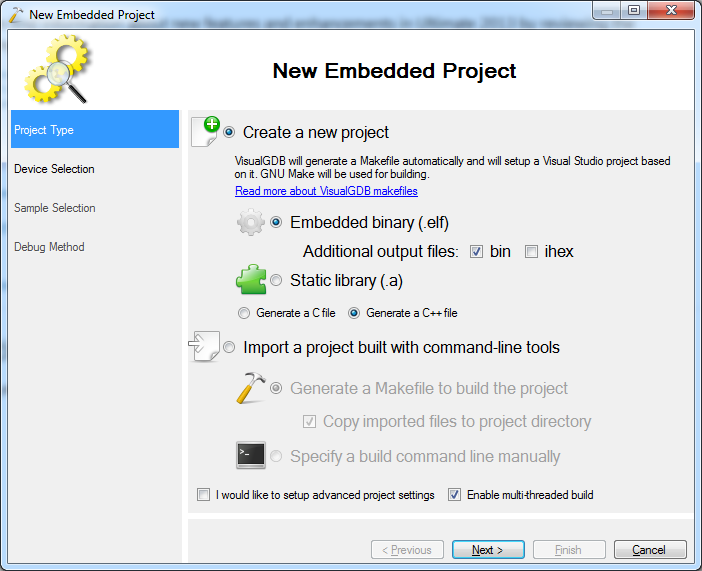
- Proceed with the default settings on the first page of the wizard:
- VisualGDB should automatically detect the toolchain location and show it in the toolchain list as “GNUARM”. Select it and then choose your device:
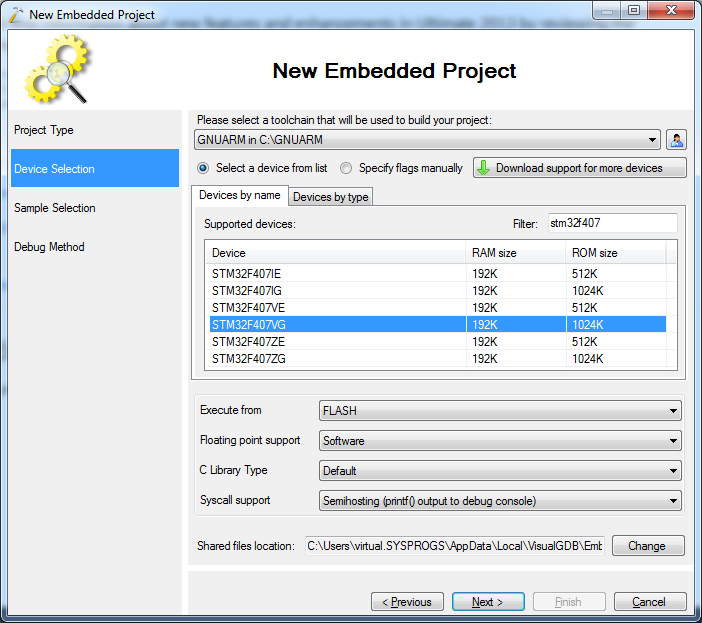 If the toolchain location is not detected, check the HKLM\SOFTWARE\Wow6432Node\ARM\GNU Tools for ARM Embedded Processors\InstallFolder value in the registry. The GNU ARM toolchain installer should set it to the toolchain location.
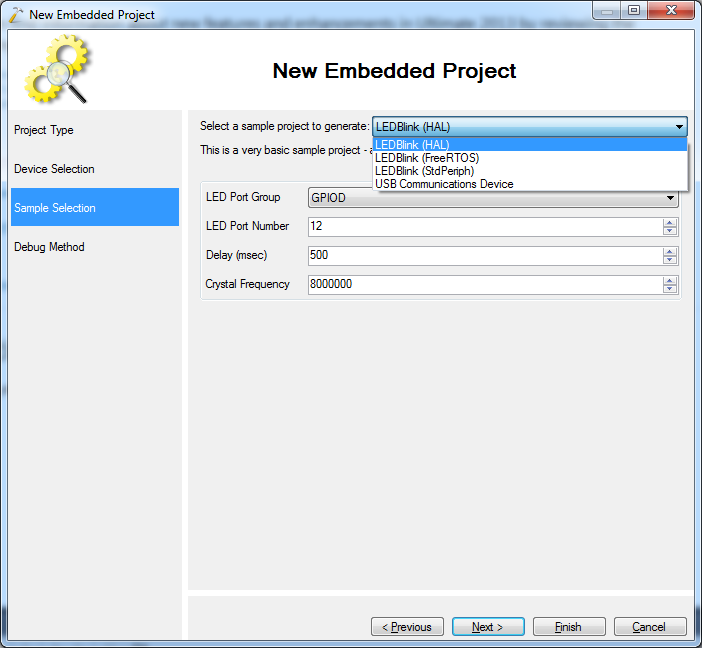
 - Select the sample you want to use for your project. The simplest one is LEDBlink:
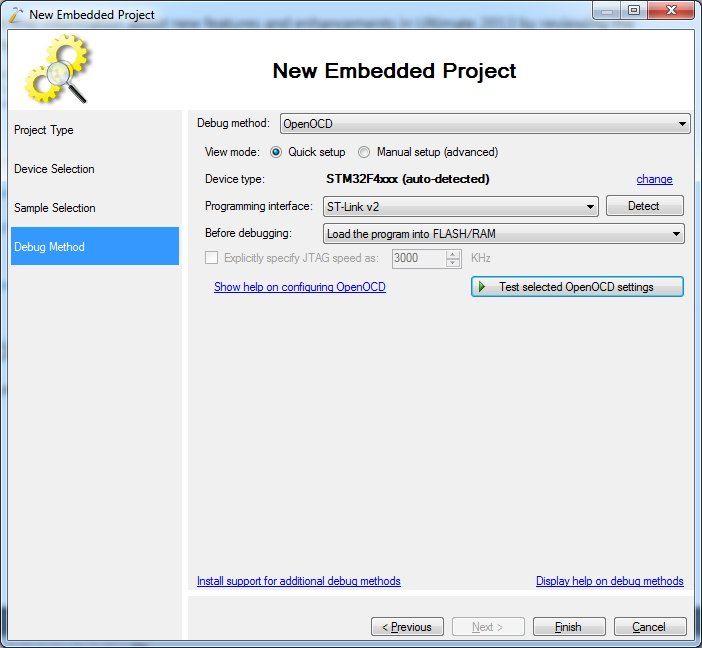
- Select the debug method you want to use. You can read here about various debug methods supported by VisualGDB.
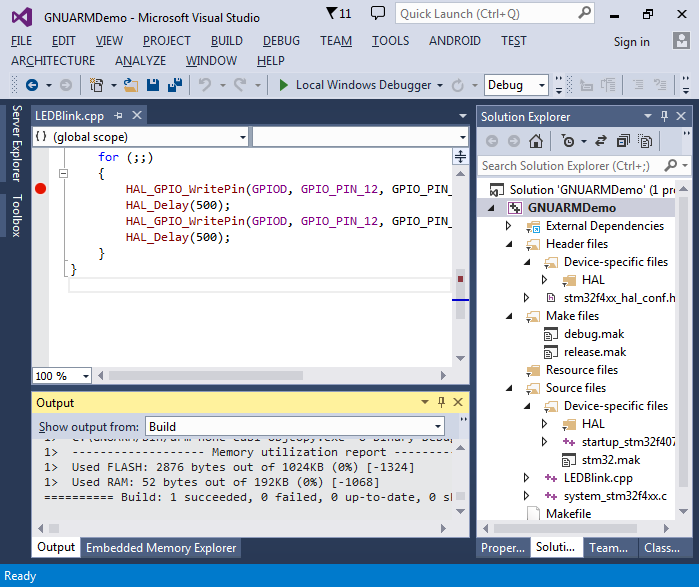
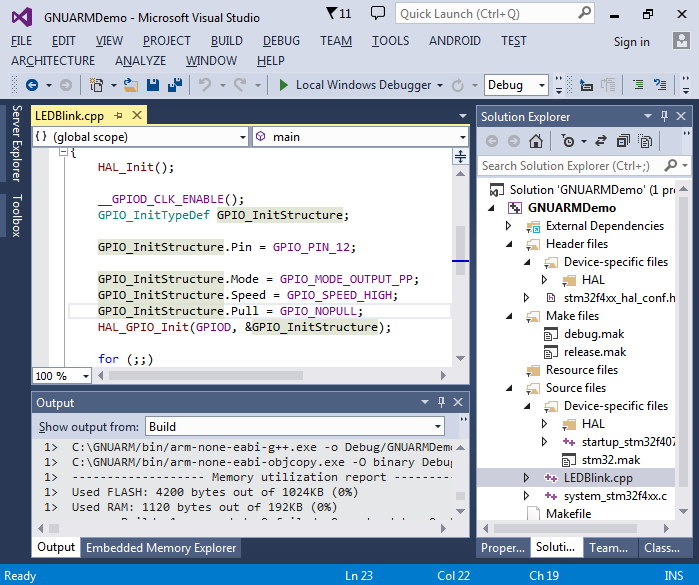
- Press “Finish” to create the project. Build it by pressing Ctrl-Shift-B:
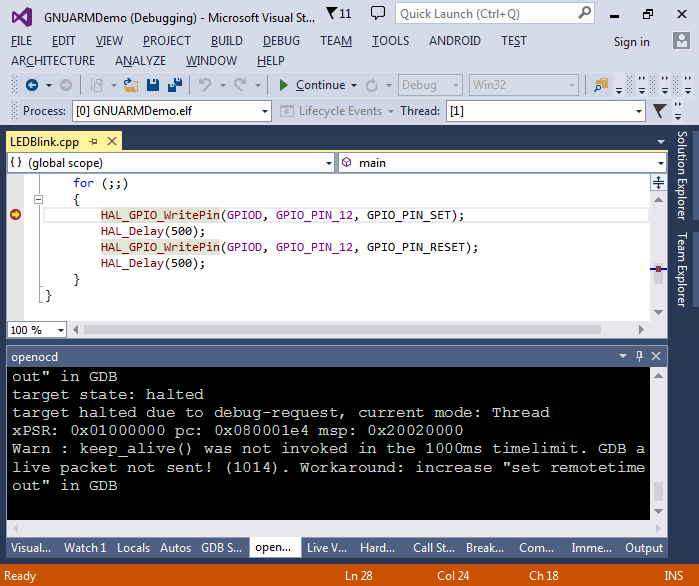
- You can start debugging the project like any other Visual Studio project by pressing F5:
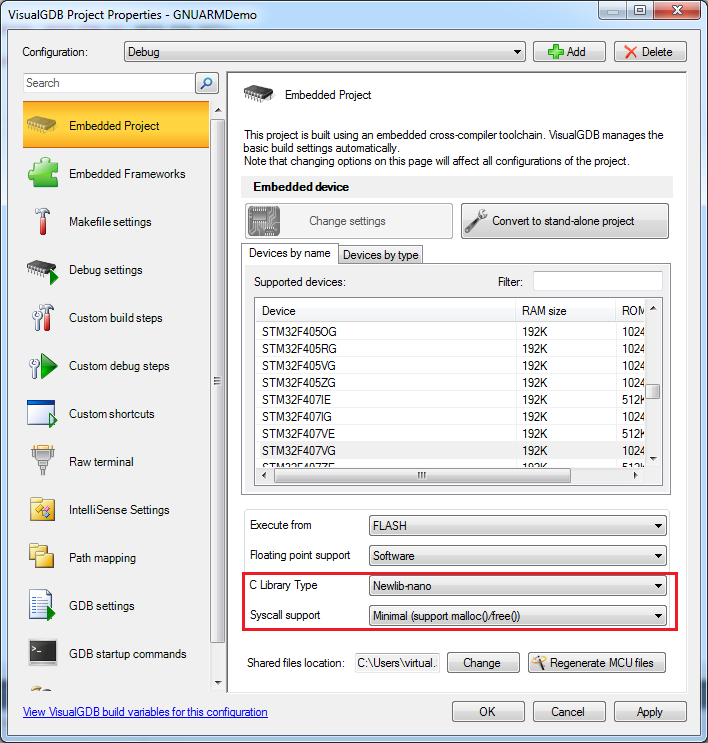
- You can change various toolchain settings by right-clicking on the project in Solution Explorer, selecting “VisualGDB Project Properties” and changing the settings on the first page. E.g. you can switch the C library from newlib to newlib-nano and disable syscall support to reduce the size of your image:
- If you build your project now, you will see that its size has decreased substantially after we switched to the lightweight newlib-nano library: