Creating a Bluetooth LE Beacon with nRF51 and Visual Studio
This tutorial shows how to create a Bluetooth LE Beacon using the Nordic nRF51-DK board and VisualGDB. Before you begin, install VisualGDB 5.0 and get a Bluetooth LE-capable Android Phone. It is also recommended to follow the basic nRF51 tutorial to ensure that your board hardware and drivers work without any problems.
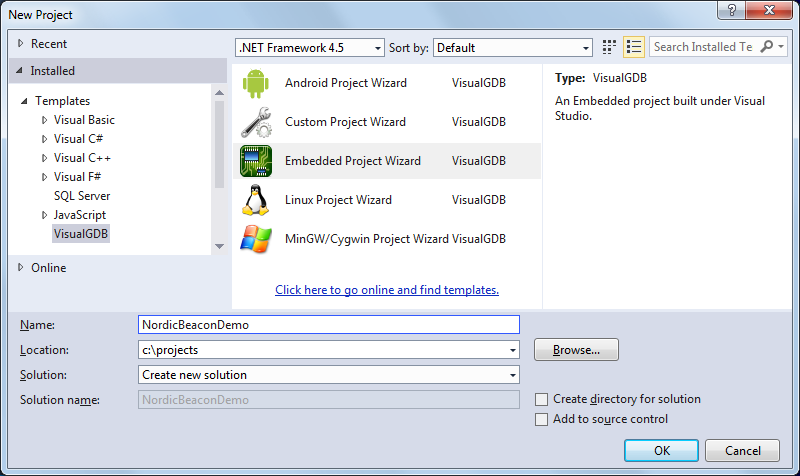
- Open the VisualGDB Embedded Project wizard in Visual Studio and specify the name and location for your project:
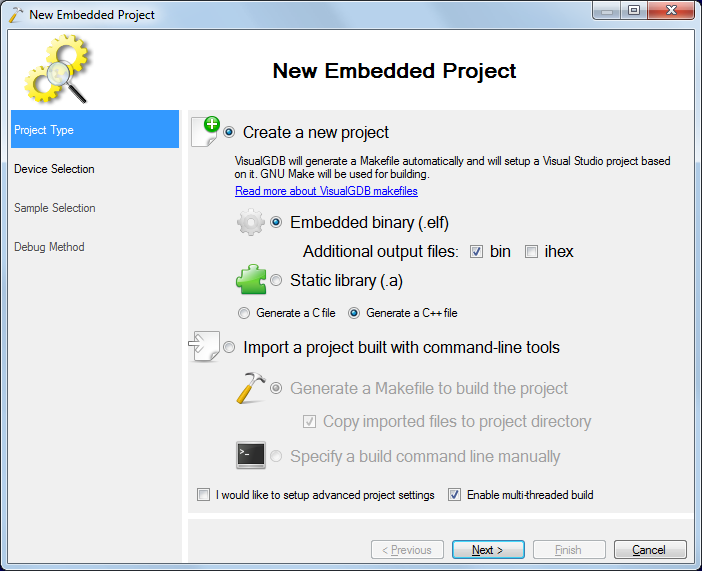
- Proceed with the default settings on the first page (New Project -> Embedded Binary):
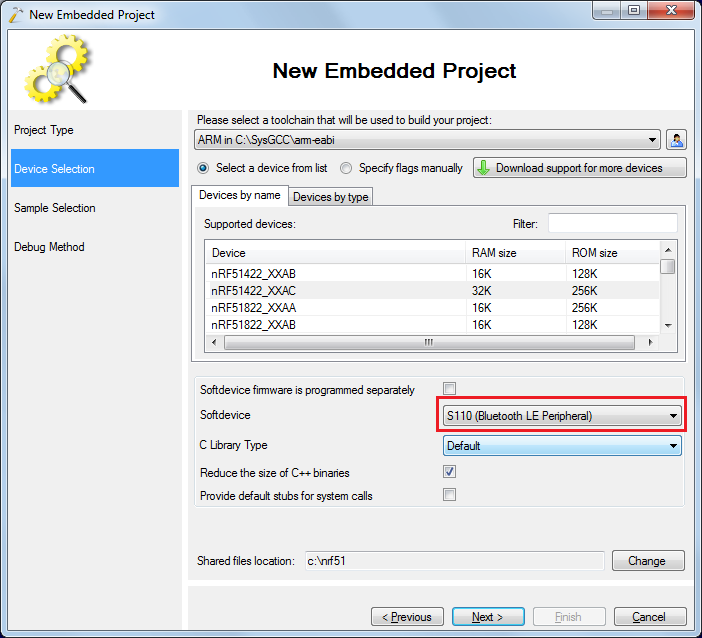
- On the Device Selection page select your Nordic device and specify a softdevice supporting the Bluetooth LE Peripheral role:
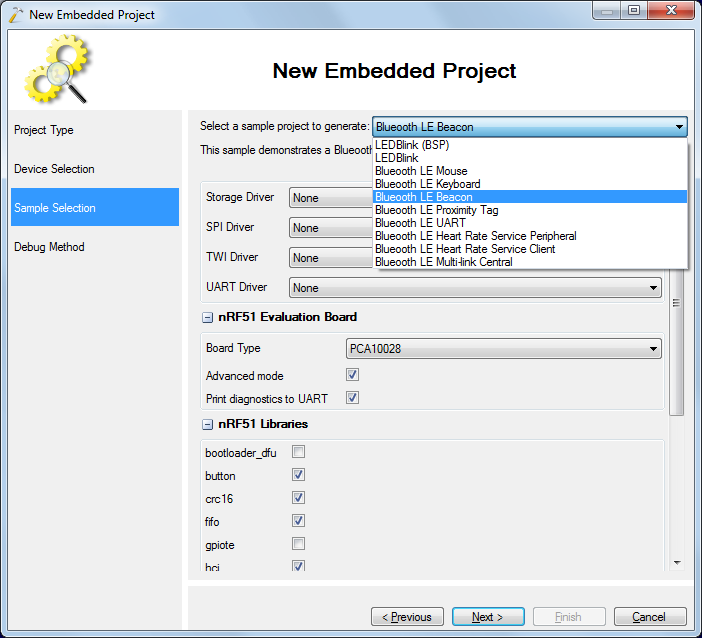
- On the Sample Selection page select the Bluetooth LE Beacon sample and specify your board type below (the board type is printed on a sticker on your board):
- Finally select a debug method. The nRF51-DK board comes with an on-board Segger J-Link, so in this tutorial we will use the Segger debug method. Ensure that you select the “Reset device after programming” checkbox, as otherwise the softdevice initialization code will be bypassed resulting in random crashes:

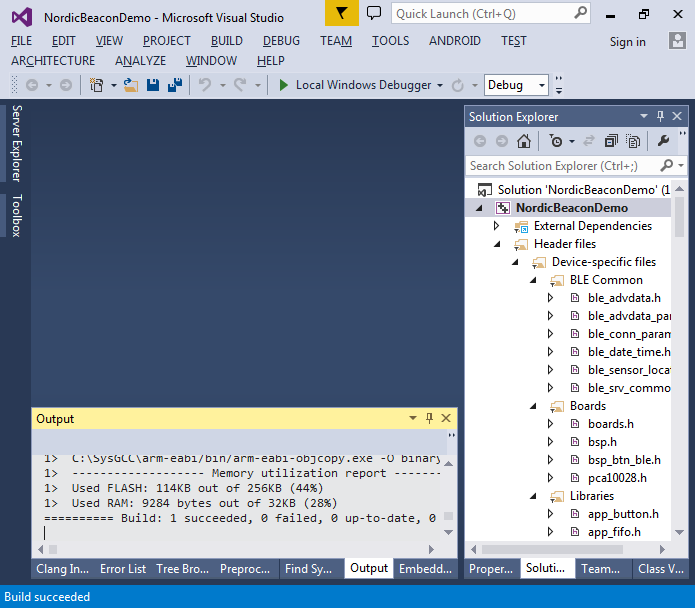
- Press “Finish” to create the project. Then build it with Ctrl-Shift-B:
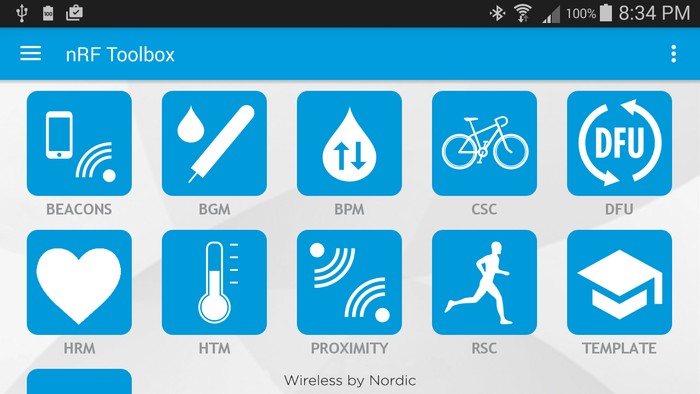
- Start debugging the firmware with F5. Then install and open the nRF Toolbox app on your Android device:
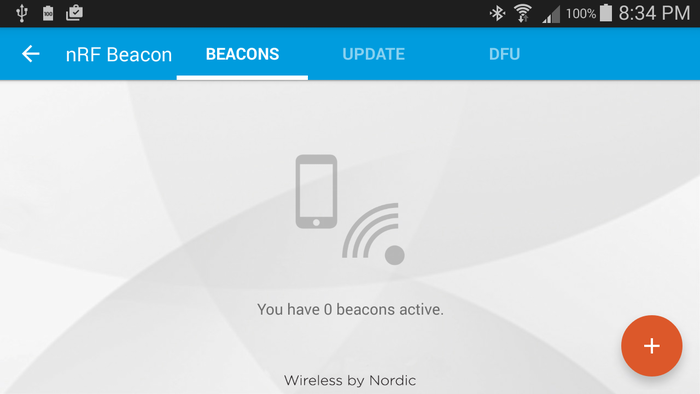
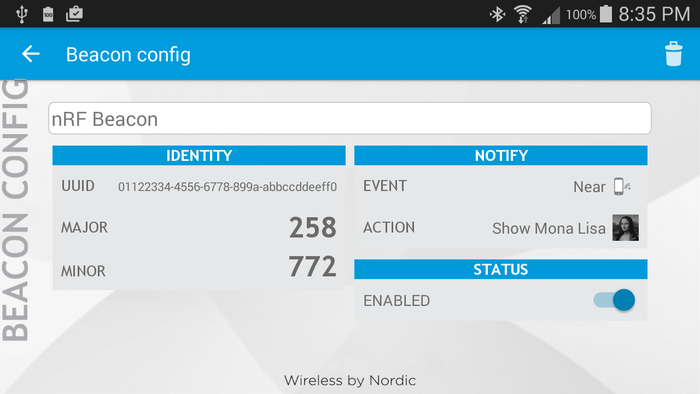
- Click the “Beacons” item. If you have not added any beacons before, the list will be empty. Click the “+” sign to add the beacon:
- Click the left arrow near the “Beacon Config” text to return to the beacon list:
 If the beacon parameters window never appears, try closing all Bluetooth-related apps and if that does not help, restart your phone.
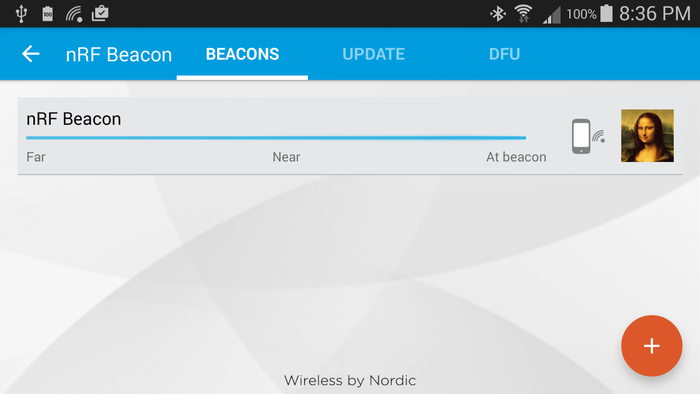
 - Ensure that the beacon list now shows your beacon.
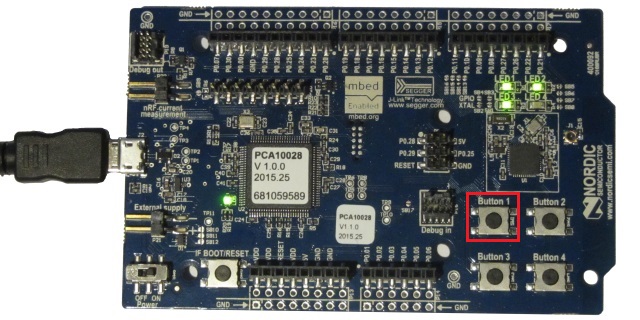
- Now we will modify the beacon example to emulate 2 different beacons alternating between them when button #1 is pressed. The beacon information is contained in the advertisement packet that is stored in the m_beacon_info variable:
static uint8_t m_beacon_info[APP_BEACON_INFO_LENGTH] =                    /**< Information advertised by the Beacon. */
{
    APP_DEVICE_TYPE,     // Manufacturer specific information. Specifies the device type in this
                         // implementation.
    APP_ADV_DATA_LENGTH, // Manufacturer specific information. Specifies the length of the
                         // manufacturer specific data in this implementation.
    APP_BEACON_UUID,     // 128 bit UUID value.
    APP_MAJOR_VALUE,     // Major arbitrary value that can be used to distinguish between Beacons.
    APP_MINOR_VALUE,     // Minor arbitrary value that can be used to distinguish between Beacons.
    APP_MEASURED_RSSI    // Manufacturer specific information. The Beacon's measured TX power in
                         // this implementation.
};
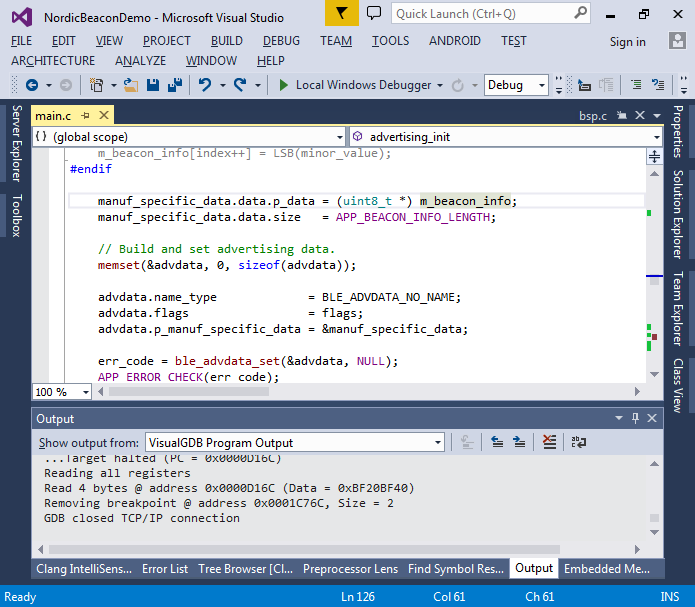
- The contents of the advertisement packet is passed to the softdevice by the advertising_init() function:
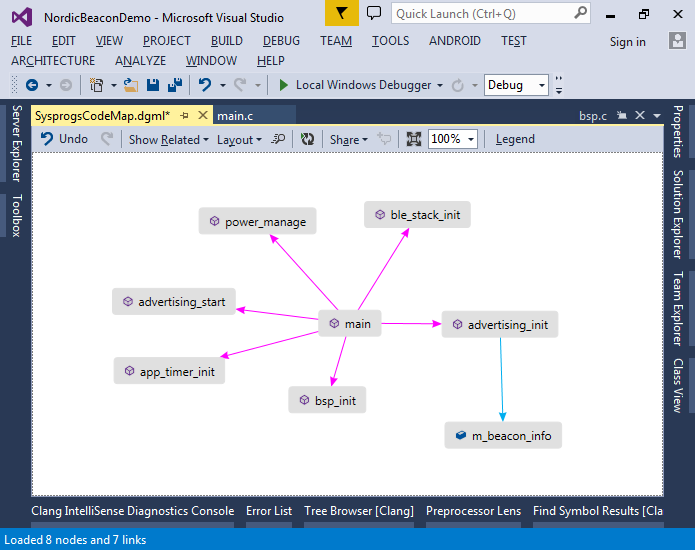
- You can use the code map to visualize the functions involved in the initialization:
- To add the necessary modifications we will first need to enable button initialization in the call to bsp_init(). Modify the line calling bsp_init() from main() to include the button initialization:
err_code = bsp_init(BSP_INIT_LED | BSP_INIT_BUTTONS, APP_TIMER_TICKS(100, APP_TIMER_PRESCALER), NULL);
Then include the “nrf_delay.h” file and replace the loop inside main() with the following:
    for (;; )
    {
        power_manage();
        bool state;
        if (bsp_button_is_pressed(0, &state) == NRF_SUCCESS && state)
        {
            m_beacon_info[21] ^= 1;
            advertising_init();
            nrf_delay_ms(1000);
        }
    }
- Now each time the button #1 is pressed, the least-significant bit in the beacon minor ID will change. The delay after a call to advertising_init() ensures that the same button press won’t be handled twice. Press F5 to start debugging and rapidly press the button #1:
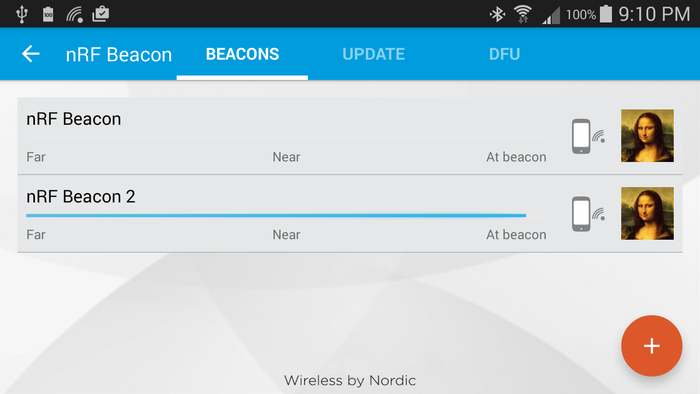
- Observe how the beacon disappears from the list. Click the “+” button again and notice how the beacon ID has changed by 1:

- Return to the beacon list and observe how pressing the button #1 causes another beacon to appear and the previous one to disappear soon after: