STM32F4-Discovery tutorial with Visual Studio
This tutorial shows how to create a simple project for the STM32F4-Discovery board with Visual Studio.
You will need the following hardware and software to follow this tutorial:
- Microsoft Visual Studio
- VisualGDB
- STM32F4-Discovery board
We will create a simple ‘blinking LED’ project, build it and step through it in debugger.
- Start Visual Studio. Select File->New->Project.
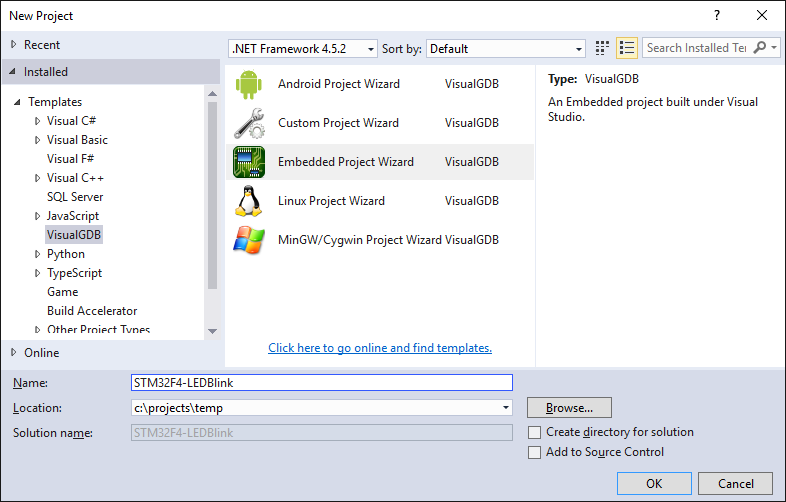
- Select VisualGDB -> Embedded Project Wizard. Pick a directory and a project name:
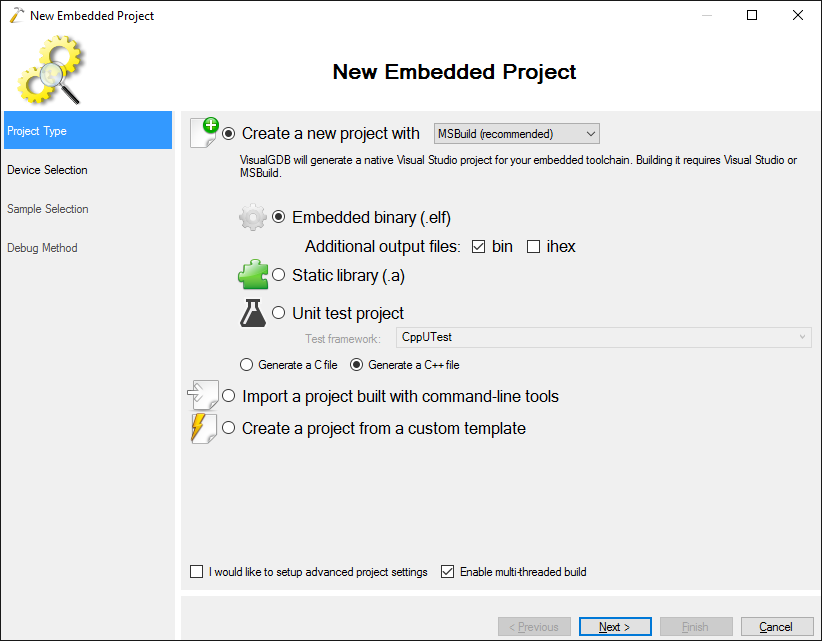
- As we are creating a firmware file without any static libraries, continue with the “embedded binary” option. We recommend choosing “MSBuild” as the build subsystem:
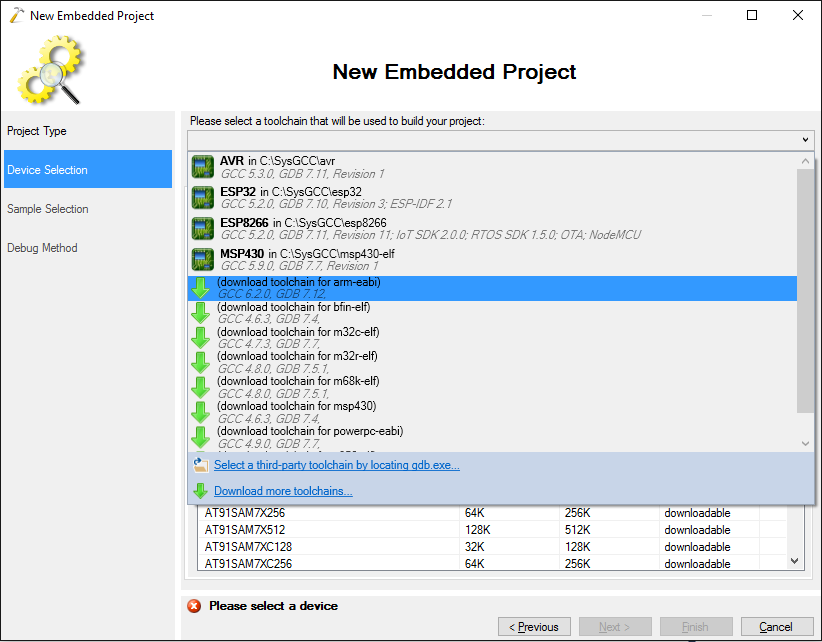
- As we are building firmware for the STM32F4-Discovery board that contains ARM-based STM32F407VG microcontroller, select “ARM” on the toolchain selection page. If the ARM toolchain is not installed yet, select “(download toolchain for arm-eabi)” instead and VisualGDB will install it automatically:
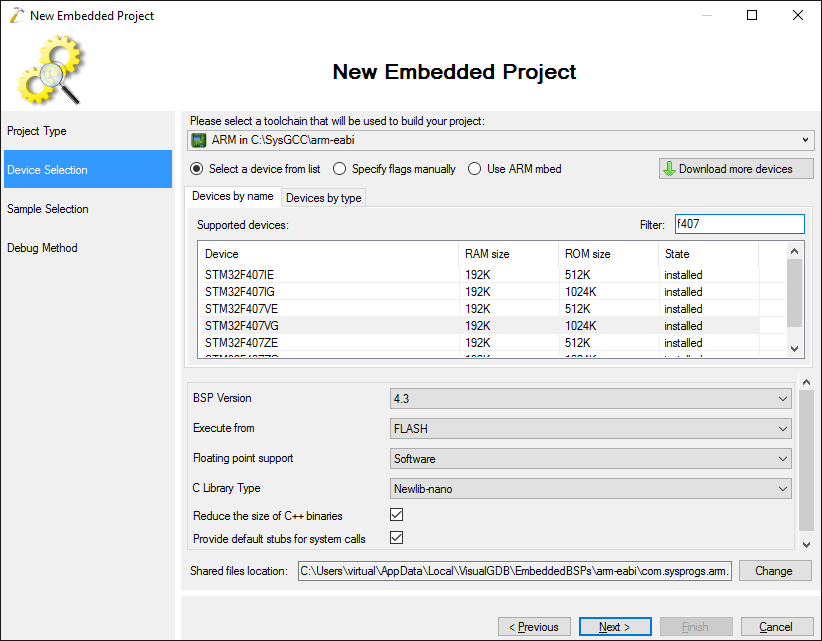
- Once the toolchain is selected, you will see the list of supported devices. Select STM32F407VG from the list:
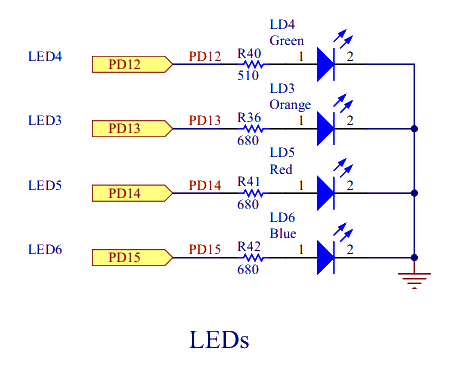
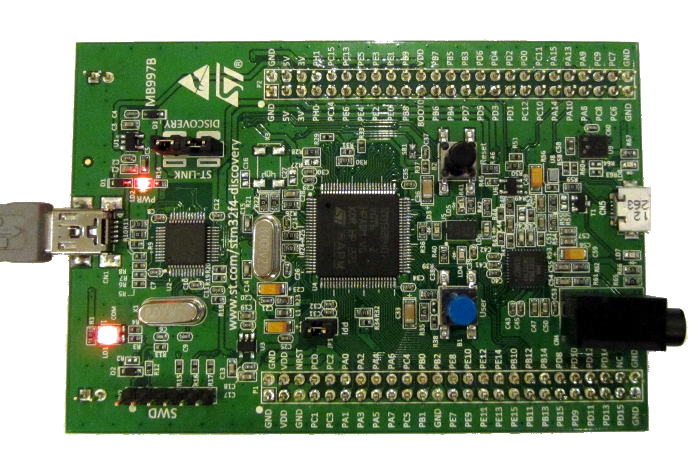
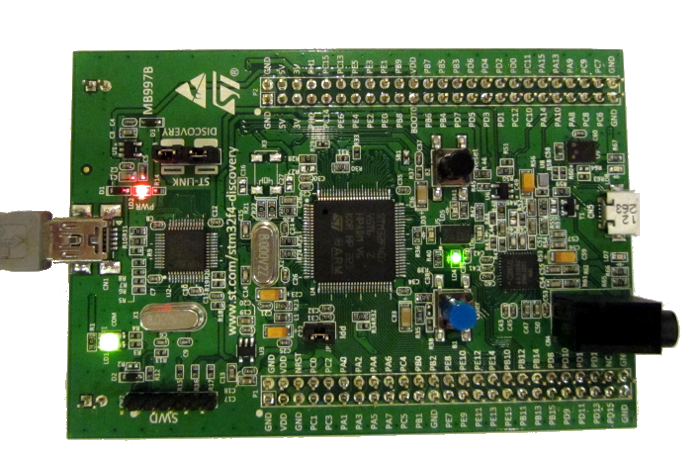
- The STM32F4-Discovery board contains 4 LEDs connected to PD12-PD15 pins (see board schematics for more details):
 To make a project that will blink the green LED connected to PD12 select “GPIOD” and “12” as the port group and number:
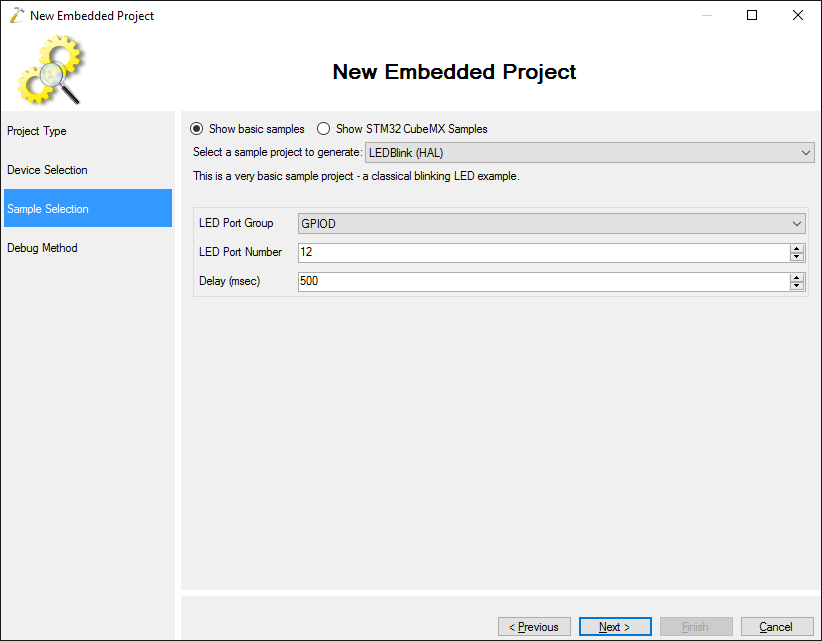
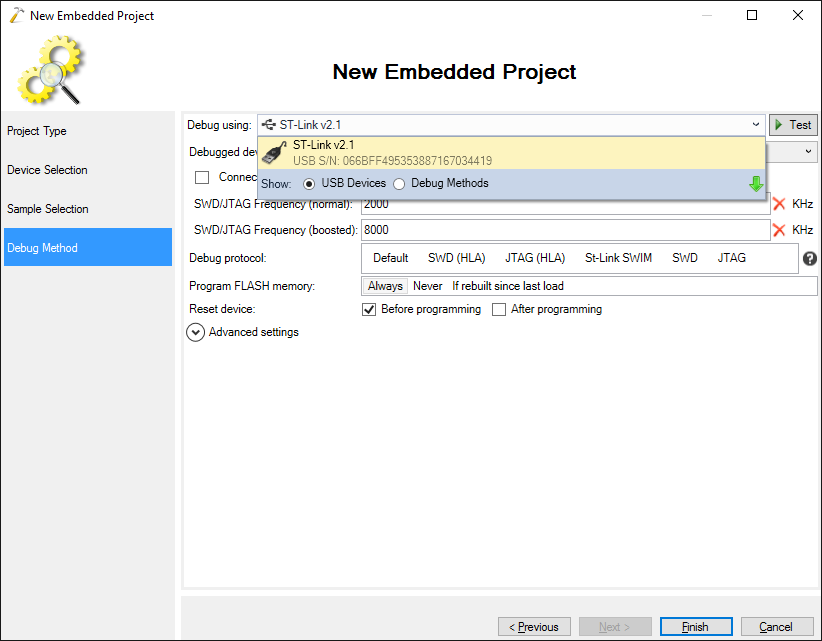
- The STM32F4-Discovery board includes an on-board ST-Link programmer. Simply plug it into the USB port and VisualGDB will automatically detect it. Select it from the list and click “Test” to automatically install the needed drivers and verify that the debug connection works:
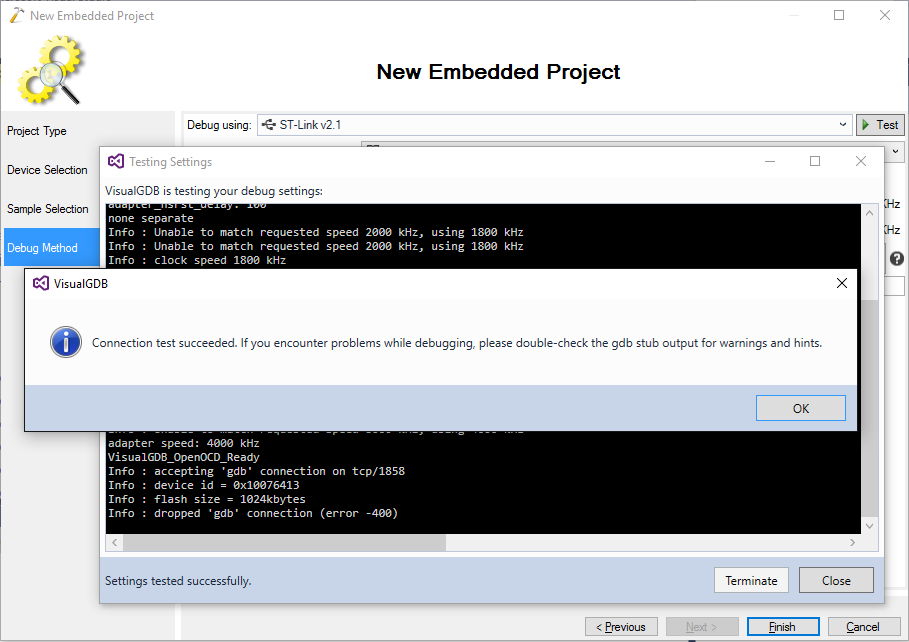
- VisualGDB will try running OpenOCD and will connect to it to verify that the debugging is possible:
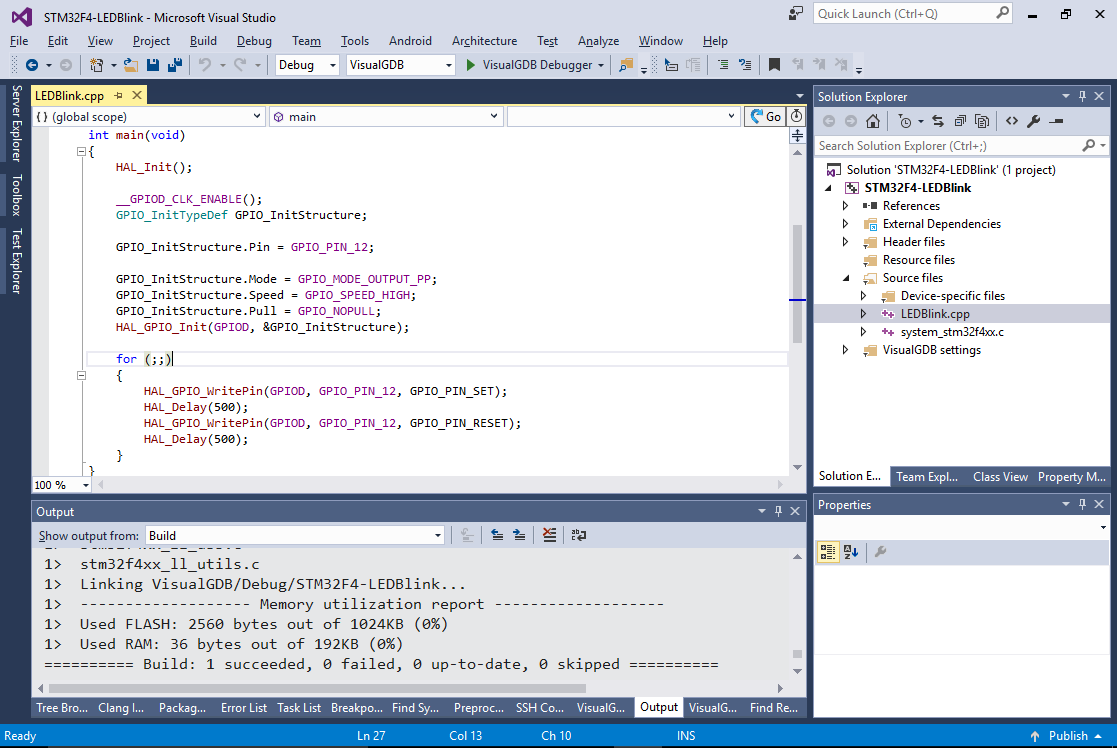
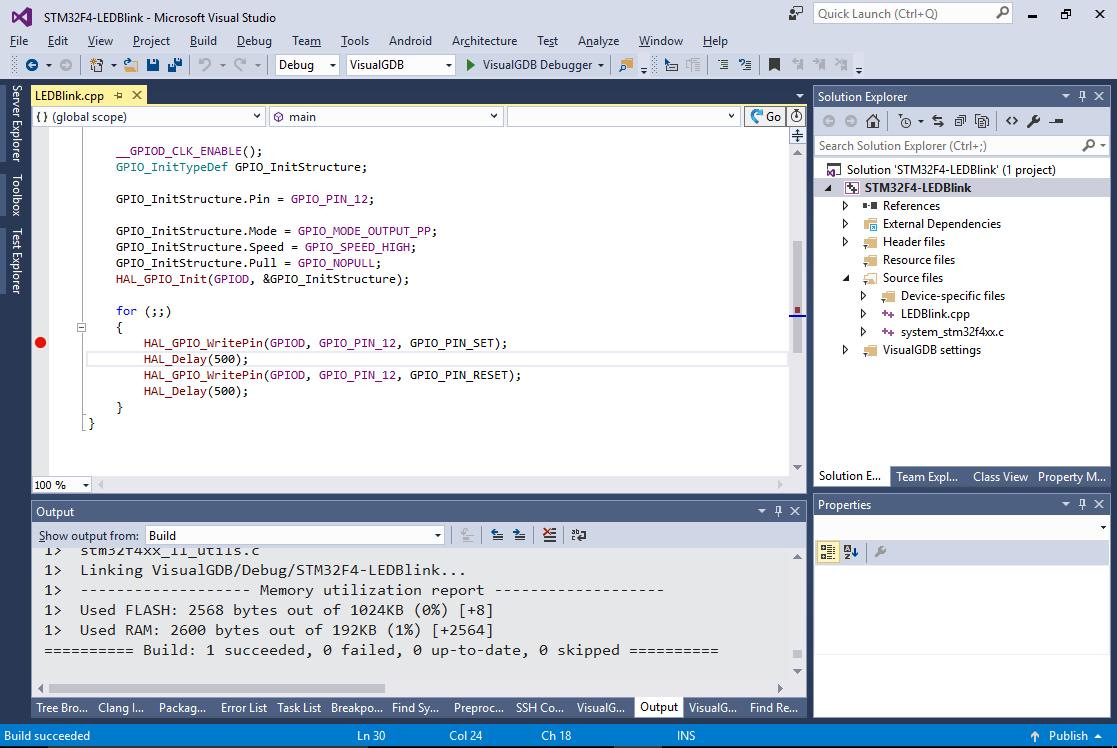
- Press “Finish” in the wizard to complete it. Once the project is created, press Ctrl-Shift-B to build it:
- Press F5 to start debugging. Note how the LED turns on and off. Now put a breakpoint on the first GPIO_WriteBit() line. The breakpoint will be triggered immediately and the LED will be off:
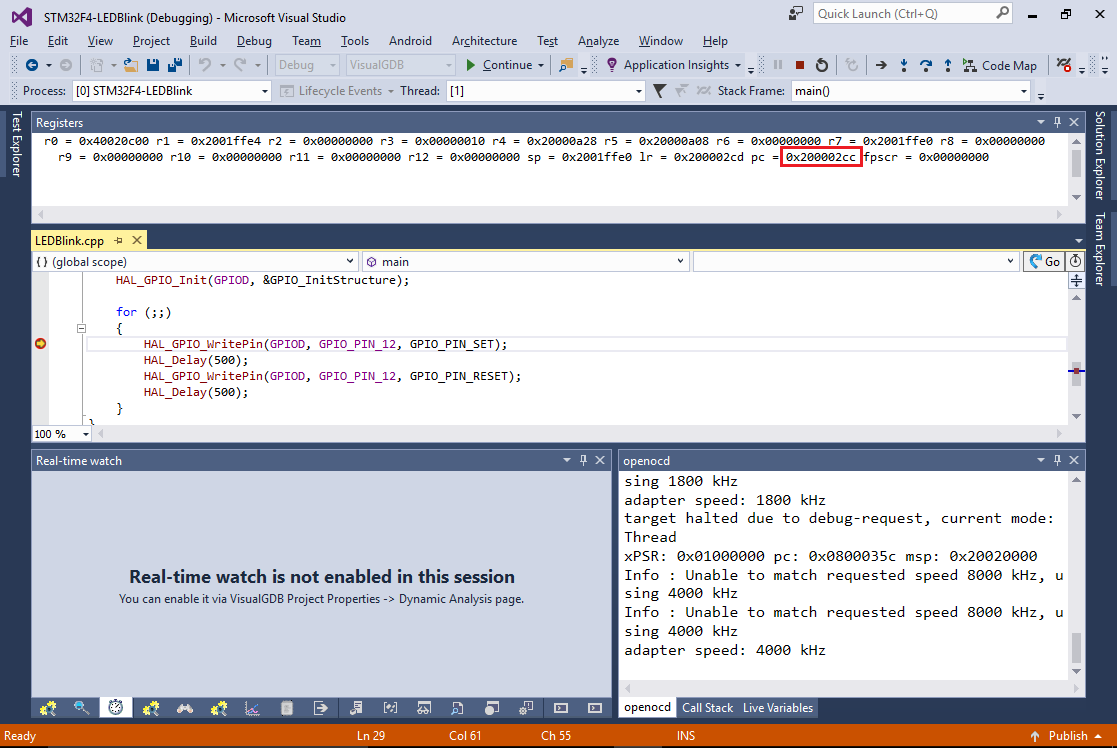
- Open the Registers window by pressing Ctrl-Alt-G or selecting Debug->Windows->Registers. Right-click inside it and ensure that ‘All Registers’ is enabled:
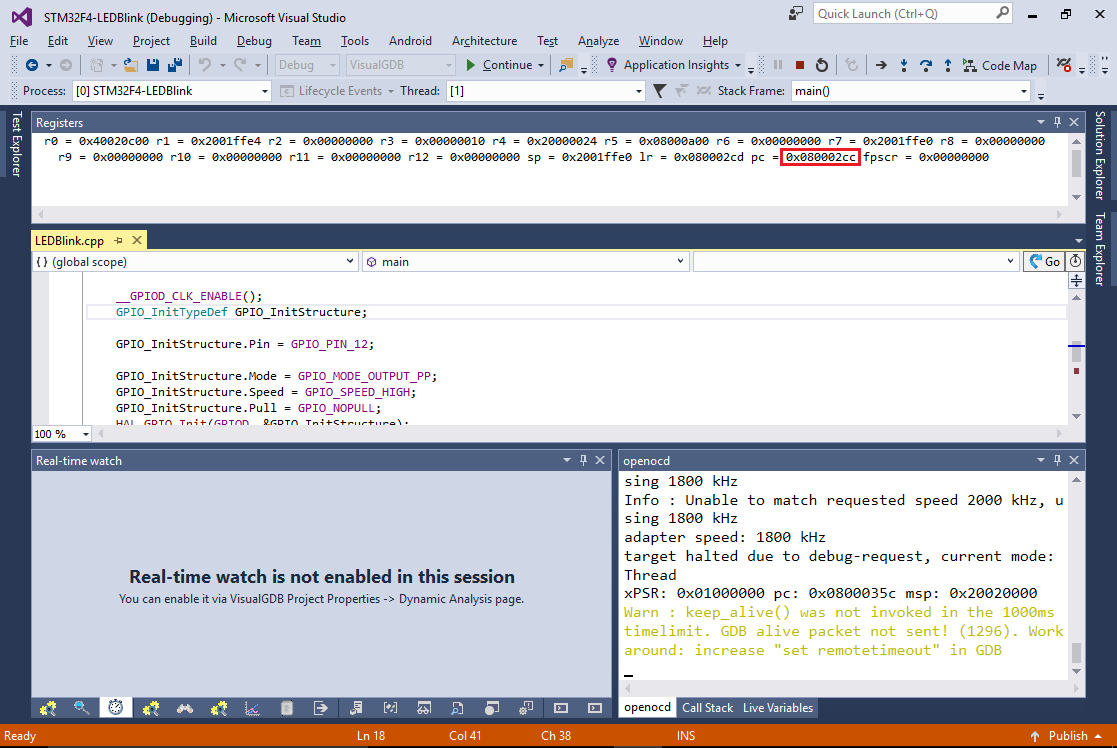
- Note the value of the PC register. A value in the 0x80xxxxxx range indicates that the program is running from FLASH memory. We will change it to SRAM later. Press F10 to step over one line of code. Notice how the LED turns on:
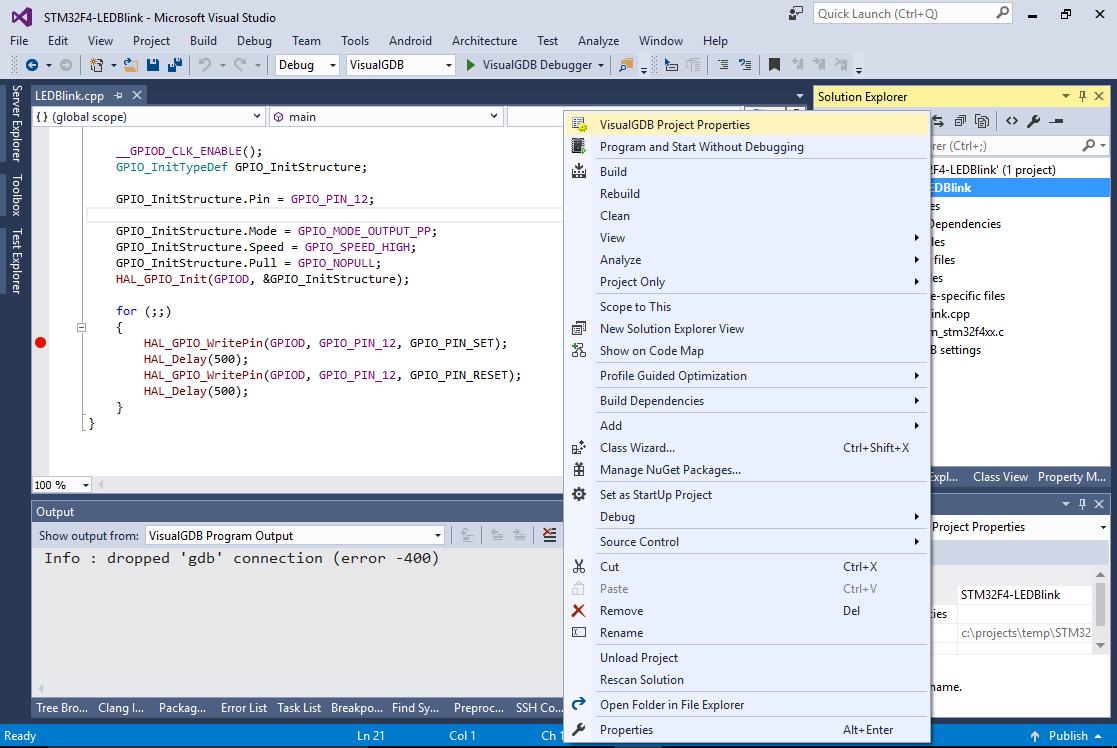
- Exit debugging by pressing Shift-F5. Right-click on the project node in Solution Explorer and select “VisualGDB Project Properties”:
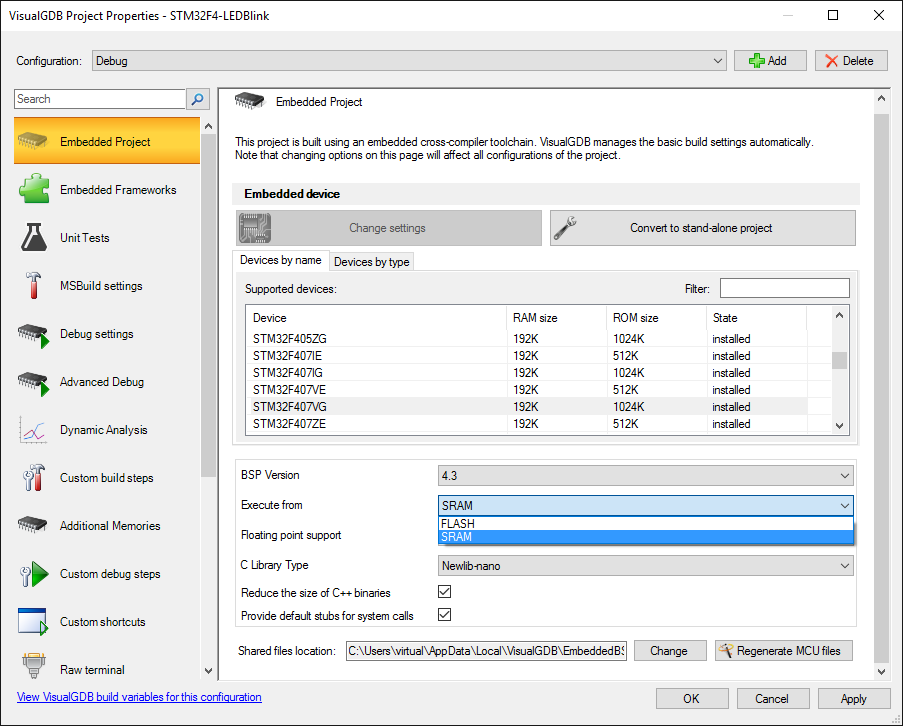
- Click “Change settings” and select SRAM instead of FLASH:
- The previous binary build for FLASH mode won’t run from SRAM. Rebuild the project to fix this:
- Start debugging and wait until the breakpoint is hit. Note that the pc register now contains a value in the 0x20xxxxxx range that indicates running from SRAM:
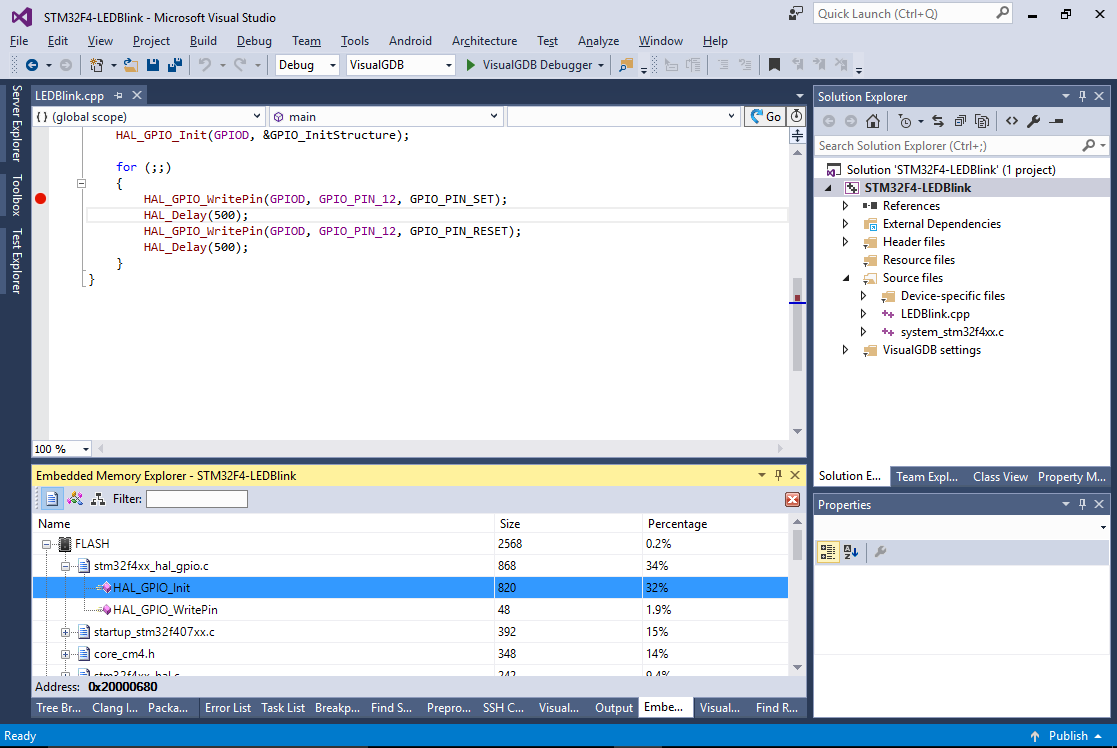
 Making your program run from SRAM does not consume FLASH rewrite cycles when downloading the program or setting breakpoints. However, it has the disadvantage over FLASH mode: your entire program including all code and constants should fit in the SRAM, so it may not work for large programs.
 - You can use the View->Embedded Memory Explorer to see which exact functions are responsible for the memory usage: