Developing Tiva/Stellaris firmware With VisualGDB
This tutorial shows how to create and debug a basic project for the TI Tiva/Stellaris devices. We will use the Tiva C Series LaunchPad (EK-TM4C123GXL) to create and debug a basic “Blinking LED” project with Visual Studio.
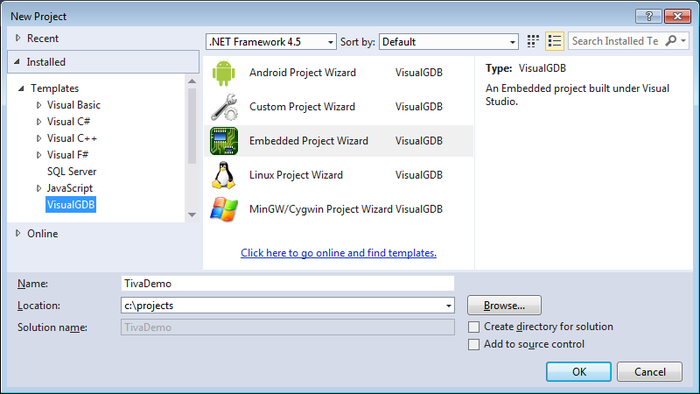
- Start Visual Studio and launch the New Project Wizard. Select VisualGDB->Embedded:
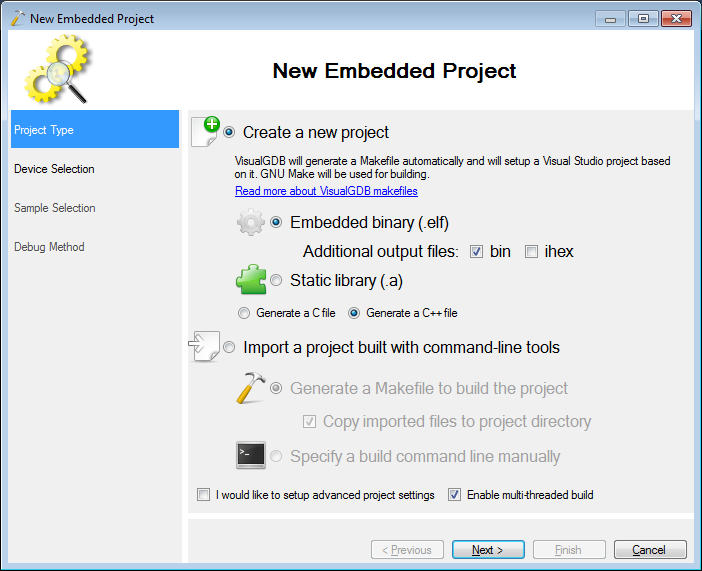
- On the first wizard page continue with the default “Embedded binary” setting:
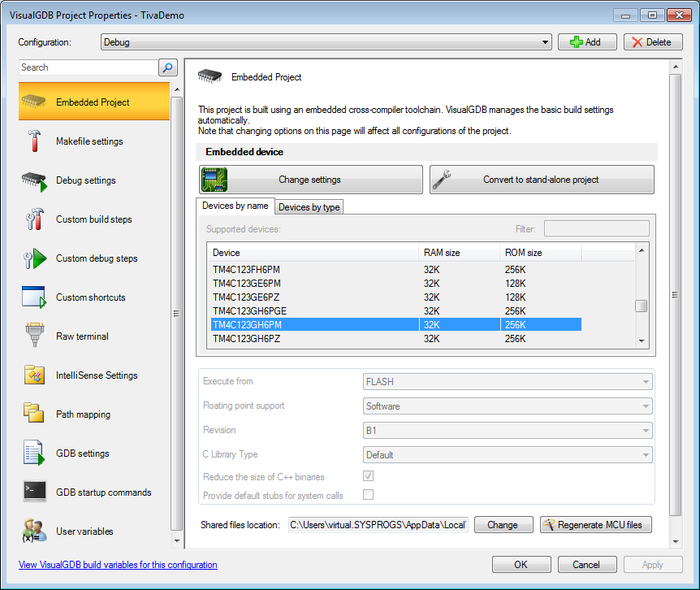
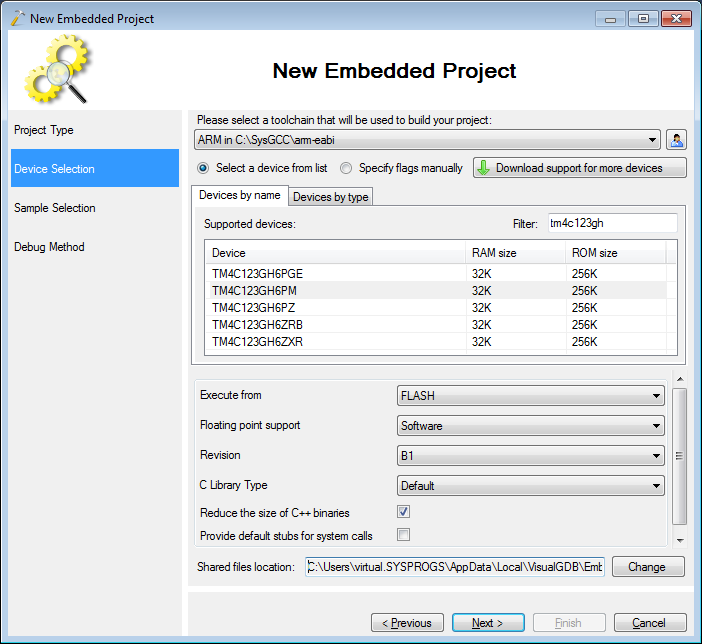
- On the next page select your device. If you do not have the ARM toolchain and the Tiva BSP for VisualGDB installed yet, then install them here. The BSP can be added by clicking on “Download support for more devices” and the toolchain can be downloaded through the toolchain selector. The EK-TM4C123GXL evaluation board has the TM4C123H6PM device. You can also specify the device revision in the settings here.
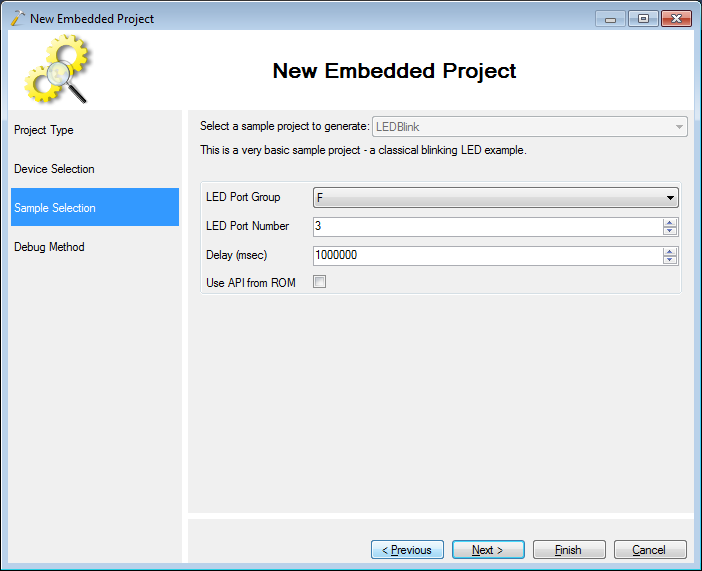
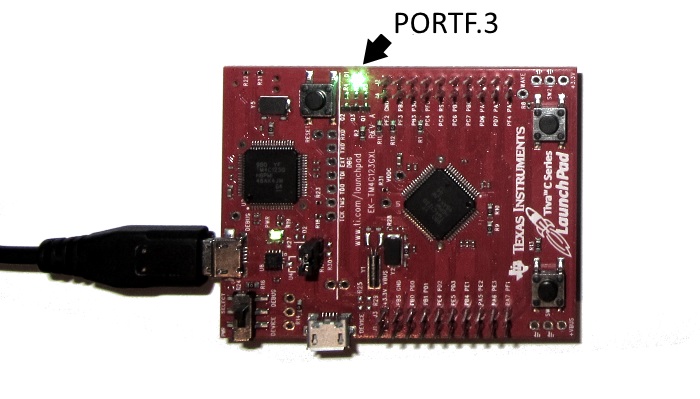
- On the sample page select the LED pin that you want to use. The EK-TM4C123GXL board has an LED connected to F3 port:
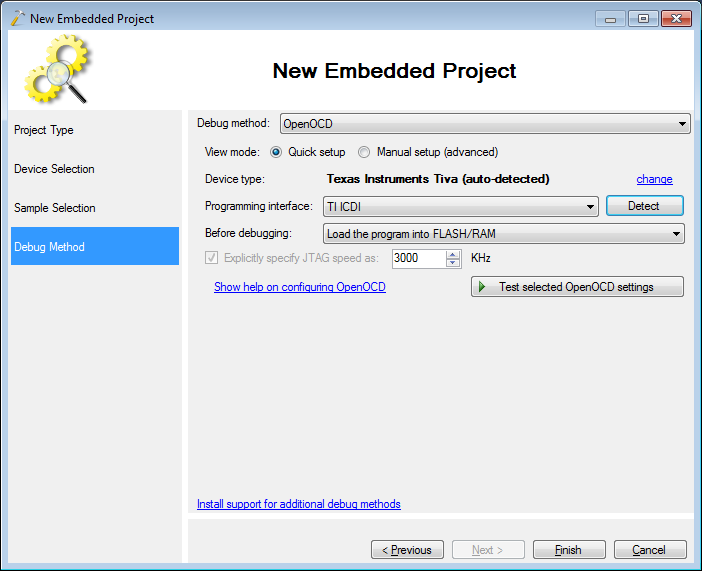
- On the final page select “OpenOCD” as the debug method. Then connect your board via USB and click “Detect”:
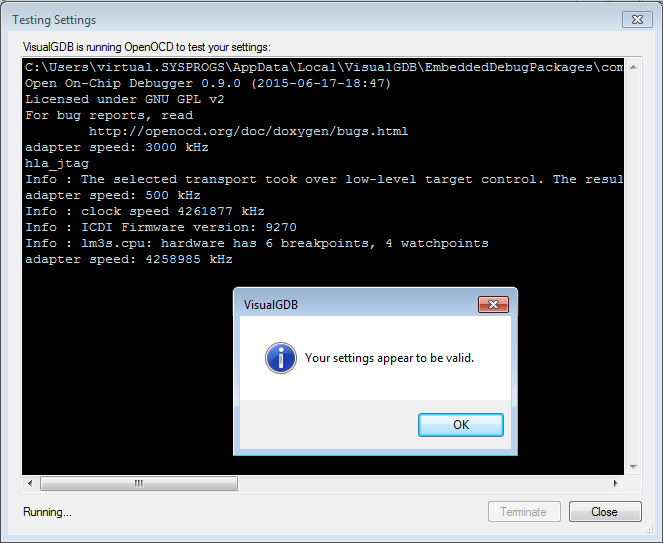
- Download and install the TI ICDI drivers. Then click “Test selected OpenOCD settings” to check the connection to your board:
 Close the test and click on Finish in the wizard to create the project.
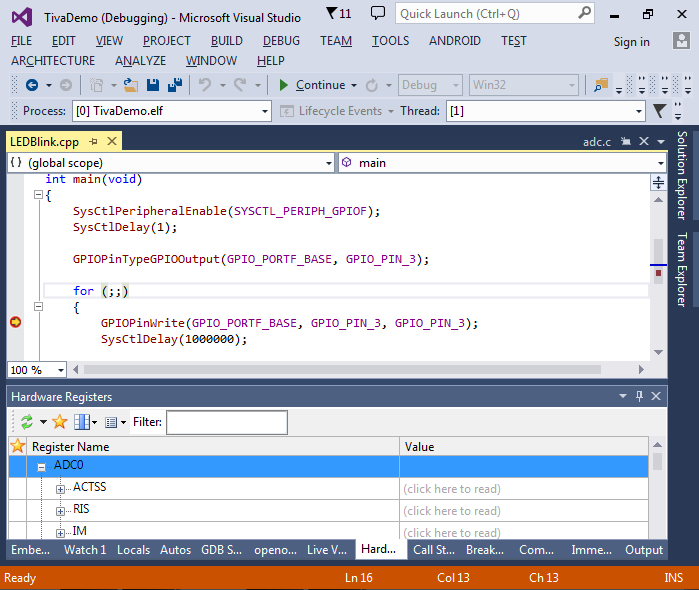
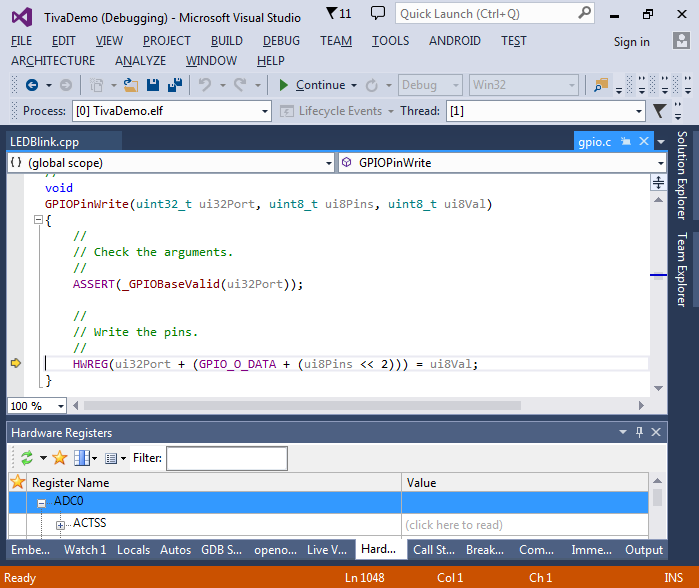
 - Set a breakpoint on the first GPIOPinWrite() line and press F5 to build and start debugging your project:
- Press F10 to step over the line. Note how the green LED turns on:
- You can also step into the TI driver code by pressing F11 to see what hardware reigsters it accesses:
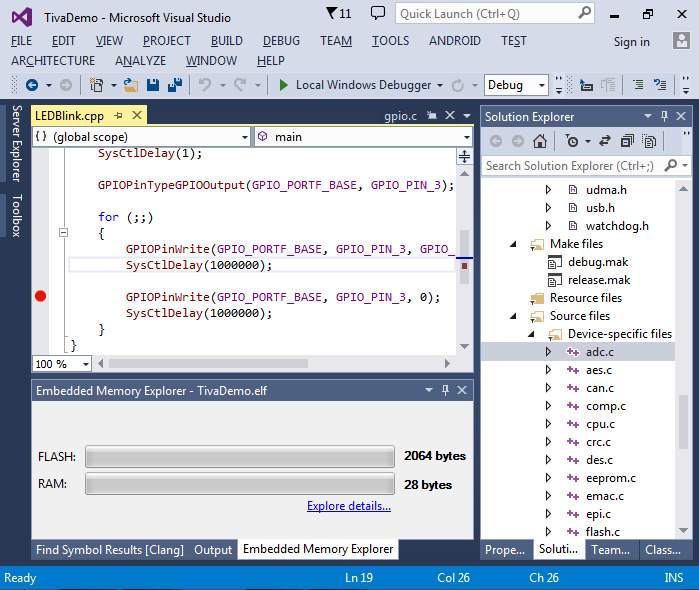
- Note the memory footprint of the sample in the Embedded Memory Explorer window:
- Tiva devices come with a ROM that contains pre-loaded versions of the API. You can switch to using those functions by adding the ROM_ prefix to the functions called from main() in this example. This is equivalent to enabling the “Use API from ROM” checkbox in the sample page of the project wizard:
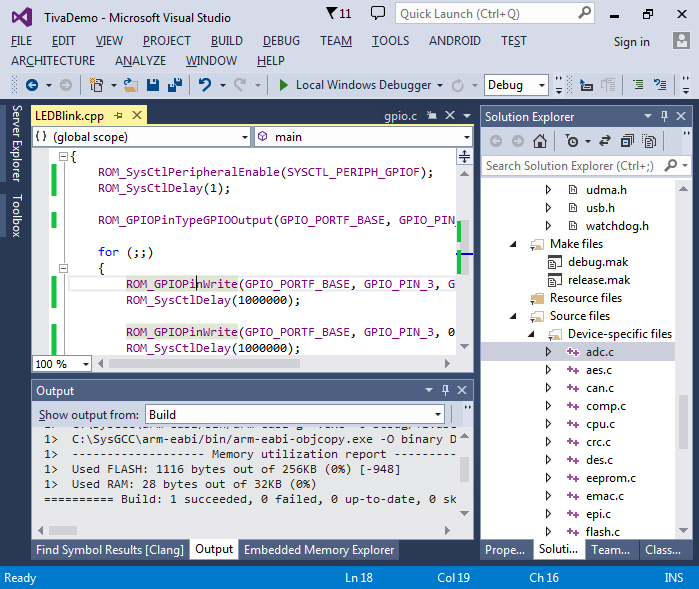 Note how switching to ROM reduces the FLASH footprint as the firmware no longer contains the code of the standard functions.
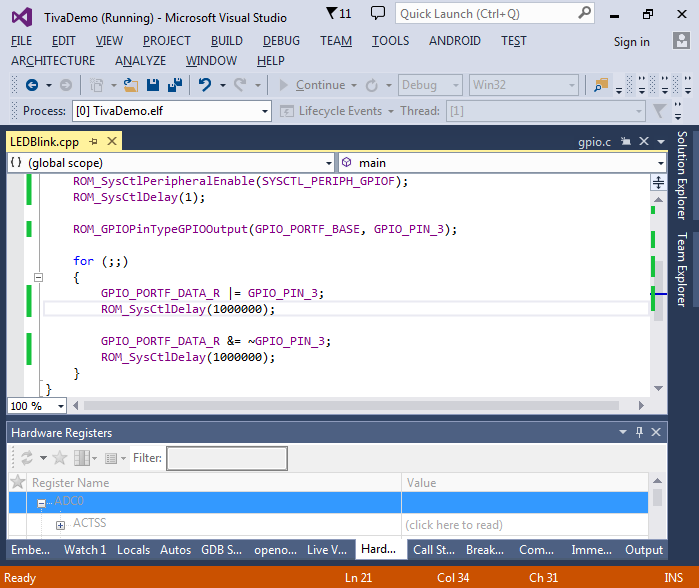
 - You can also access the hardware directly. Simply replace the calls to ROM_GPIOPinWrite() with lines accessing the GPIO_PORTF_DATA_R register directly:
- You can configure various project properties related to your device by right-clicking on the project in Solution Explorer and selecting VisualGDB Project Properties: