Using ImageMagick Library in C++ Linux Projects
This tutorial demonstrates the use of external Linux libraries in VisualGDB projects. We will create a Linux project that rotates images using the Magick++ library.
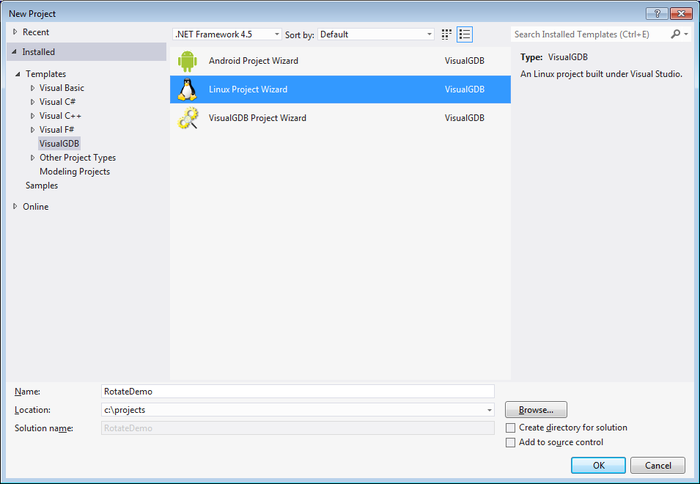
- Open Visual Studio. Select “File->New->Project”, then select “VisualGDB->Linux Project Wizard’. Specify project name and location and press the OK button:
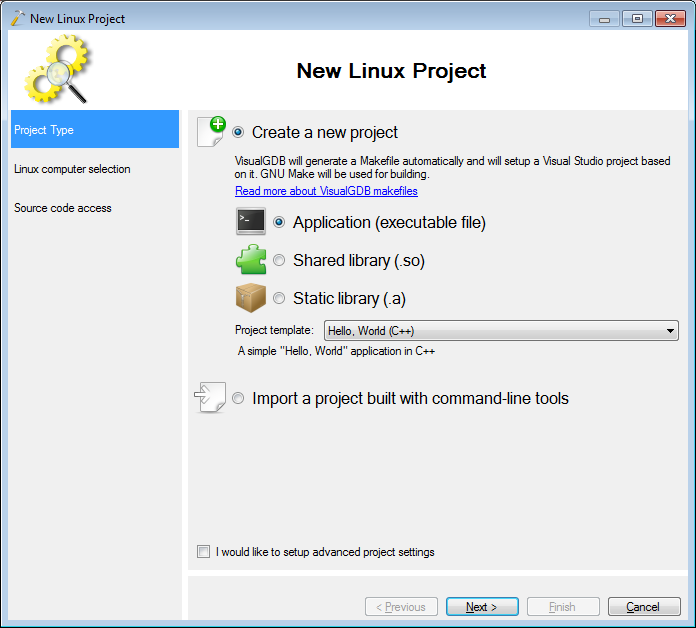
- On the first page select “Application” and press “Next”:
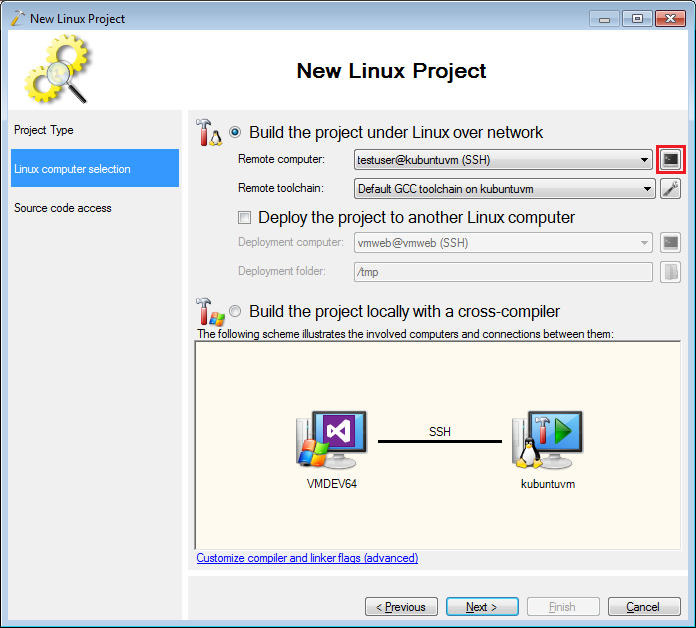
- On the next page select the Linux computer you want to use. We will now need to install the Magick++ library on it, so press the console button to the right from the computer selection to open a new SSH console:
- Install the libmagick++-dev package. If you are running a Debian-based Linux distro, run the following command in the console window:
sudo apt-get install libmagick++-dev
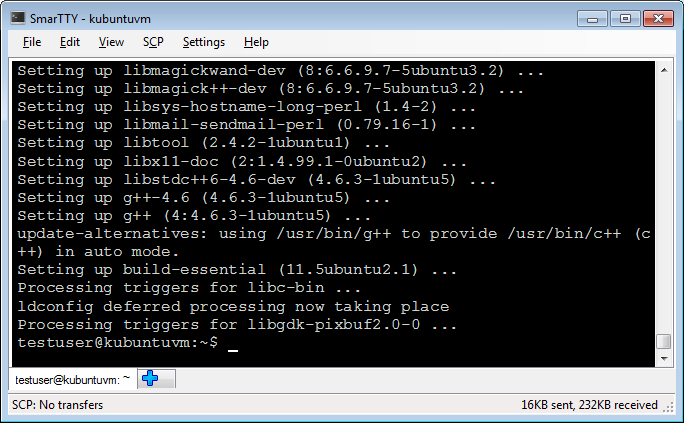 When the package is installed go back to the VisualGDB wizard and press “Next”.
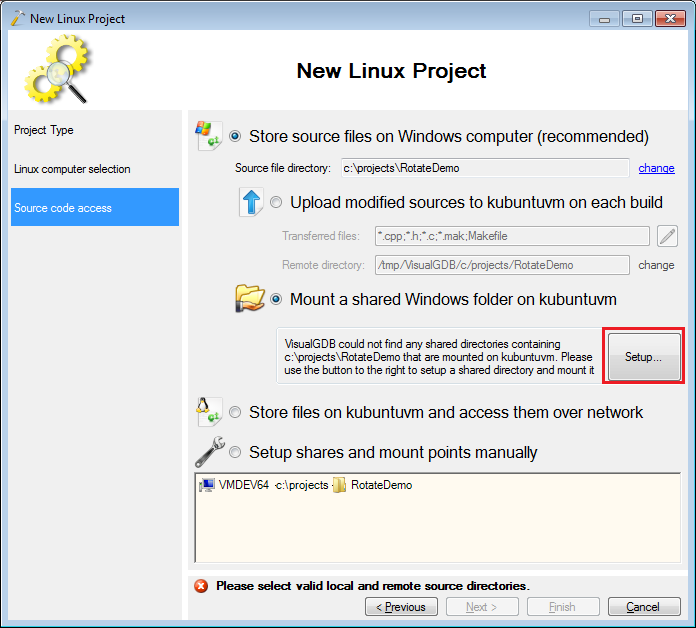
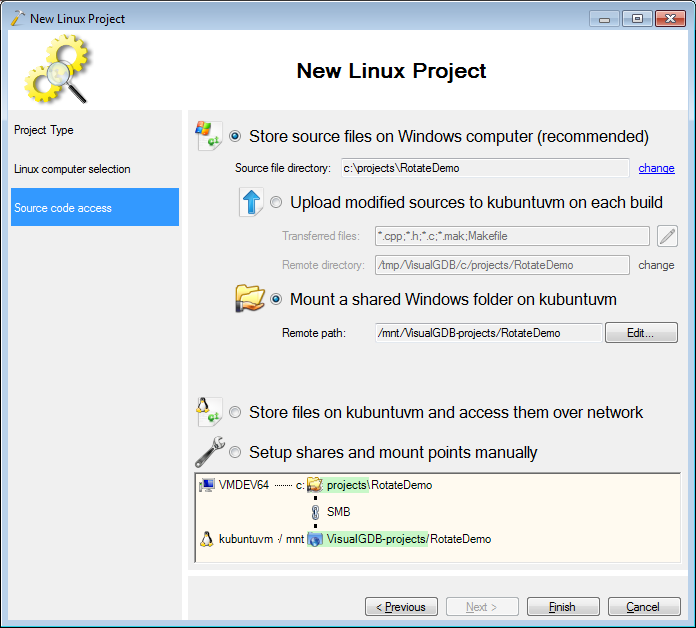
 - To let the Linux machine easily access files from the Windows project folder we will use a shared folder instead of transferring the files. Select “Mount a shared Windows folder” and click “Setup”:
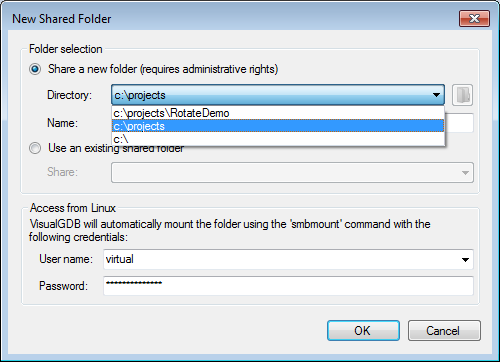
- VisualGDB will suggest sharing one of the folders containing the project folder. In this example the project resides in c:\projects\RotateDemo and we will share c:\projects. To let the Linux computer access your shared folder you will need to provide valid credentials:
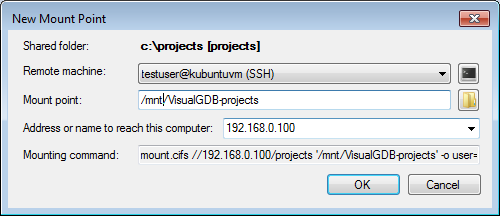
- When you press OK VisualGDB will let you select the mount point where you want to map your folder. In this example we use /opt/VisualGDB-projects:
- Once the folder is shared and mounted use the diagram at the bottom if the wizard page to recheck the relation between the Windows and Linux paths:
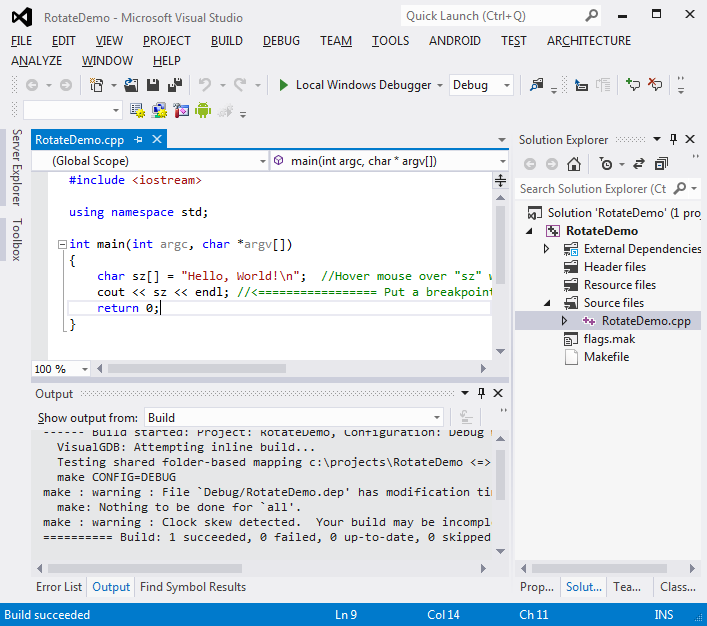
- Press “Finish” when done. VisualGDB will create a “Hello, World” project. Build it by pressing Ctrl-Shift-B:
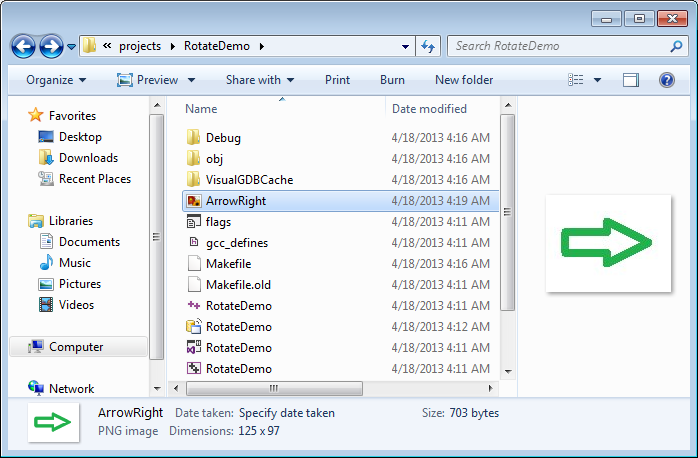
- As we have configured shared folders, the Linux computer will be able to automatically access all files from the Windows project directory and write files to it as well. Create a file called ArrowRight.png in the project directory and draw an arrow in it:
- Now we will need to configure IntelliSense to support the ImageMagick headers. Right-click on the project, select VisualGDB Project Properties, go to the IntelliSense page:
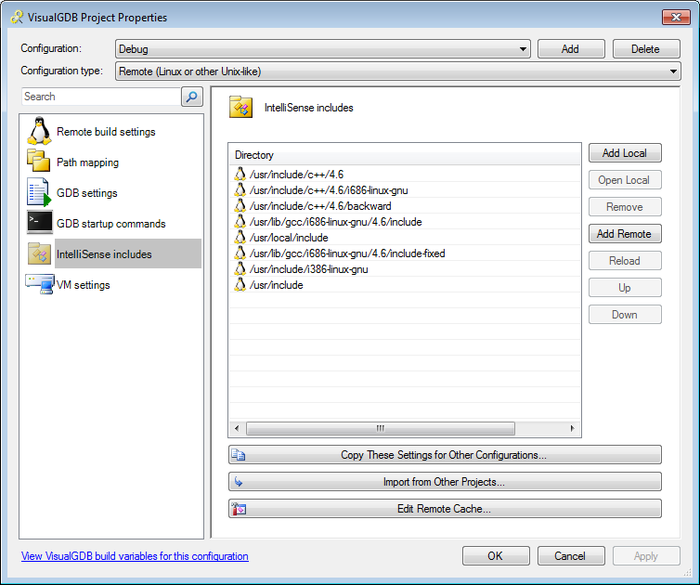
- Click “Add Remote”:

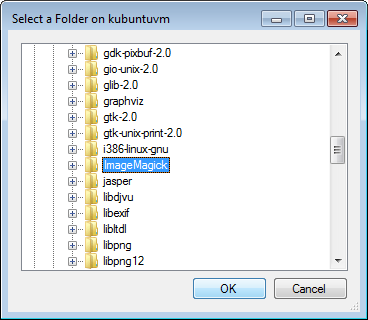
- Click the browse button and select /usr/include/ImageMagick:
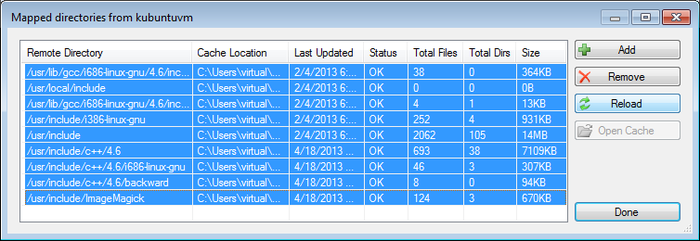
- Press “OK” in all the dialogs to save your settings. VisualGDB will add the directory to the IntelliSense search path. If you have installed other libraries recently, click “Edit Remote Cache”, select all directories and press “Reload”:
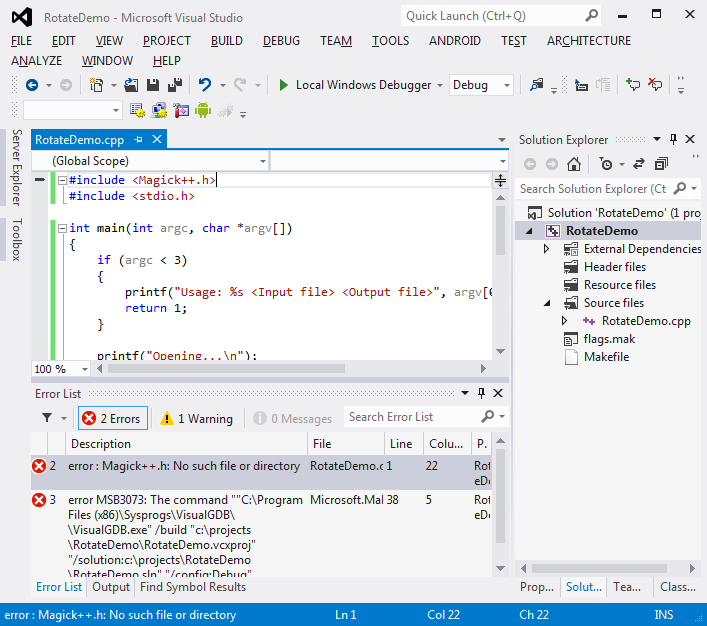
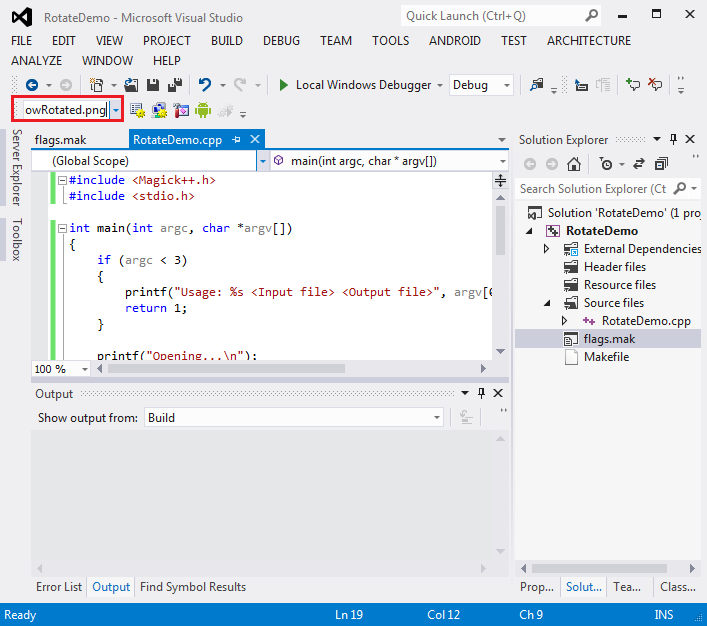
- Replace the contents of the main source file with the following:
#include<Magick++.h>
#include<stdio.h>

int main(int argc, char *argv[])
{
    if (argc < 3)
   {
       printf("Usage: %s <Input file> <Output file>", argv[0]);
        return 1;
   }

   printf("Opening...\n");
   Magick::Image img(argv[1]);

   printf("Rotating...\n");
   img.rotate(45);

   printf("Saving...\n");
   img.write(argv[2]);

    return 0;
}
If you try to build your project now you will get an error message:
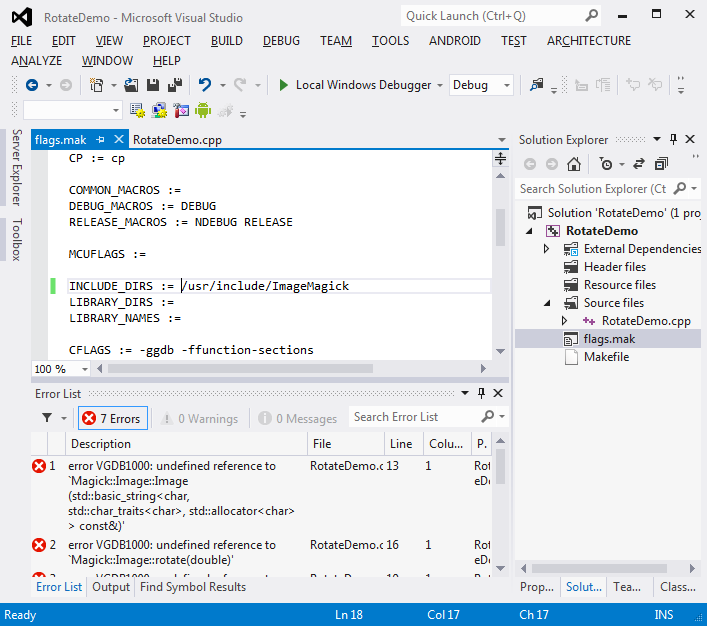
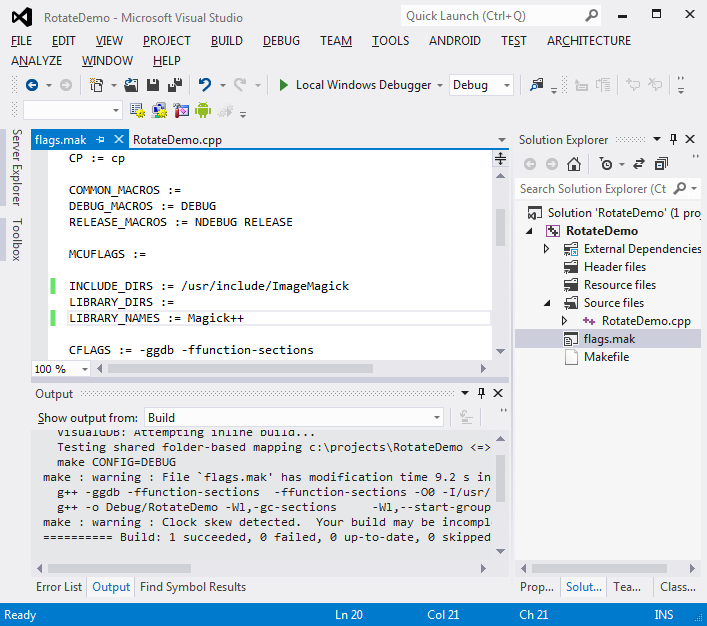
- The error is shown because GCC include directories are managed separately from IntelliSense include directories. To fix the GCC includes open the flags.mak file and add /usr/include/ImageMagick to the INCLUDE_DIRS statement. If you build your project now the compilation will succeed but you will get several linker errors instead:
- To fix the linker errors you will need to add the Magick++ library to the LIBRARY_NAMES:
 Note that the actual library file is called libMagick++.a and is located in one of the standard library directories. We omit the lib prefix in the flags.mak file as GCC traditionally requires it.
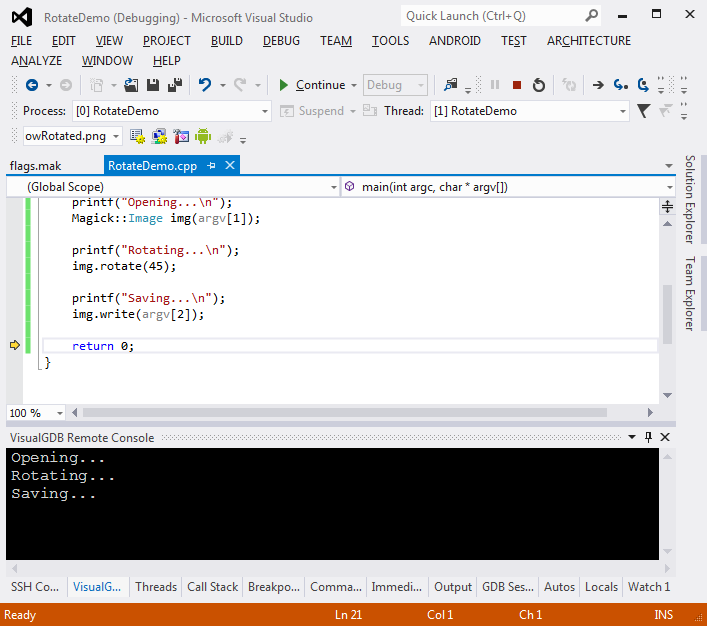
 - Now we need to provide the command-line arguments to our program and run it. The easiest way to do it is to use the VisualGDB toolbar. Enable the toolbar by right-clicking in the toolbar area and selecting VisualGDB. Then enter “ArrowRight.png ArrowRotated.png” in the text field:
- Press F5 to run the program to the end or F10 to step into it:
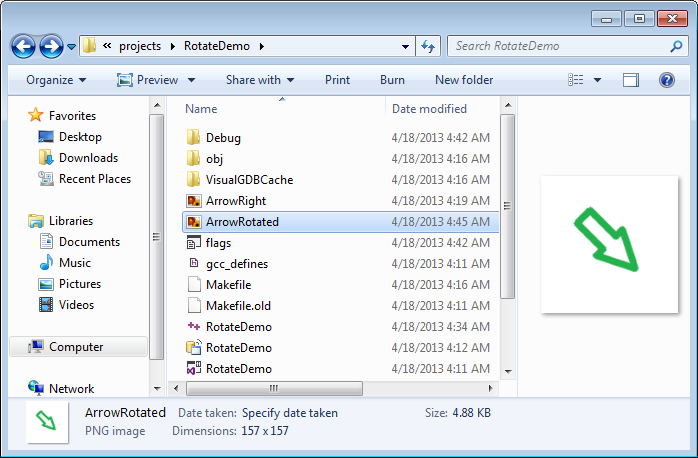
- Open the project folder in Explorer and check out the ArrowRotated.png file created by the program:
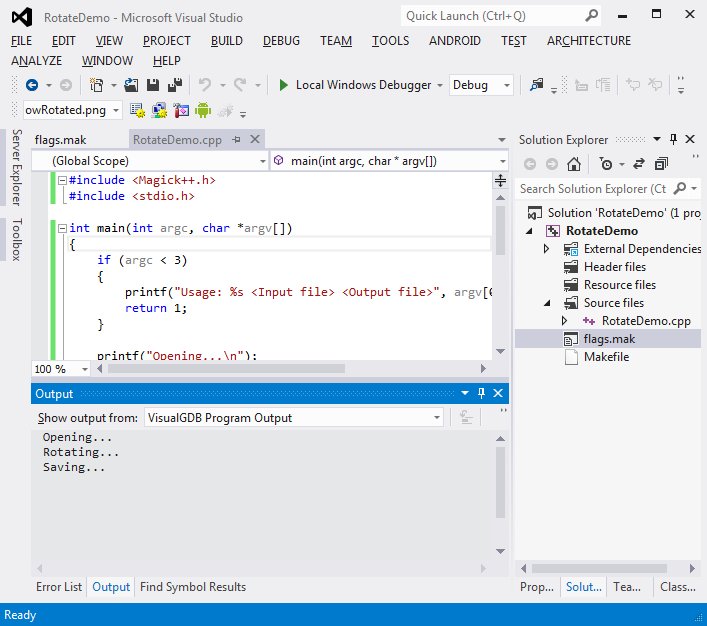
- You can always see the program output from the last debugging session using the VisualGDB Program Output view in the Output pane in Visual Studio: