Cross-compiling Raspberry Pi Qt Apps with Visual Studio
WARNING! This tutorial shows the QMake build system that has been deprecated. For new Qt-based projects we recommend using the CMake build system that is shown in this tutorial.
This tutorial shows how to setup cross-compilation of Qt apps for Raspberry PI board with Visual Studio. Using a cross-compiler is faster from compiling your apps directly on Raspberry PI, as the compiler will run on your PC’s CPU that is faster than the Raspberry PI’s one. However, setting up cross-compilation requires some additional steps such as creating a local copy of your Raspberry PI’s sysroot. This tutorial explains it in detail.
Before we begin, ensure that VisualGDB 4.1 or later is installed.
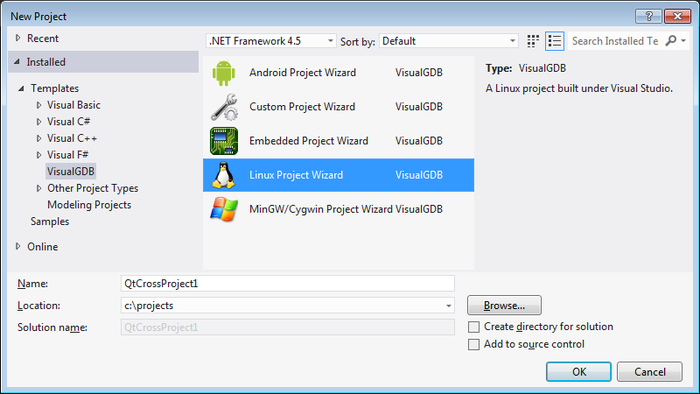
- Start Visual Studio. Create a new Project (select Templates->VisualGDB->Linux Project Wizard):
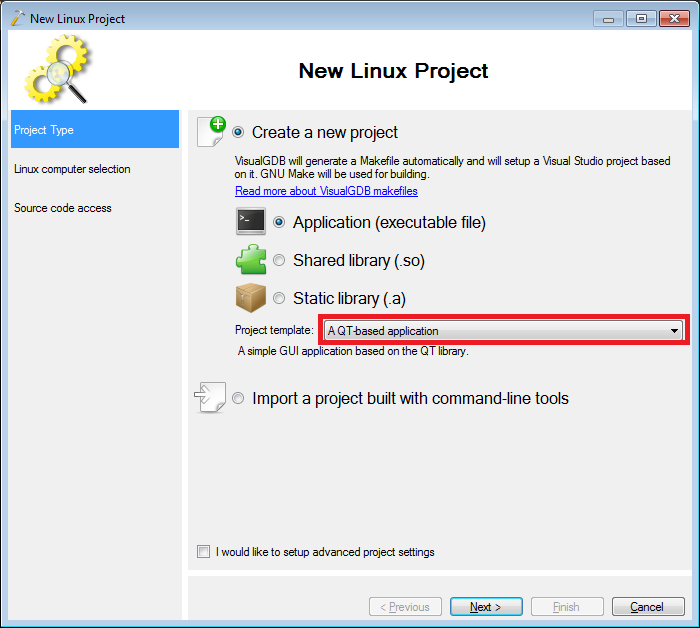
- On the first page of the wizard select “A QT-based application” as the project template:
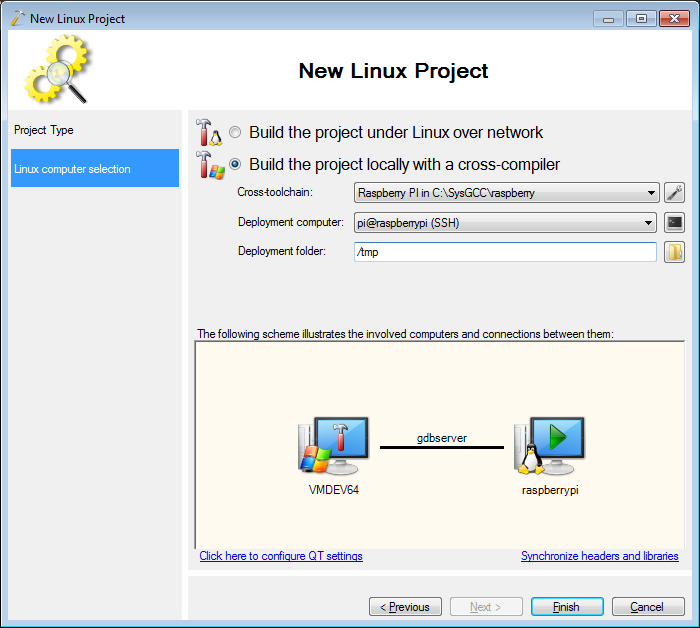
- On the next page select “Build the project locally with a cross-compiler”. Then select “Raspberry PI” as the cross-toolchain and specify the hostname of your Raspberry PI in the Deployment Computer field:
- If you already have QT for MinGW installed, you can click the “Configure QT settings” link and let VisualGDB use UI compiler and other tools from it. If not, VisualGDB will download all the necessary tools automatically:

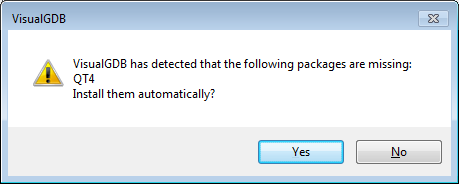
- When done click “Finish”. VisualGDB will start configuring your toolchain to build QT apps. If you don’t have QT installed on Raspberry PI, VisualGDB will ask whether you want to install it now:
- Note that on some images the automatic installation can fail. If that happens, log on to your Raspberry PI board via SSH (simply click the console button in the Deployment Computer field) and run the following commands:
sudo apt-get update
sudo apt-get install libqt4-dev
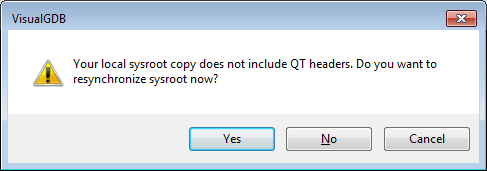
- If you have not built QT projects with this toolchain before, VisualGDB will detect it and offer resynchronizing sysroot to ensure that the newest QT headers and libraries can be accessed by your cross-compiler:
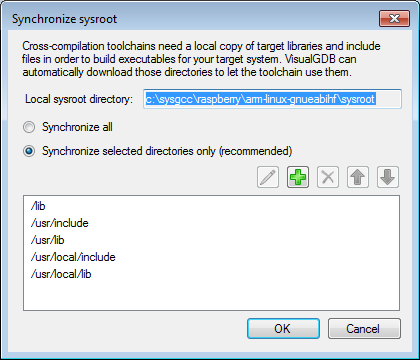
- Proceed with the default synchronization settings unless you want to download extra directories:
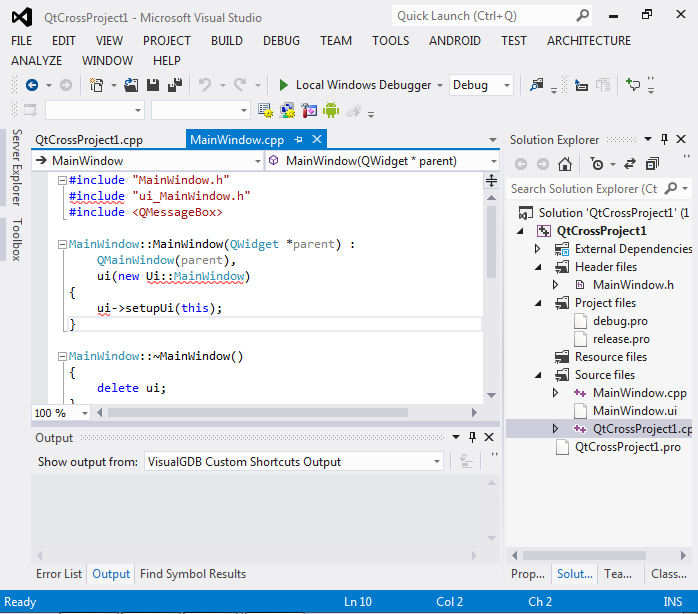
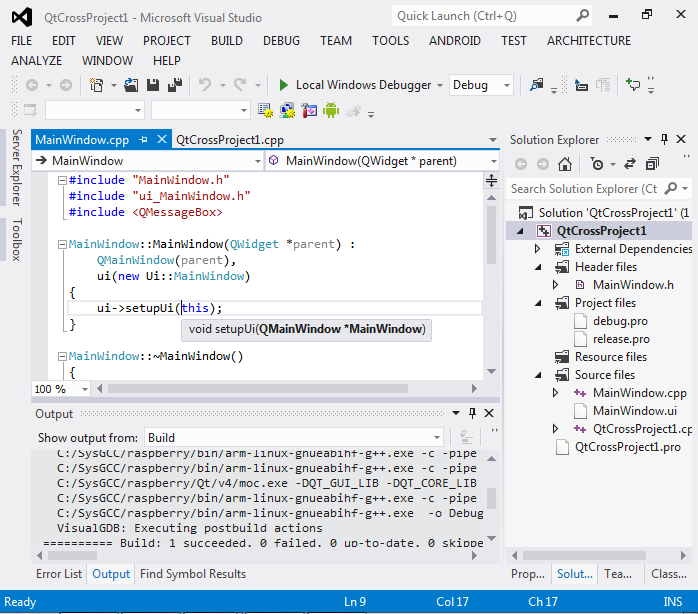
- Once VisualGDB synchronizes your sysroot it will automatically configure all necessary tools and create a Visual Studio project. Note that IntelliSense will report that ui_MainWindow is missing. This happens because ui_MainWindow is generated during compilation from MainWindow.ui:
- Build your project. Note how VisualGDB uses the fast Windows cross-compiler with the headers and libraries automatically downloaded from Raspberry PI. Reload the solution to let Visual Studio load the generated header file:
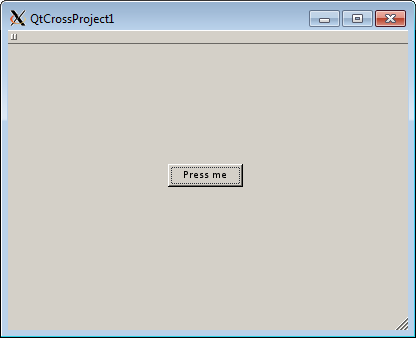
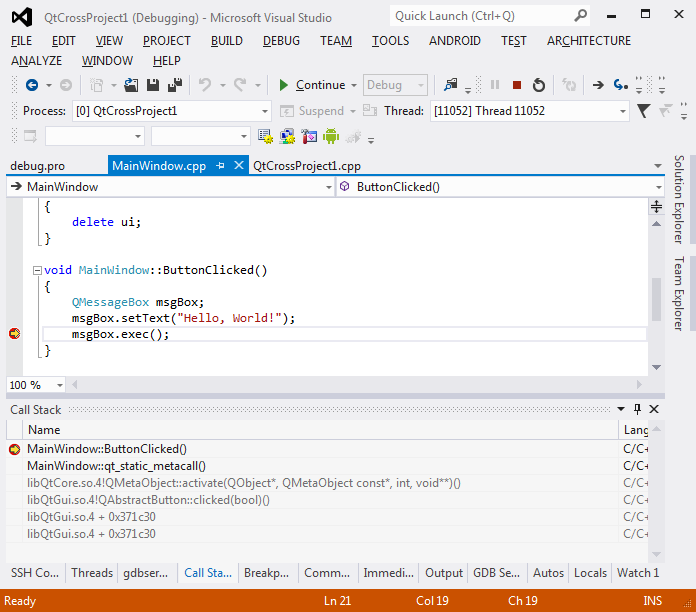
- Put a breakpoint inside MainWindow::ButtonClicked() and press F5 to start debugging. VisualGDB will automatically setup the XMing server on your machine and display the window from the Raspberry PI board:
- Press the button. VisualGDB will stop at your breakpoint:
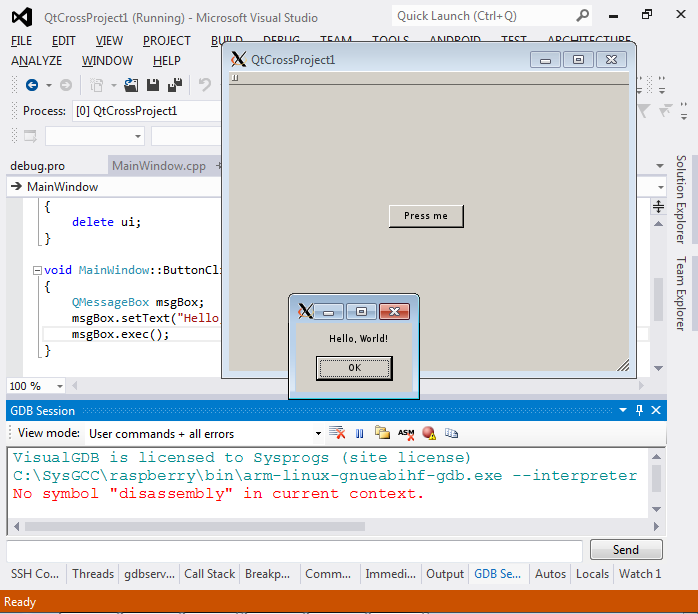
- You can step or resume execution to let QT display the message box:
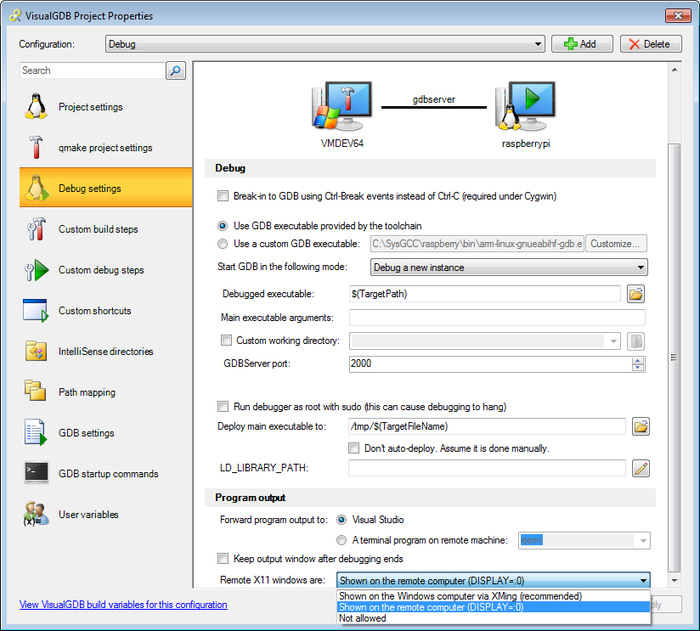
- Close the QtCrossProject1 window or press Shift-F5 in Visual Studio to stop debugging. Right-click on your project in Solution Explorer and select VisualGDB Project Properties. This dialog is the central place for tweaking all aspects of building and debugging controlled by VisualGDB. E.g. you can choose to show QT windows on the Raspberry PI display rather than your development machine: