Using CMake to build Qt projects for Linux
This tutorial shows how to use CMake to create Qt-based projects with VisualGDB. If you don’t have Qt installed on your Linux machine, install it (e.g. by running “sudo apt-get install qt5-default” on Debian-based distros).
Before you begin, install VisualGDB 5.5 or later.
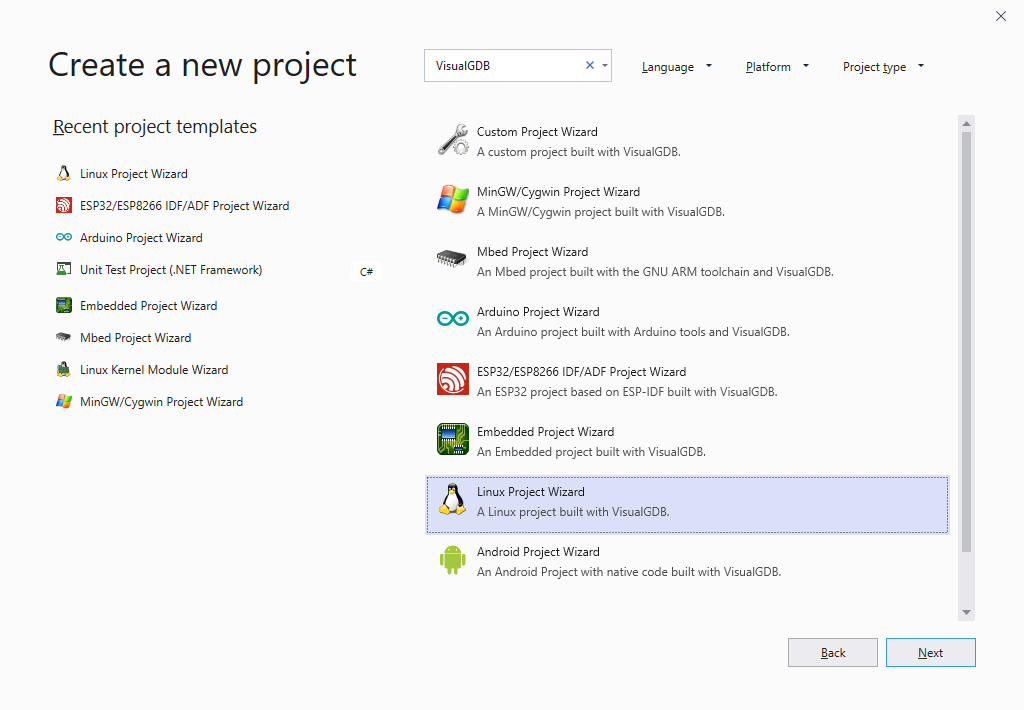
- Start Visual Studio and open VisualGDB Linux Project Wizard:
- Enter the name and location of your project:

- Select “New Project -> Qt” and, ensure you are using “Qt5-based application (CMake)” as the project template and check the “Use the advanced CMake Project Subsystem” checkbox:

- On the next page of the wizard select whether you would like to build the project directly on the target, or use a cross-toolchain:
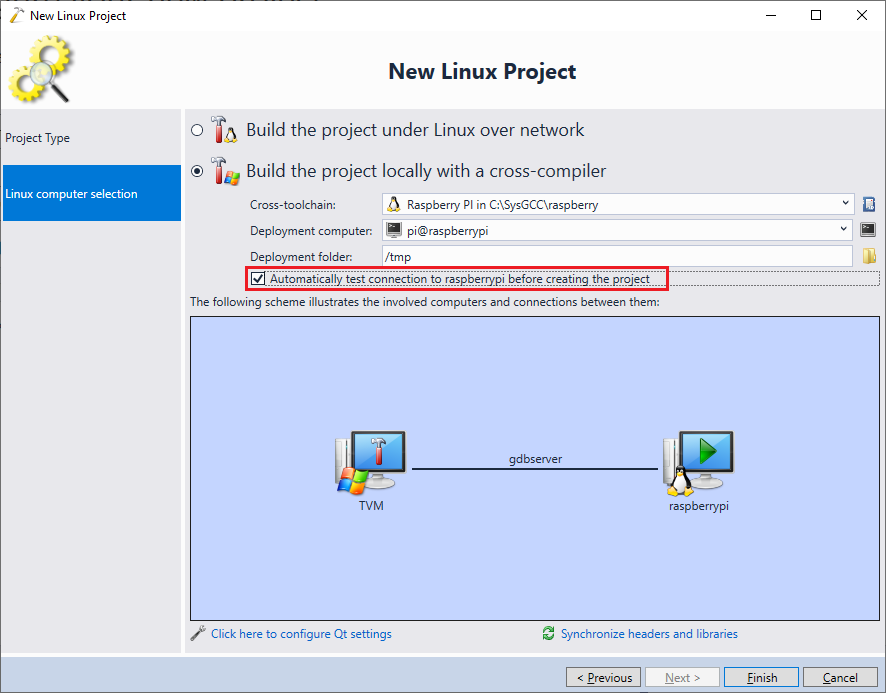 If you are new to Qt development, we advise starting with building the project directly on the target. If you are using Raspberry Pi or any other board that is directly supported by VisualGDB, you can choose the corresponding cross-toolchain and VisualGDB will automatically copy the necessary files to it. If you are using a 3rd-party cross-toolchain, follow the toolchain vendor’s instructions to copy the Qt-related headers and libraries to the location where your Linux distro and the toolchain expects them.
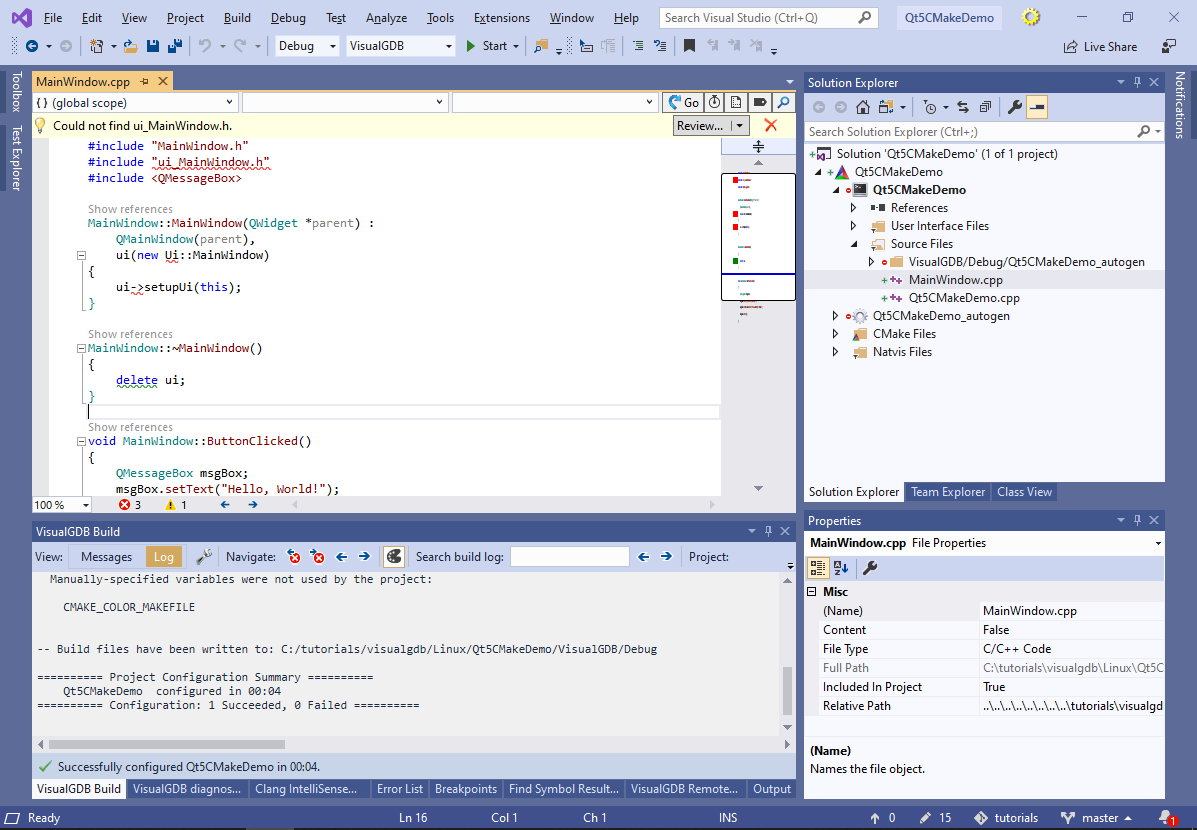
 - Press “Finish” to create the project. VisualGDB will automatically reference the Qt framework from the CMakeLists.txt file and will create a basic Qt window. Note that as the project is not built yet, the generated UI files will be missing:
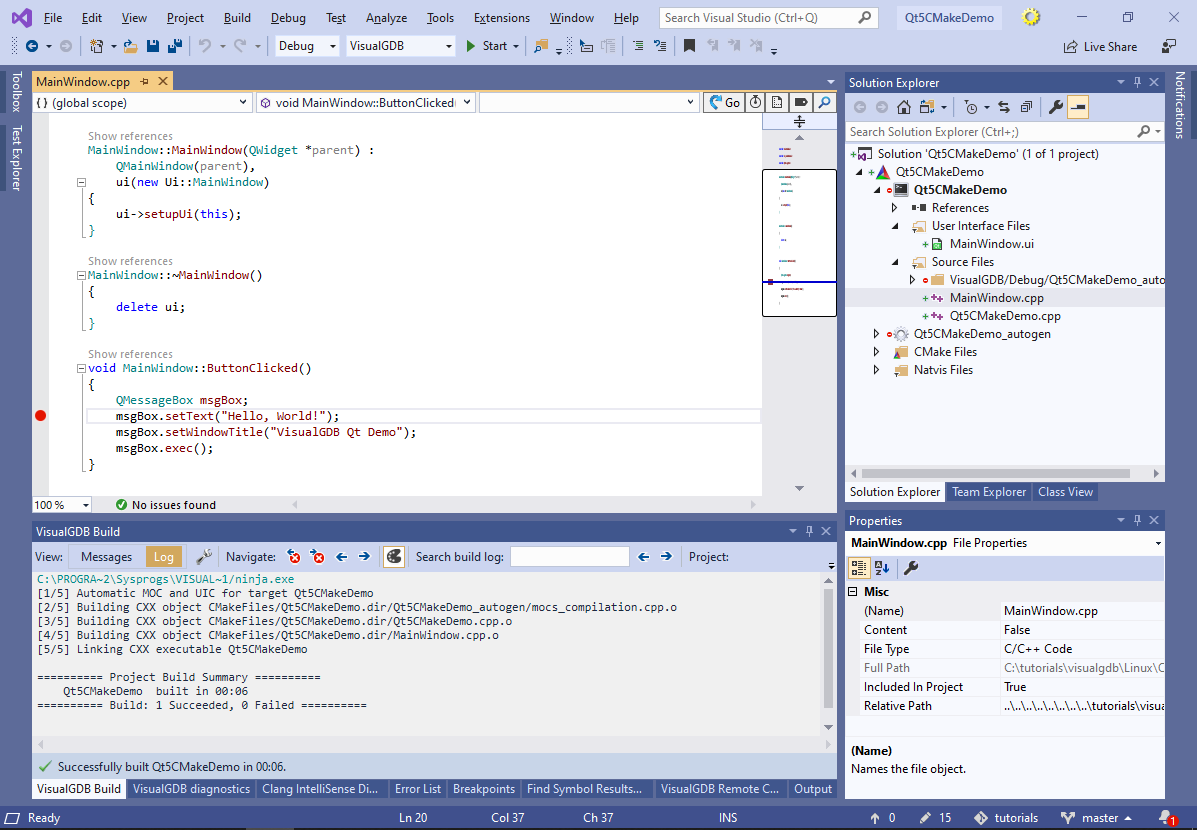
- Build the project by pressing Ctrl-Shift-B. If you reopen the main source file, generated UI headers will be located successfully:
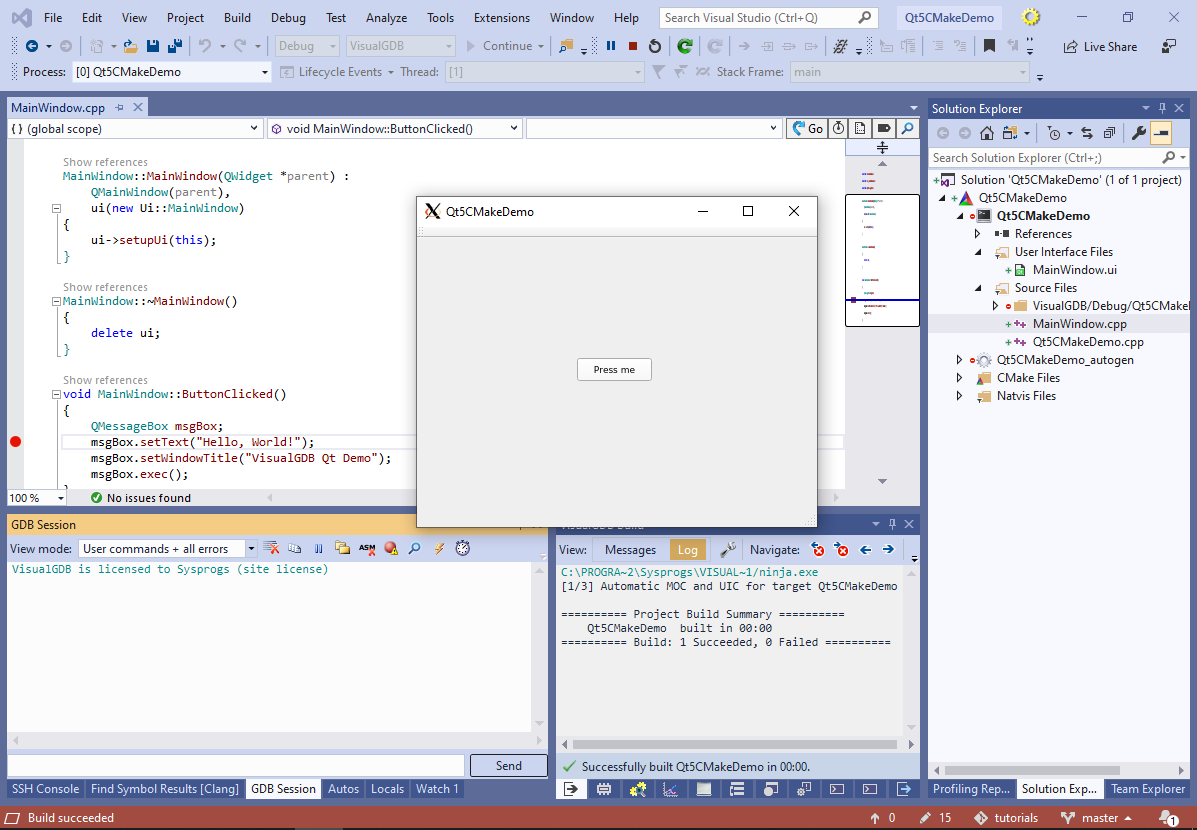
- Press F5 to start debugging. VisualGDB will launch the Qt application on the target and will automatically display its GUI on the Windows machine using the SSH X11 forwarding:
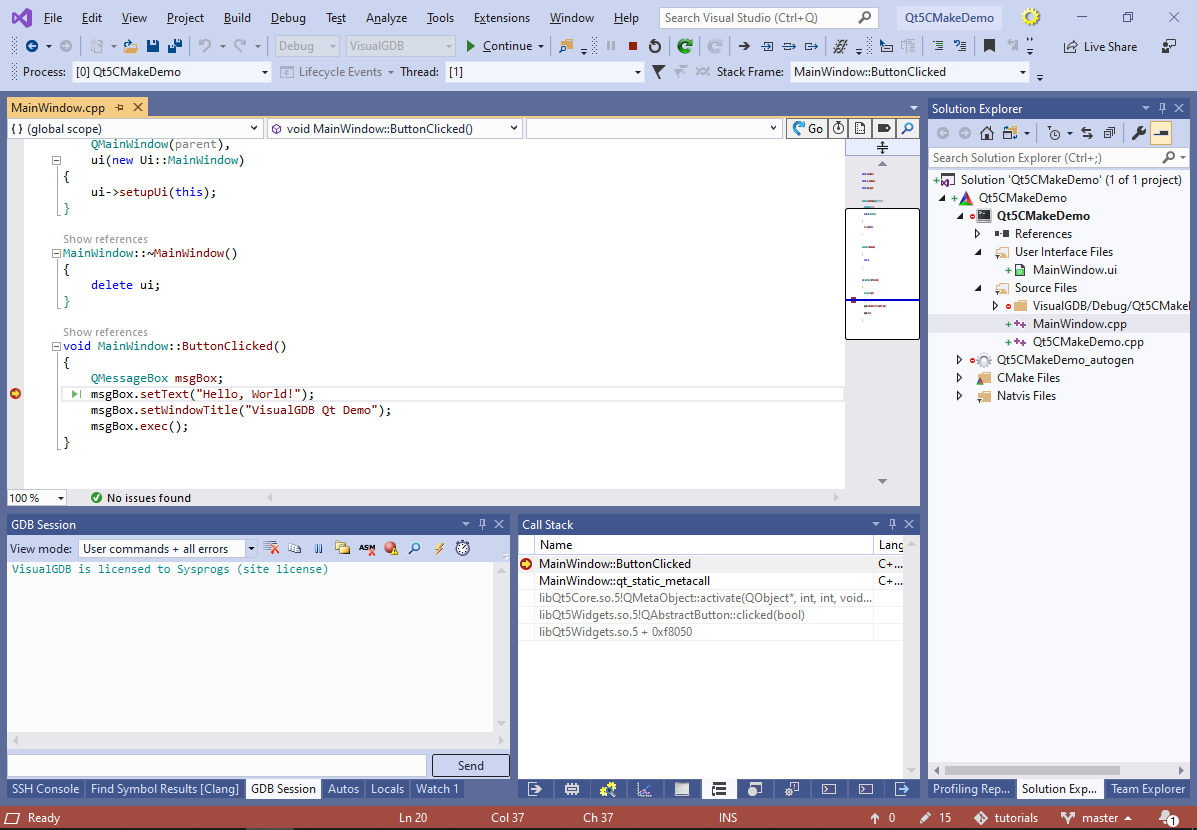
- You can set the breakpoints, step through the code and use the other debugging functionality:
- We will now show how to add resource files to cross-compiled Qt projects. Due to the way Qt 5 handles the resource files, they need to be created manually and registered with CMake by editing CMakeLists.txt. Create a new file called test.qrc in your project directory with the following contents:
<!DOCTYPE RCC>
<RCC version="1.0">
    <qresource>
        <file>test.png</file>
    </qresource>
</RCC>
Replace test.png with the relative path of any file you would like to embed as a resource.
- Add the following statement to the CMakeLists.txt file before add_executable():
qt_add_resources(ALL_RESOURCES test.qrc)
Then, update the add_executable() statement to add sources from the ${ALL_RESOURCES} variable:
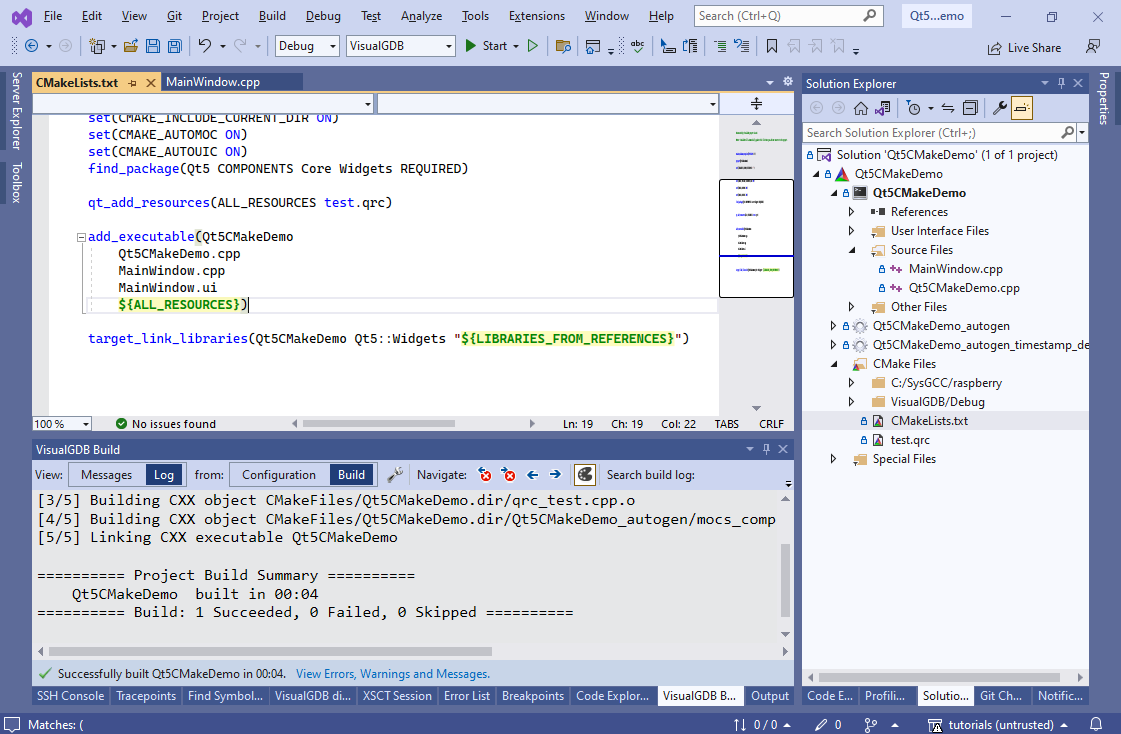
- You can see how it works by right-clicking on the CMake project item in Solution Explorer and selecting “Launch CMake Debugger”. The qt_add_resources() statement compiles the resources into a C++ file called qrc_test.cpp, and exports it to the ALL_RESOURCES variable. Referencing this variable from add_executable() links the resources directly into the application:

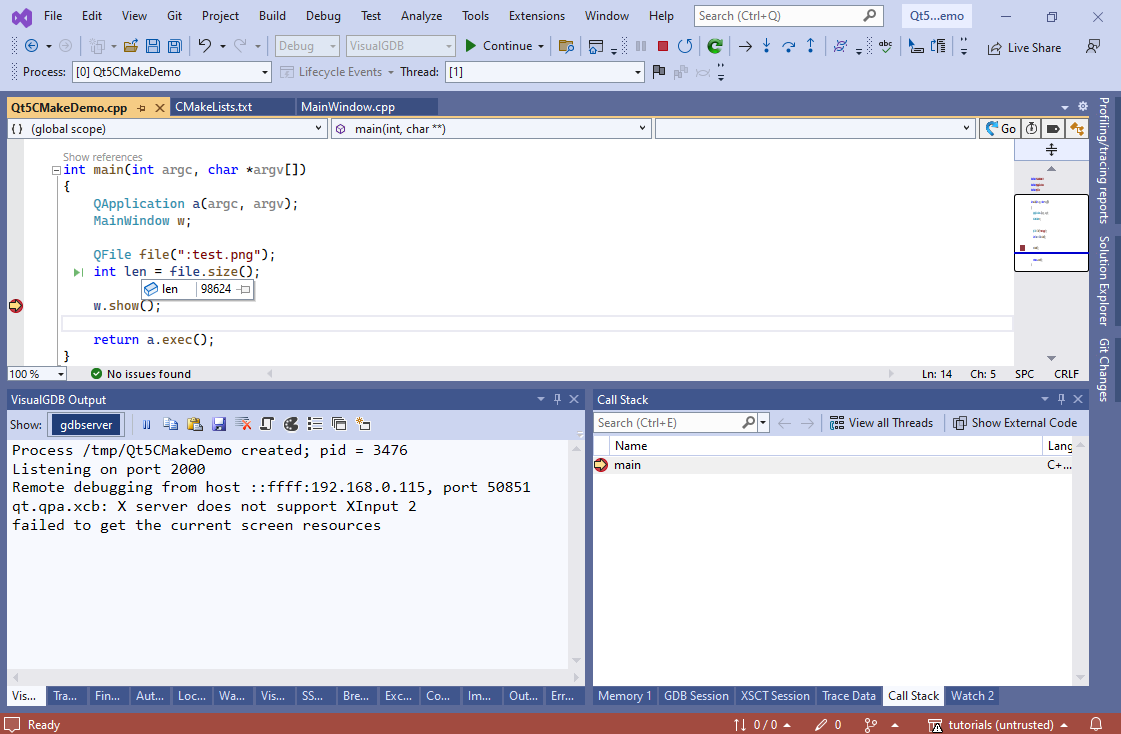
- You can load the resources anywhere from the application using the “:<resource name>” syntax. E.g. the following code opens test.png as a regular file and queries its size:
    QFile file(":test.png");
    int len = file.size();
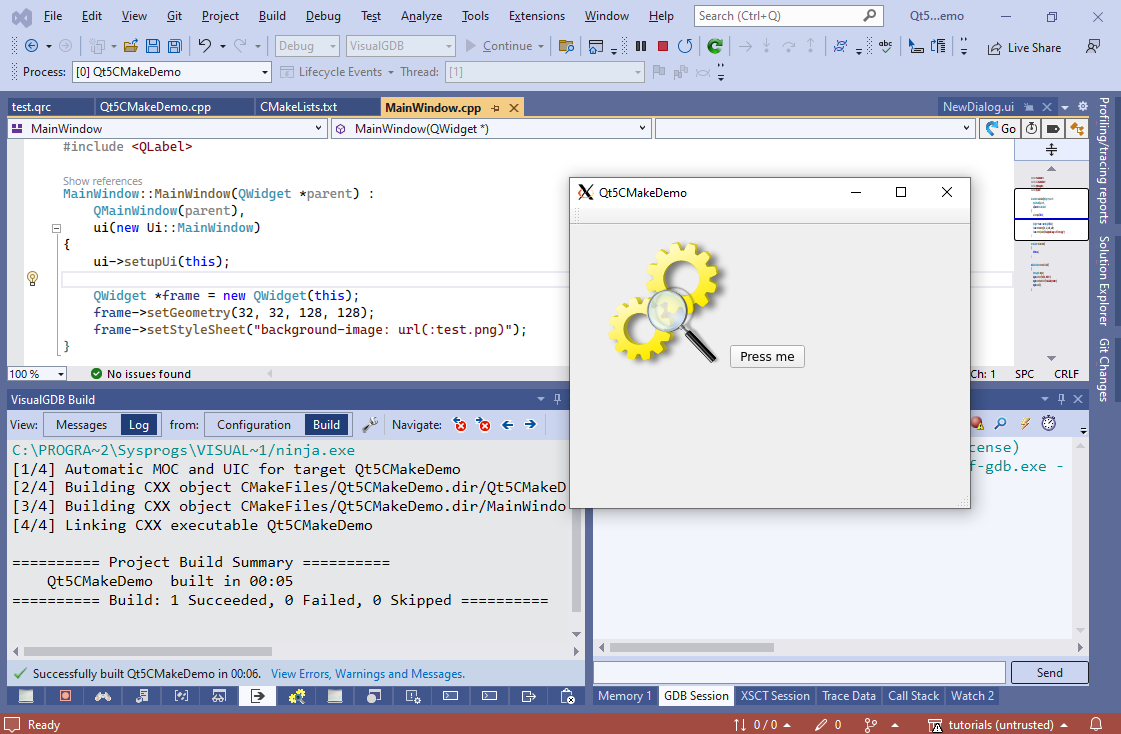
- You can also use the “:<path>” syntax anywhere in the widget properties, e.g. the following code adds the test.png image to the main window:
QWidget *frame = new QWidget(this);
frame->setGeometry(32, 32, 128, 128);
frame->setStyleSheet("background-image: url(:test.png)");
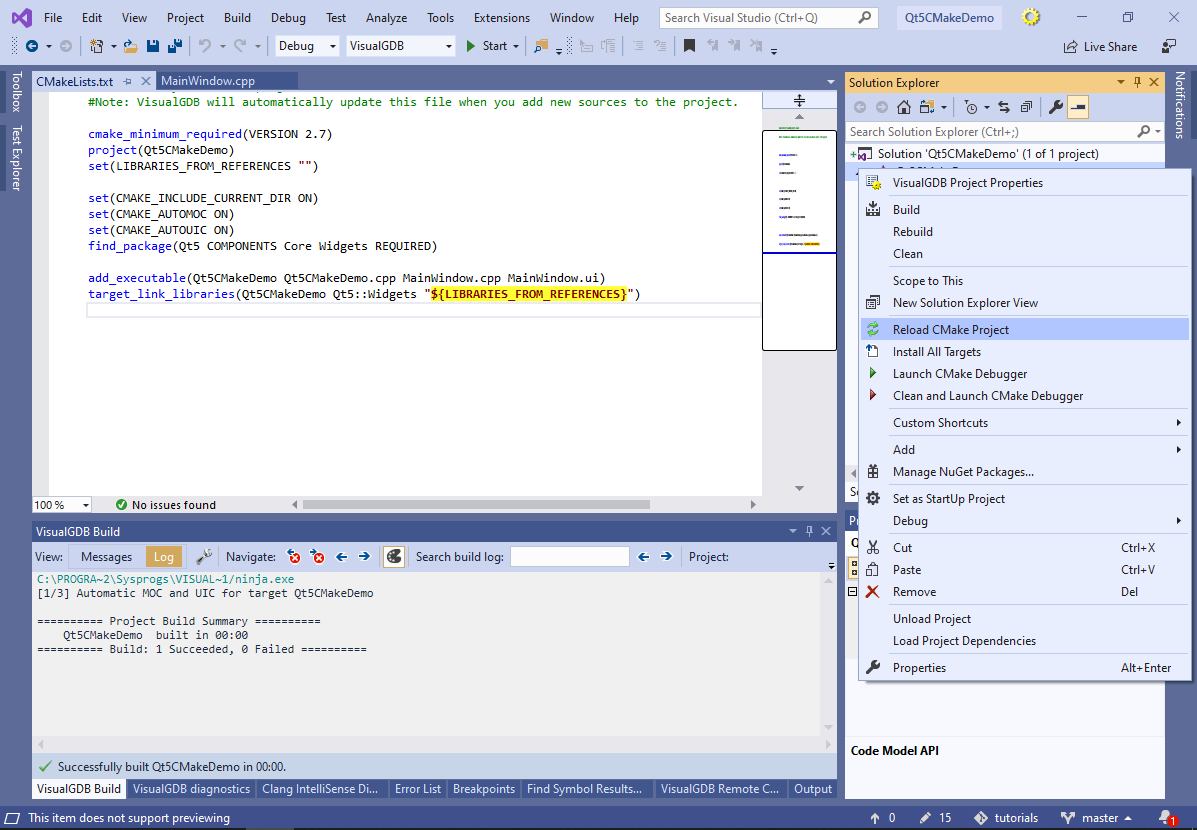
- VisualGDB CMake projects are fully self-contained and can be built on any machine with CMake (all changes made via Visual Studio GUI will be automatically applied to the CMakeLists.txt files). Now we will show how to find out the exact command line used by VisualGDB to configure and build the project using the VisualGDB Build window. Right-click on the project and select “Reload CMake Project”:
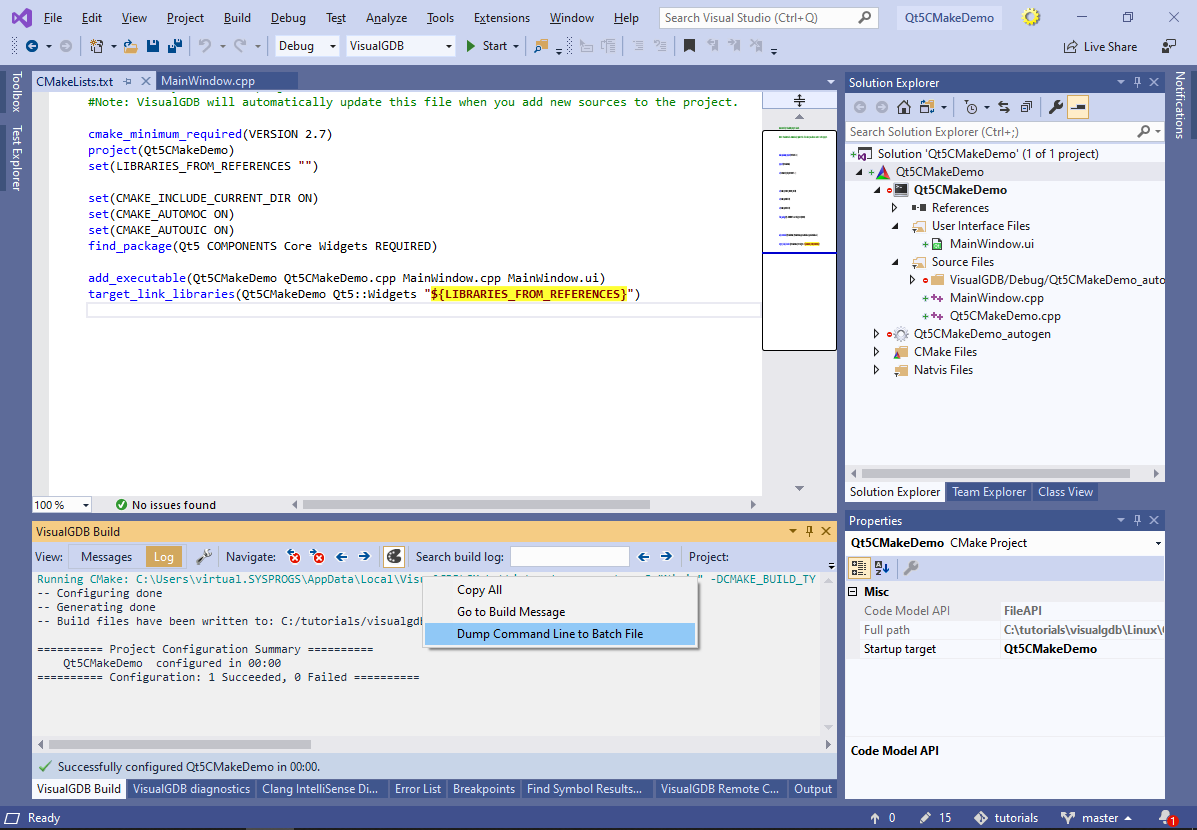
- Go to the VisualGDB Build window, locate the CMake configuration line, right-click on it and select “Dump Command Line to Batch File”:
- Build the project and dump the build command line to a different batch file:
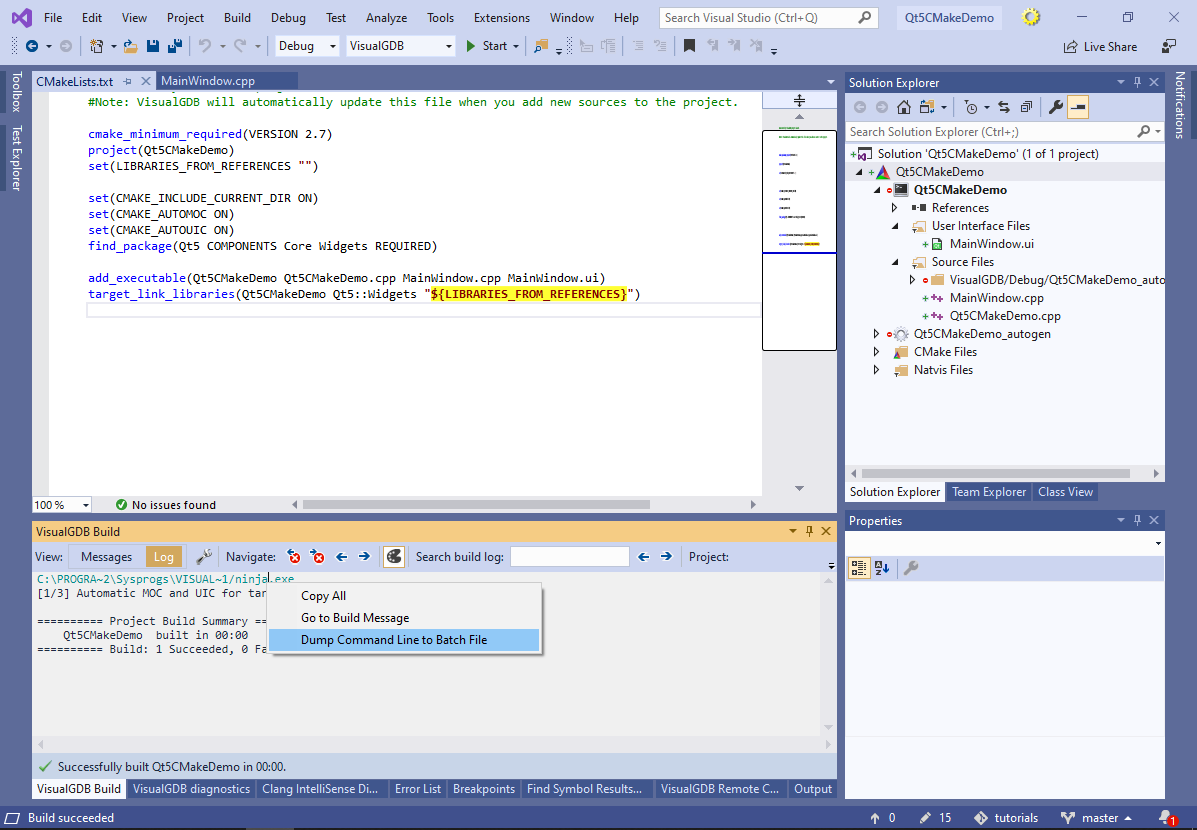
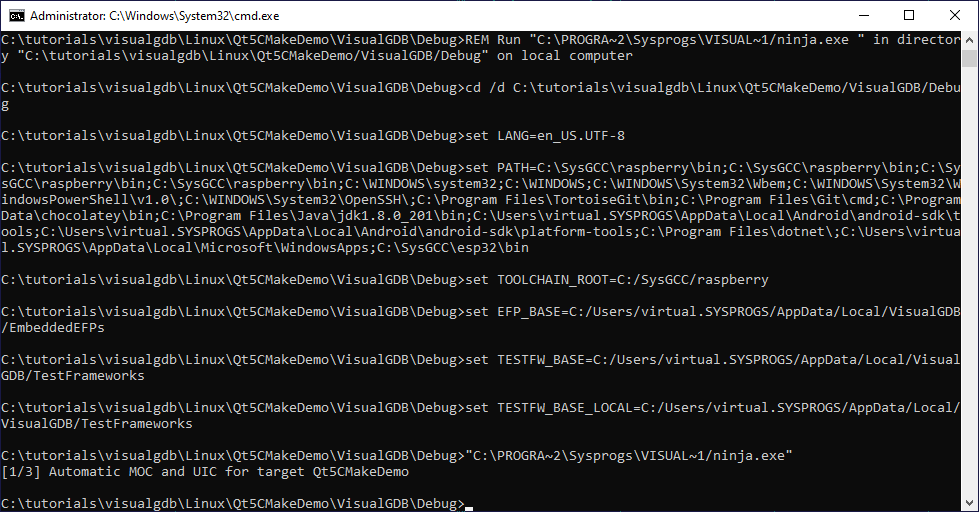
- The batch files will contain all the necessary environment setup and command lines required to build the project from scratch, e.g.:
cd /d C:\tutorials\visualgdb\Linux\Qt5CMakeDemo/VisualGDB/Debug
set LANG=en_US.UTF-8
set PATH=C:\SysGCC\raspberry\bin;%PATH%
set TOOLCHAIN_ROOT=C:/SysGCC/raspberry
"C:\Users\virtual.SYSPROGS\AppData\Local\VisualGDB\CMake\bin\cmake.exe" ../.. -G "Ninja" -DCMAKE_BUILD_TYPE=DEBUG -DCMAKE_COLOR_MAKEFILE=OFF -DTOOLCHAIN_ROOT=C:/SysGCC/raspberry -DCMAKE_TOOLCHAIN_FILE=C:/tutorials/visualgdb/Linux/Qt5CMakeDemo/toolchain.cmake -DCMAKE_MAKE_PROGRAM="C:/Program Files (x86)/Sysprogs/VisualGDB/ninja.exe"
You can build the project outside VisualGDB by running the batch files one after another:
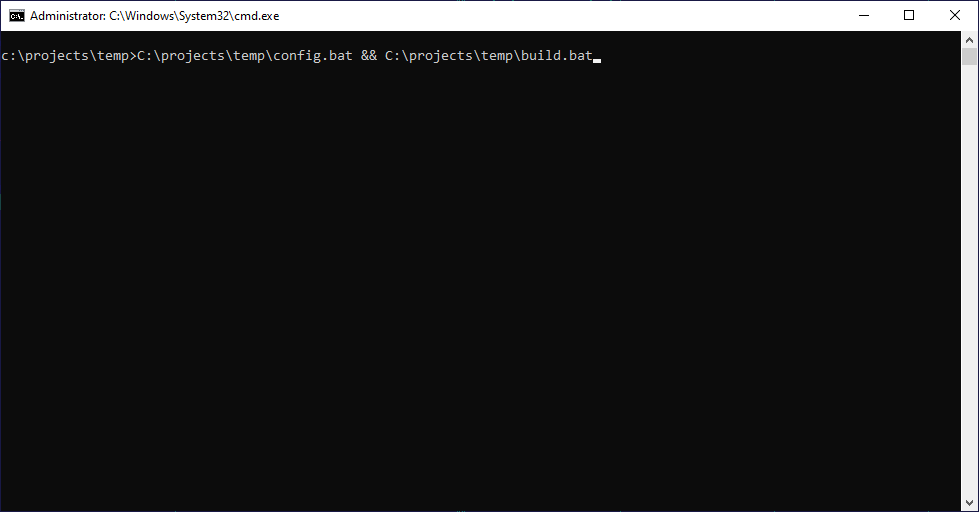
- This will produce the same results as building it from Visual Studio: