Creating a Qt-Embedded app for Raspberry Pi
This tutorial shows how to build and debug a Qt 5 app For Raspberry Pi using a cross-compiled Qt build. Before you begin, follow this tutorial to create a cross-compiled build of the Qt framework.
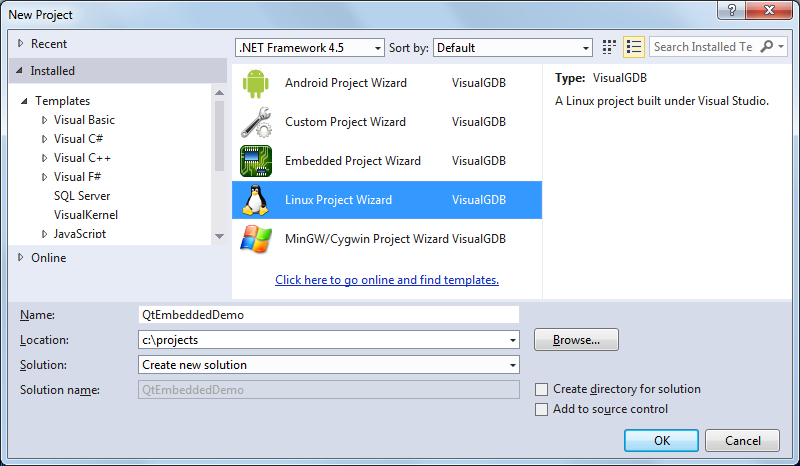
- Start Visual Studio. Select File->New->Project and choose the VisualGDB Linux project wizard:
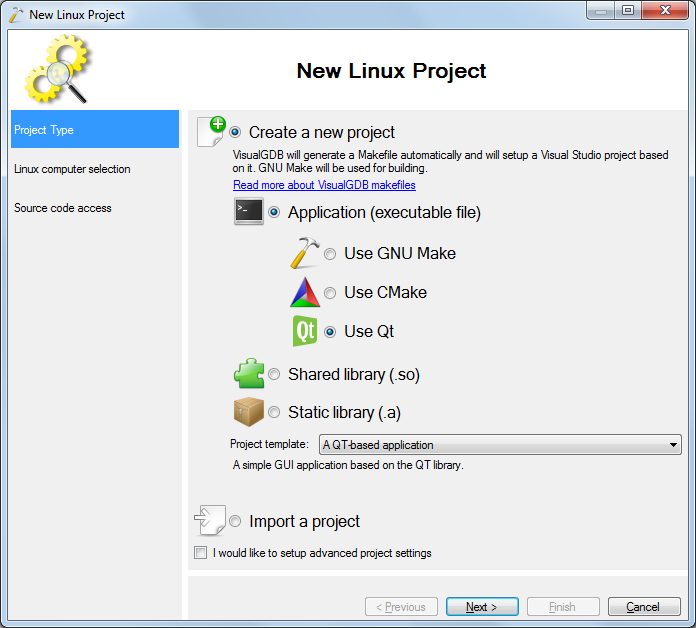
- Select Create a new project -> Applications -> Use Qt:
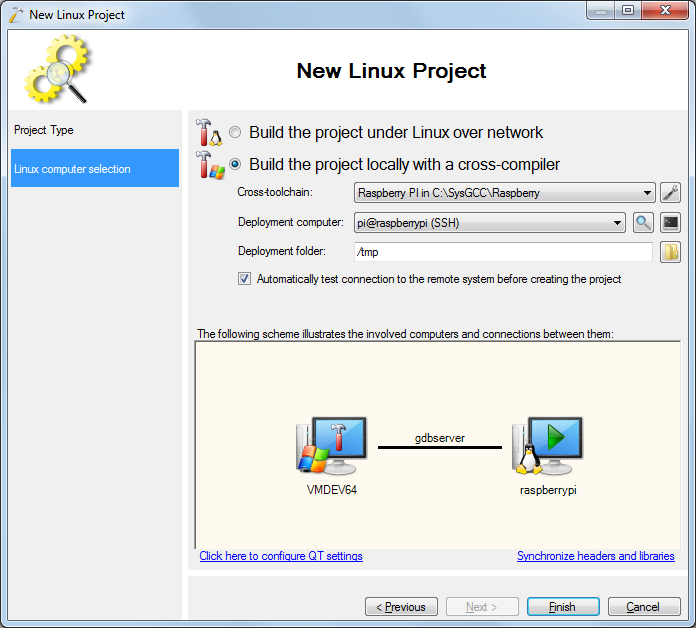
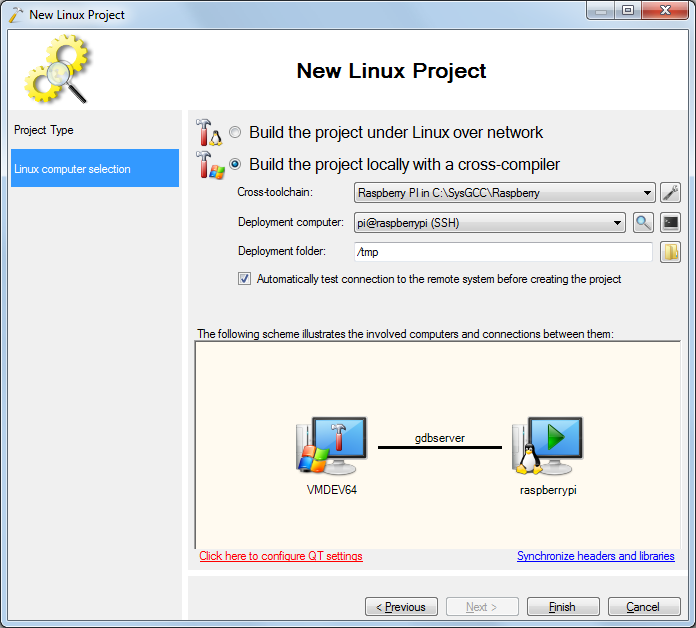
- On the next page select “Build the project locally” and specify your Raspberry Pi cross-toolchain and the connection settings:
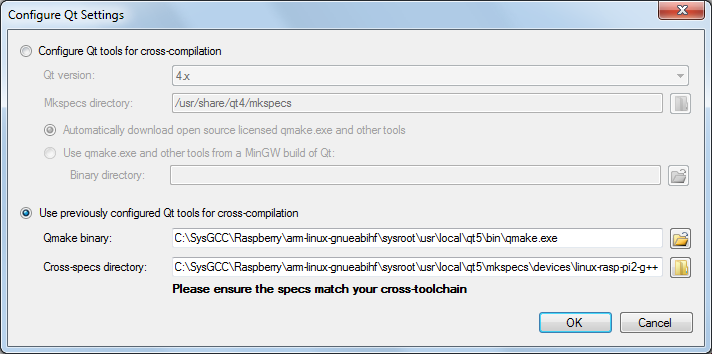
- Click the link at the bottom of the page to configure the Qt settings:
- Select “Use previously configured Qt tools” and specify the path to the qmake binary and the specs directory used when building the Qt framework as described in this tutorial:
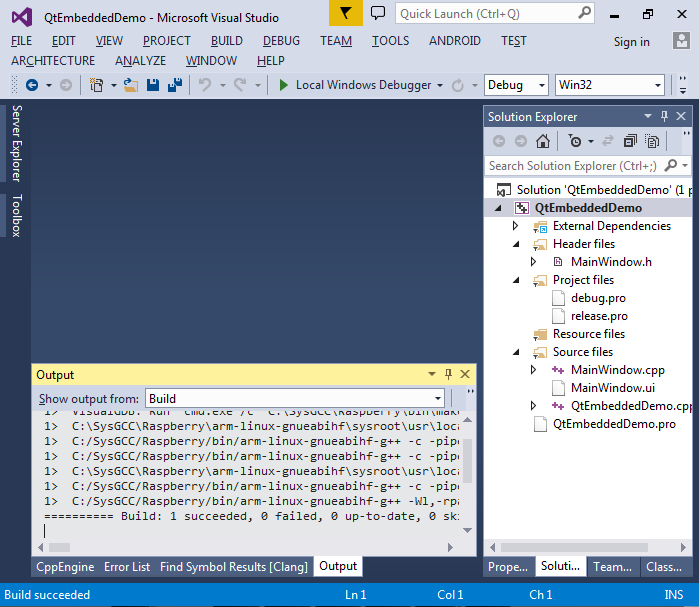
- Press “Finish” to create your project. Then build it with Ctrl-Shift-B:
- Press F5 to start debugging and look at the screen connected to the HDMI port on your Raspberry Pi. If you are using the Embedded Qt build (non-X11), the simple main window used in the example will be automatically stretched to the entire screen:

- Set a breakpoint in the ButtonClicked() method and click the button on the Raspberry Pi screen. The breakpoint will get triggered:
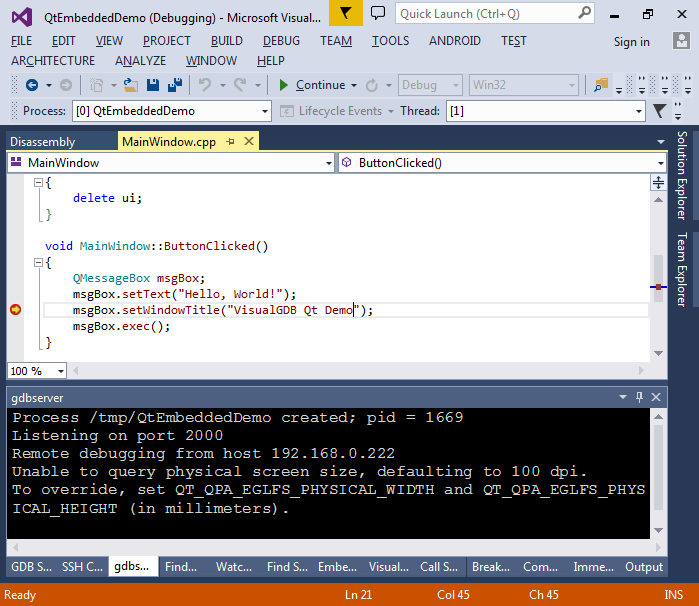
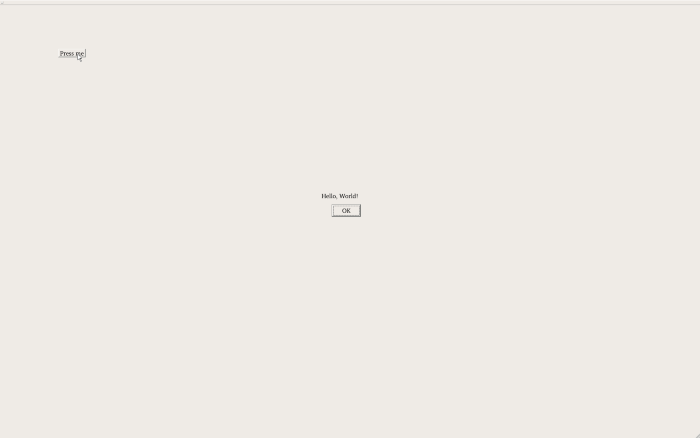
- Resume your program by pressing F5 and observe the “Hello, world” message. If you are using the Qt-embedded build that does not use X11 and has no window manager, the message box will have no frame around it:
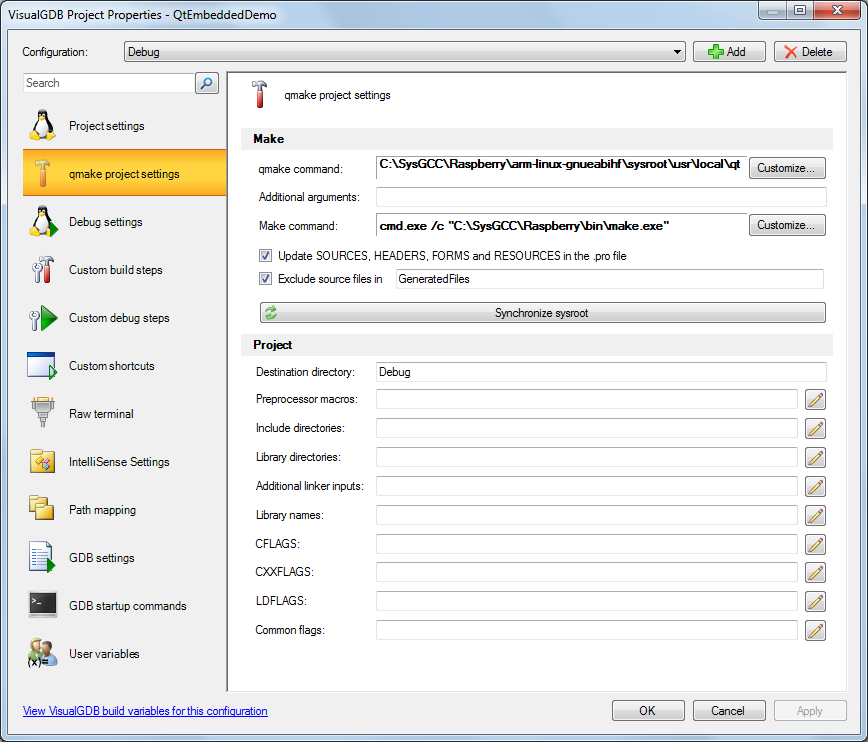
- You can edit various settings of your project by right-clicking on it in Solution Explorer and selecting “VisualGDB Project Properties”: