Tutorial: Building and Debugging the native-plasma Project with VisualGDB
This tutorial shows how to build and debug the native-plasma sample provided by Android NDK.
For this tutorial, ensure that at least VisualGDB 2.0 or later version is installed with the Android Edition.
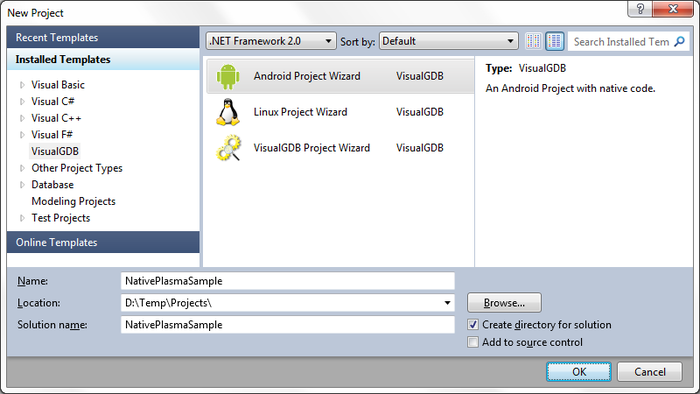
- Start Visual Studio. Go to File->New->Project. Choose VisualGDB->Android Project Wizard. Choose the name and location for the project as you wish.
- For this tutorial we are cloning a sample, so choose that option. Note that if you have not done so before, then you need to ‘Configure NDK/SDK locations’. Press ‘Next’ when done.

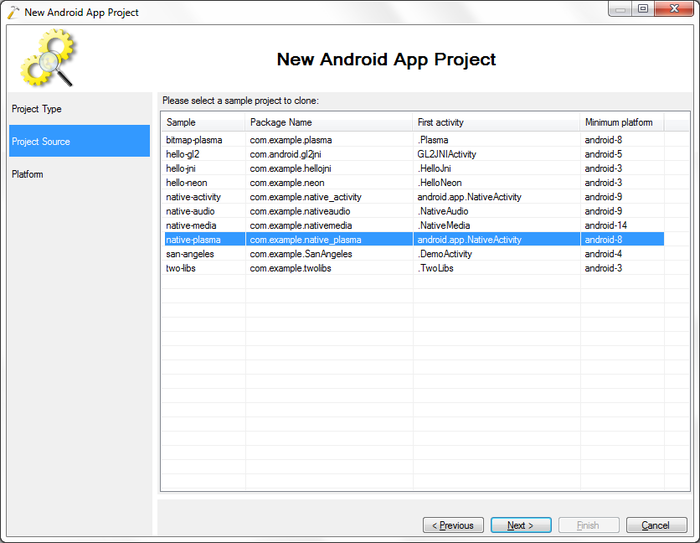
- Choose the native-plasma sample and press ‘Next’.
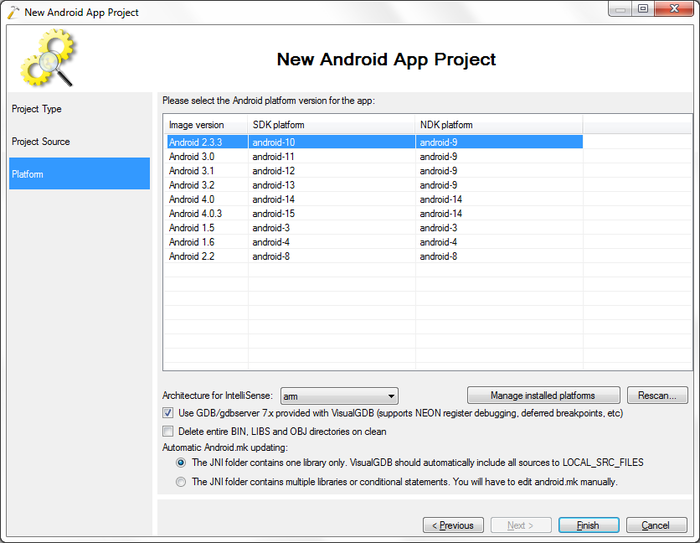
- Choose at least SDK platform 8 for this project. We choose 2.3.3 as the latest of the 2.* versions. Press ‘Finish’ to exit the tutorial.
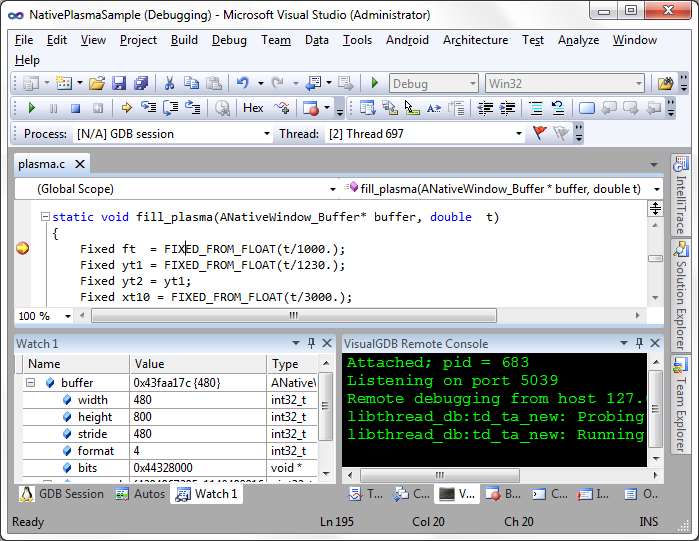
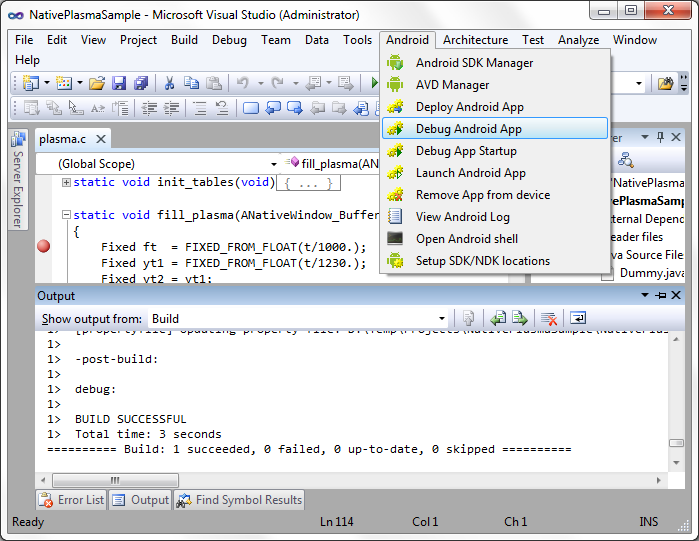
- Open ‘plasma.c’ from Solution Explorer and set a breakpoint at line 114 by pressin the ‘f9’ key. Then go to Build->Build Solution to build the project.

- Connect an Android physical device or emulator and make sure it is started. Next go to Android->Debug Android App to start debugging on the device.
- Once the debugging has started look at the screen of the debugging device. The screen should be filled with plasma. Click on the device’s screen to start animating the plasma.
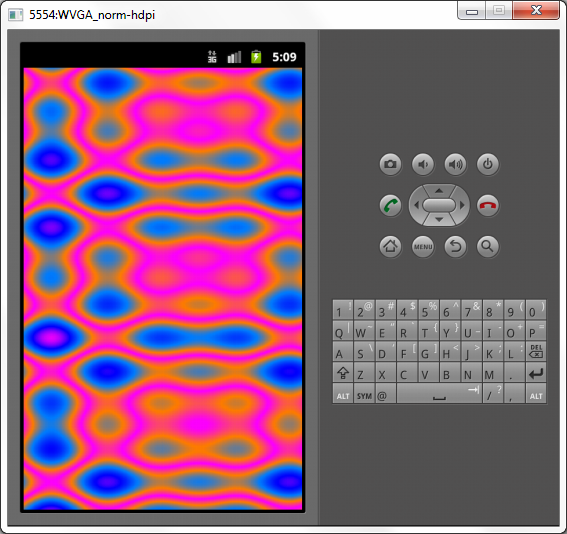
- Now the breakpoint we set is hit as the fill_plasma function is called each time the plasma is redrawn. Congratulations, you are successfully debugging the native-plasma project.