Importing Atmel START Project Templates into VisualGDB
This tutorial shows how to import a project template generated by the Atmel START tool into VisualGDB and use it to create new projects.
Before you begin, install VisualGDB 5.5 Preview 2 or later.
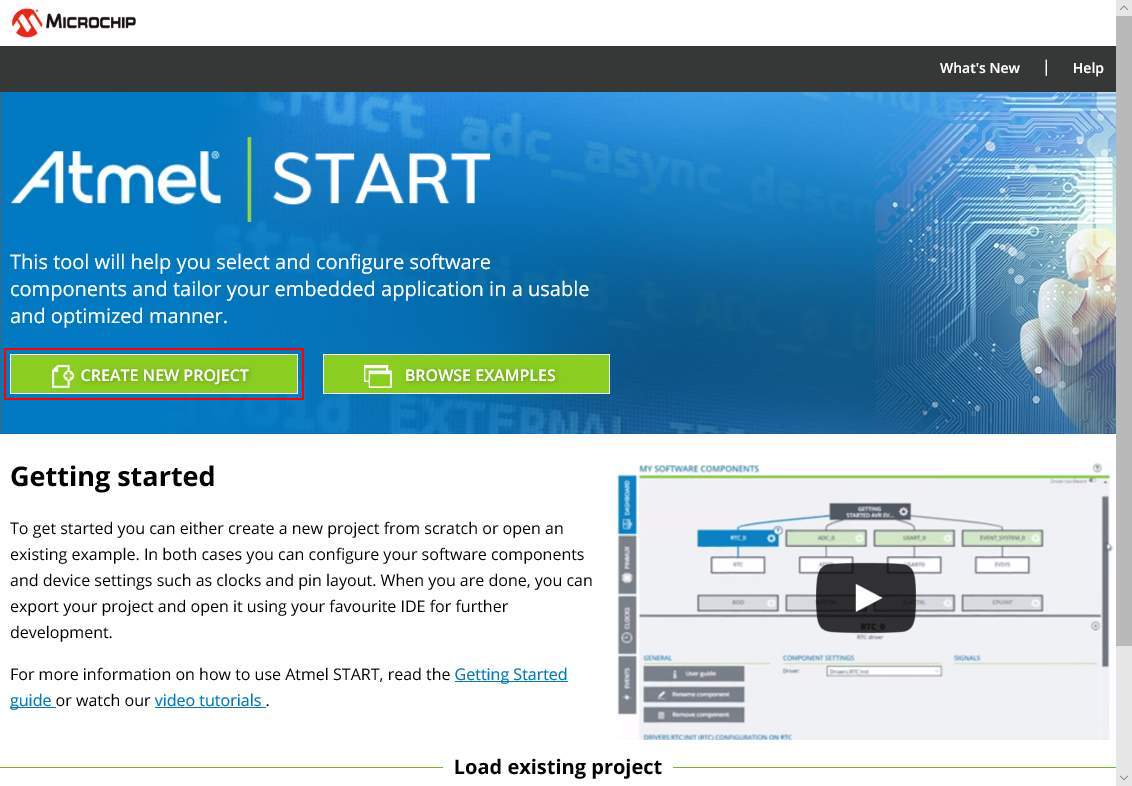
- Before you begin open Atmel START in your browser and click “Create New Project”:
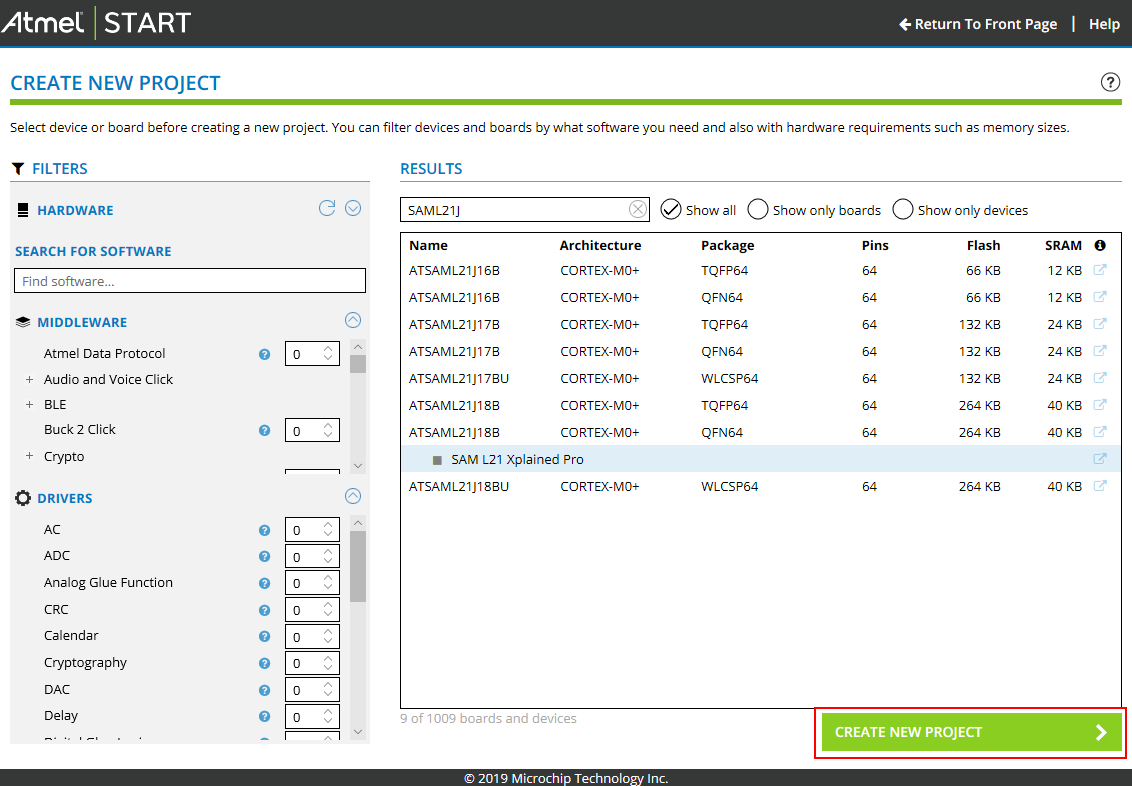
- Select and configure your device, optionally choose the board and click “Create New Project” again:
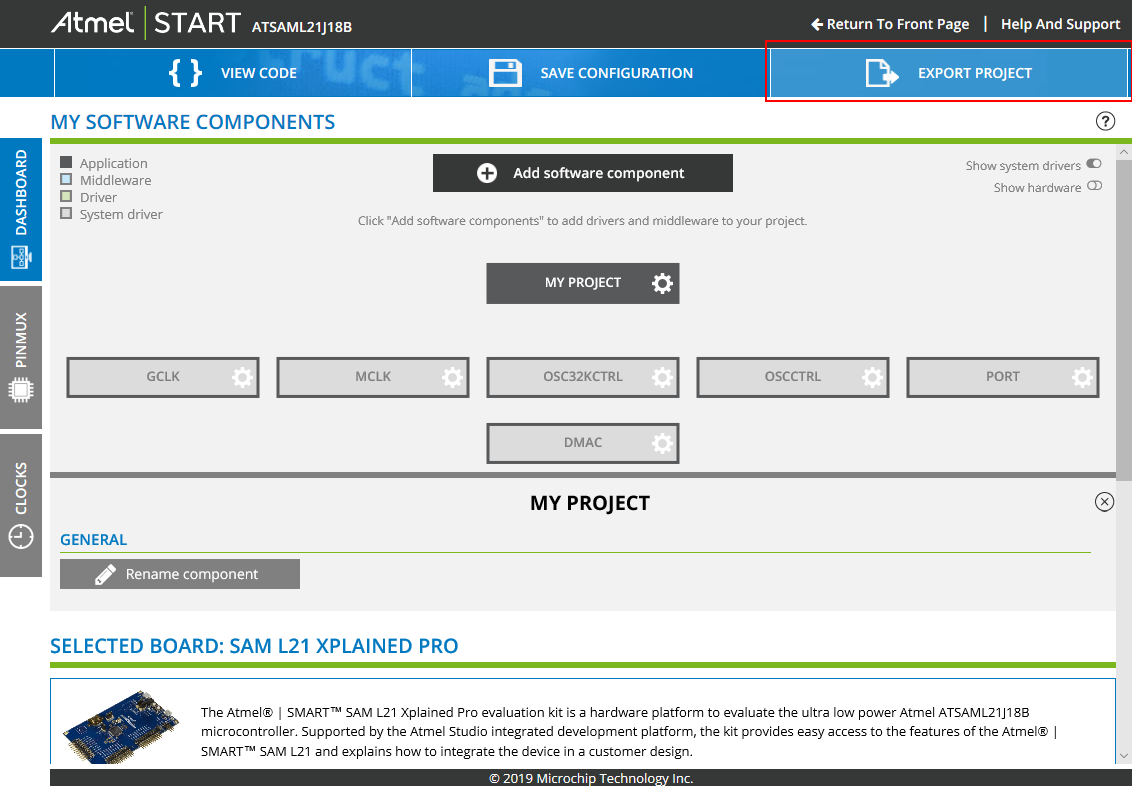
- The Atmel START tool will create a basic project based on the selected device. You can tweak it using various configuration buttons, or click “Export Project” to go to the export page:
- Make sure you have selected “Makefile (standalone)” in the export settings, as otherwise Atmel START will not generate a linker script for GCC. Then click “Download Pack”:
 Save the .atzip file produced by Atmel Start. We will import it into VisualGDB later.
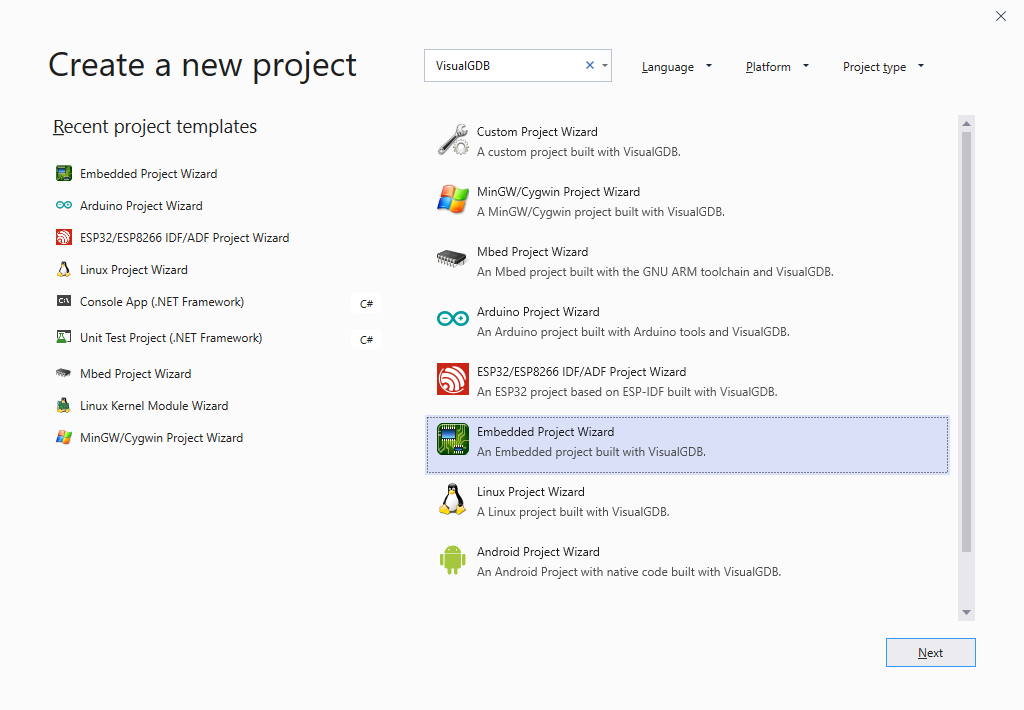
 - Start Visual Studio and locate the VisualGDB Embedded Project Wizard:
- Enter the name and location for the project you are creating:

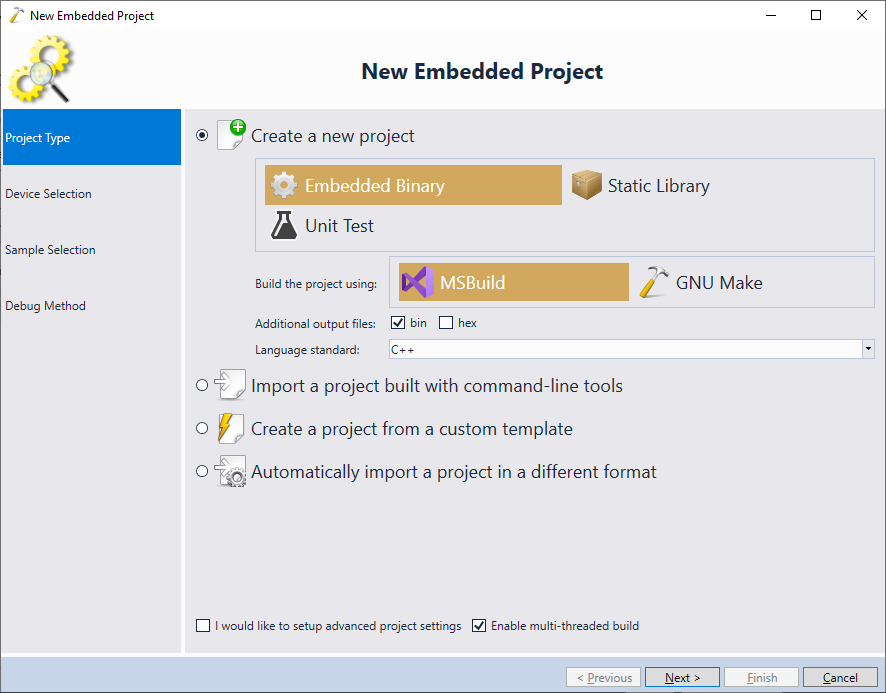
- On the first page of the VisualGDB Embedded Project Wizard select “Create a new project -> Embedded Binary -> MSBuild”:
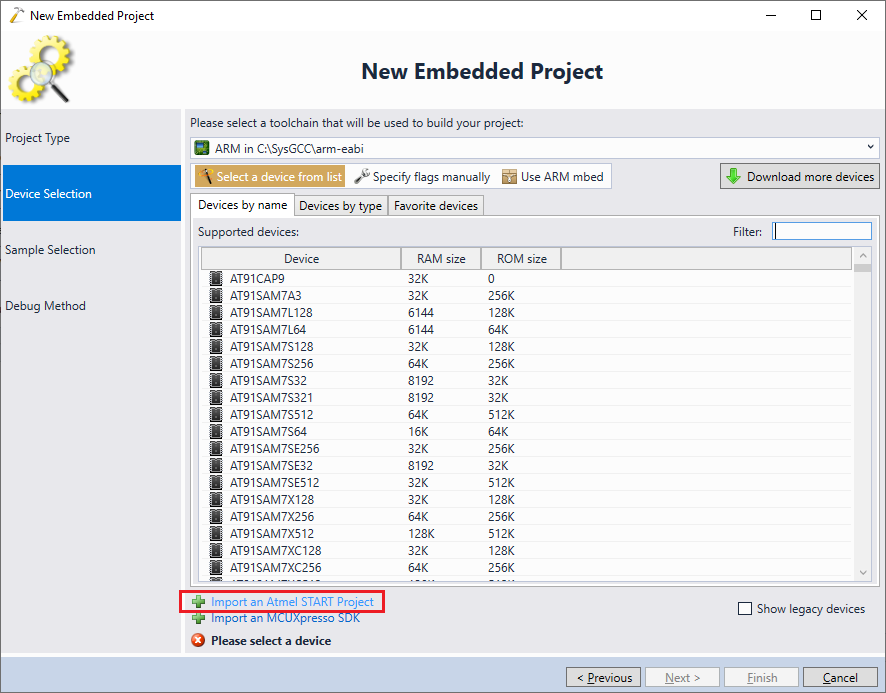
- On the next page select an ARM toolchain and click the “Import an Atmel START Project” link at the bottom of the page:
- VisualGDB will ask for the location of the .atzip file downloaded from the Atmel START website. Select it and confirm the import. The imported device will now appear in the device list (note the lightning symbol), replacing any older device definitions shipped with VisualGDB:
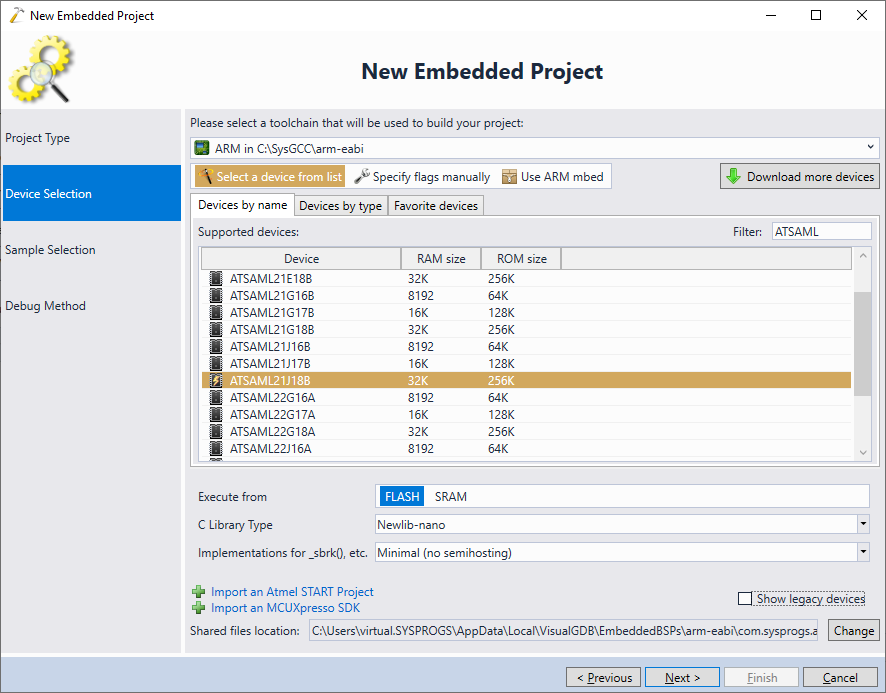 You can use the “Show legacy devices” checkbox to use the older device definition based on the older offline versions of Atmel SDKs.
 - On the next page of the wizard proceed with the default sample:

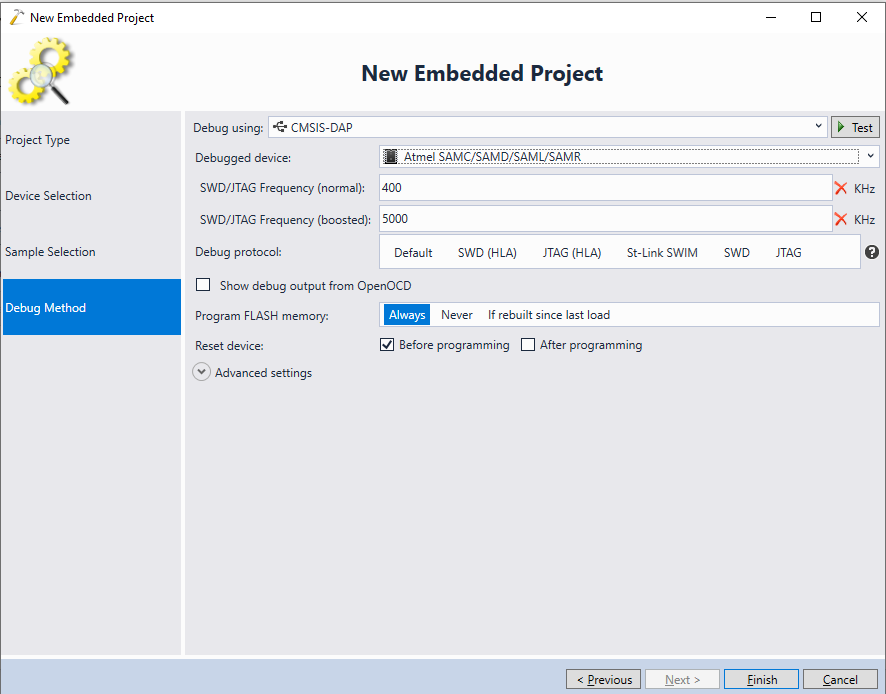
- Finally, choose the debug settings that match your configuration. Use the “Test” button to validate the connection:
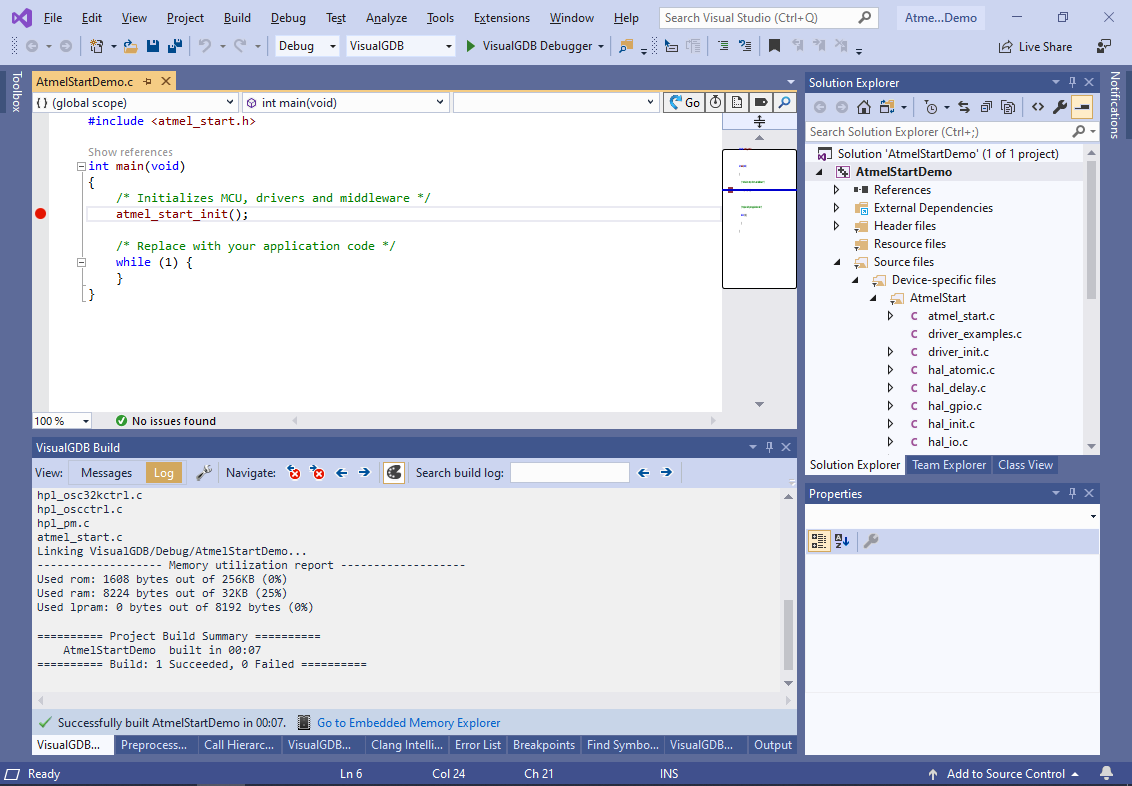
- Press “Finish” to create the project. VisualGDB will import the sample code, peripheral drivers and additional frameworks selected in the Atmel START interface into an MSBuild-based project. Build it by pressing Ctrl-Shift-B:
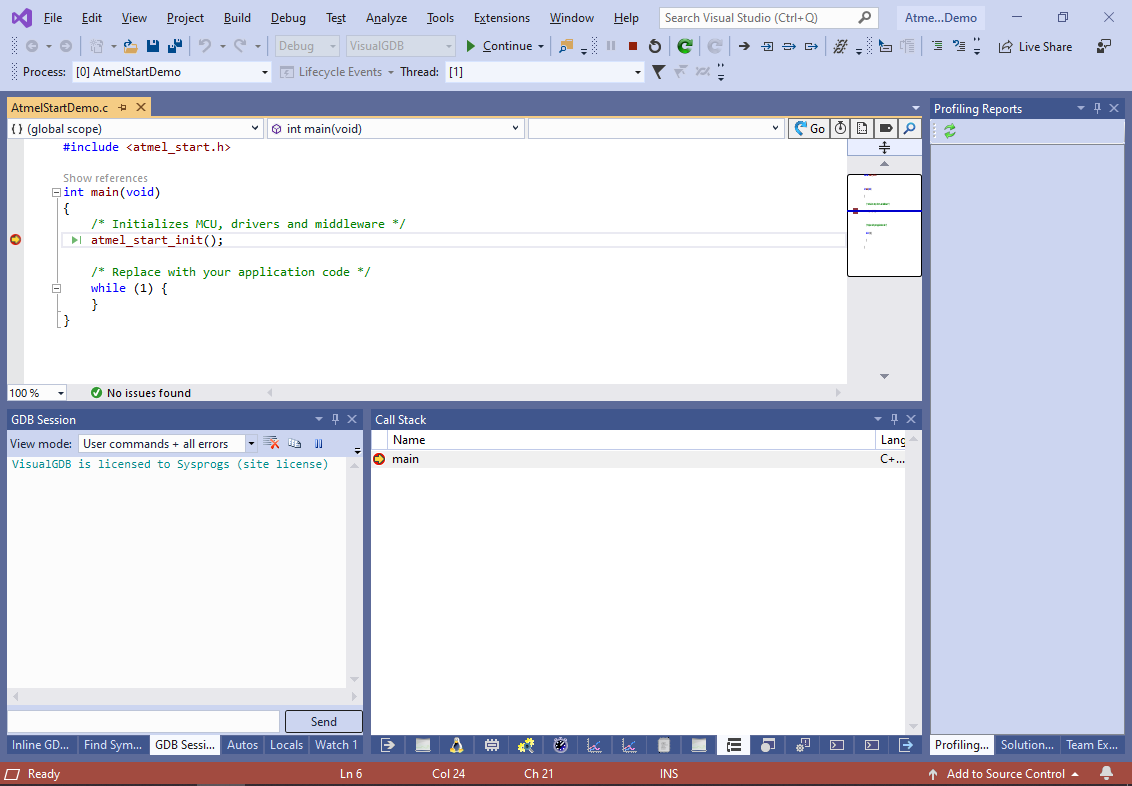
- Set a breakpoint inside the main() function and press F5 to start debugging. The breakpoint will get triggered:
- When you imported a project generated by Atmel START into VisualGDB, it got converted into a BSP (board support package). A BSP contains peripheral drivers, libraries and other support files, such as linker scripts, required to build code for your device. Each time you create a new Visual Studio project based on the imported BSP, it will reference those shared files instead of creating an independent copy (this can be overridden via stand-alone projects). You can manage all BSPs (shipped with VisualGDB or imported from Atmel START) via Tools->VisualGDB->Manage VisualGDB Packages:
 If you decide to change the Atmel START project parameters, simply re-import it into VisualGDB from either the project wizard, or the VisualGDB Package Manager window, and the changes will automatically get applied to all projects that were created based on this SDK.
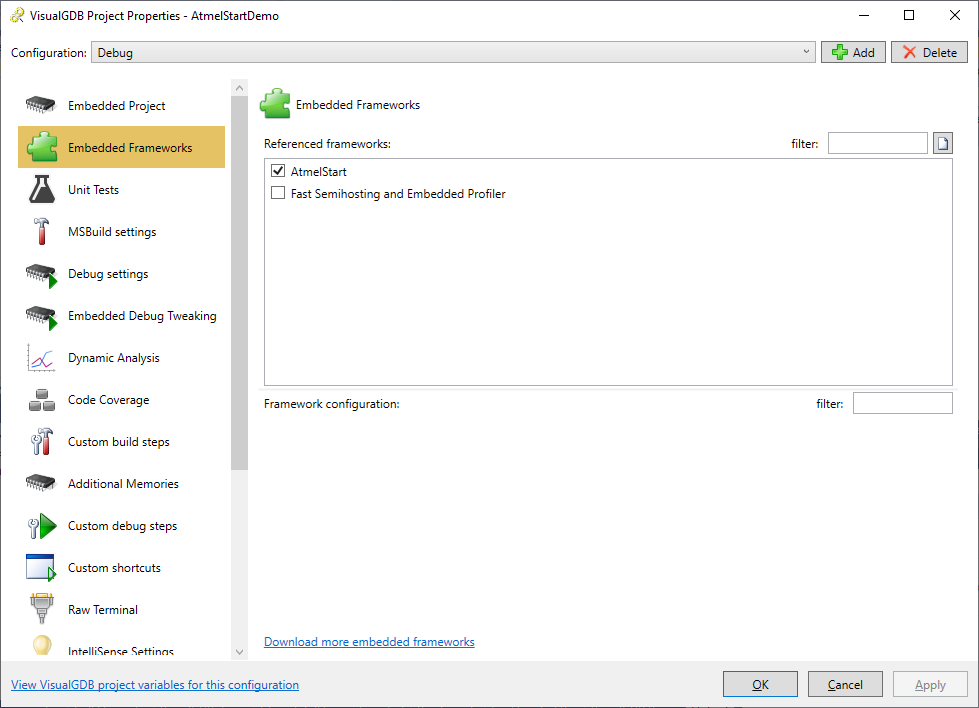
 - If the Atmel START project contained any libraries beyond the regular peripheral drivers, you can reference them from your projects via the Embedded Frameworks page of VisualGDB Project Properties: