Creating Custom BSPs with VisualGDB
This tutorial shows how to create a custom shared BSP based on a stand-alone project, preserving any customizations made to the stand-alone BSP. We will begin with the USB device project shown in the Stand-Alone Framework tutorial and will first convert it into a fully stand-alone project, and then export the modified stand-alone BSP back into a shared BSP.
The sample project shown in this tutorial follows the default project layout, referencing the shared STM32 files under %LOCALAPPDATA%. Because the STM32 BSP includes support files for many different devices, it is very big and checking it into source control could be challenging: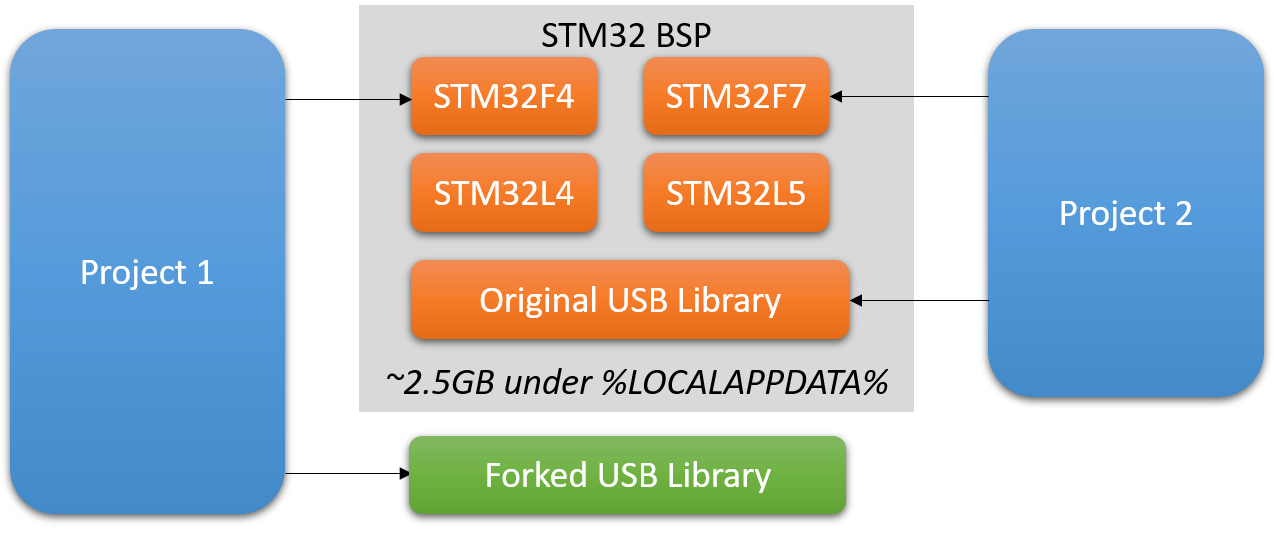 Stand-alone projects include a small subset of the original BSP (only the files used by the current configuration), but can still reference stand-alone libraries using relative paths:
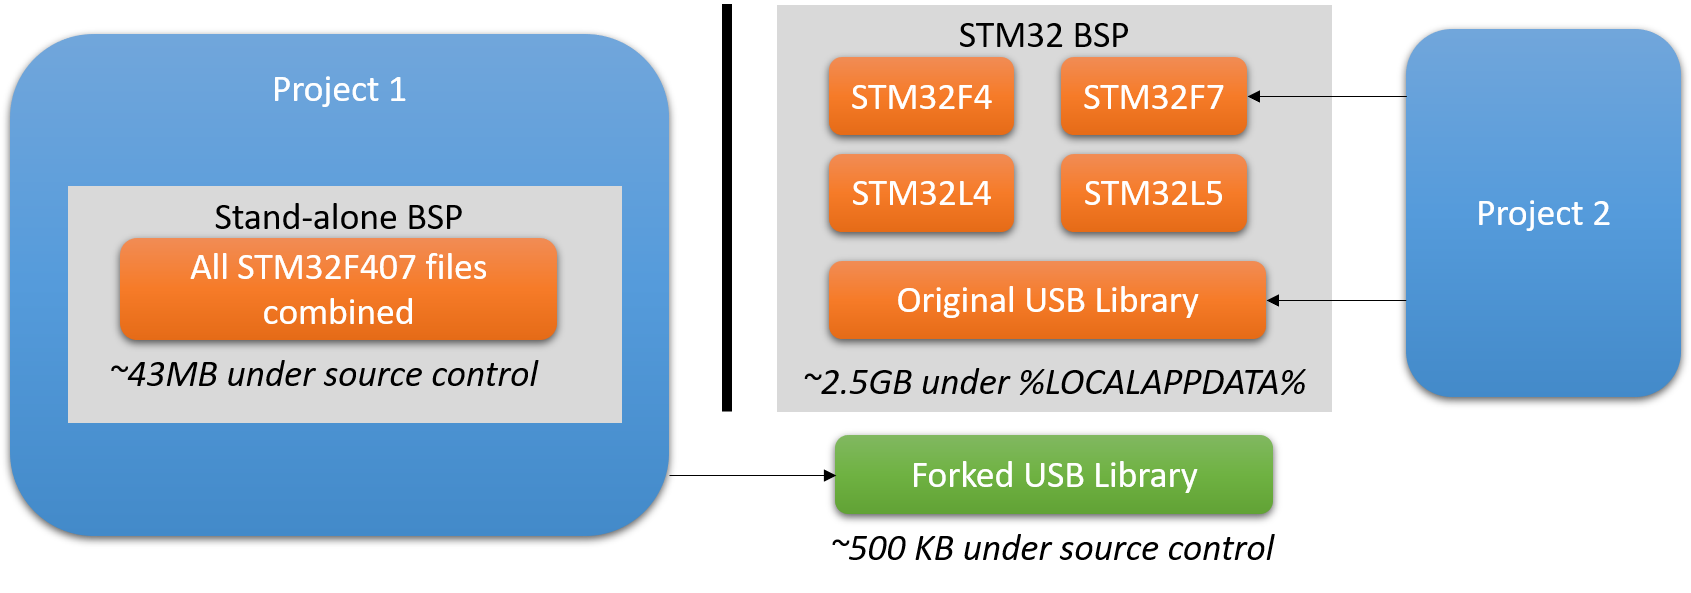 Exporting a stand-alone BSP into a shared BSP allows reusing the same tailored BSP between multiple projects. Exported BSPs use the same semantics as the original shared BSPs, however they are much smaller (due to only targeting a specific configuration of a specific device) and can include customizations:
 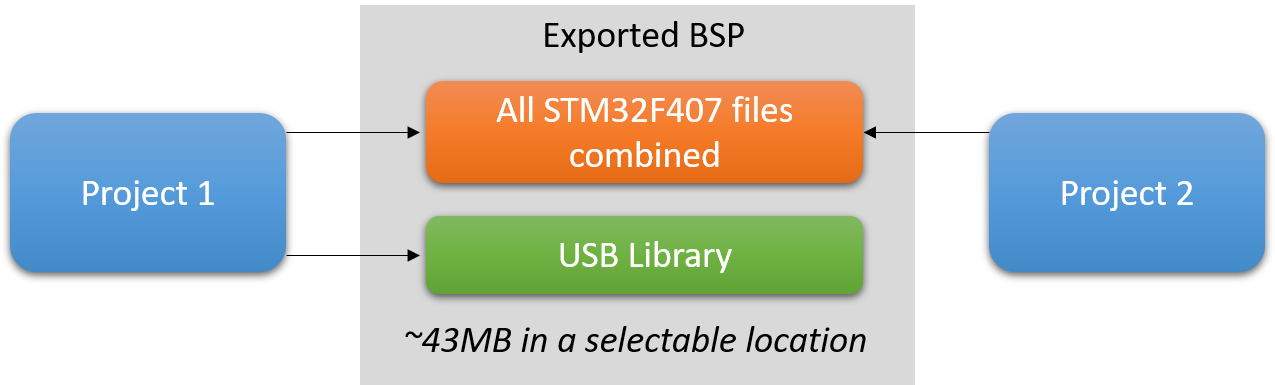 Before you begin, install VisualGDB 5.5 or later and follow our Stand-alone Framework tutorial or clone the stand-alone framework project from our Github repository.
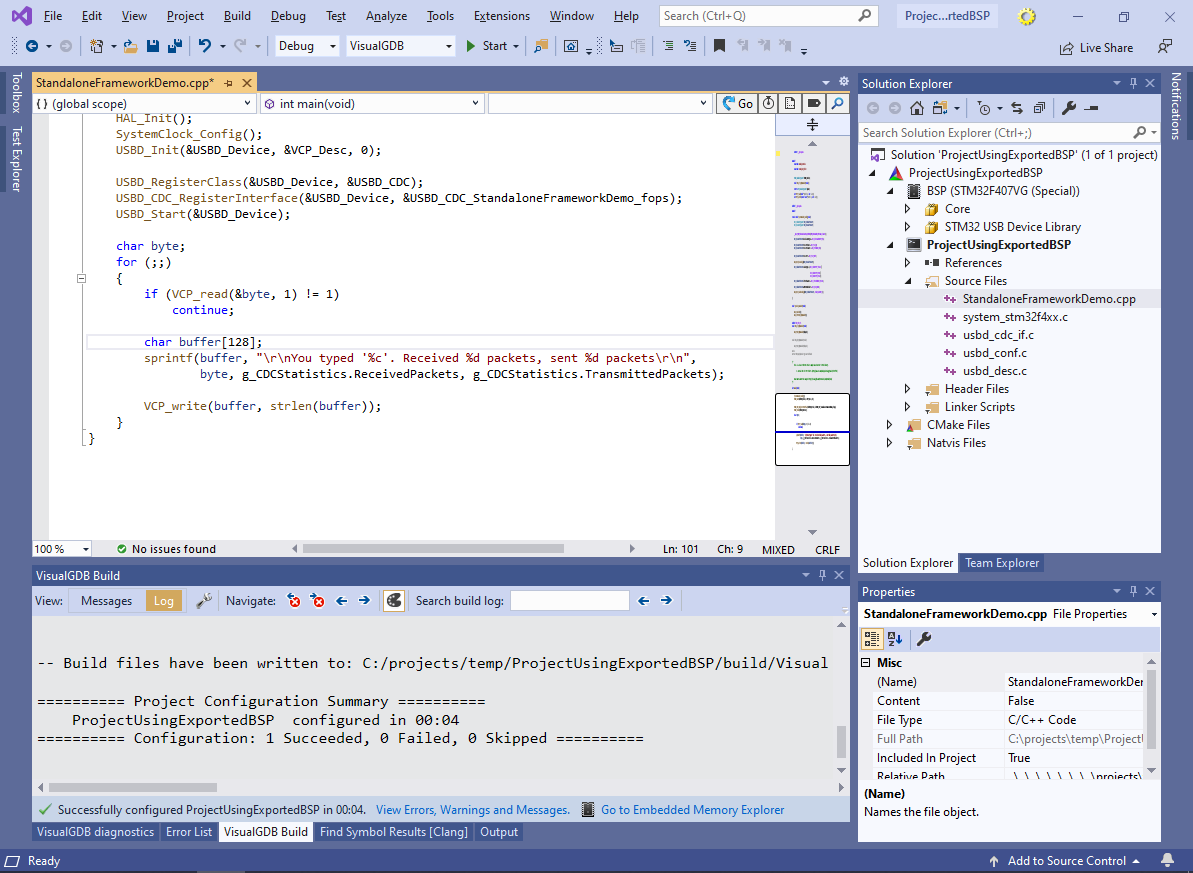
- Open the USB device project from the Stand-alone Framework tutorial, right-click on the BSP in Solution Explorer, and select “Convert to a stand-alone BSP”:

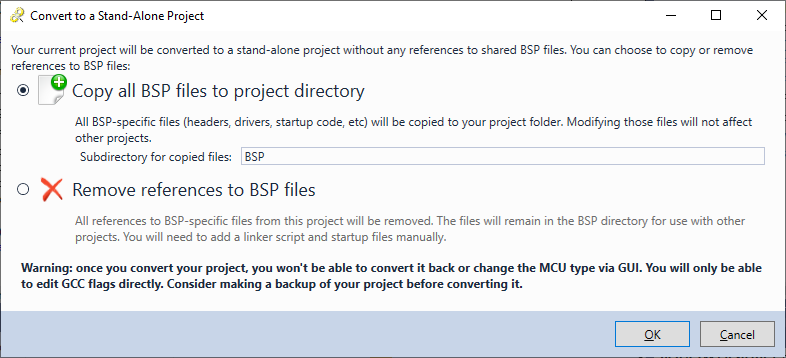
- VisualGDB will suggest copying the BSP files to the “BSP” subdirectory. Proceed with this option:
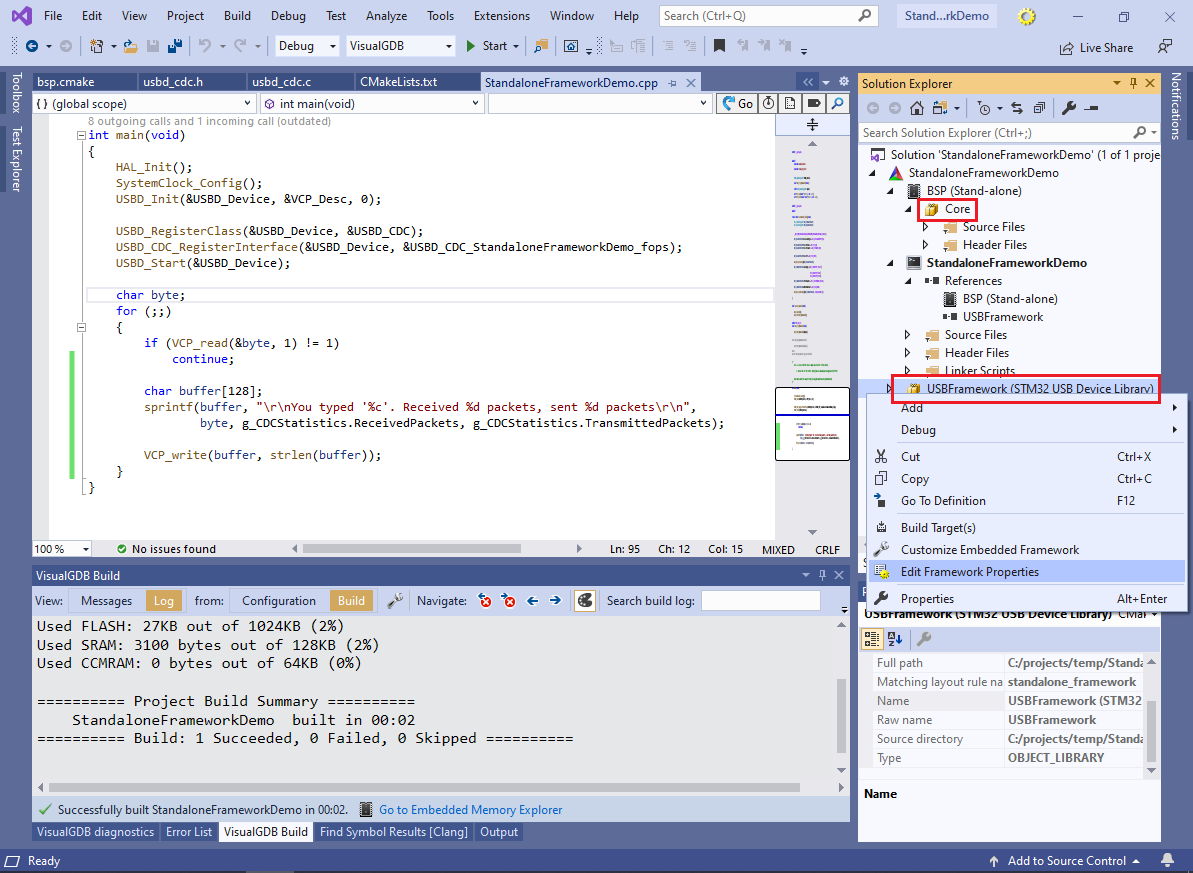
- VisualGDB will copy the files used by the current project from the original BSP, reducing its size from ~2.5GB to ~43MB. Note how the previously configurable HAL and Low-level libraries got merged into the “Core” library, while the USB Device Library remained a separate configurable framework:
 This happened because we had previously converted the USB Device Library into a stand-alone framework that is maintained separately from the original BSP (see the Stand-alone Framework tutorial). The table below summarizes what happens to in-BSP frameworks vs. stand-alone frameworks when converting the project to a stand-alone one:
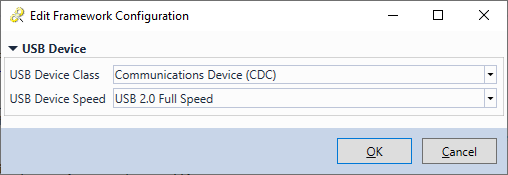
In-BSP Frameworks Stand-Alone Frameworks Physical Location Merged into the ‘core’ framework in the ‘BSP’ subdirectory. Preserved. Contents Limited to files explicitly used in the current configuration. Preserved. Configuration options Removed after substituting current values. Preserved. Size Reduced due to elimination of unneeded files. Unchanged. - Clicking “Edit Framework Properties” on the USB Device Library will allow changing its configuration (e.g. switching the USB device class):
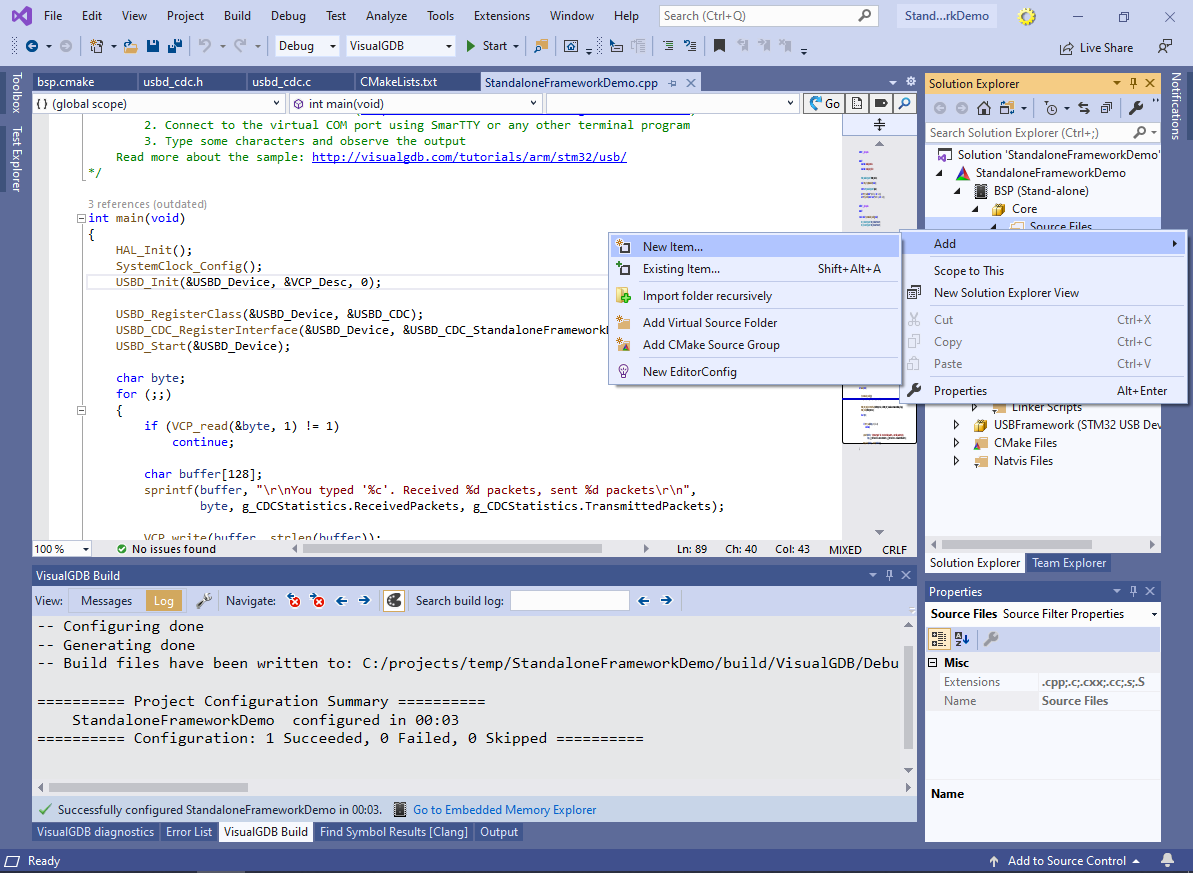
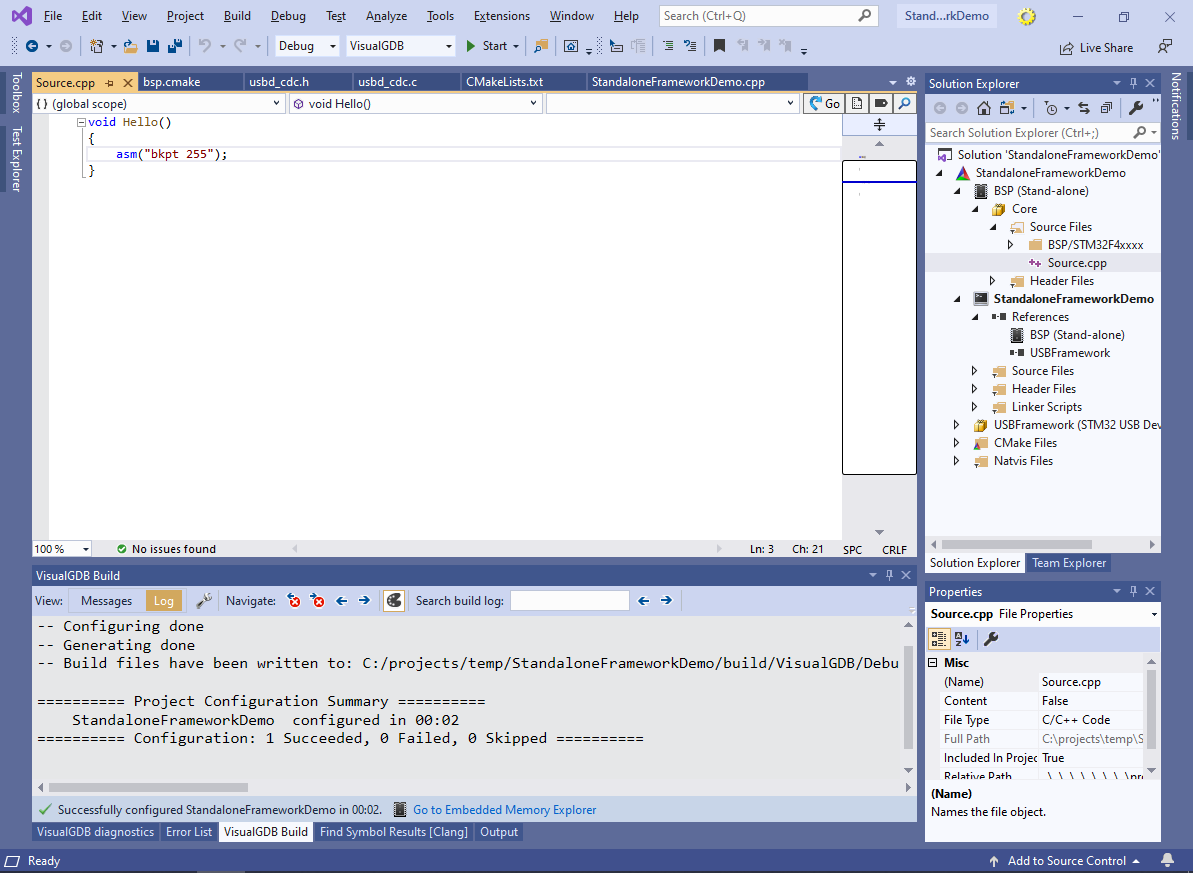
- The stand-alone BSP can no longer be reconfigured (e.g. switched to a different device), however you can add, remove or edit source files in it. Select Add->New Item to add a Source.cpp file to the BSP:
- You can define sample function in the newly created source file. It will be included in the exported BSP:
 Note that currently the new source file was created in the <Project Directory>\BSP folder where the stand-alone BSP was placed.
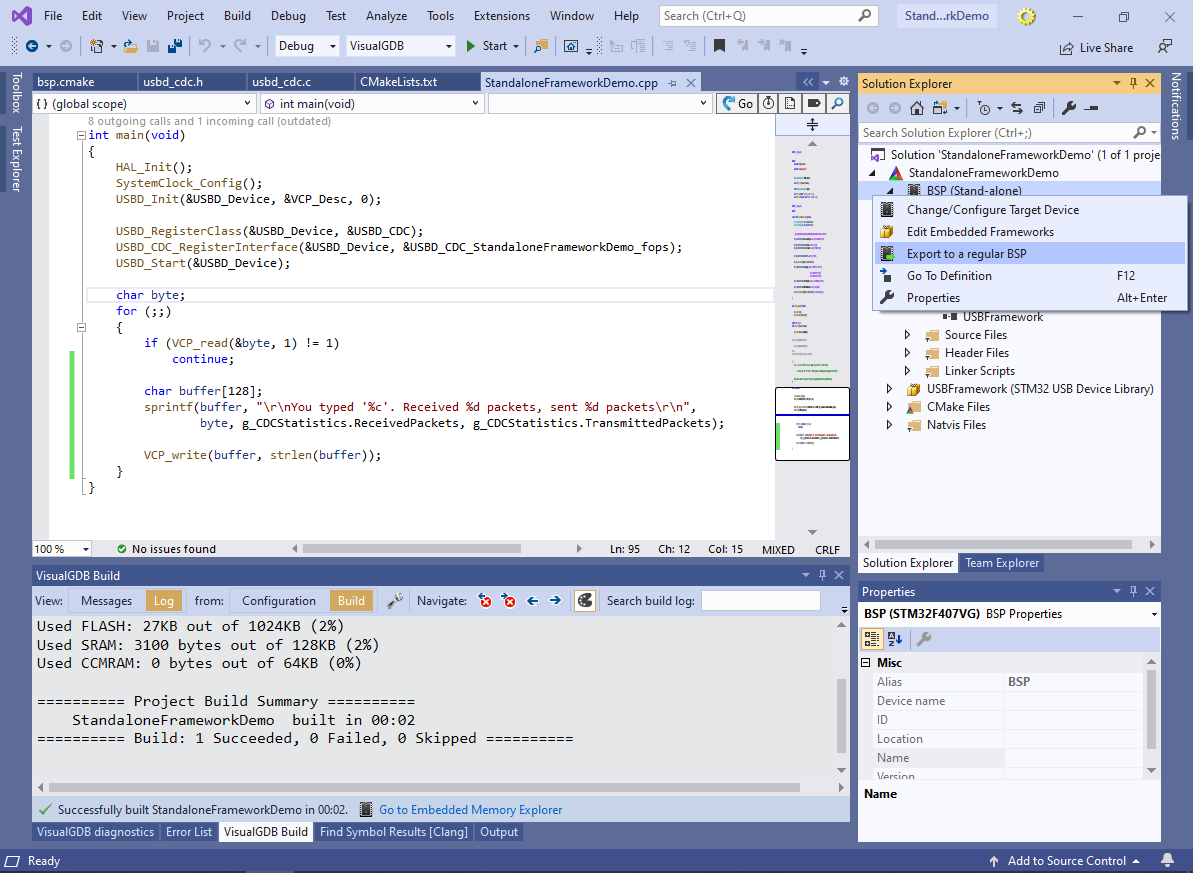
 - Right-click on the stand-alone BSP in Solution Explorer and select “Export to a regular BSP”:
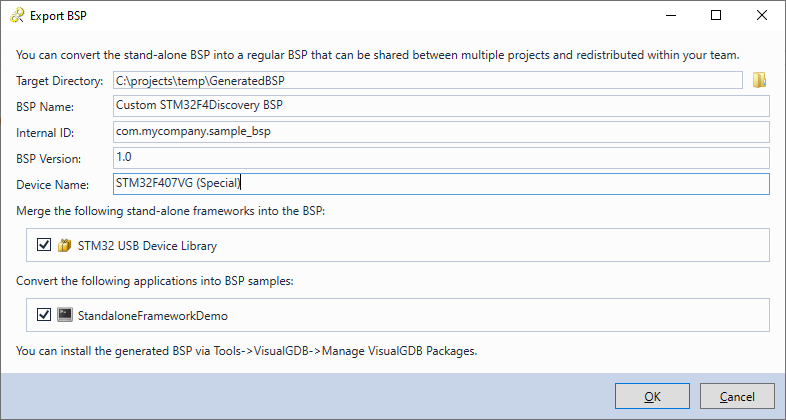
- VisualGDB will ask for the location of the BSP and will allow including stand-alone frameworks and application targets into it. You can edit the device name (e.g. add the “(Special)” suffix) to make it distinguishable from the original device:
 After the BSP has been exported, the original project will keep on using the stand-alone BSP. You can keep it in a separate repository as a template for subsequent versions of the BSP. Simply export it again anytime to propagate any changes to the BSP.
 - Open the location of the exported BSP. Note that VisualGDB has copied the stand-alone BSP contents there and also packed it into the BSP.vgdbxbsp package (that is internally a .tgz archive):
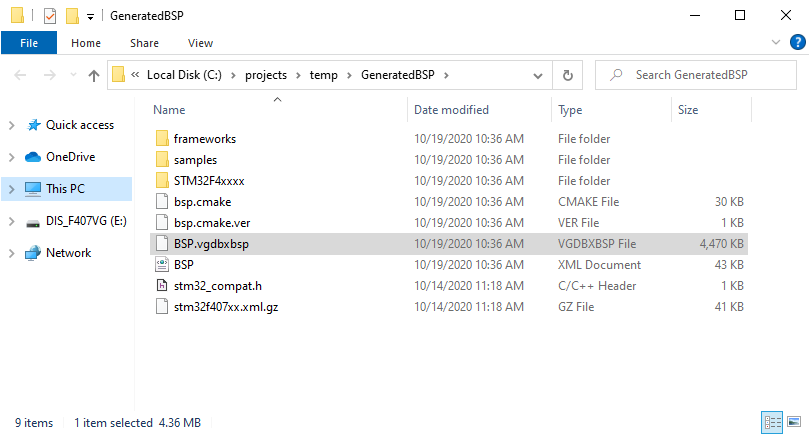
- You can copy the BSP.vgdbxbsp file to any other computer where you would like to use the BSP, and install it via Tools->VisualGDB->Manage VisualGDB Packages->Install a package from file:

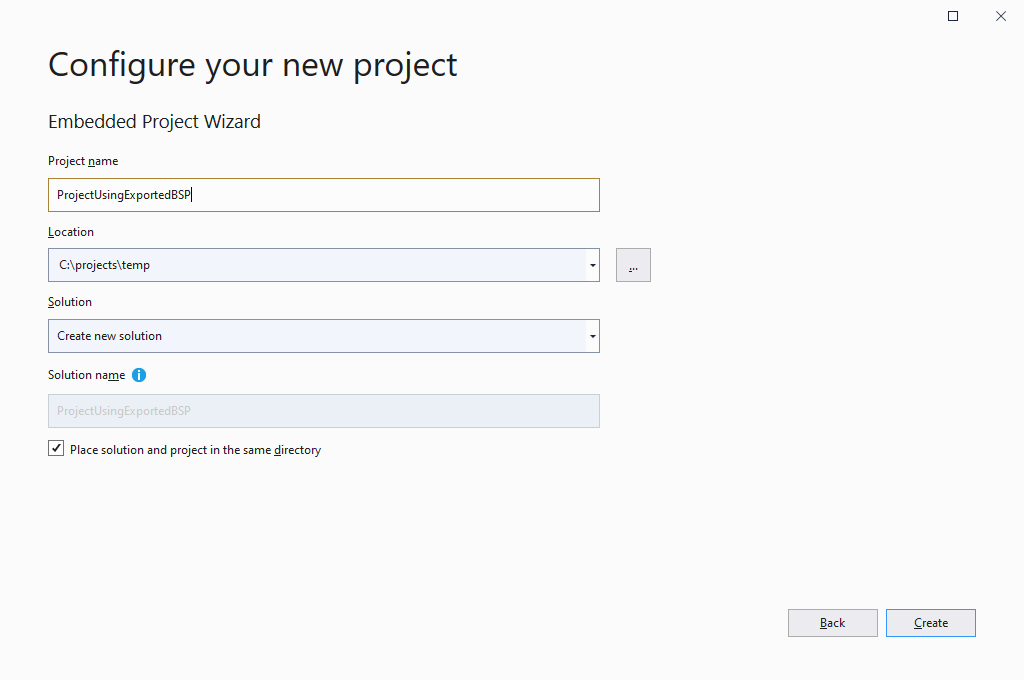
- Now we will show how to create another project using the exported BSP. Open the VisualGDB Embedded Project Wizard and pick the location for the new project:
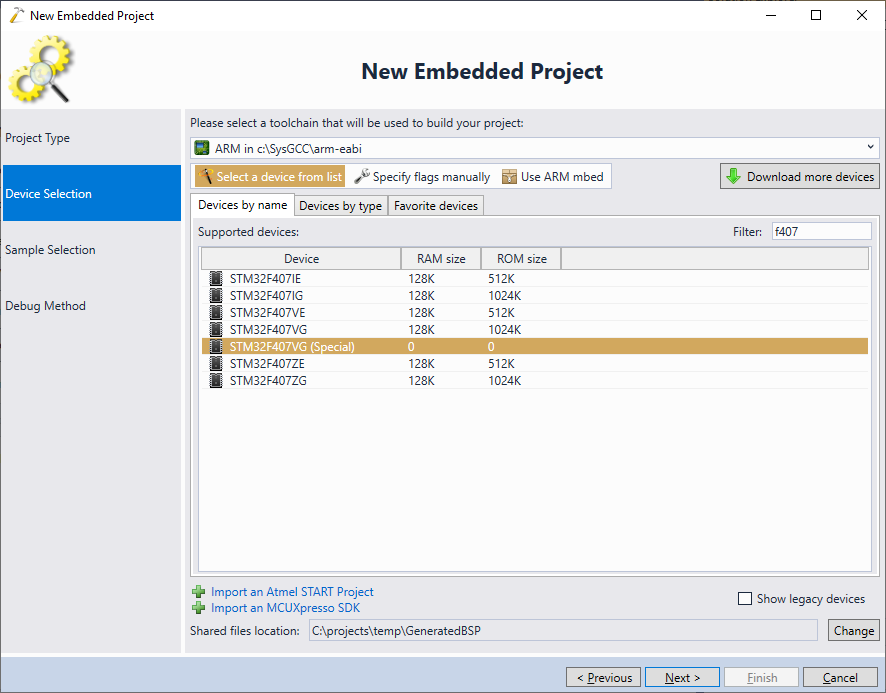
- The (Special) version of the device will now appear in the device list. The shared files location will point to the folder where you have saved the exported BSP:
 Note that the exported BSP can also be used to create MSBuild- or GNU Make-based projects. However, you will not be able to re-export it again unless you use Advanced CMake.
 - The USB Device project was automatically converted into a sample project. Make sure you select it when creating the new project. Also note how the USB Device Library retained its configuration projects:

- The project created from the new BSP will be equivalent to the project used to generate it. It will include the customizations made to the USB Device Library and will be completely separate from the original STM32 BSP and the stand-alone USB Device framework, since we explicitly merged it into the BSP: