Developing firmware for EFM32 devices with Visual Studio
This tutorial shows how to develop firmware for the EFM32 devices with Visual Studio and VisualGDB. Before you begin, install Visual Studio and VisualGDB.
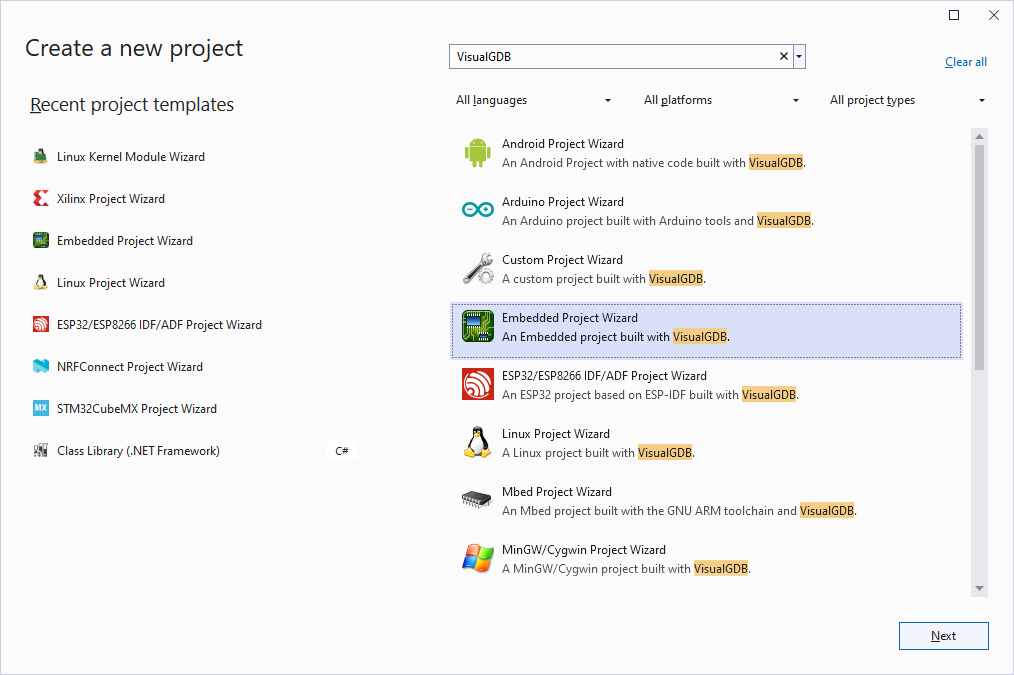
- Start Visual Studio and open the VisualGDB Embedded Project Wizard:
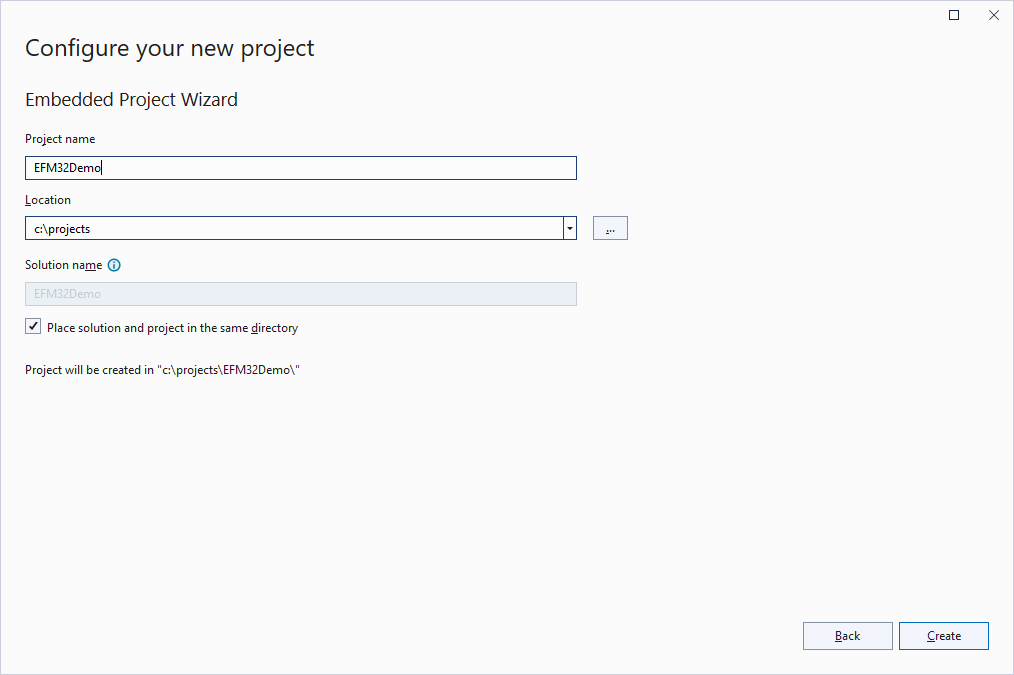
- Enter the name and location of the project:
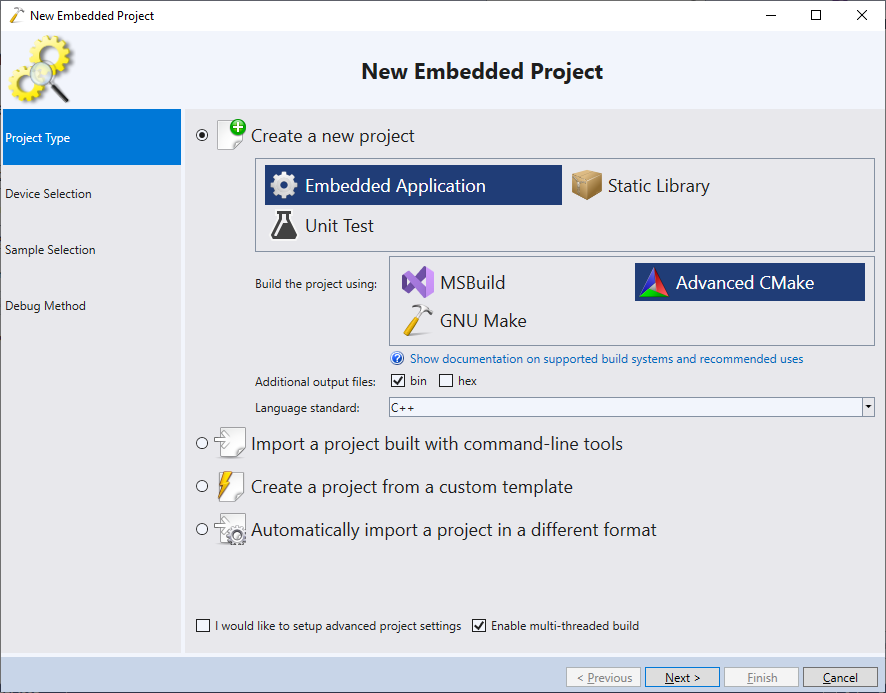
- Proceed with the default project type (Embedded Application) and the Advanced CMake build subsystem:
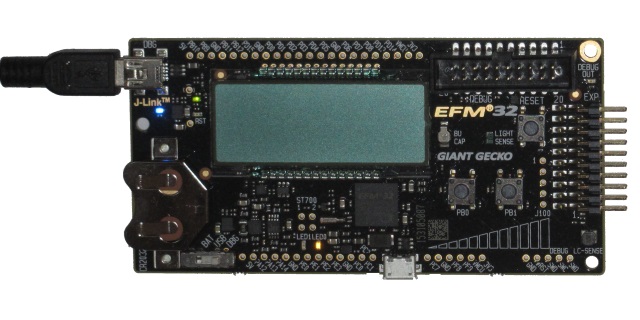
- On the next page select the ARM toolchain and choose your EFM32 device from the list. VisualGDB will automatically download the necessary support files. In this tutorial we will show how to program the EFM32 Giant Gecko Starter Kit (STK3700), so we select the EFM32GG990F1024 device:
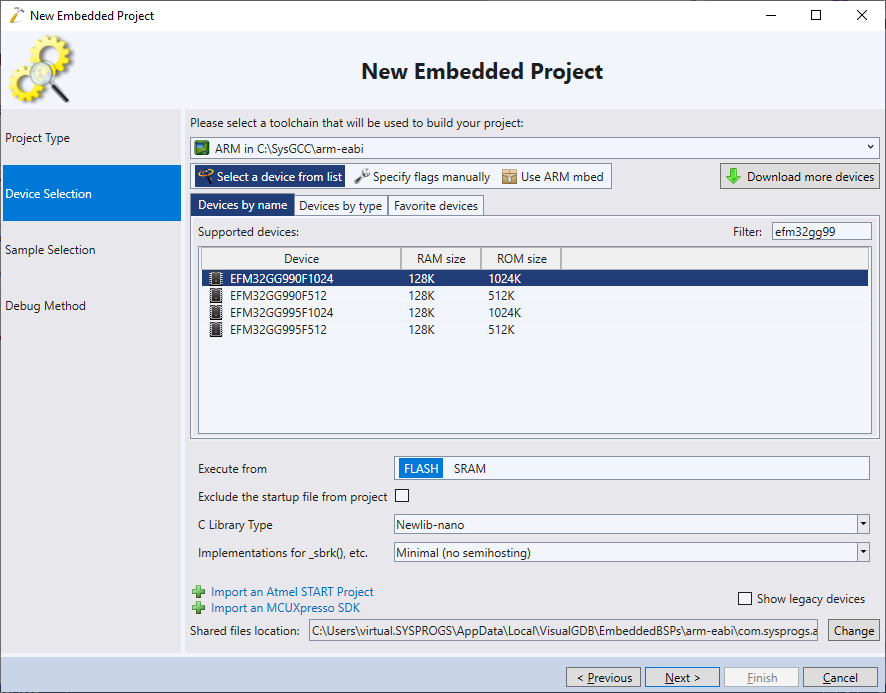 If you are using a device with ARM SecureZone support, check the “Enable Armv8-M Security Extensions” checkbox below the device selector. It will enable the CMSE extensions required by the Gecko SDK.
 - Proceed with the default LEDBlink sample. If you are using a different board, change the LED port name and pin number to match your board:

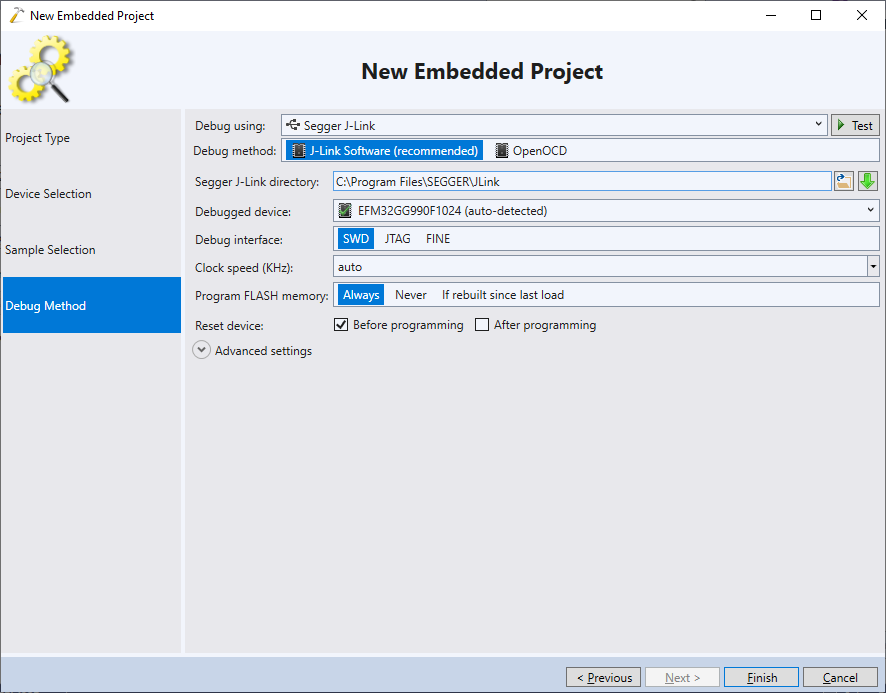
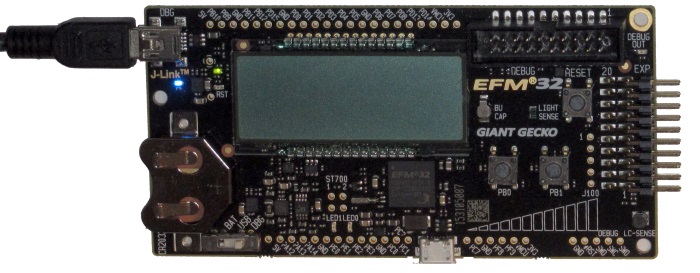
- The EFM32 Giant Gecko development board comes with a built-in Segger J-Link programmer, so we simply select the Segger J-Link debug method and the Segger J-Link software will automatically recognize the chip:
- Press “Finish” to generate the project. Build it via Build->Build Solution:
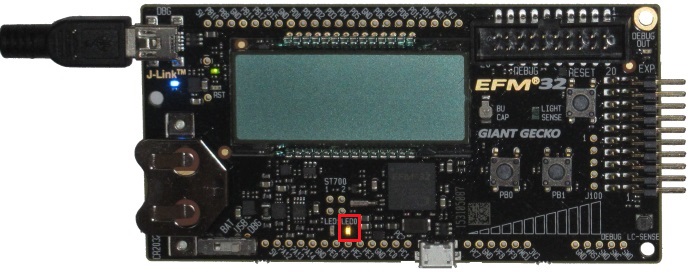
- Press F5 to automatically program the board and start debugging. Notice how the LED on the board begins to blink:
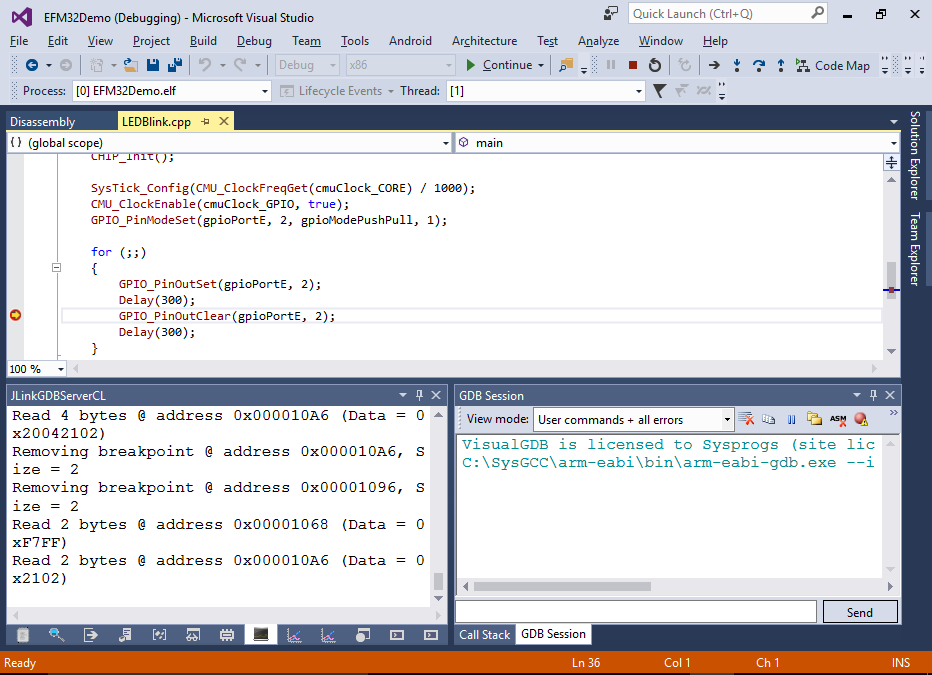
- Set a breakpoint at the second call to GPIO_PinOutClear and wait until it hits:
- Step over the call and notice how the LED turns off:
- You can use the Hardware Registers view to check the state of various hardware registers. E.g. you can easily see how setting pin 2 of port E to 1 changes to DOUT register of the GPIO port E (P[4]):

- If you want to monitor some of your program’s variables without stopping the program, use the Live Variables window to add live watches and enable plotting to view them graphically. E.g. you can plot how the TickCount value increases linearly over time:
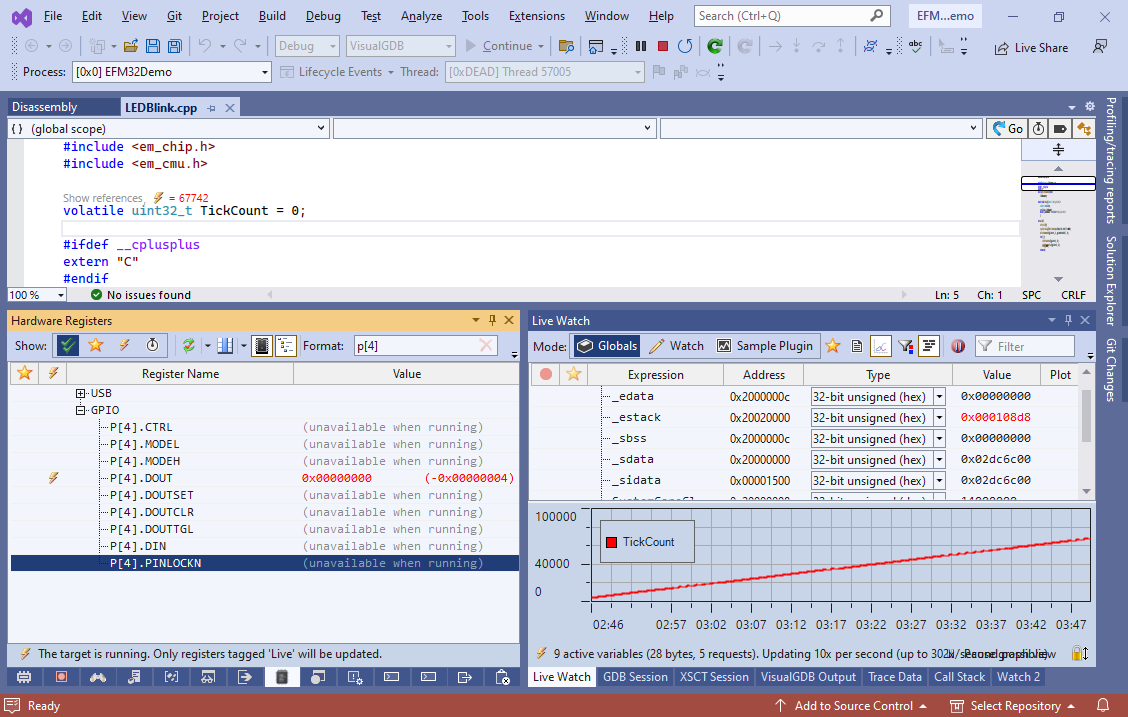 You can also click the lightning icon in the Hardware Registers window to mark specific registers as live (i.e. queried while the program is running).
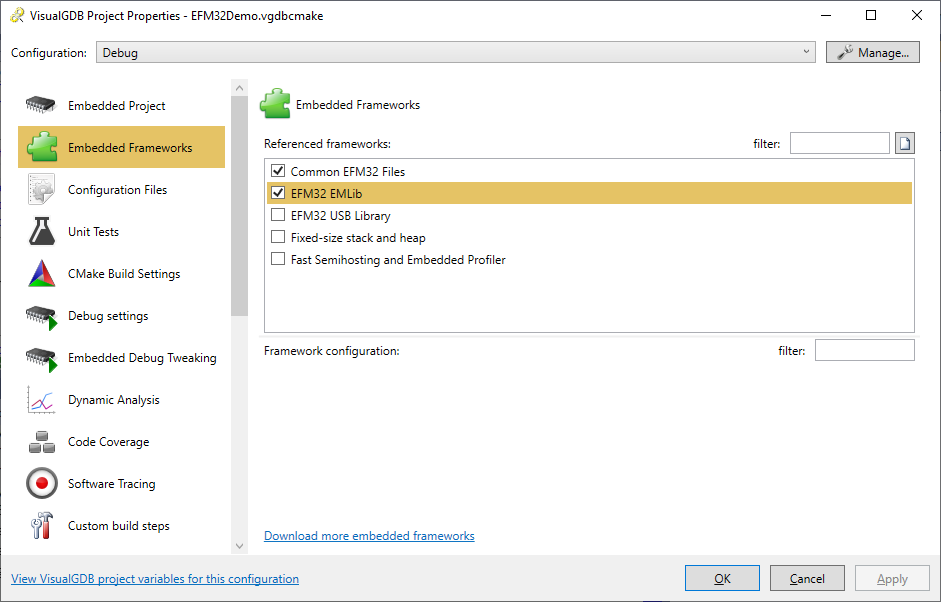
 - You can use the Embedded Frameworks page of the VisualGDB Project Properties to add reference to various software frameworks. E.g. you can add a reference to the EFM32 USB library if you want to use USB functionality in your code:


The VisualGDB BSP for the EFM32 devices is based on the official Gecko SDK. If you would like to use additional libraries from the original SDK, you can find the matching SDK version in the %LOCALAPPDATA%\VisualGDB\EmbeddedBSPs\arm-eabi\com.sysprogs.arm.silabs.efm32\SDKVersions.txt file. You can then clone the Git tag mentioned in the file to a directory on your system, and begin adding files from it to your project. As long as you are using the same tag as mentioned in SDKVersions.txt, libraries should be compatible with VisualGDB projects.