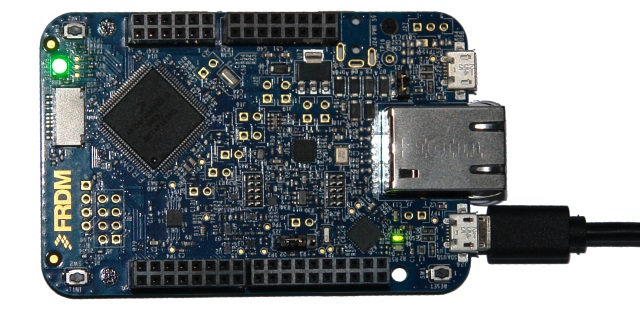
Developing code with Kinetis KSDK for the FRDM-K64F board
This tutorial shows how to build and debug a basic program for the Freescale FRDM-K64F board using Visual Studio. Before you begin, install VisualGDB 5.0 or later.
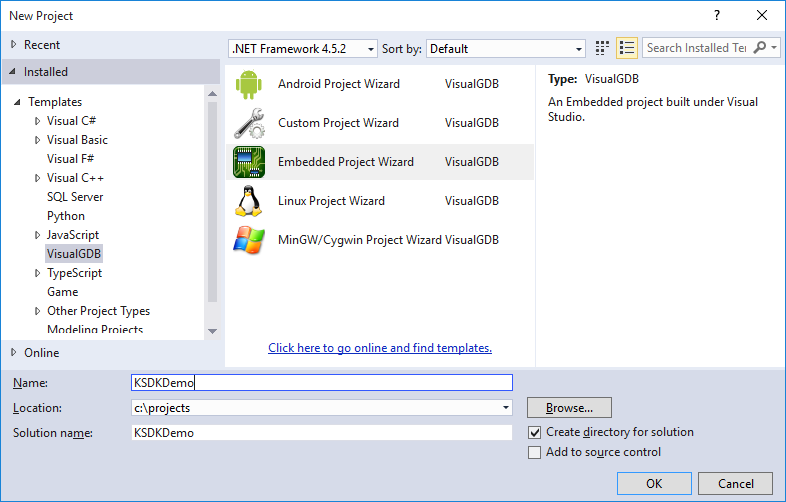
- Start Visual Studio and open the VisualGDB Embedded Project wizard:
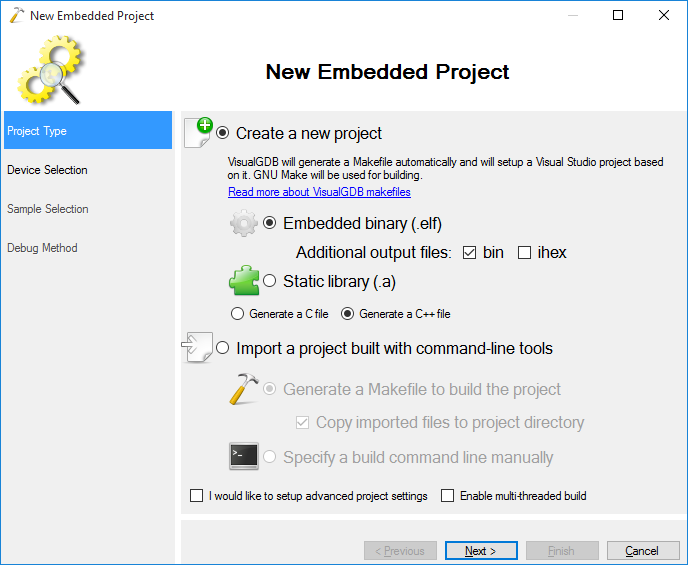
- Proceed with the default “Create a new project -> Embedded binary” selection:
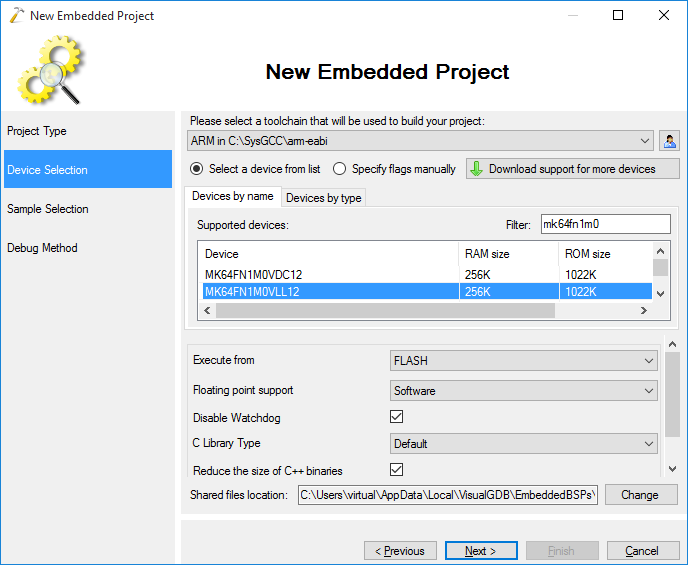
- Select the MK64FN1M0VLL12 device from the list. If it does not appear in the list, click “download support for more devices” and select the Freescale Kinetis (KSDK) BSP:
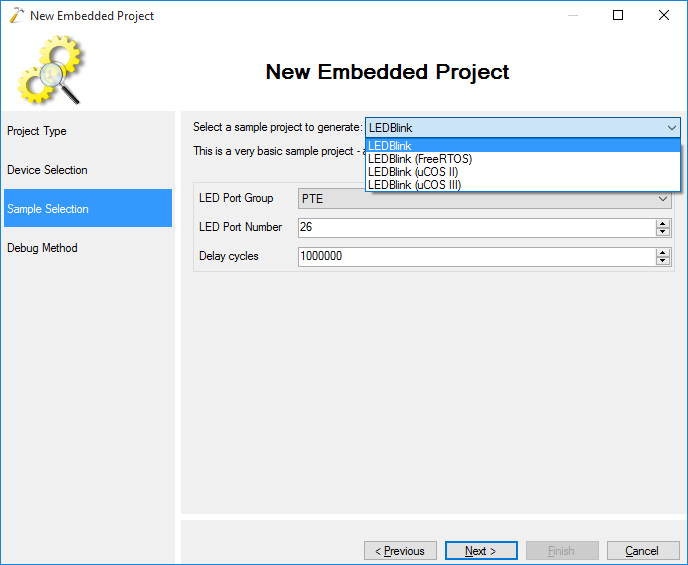
- On the next page of the wizard select a project template you want to use. In this tutorial we will create a minimal project without any RTOS. Specify PTE and pin 26 to blink the green LED on the board:
- The FRDM-K64F board includes a CMSIS-DAP programmer that can be turned into a Segger J-Link by downloading special firmware from the Segger website. If you have not downloaded the segger firmware into your FRDM-K64F yet, download it from the Segger website, unpack it, then hold the SW1 button on your board and replug the USB cable
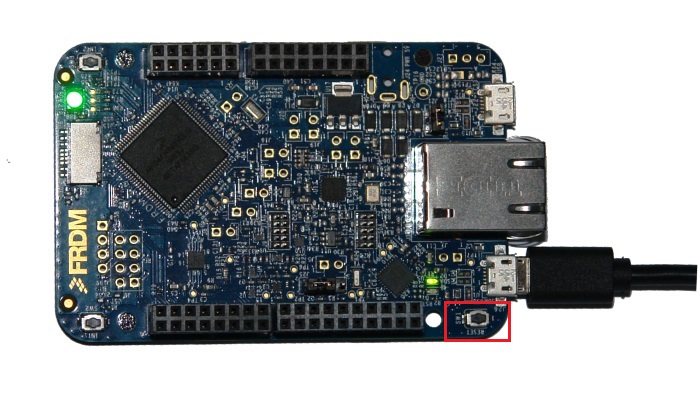 The board will get connected as a USB storage device and simply copying the Segger firmware file into it will automatically install it on the board.
 - Select Segger J-Link as the debug method and specify the path to the Segger software package. If you don’t have it installed, you can download it here:
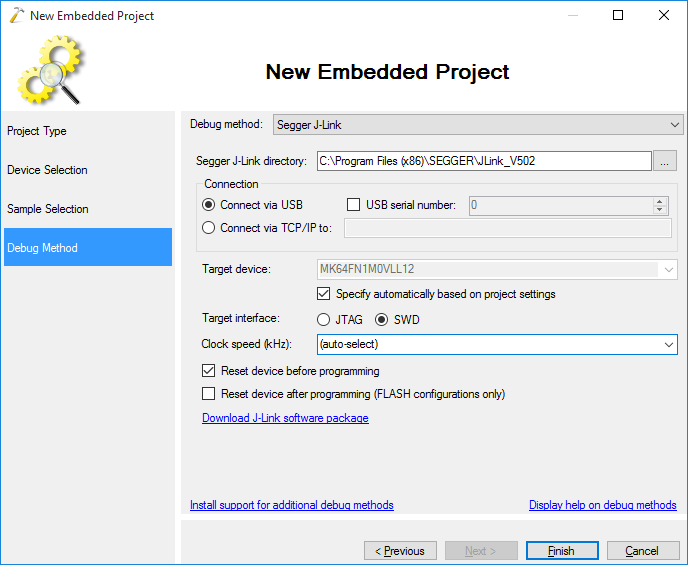
- Press Finish to generate the project. You can then build it by pressing Ctrl-Shift-B:
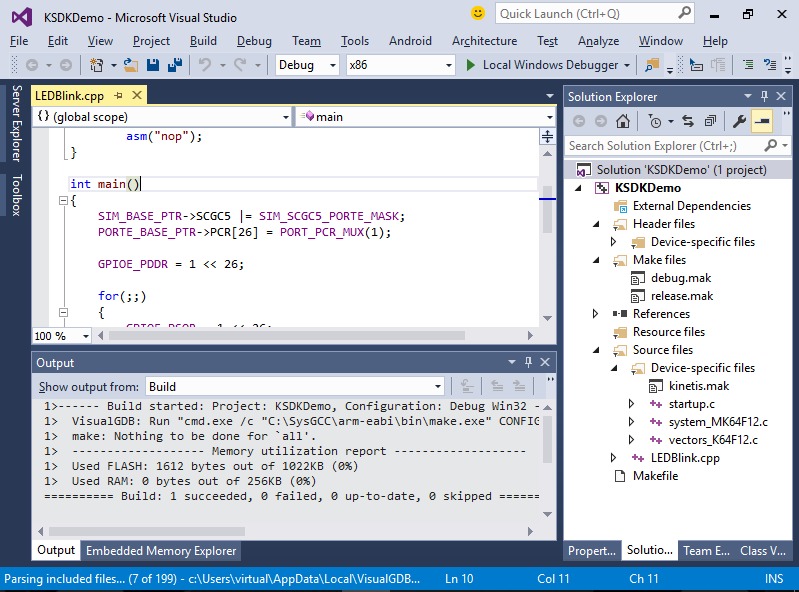
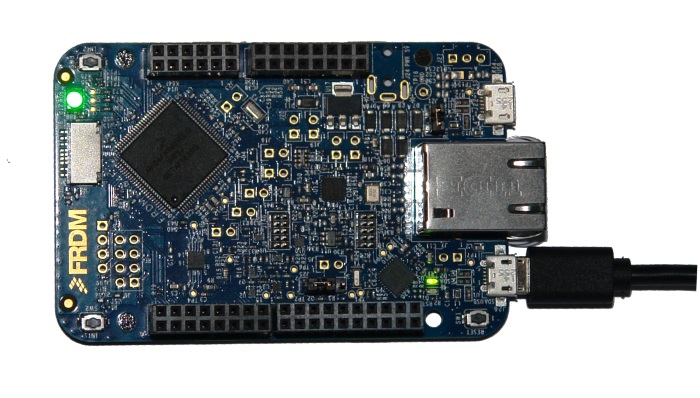
- Press F5 to program your firmware and start debugging it. The large green LED in the corner of the board will start blinking:
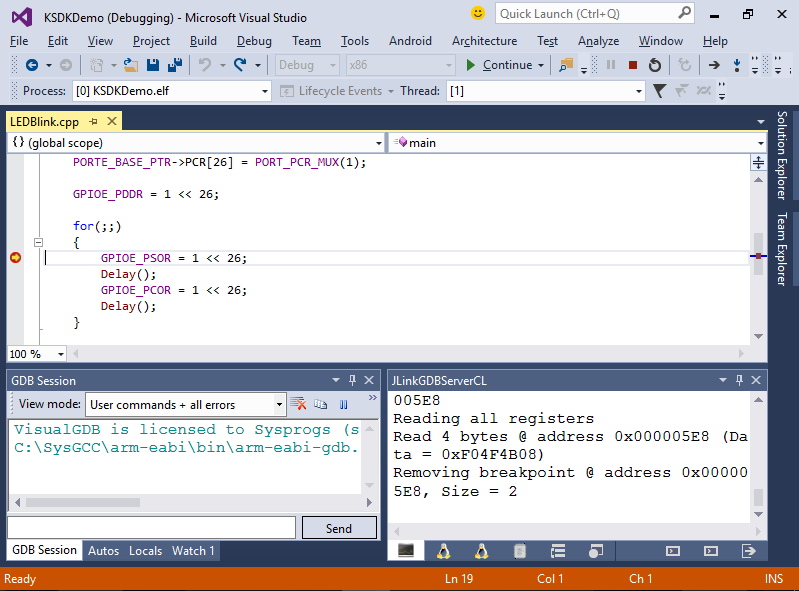
- Set a breakpoint inside the main() function. The breakpoint will trigger and you will be able to trigger and you will be able to step through the code:
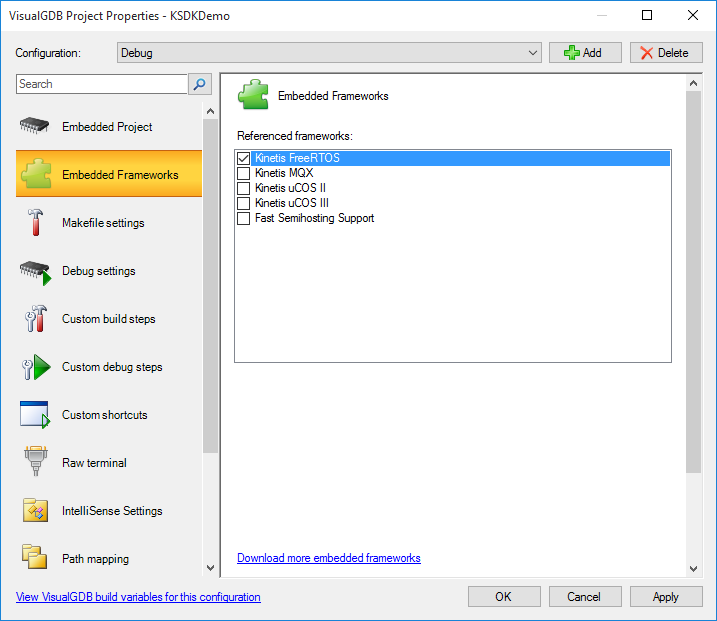
- Press Shift-F5 to stop debugging. You can open VisualGDB Project Properties and go to the Embedded Frameworks page to reference various components of the KSDK in your application (e.g. FreeRTOS or uCOS):
