Developing mbed-based projects for LPC1549 LPCXpresso
This tutorial shows how to create a basic project using the mbed framework for the LPCXpresso for LPC1549 board using Visual Studio and VisualGDB.
The LPC1549 LPCXpresso board comes with an on-board LPC-Link debugger that can be used to debug the on-board firmware.
In order to debug the board from VisualGDB, we will download and install a special firmware from Segger that makes it compatible with Segger J-Link software and VisualGDB.
- Before you begin, download and install LPCScrypt software from the NXP site.
- Connect your LPCXpresso board to the USB port as shown below:

- Open Device Manager and ensure the LPC device has the drivers installed. If not, install the drivers from the LPCScrypt\Drivers folder.
- Run the LPCScrypt\scripts\program_JLINK.cmd script file and ensure it programs the J-Link firmware successfully:
 If LPCScrypt does not detect your board, disconnect it from the USB, close the “DFU Link” jumper between the 2 USB ports and connect the USB again.
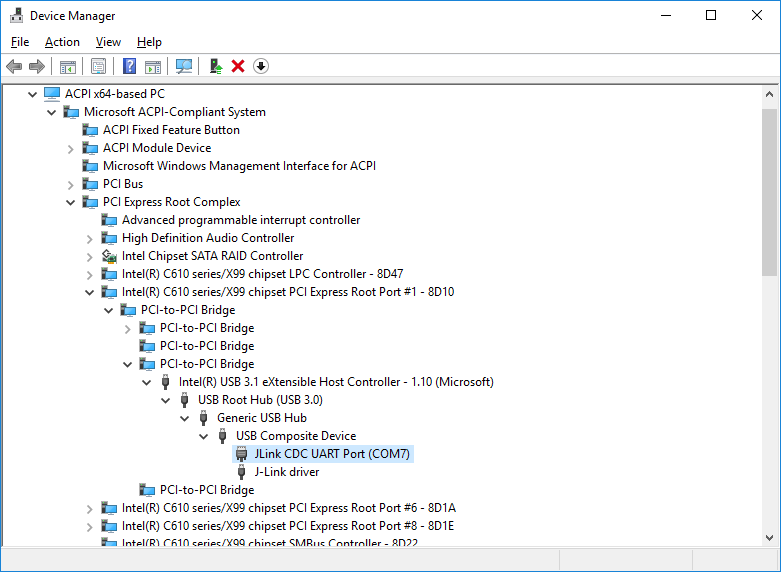
 - Unplug and replug the board to USB. Double-check that it now appears as “Segger J-Link” in the Device Manager:
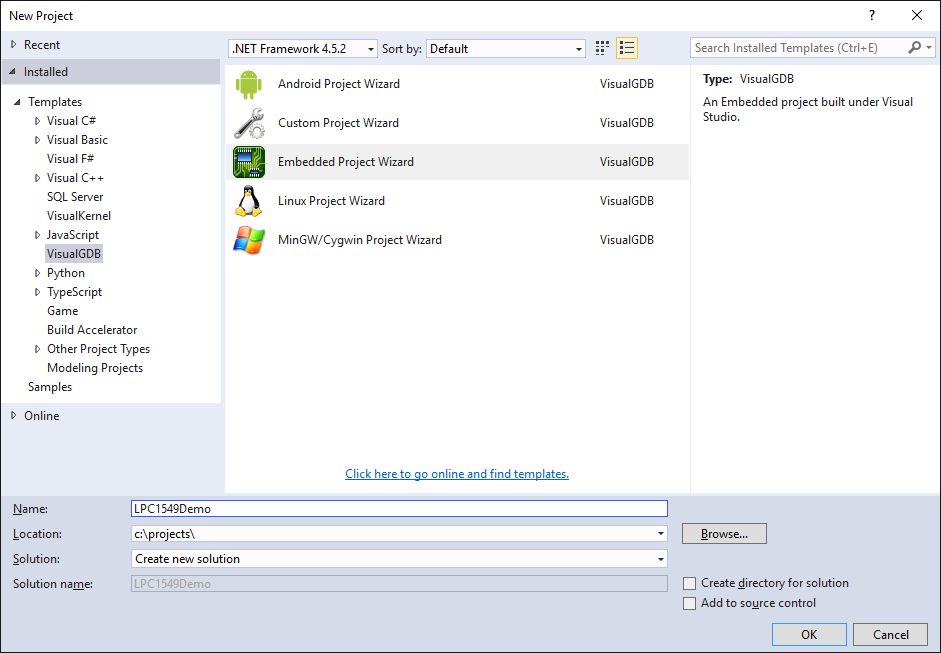
- Start Visual Studio and open VisualGDB Embedded Project Wizard:
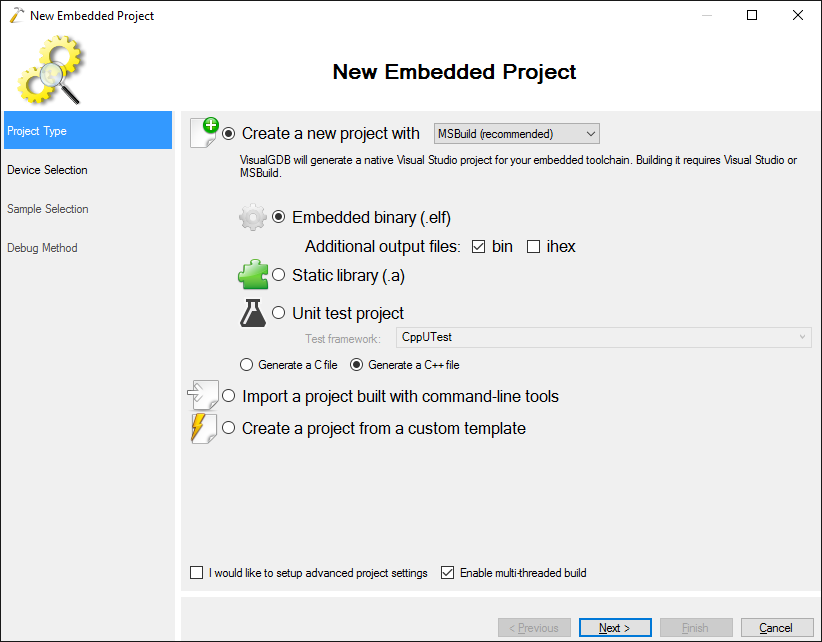
- Proceed with the default “Embedded Binary -> MSBuild” settings:
- Select “Use ARM mbed” and pick LPC1549 from the list. Ensure you check the “Provide default stubs for system calls” checkbox:
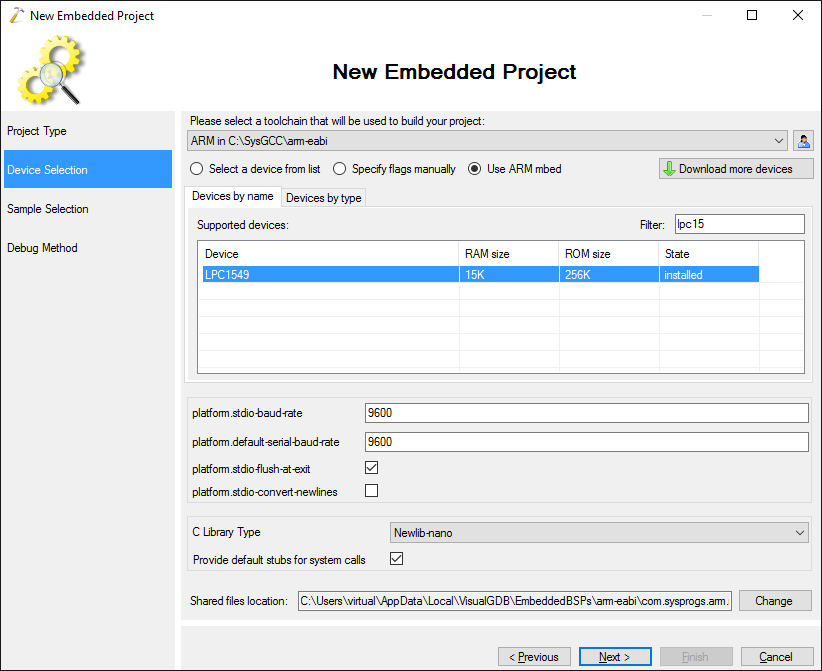
- Proceed with the default LEDBlink sample on the Sample Selection page:
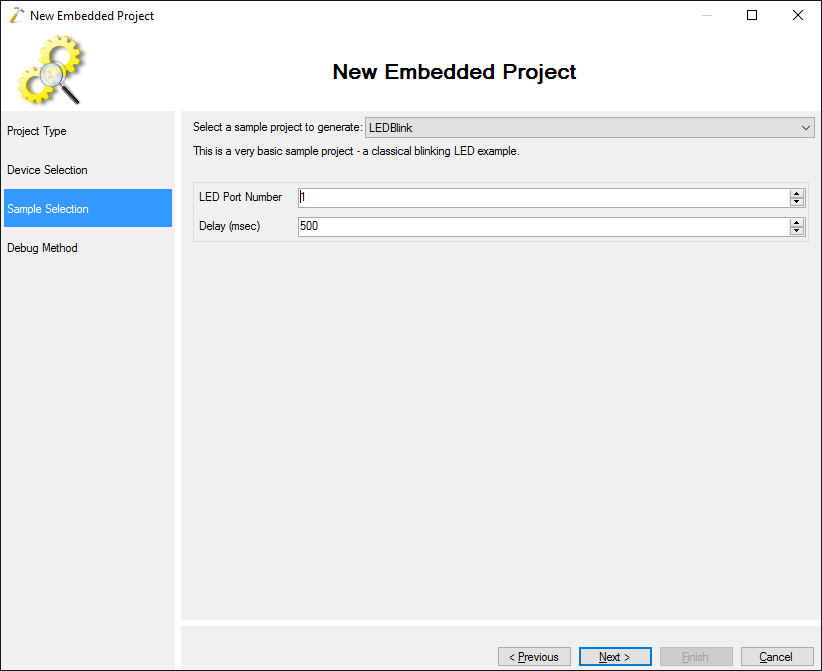
- On the last page of the wizard select “Segger J-Link” and proceed with the default settings:
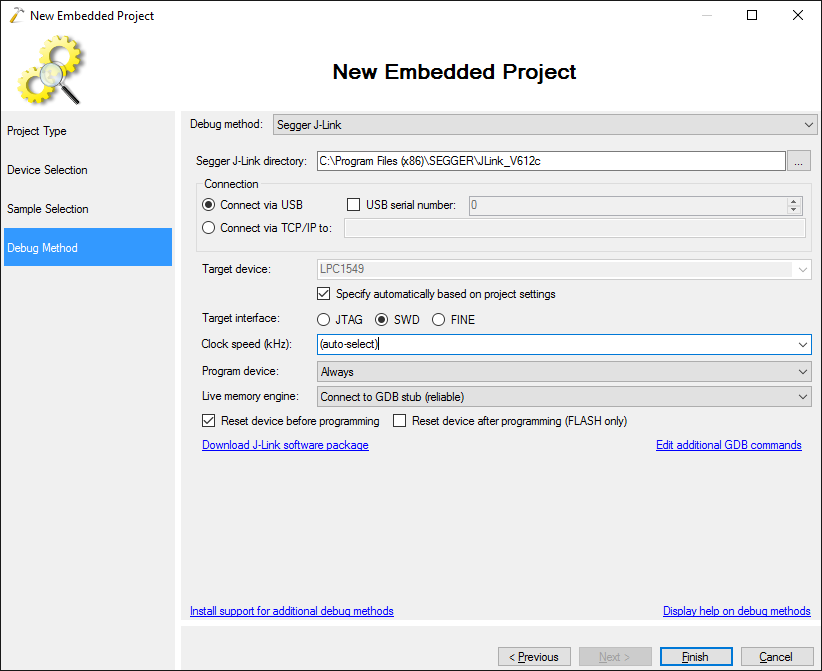
- Press “Finish” to create your project. Build it with Ctrl-Shift-B:
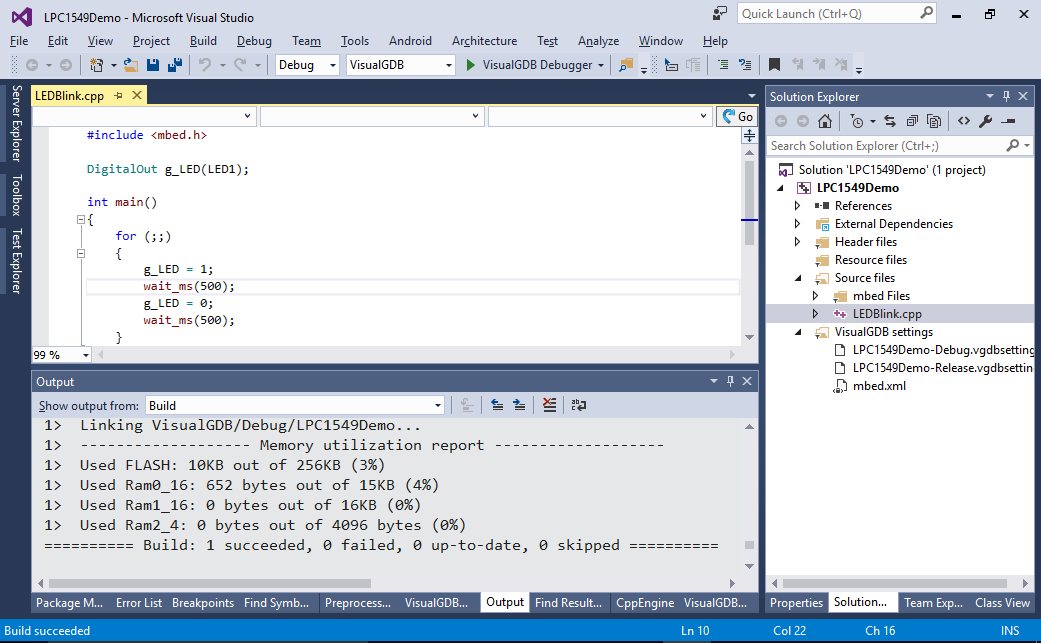
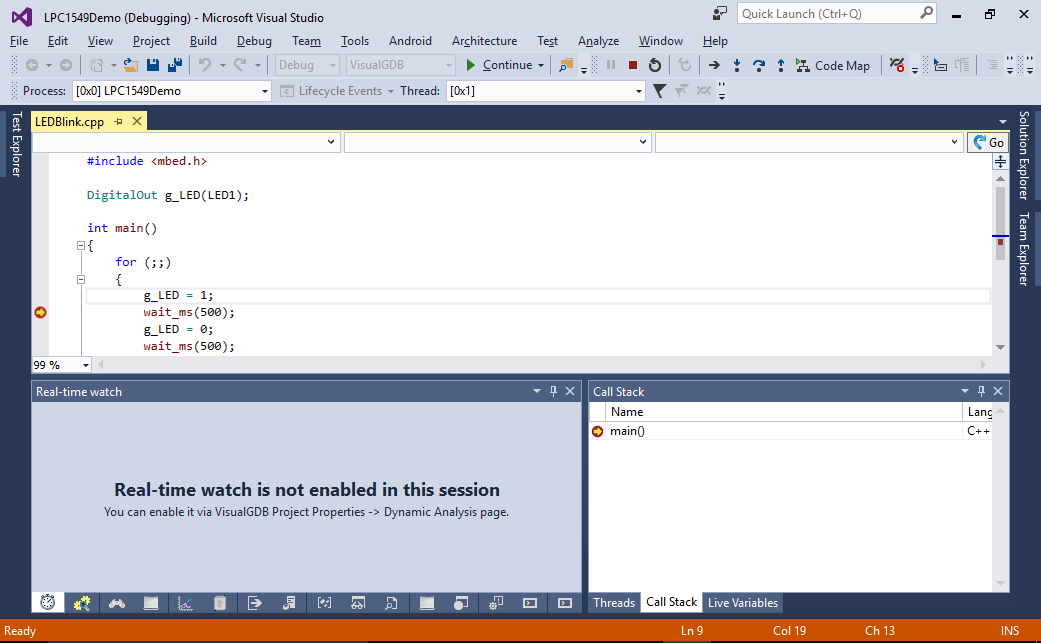
- Press F5 to start debugging your project. Once you see that the on-board LED is blinking, set a breakpoint somewhere in the main loop and ensure that you can step through the code:
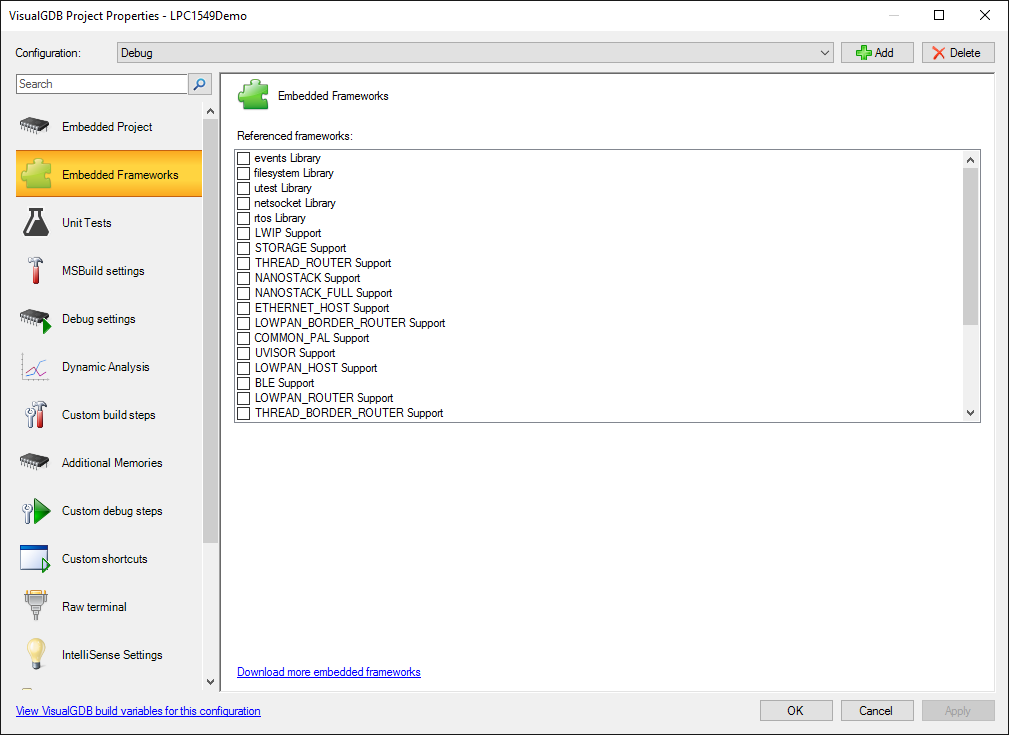
- You can use the Embedded Frameworks page of VisualGDB Project Properties to reference and configure various components of the mbed framework (e.g. RTOS or USB support):
