Building VisualGDB Makefile projects with Team Foundation Server
This tutorial shows how to build non-MSBuild VisualGDB projects using Team Foundation Server. In this mode you don’t need a separate Visual Studio installation on your build server (although you still need a separate license of VisualGDB if you want to make use of the VisualGDB logic for uploading sources, synchronizing settings and running custom actions).
If you haven’t configured TFS yet, we recommend following our basic TFS integration tutorial first. In this tutorial we will use 2 machines: server that will run the TFS build agent and client that will be used for editing the projects in Visual Studio.
- Install TFS on the server and configure the build agent. Copy the contents of the C:\Program Files (x86)\Sysprogs\VisualGDB folder on the client to an arbitrary location on the server. Then run VisualGDB.exe /about to enter your license details or VisualGDB.exe /intro to start a trial on the build server:
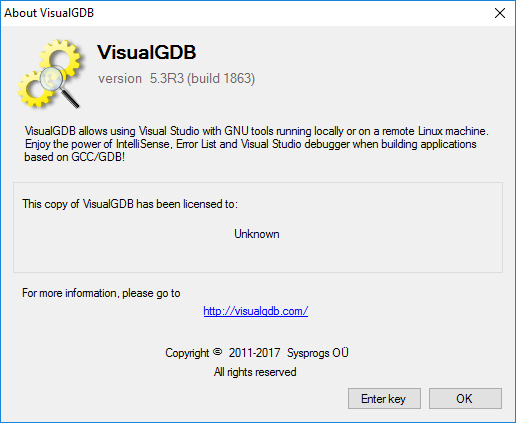 Note that using VisualGDB with TFS requires version 5.3R3 or later.
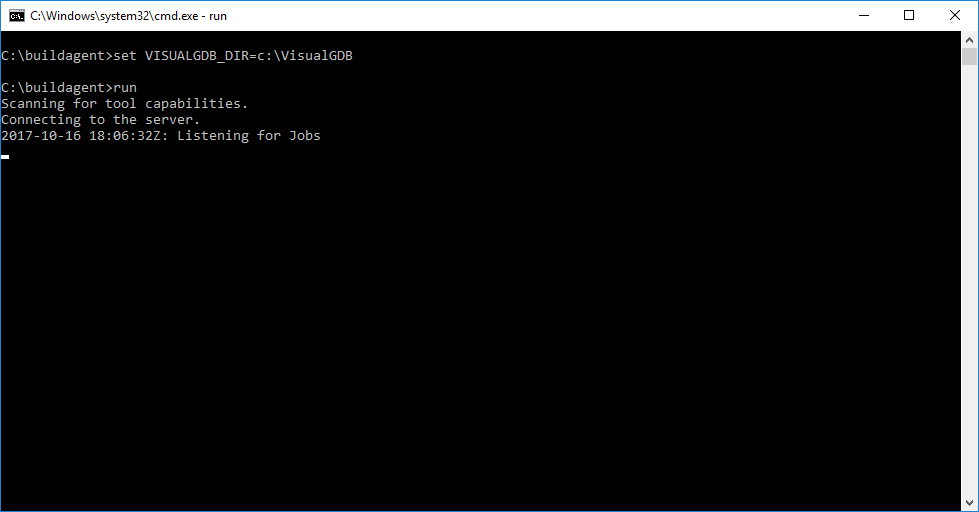
 - Set the VISUALGDB_DIR environment variable to point to the VisualGDB directory and run the build agent on the server:
 If you are running the build agent as a service, ensure that the VISUALGDB_DIR variable is set globally on the machine where the agent runs.
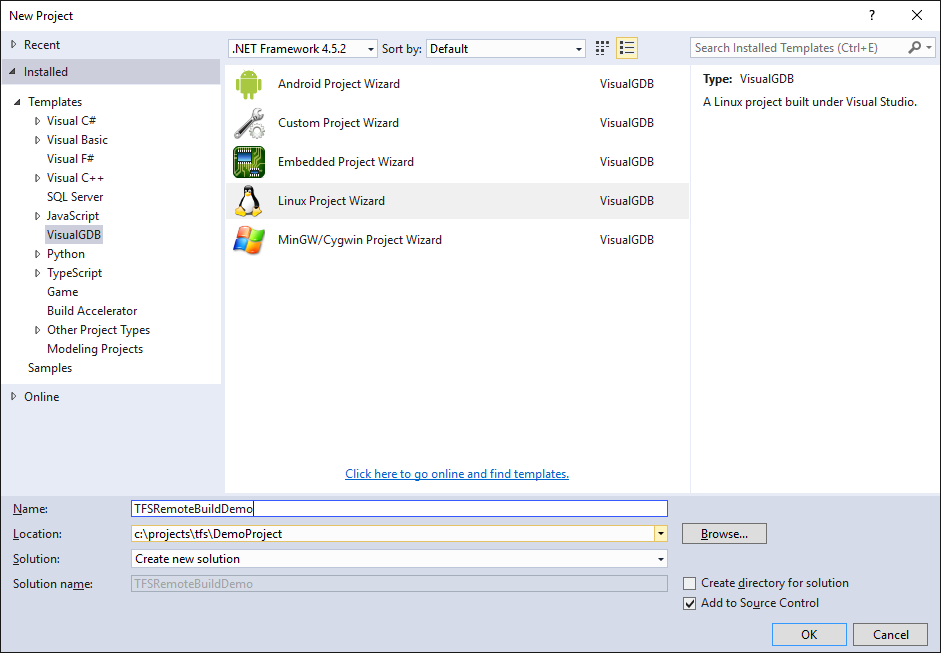
 - On the client begin creating a new VisualGDB project inside your TFS checkout directory (see this tutorial for details on setting up a TFS project and creating a local checkout):
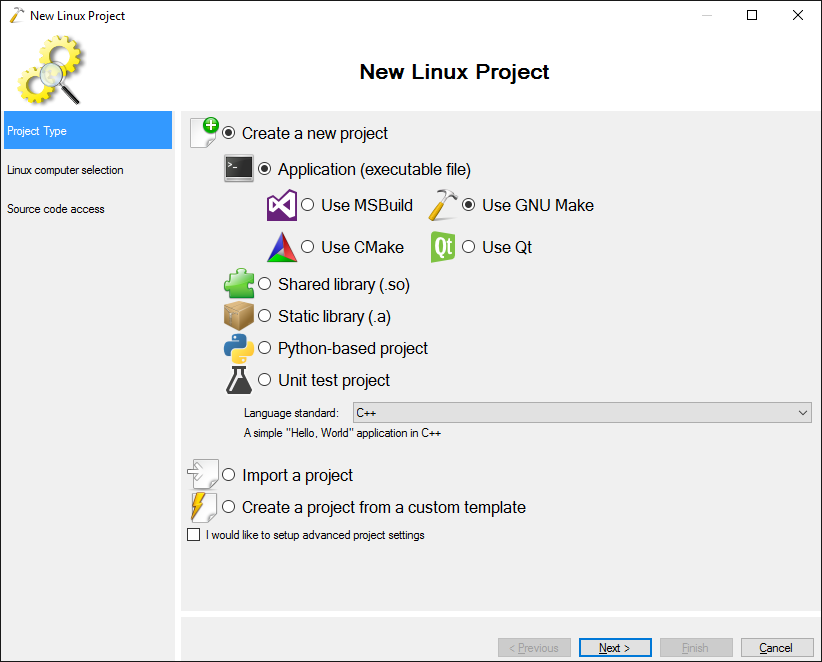
 The techniques shown in this tutorial will work for different project types, however we will use a basic Linux project do demonstrate it.
 - On the first page of the wizard select “Create a new project” and then pick a build system other than MSBuild. Using TFS with MSBuild would require installing Visual Studio on the build server and is described in the TFS MSBuild tutorial while this tutorial focuses on projects that can be built without Visual Studio:
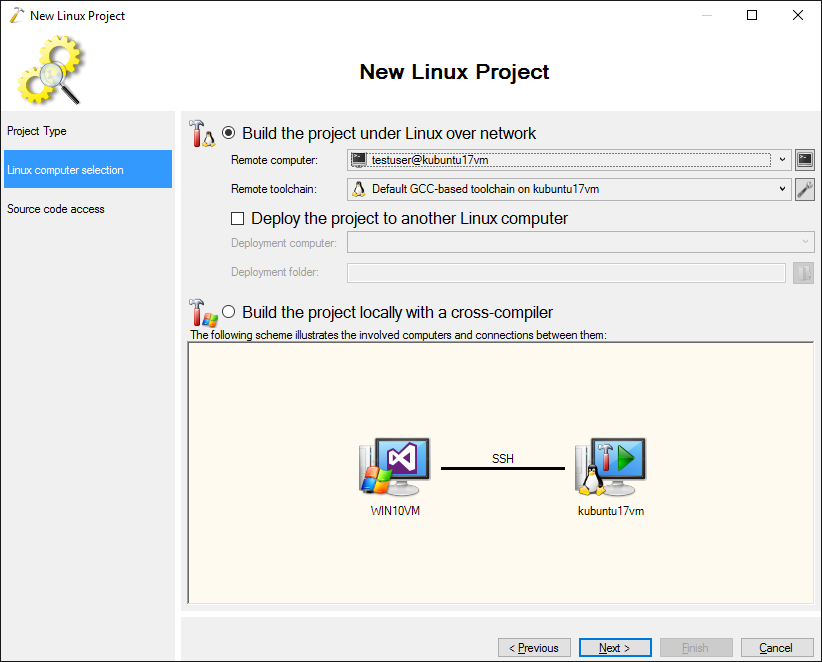
- On the next page select your computer and toolchain:
- Proceed with the default settings for uploading source files:
 If you want to avoid multiple users uploading source files to the same directory, you can use the $(USERNAME) macro in the ‘remote directory’ field.
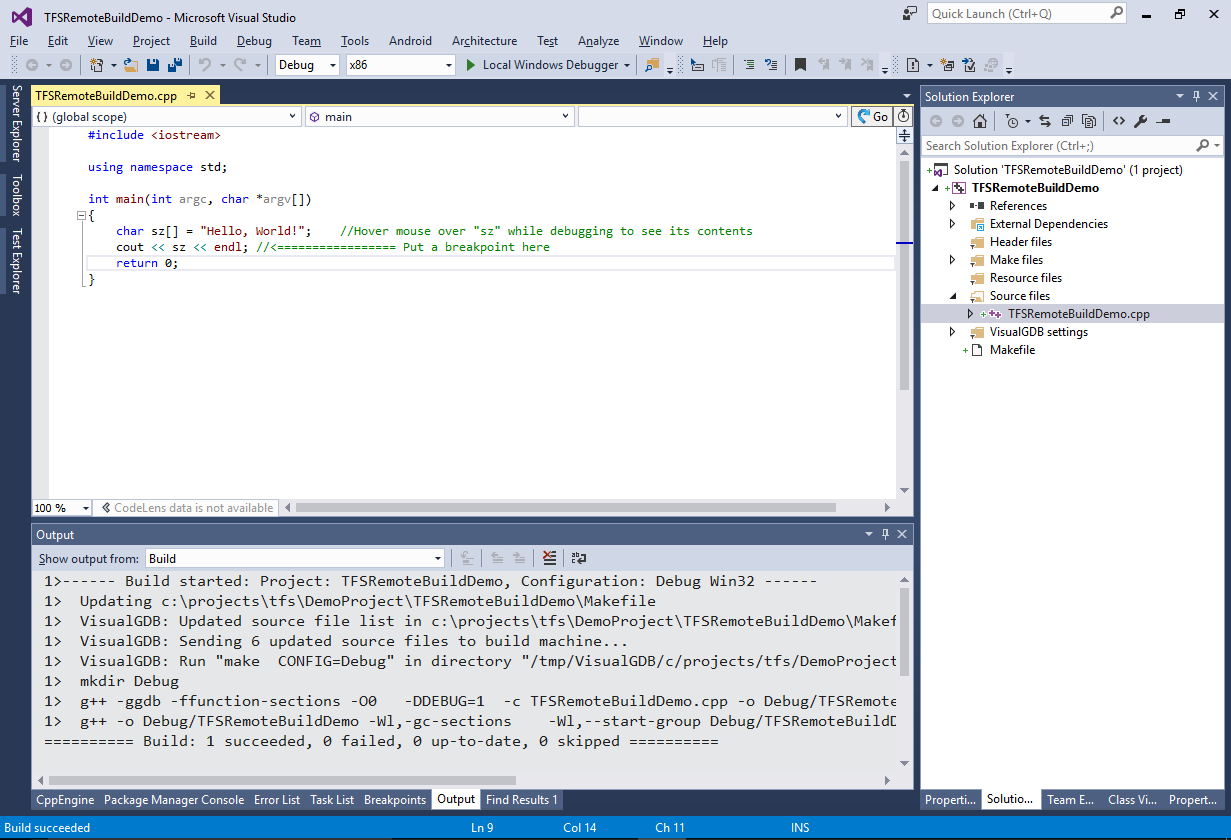
 - Press “Finish” to generate a project. Ensure that it builds by selecting Build->Build Solution:
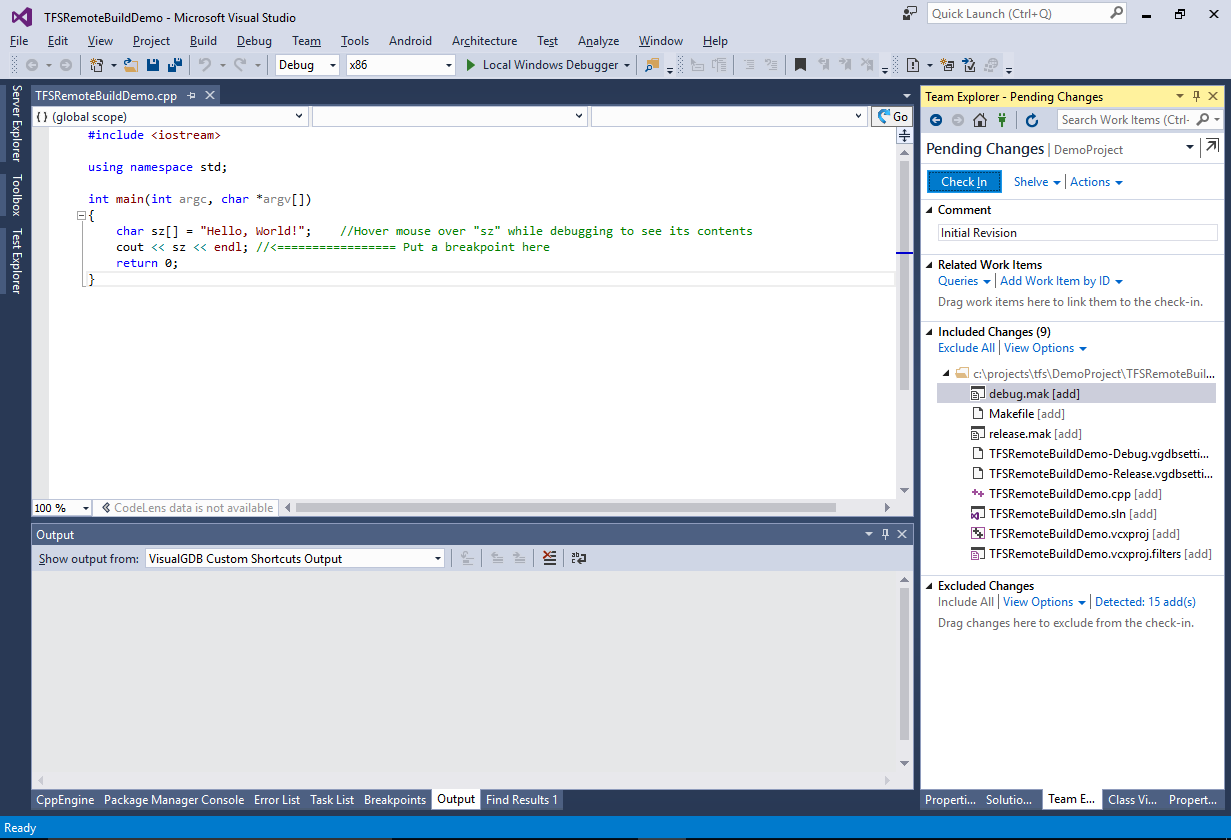
- Switch to the Team Explorer tab and select the “Pending Changes” view. Visual Studio will automatically show the relevant files from the VisualGDB project. Check them in by pressing “Check in”:
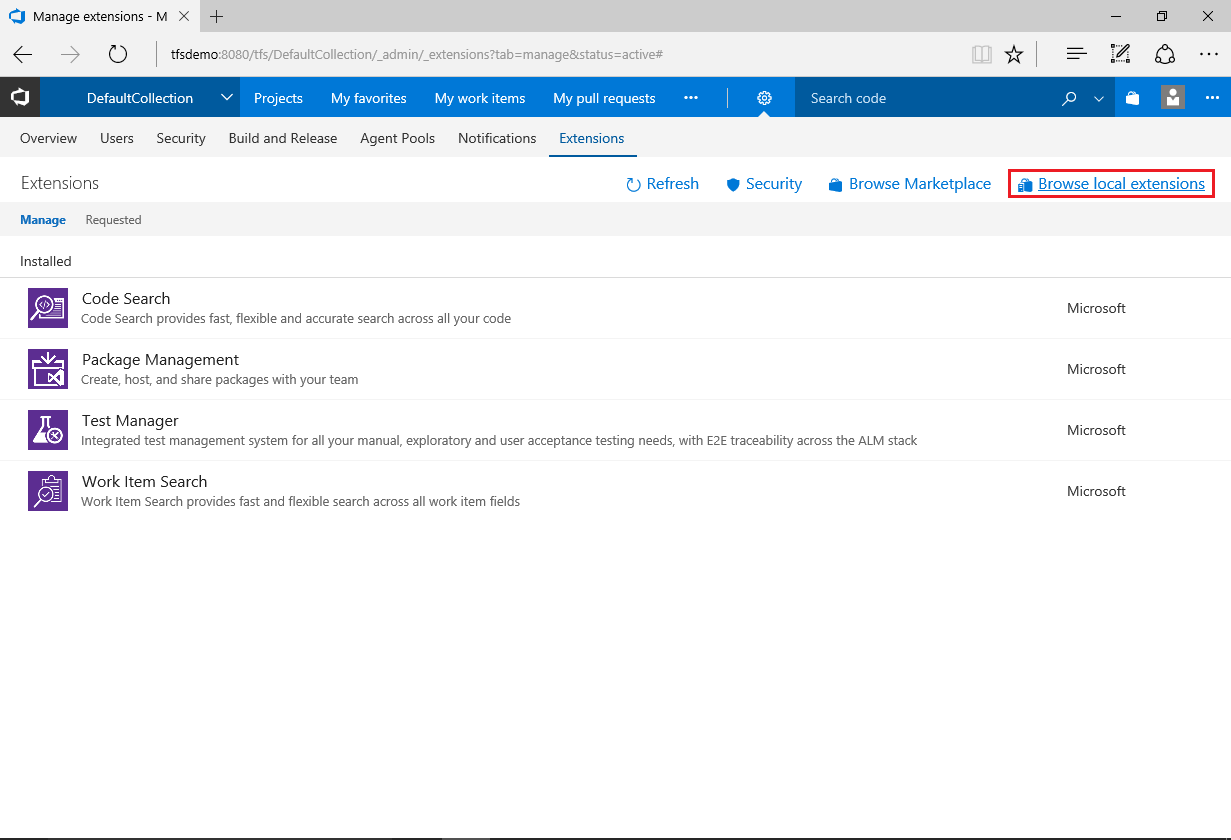
- Now we will show how to configure TFS to build the VisualGDB project without Visual Studio. This can be done by invoking VisualGDB.exe manually, however we also provide an open-source TFS extension that simplifies this process. Logon to your Team Foundation Server via a browser, click the shopping cart icon and select “Manage Extensions”. Then click “Browse Local Extensions”:
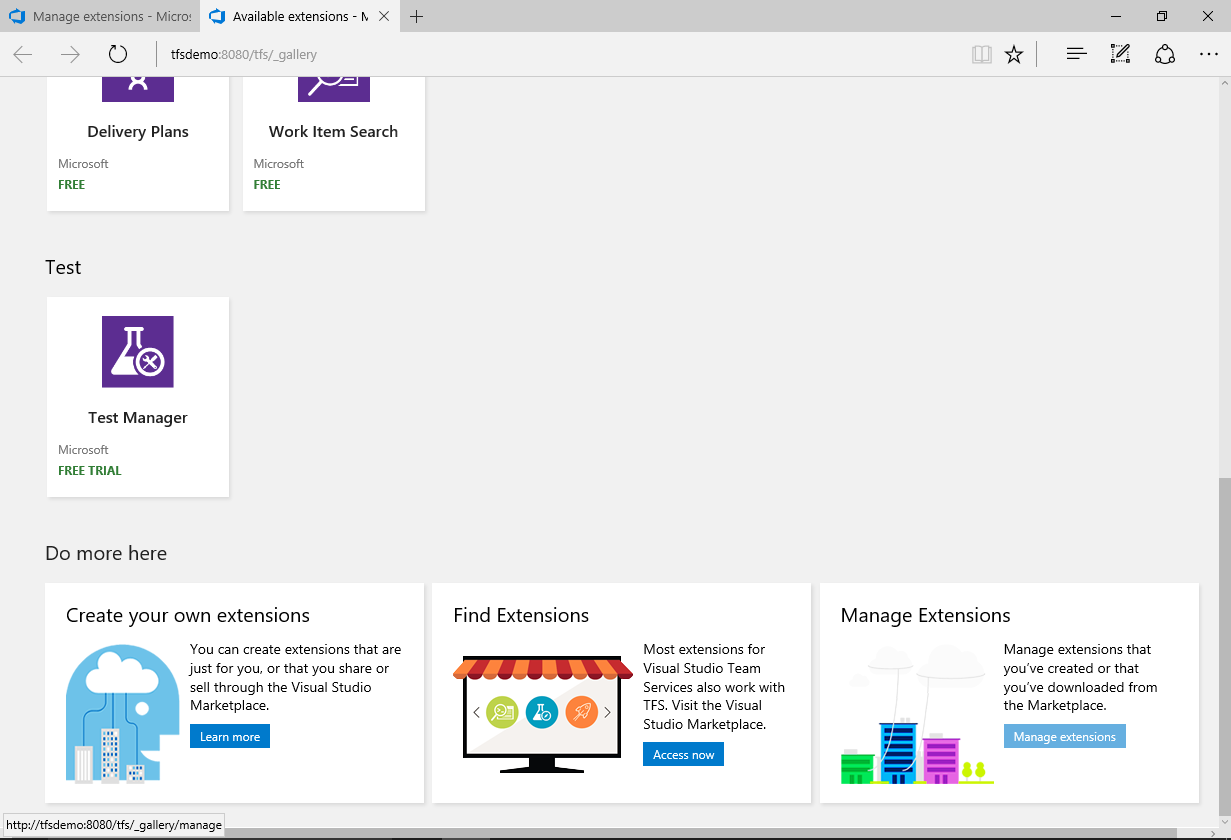
- Scroll to the bottom of the page and click “Manage Extensions”:
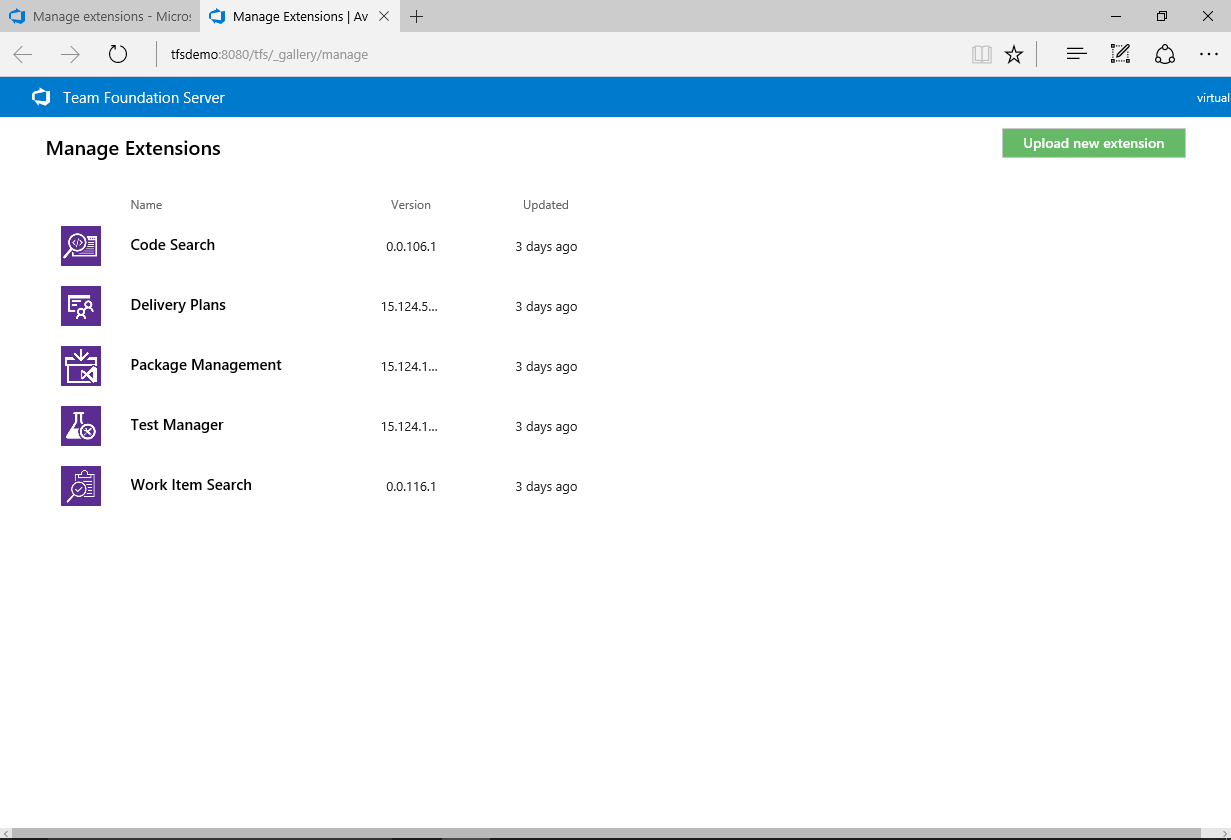
- Finally click “Upload a new extension”:
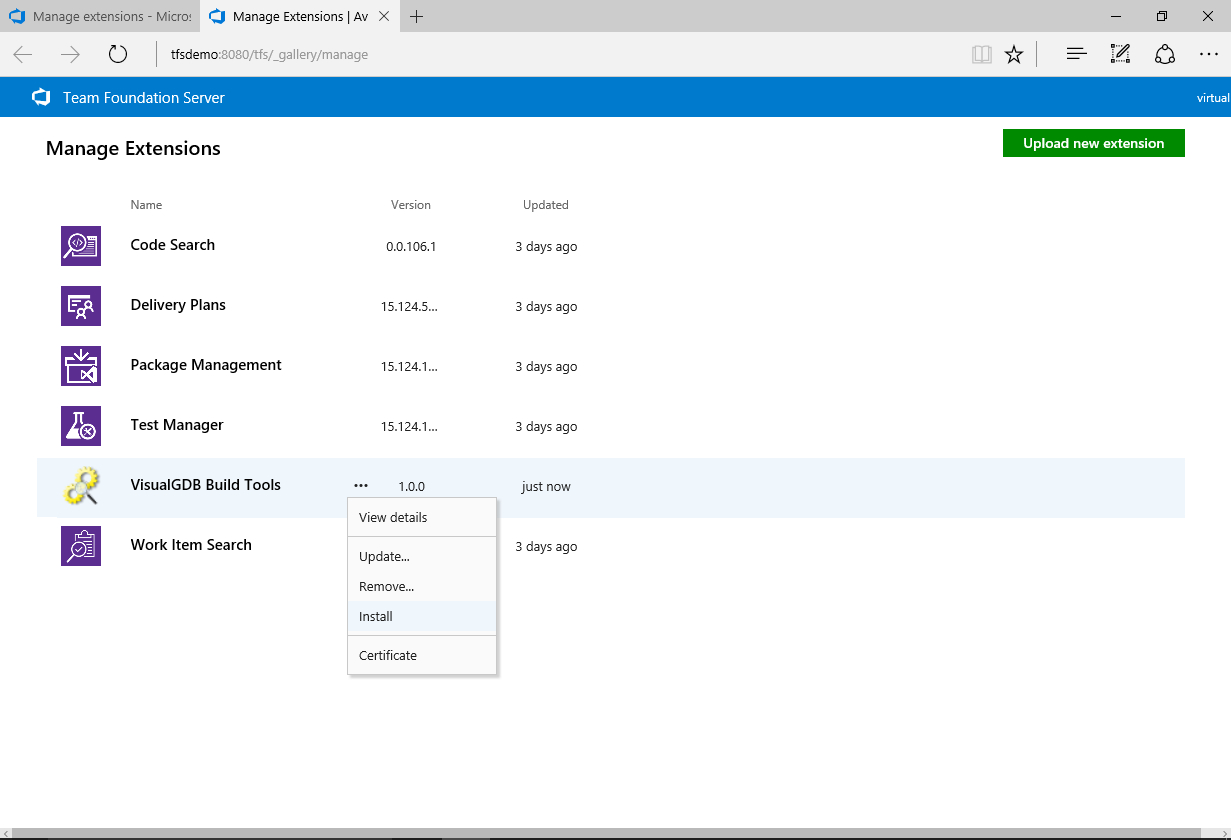
- Download the latest release of the VisualGDB build extension and point your TFS console to its location. Finally select it in the extension list and click “Install”:
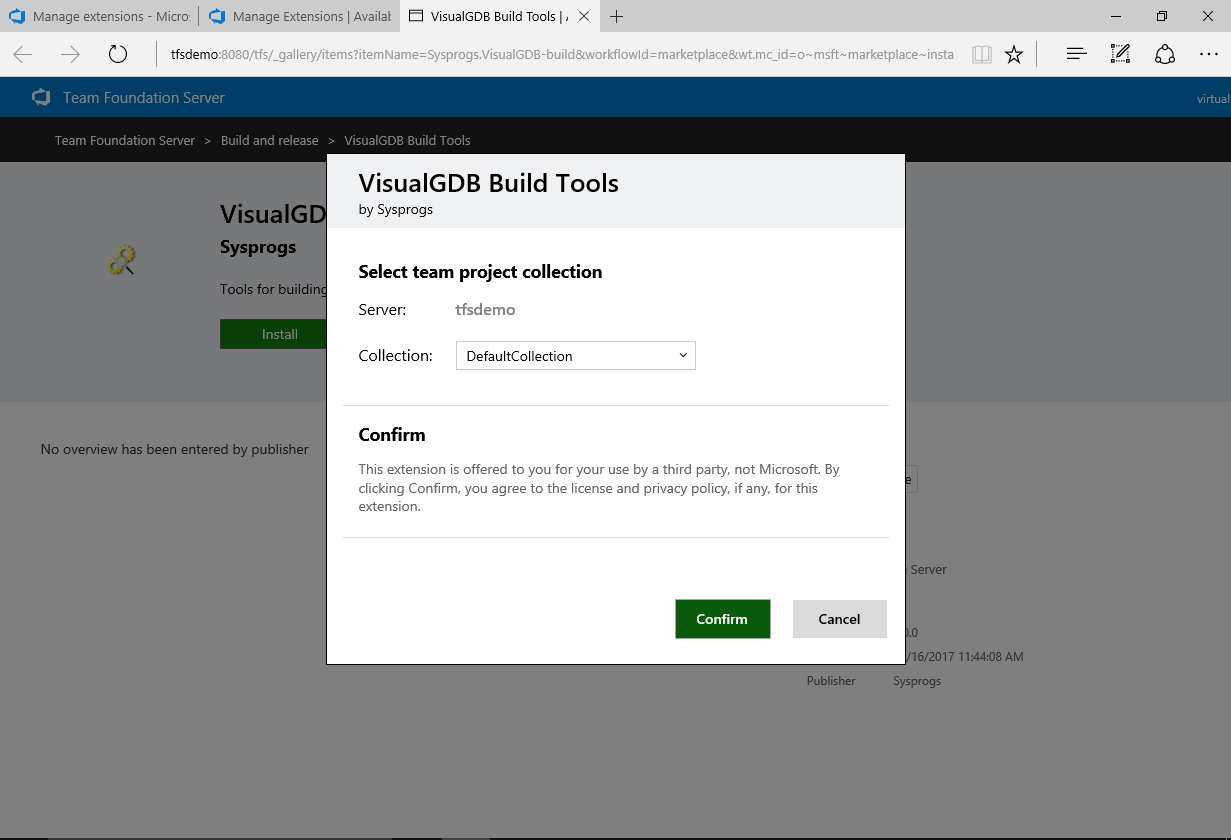
- Select your TFS collection in the installation confirmation dialog and click “Confirm”:
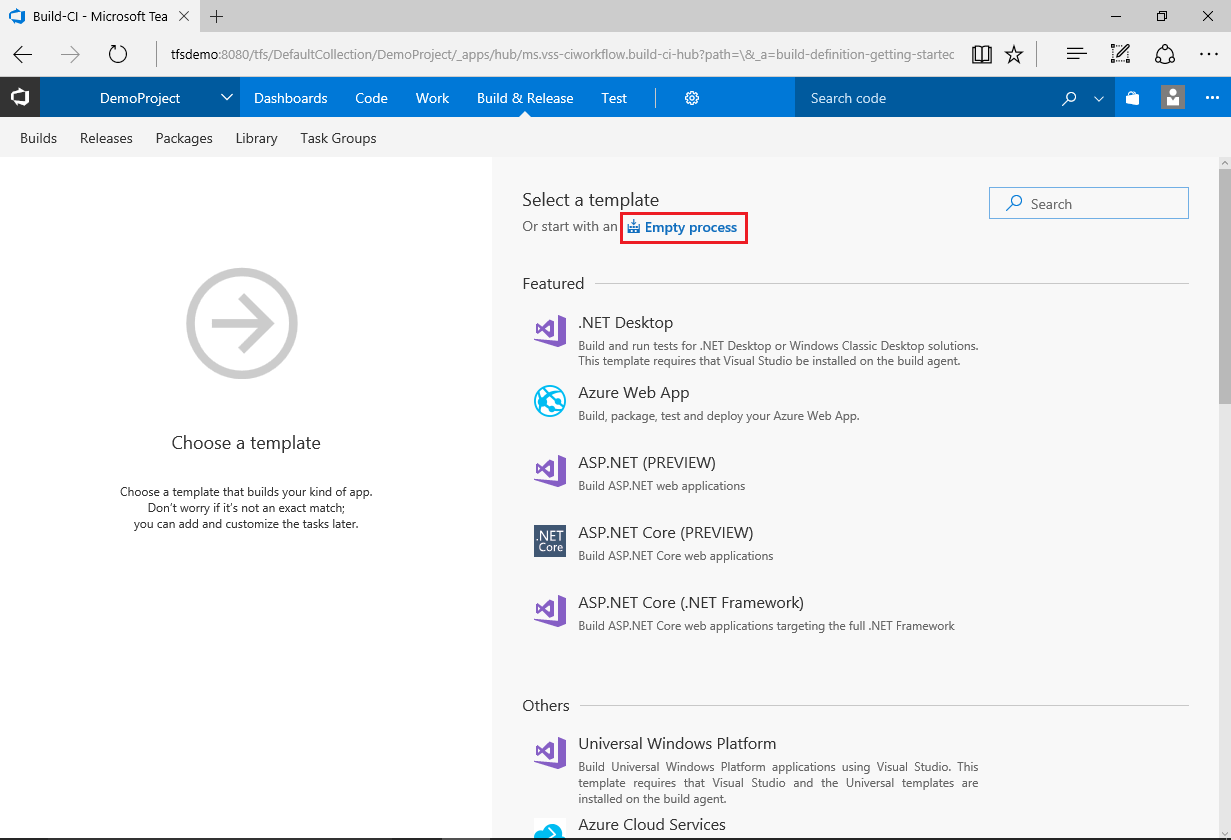
- Now you can create a new build using the VisualGDB extension. Go to the “Build & Release” tab in your TFS console and create a new build. Then click “start with -> Empty Process”:
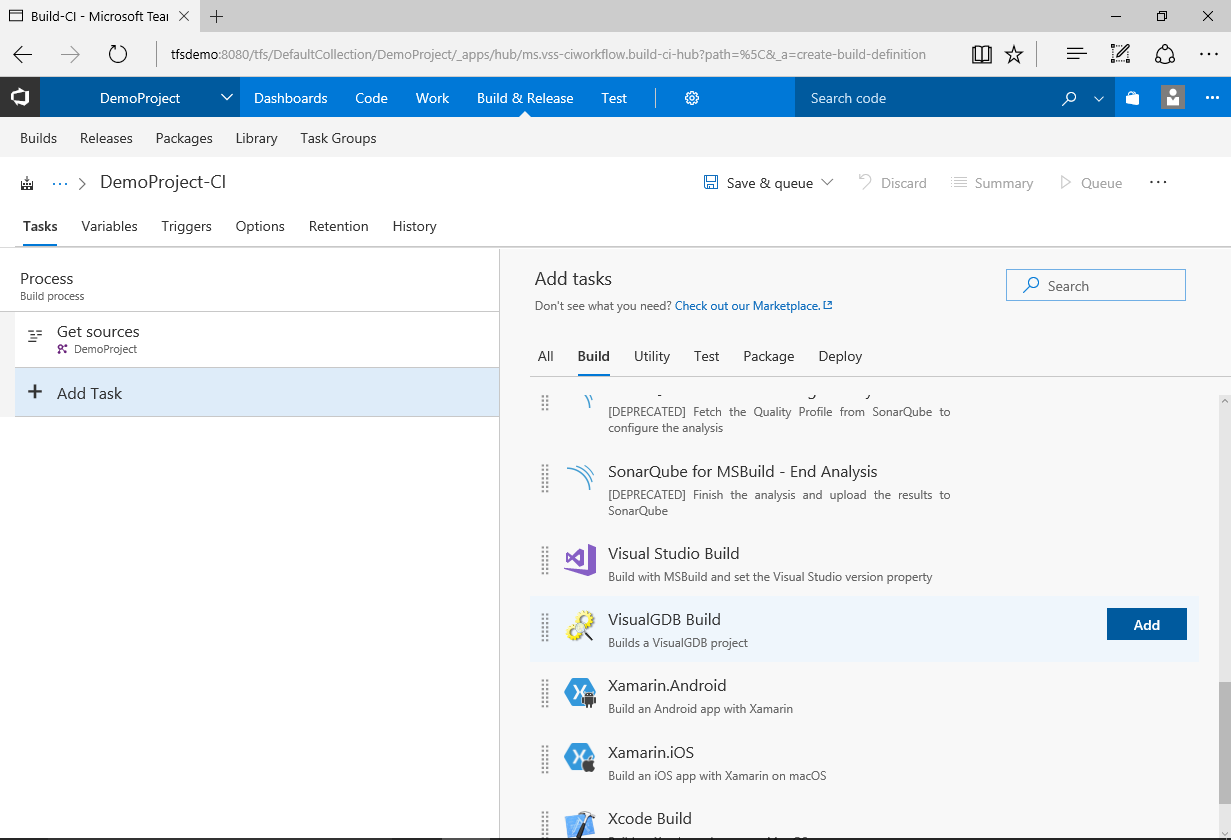
- Locate “VisualGDB Build” on the Build tab and click “Add”:
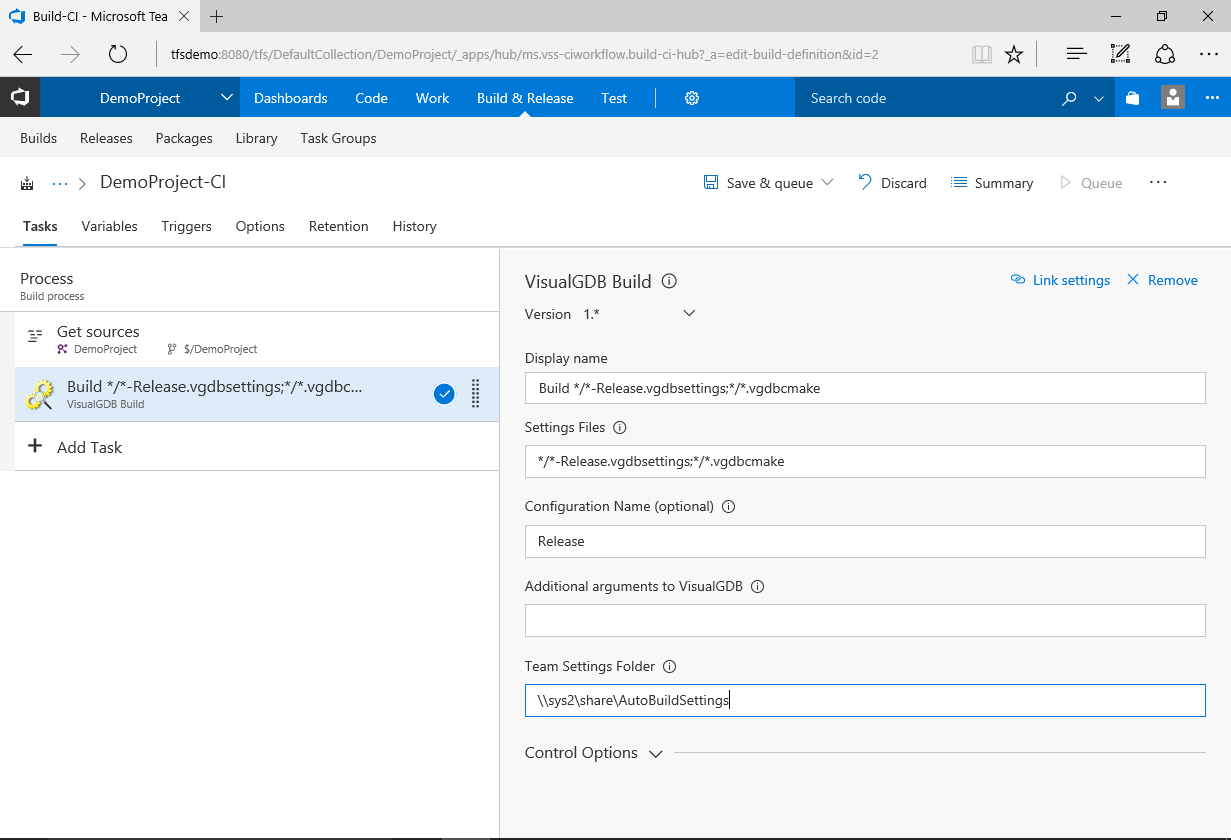
- In the VisualGDB build settings select the files inside your TFS project that should be built. VisualGDB stores its configuration in the .vgdbsettings files for most of the projects (one file per configuration) and in the .vgdbcmake files for projects using the Advanced CMake Project Subsystem (one file per project). The default settings will build all CMake projects and the release configurations of the non-CMake projects:
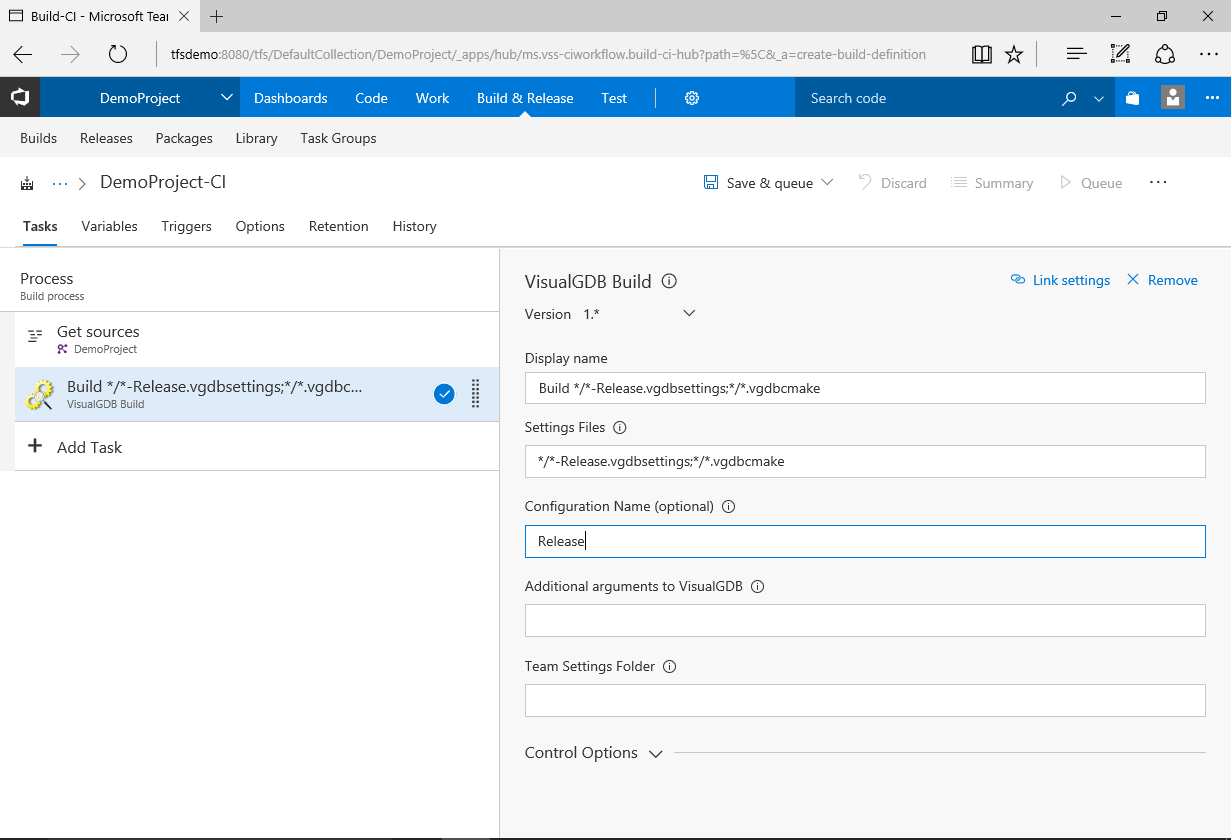 If you have any .vgdbcmake projects in your repository, set Configuration Name to “Release”.
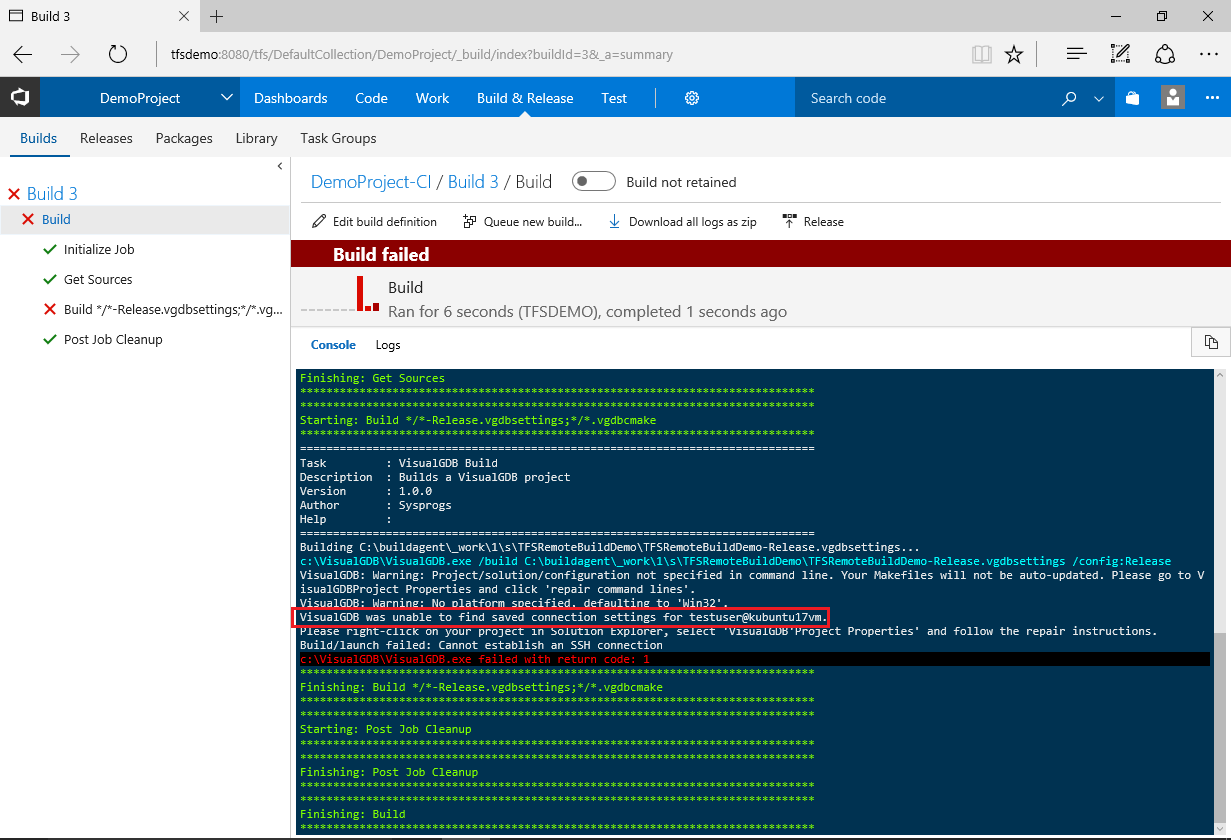
 - Try running the newly created build. The VisualGDB build extension will automatically locate VisualGDB.exe via the %VISUALGDB_DIR% variable, but the build will fail because the connection settings for Linux machines are stored on each developer machine separately and the build server does not have an entry yet:
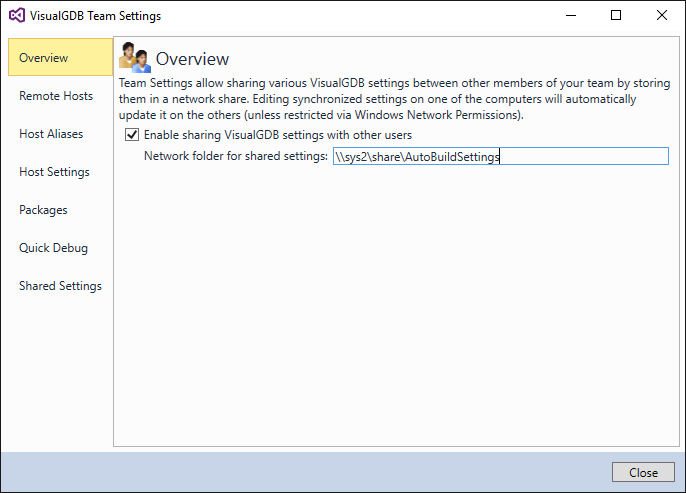
- The easiest way to transfer the Linux machine settings to the build server is using the Team Settings mechanism (requires Custom edition or higher). On the client machine select Tools->VisualGDB->Manage Team Settings:

- Select a directory accessible from both client and server where you would like to store the shared settings (e.g. a shared folder on either machine):
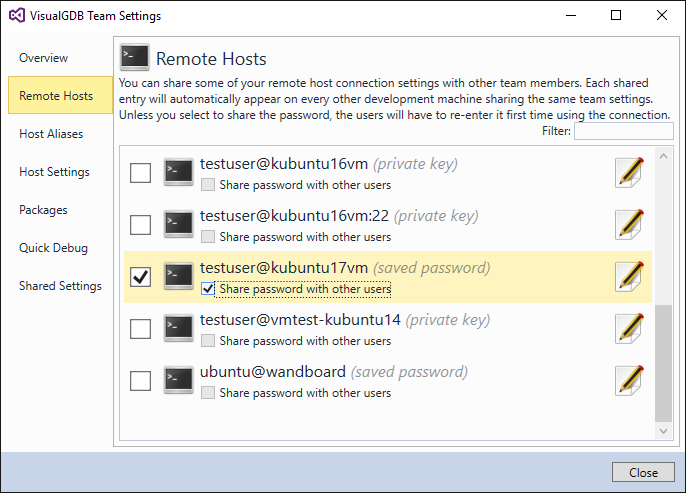
- Then go to the “Remote Hosts” page and share the settings for the Linux machine used in build. Check the “shared password with other users” checkbox as otherwise VisualGDB will ask for the password on first build:
- Go back to the TFS build settings and specify the shared folder with the team settings in the “Team Settings Folder” field:
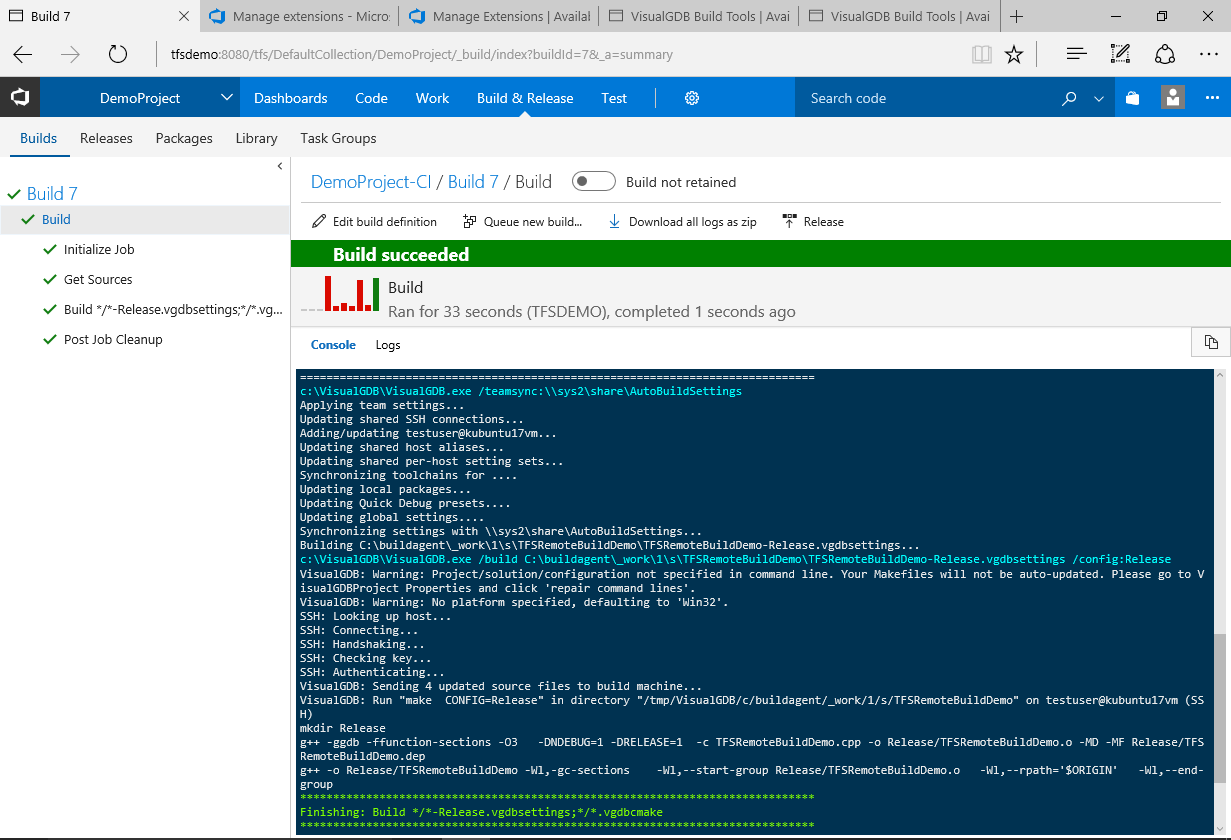
- Now you can simply queue the build again and it will succeed:
 Each time you use a new Linux machine (or a different toolchain), simply share it via the Team Settings window and VisualGDB will automatically configure it on the build machine without any further manual setup.