Customizing your projects with custom steps
This tutorial shows how to extend a simple Linux project with custom actions. For this we make a program that outputs into a file and we download this file on each program run into the Windows machine. Adding custom actions works for all project types since VisualGDB 4.0.
Before we begin, ensure that VisualGDB 4.0 or later is installed.
- Follow the Linux tutorial to make a simple program. We used the name CustomizedLinuxProject for the project name.
- Exchange the contents of the main source file with the following:
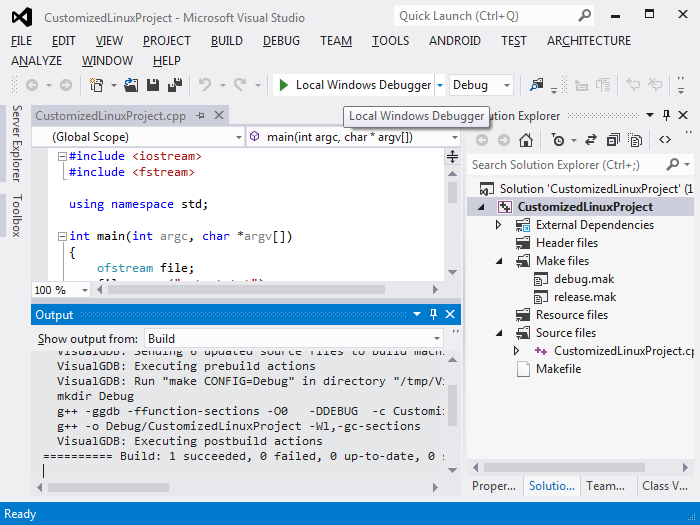
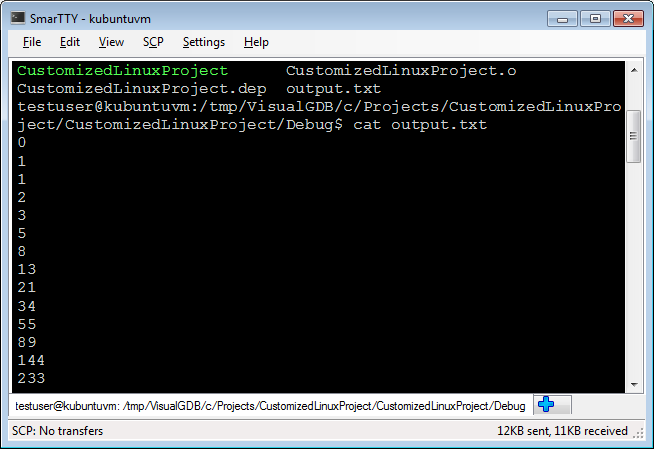
#include <iostream>
#include <fstream>

using namespace std;

int main(int argc, char *argv[])
{
    ofstream file;
    file.open ("output.txt");

    // Fibonacci sequence
    unsigned long long fn_1 = 1;
    unsigned long long fn_2 = 0;
    unsigned long long fn = 0;
    for(int i=0;i<80;i++)
    {
        file << fn << "\r\n";
        fn_2=fn_1;
        fn_1=fn;
        fn=fn_1+fn_2;
    }

    file.close();
    return 0;
}
This new code generates the first 80 numbers of the Fibonacci sequence and saves it to a file called output.txt.
- Build and run the project.
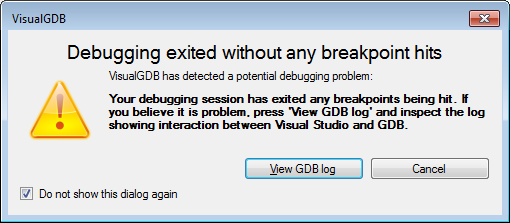
- As we did not set any breakpoints, the GDB log message appears. You can choose to not be shown this dialog again, you can change this option later on from Tools->Options.
- Go to Tools->SSH Host Manager. Open the console.
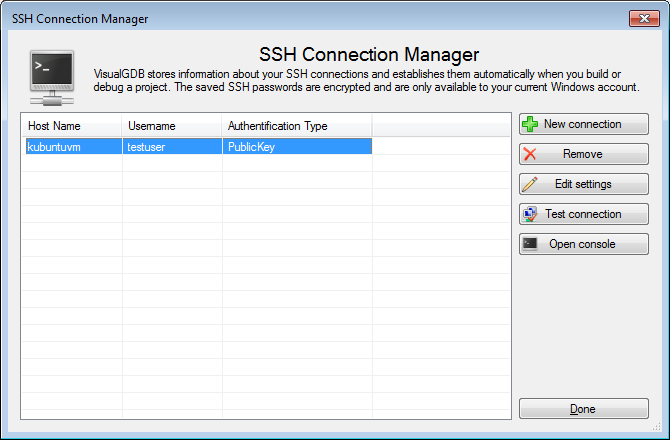
- Open the console to the remote machine. Go to the source stored on the remote machine. In our case the source is in the tmp directory under VisualGDB. Locate the output.txt file there and open it for viewing inside the console.
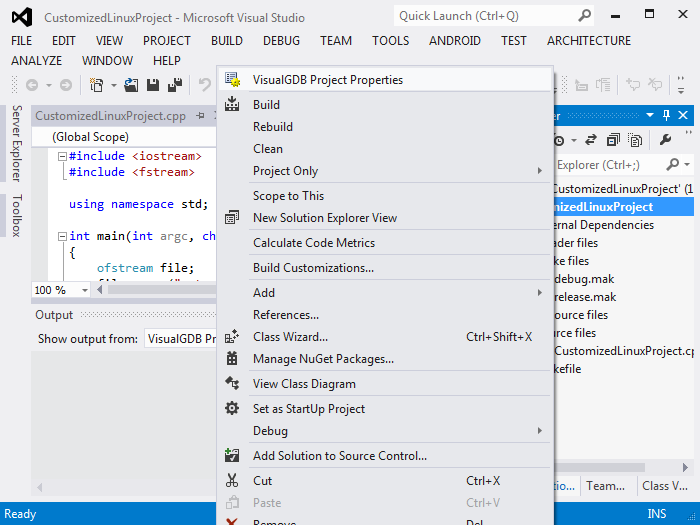
- Our next step is to add a custom debug action to bring this output.txt file for local viewing. For this right-click on the project and select VisualGDB Project Properties.
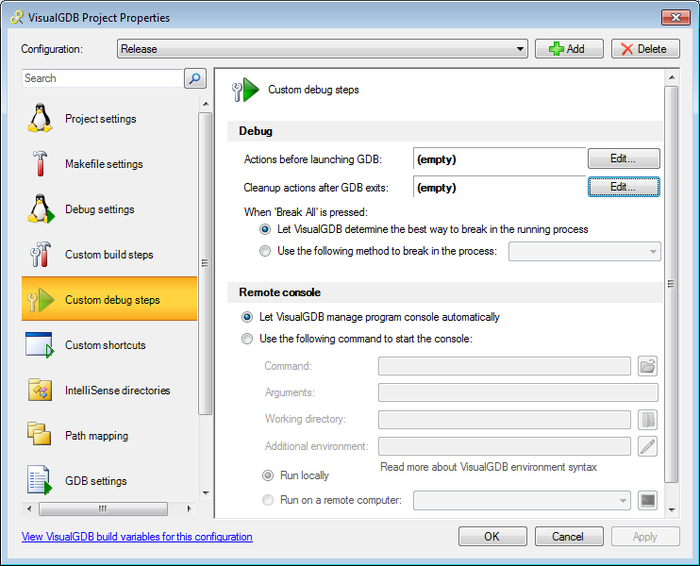
- Open the custom debug steps page. Edit the “Cleanup actions after GDB exits”.
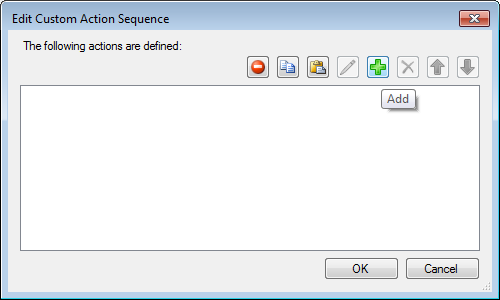
- Click on the plus button to add an action.
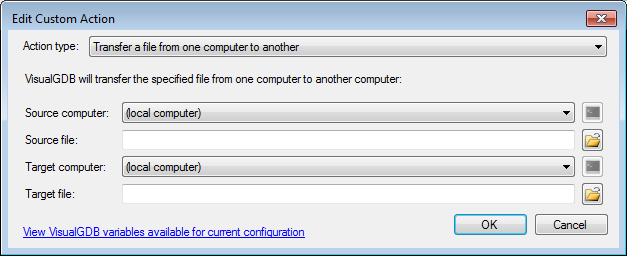
- Choose the transfer action as the type.

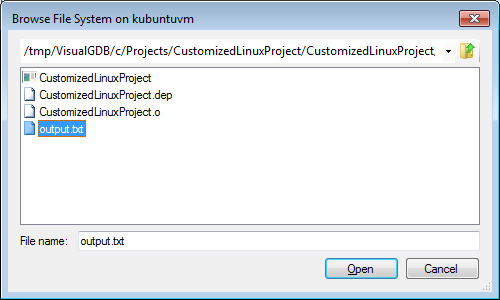
- Browse for the output.txt file on the remote machine as the source file.
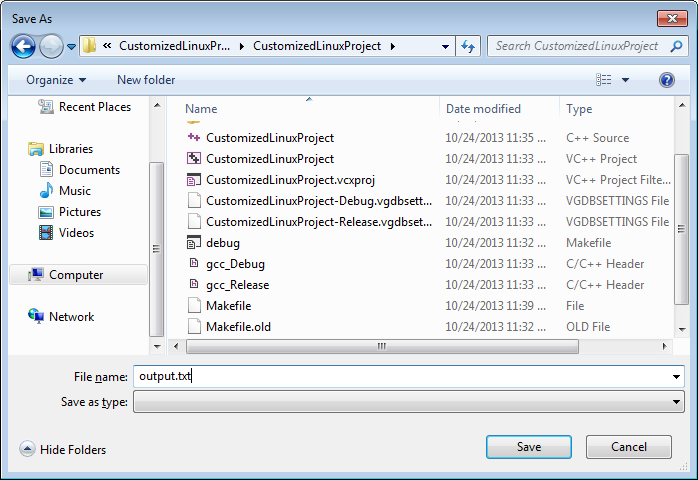
- Save the file locally to the project directory.
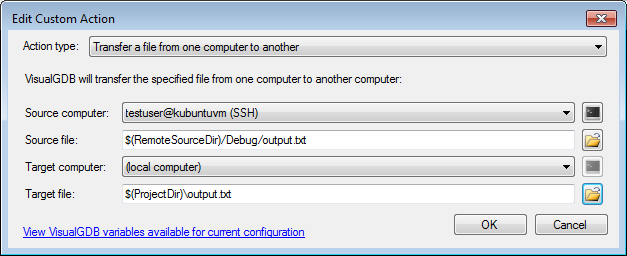
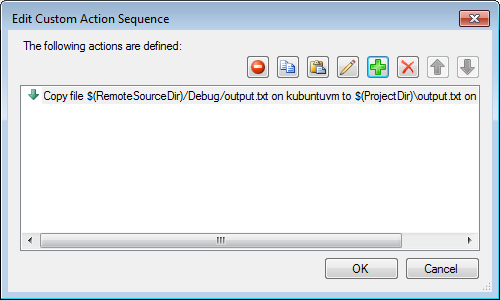
- The ready command looks as follows. Click on OK.
- Click OK in the dialogs and run the project again.
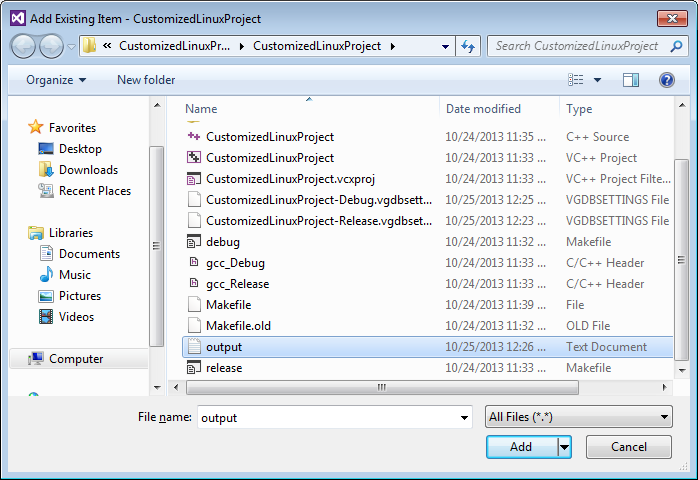
- Right click on the project and select Add->Existing Item. Browse to the local project directory and add the output.txt file.
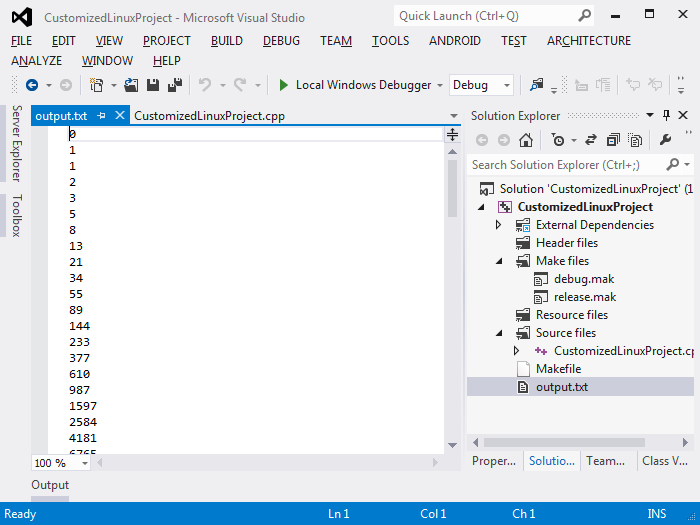
- Open the output.txt file.
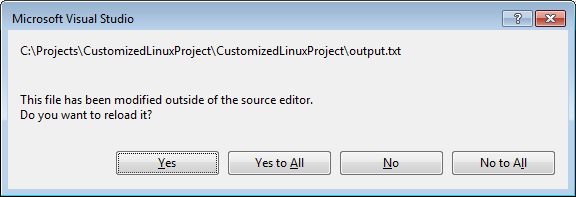
- Run the app again. As the file was open, Visual Studio will now prompt to reopen the file which can be handy with quickly changing output files.