Importing CMake Projects using Presets
This tutorial shows how to import preset-based CMake projects into VisualGDB so that they can be developed in multiple IDEs simultaneously. We will create a basic C++ project for Raspberry Pi using CMake Presets, build it with VS code, and then import it into VisualGDB, showing how preset changes made in one IDE will immediately affect the other one.
Before you begin, install VisualGDB 6.0R2 or later, our Raspberry Pi toolchain and create a new folder with the following files:
CMakeLists.txt
cmake_minimum_required(VERSION 3.5) project(CMakePresetDemo) add_executable(CMakePresetDemo CMakePresetDemo.cpp) |
CMakePresetDemo.cpp
#include <iostream> int main(int argc, char *argv[]) { std::cout << "Hello, World!" << std::endl; return 0; } |
CMakePresets.json
{
    "version": 4,
    "configurePresets": [
        {
            "name": "RaspberryPi",
            "cacheVariables": {
                "CMAKE_SYSTEM_NAME": "Linux",
                "VISUALGDB_TOOLCHAIN_TYPE": "Linux",
                "VISUALGDB_TOOLCHAIN_SUBTYPE": "GCC",
                "CMAKE_C_COMPILER": "$env{TOOLCHAIN_ROOT}/bin/arm-linux-gnueabihf-gcc.exe",
                "CMAKE_BUILD_TYPE": "Debug",
                "CMAKE_SYSROOT": "$env{TOOLCHAIN_ROOT}/arm-linux-gnueabihf/sysroot",
                "CMAKE_MAKE_PROGRAM": "$penv{VISUALGDB_DIR}/ninja.exe"
            },
            "environment": {
                "TOOLCHAIN_ROOT": "C:/SysGCC/raspberry",
                "PATH": "C:/SysGCC/raspberry/bin;$penv{PATH}"
            },
            "binaryDir": "${sourceDir}/build/${presetName}",
            "generator": "Ninja"
        }
    ]
} |
Note how the CMakeLists.txt file specifies the project structure (application consisting of 1 C++ file), but the actual toolchain and the location of various tools (e.g. Ninja) comes from the preset file.
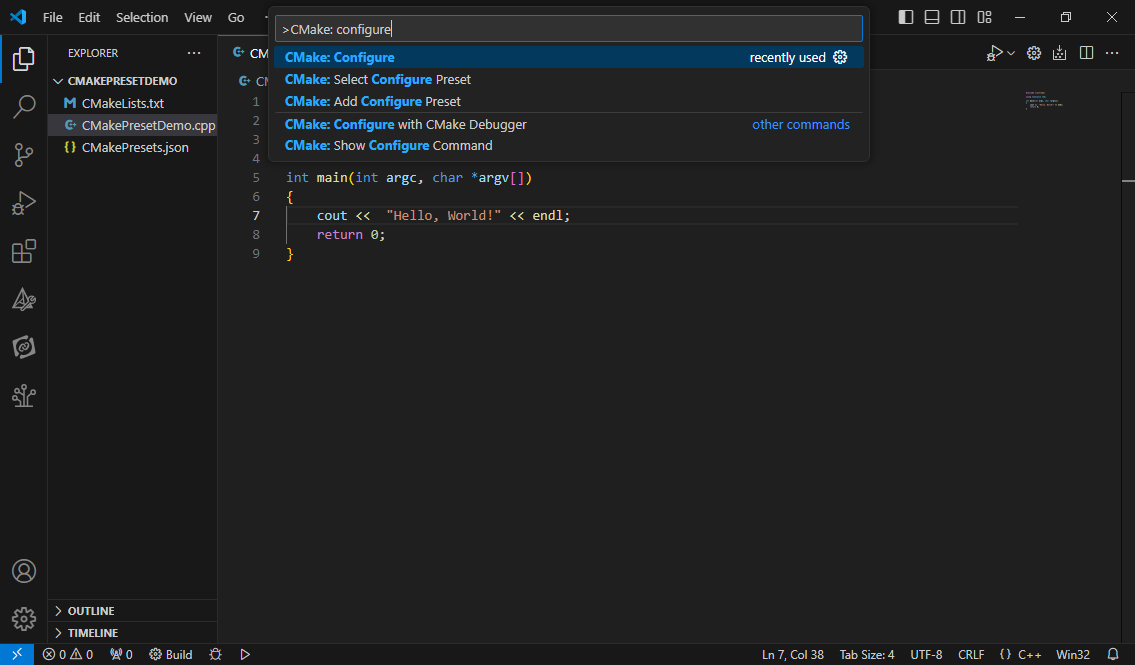
- Open the project folder in Visual Studio Code. Press Ctrl-Shift-P and locate the “CMake:Configure” command:
- Pick the RaspberryPi preset:

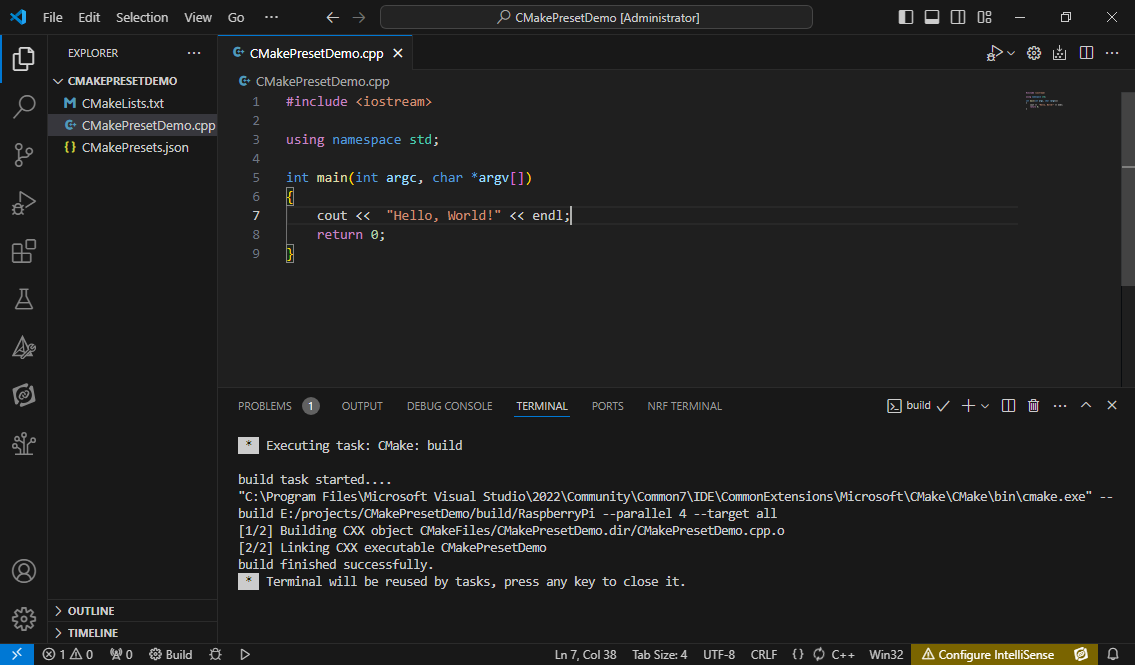
- VS Code will automatically configure the project based on the preset file, and will allow building it:
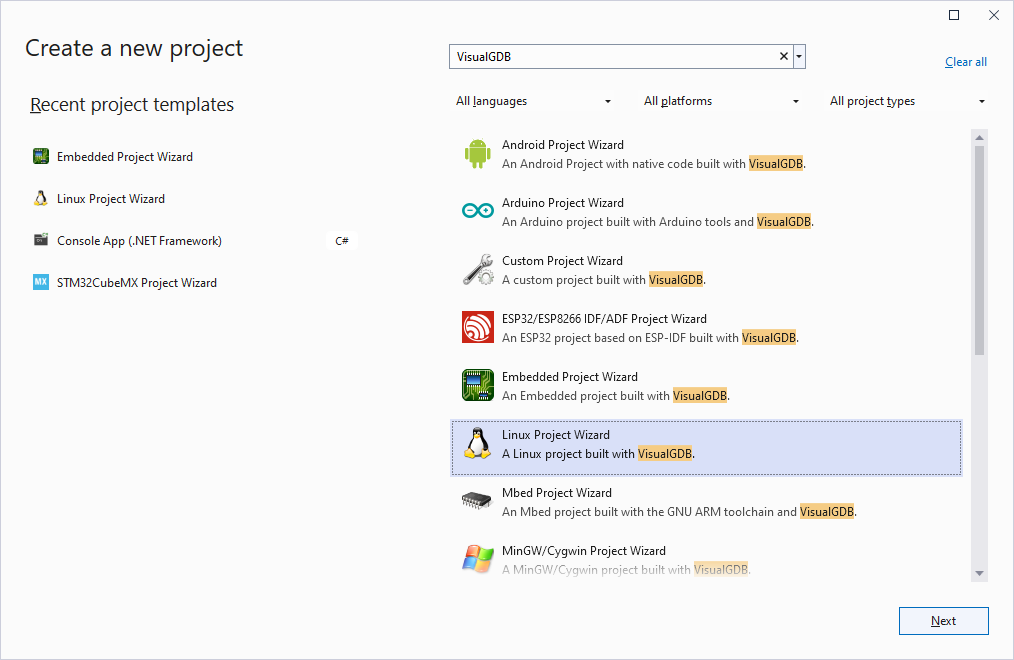
- Now we will show how to import that project into VisualGDB reusing the same preset file. Start Visual Studio and locate the VisualGDB Linux Project Wizard:
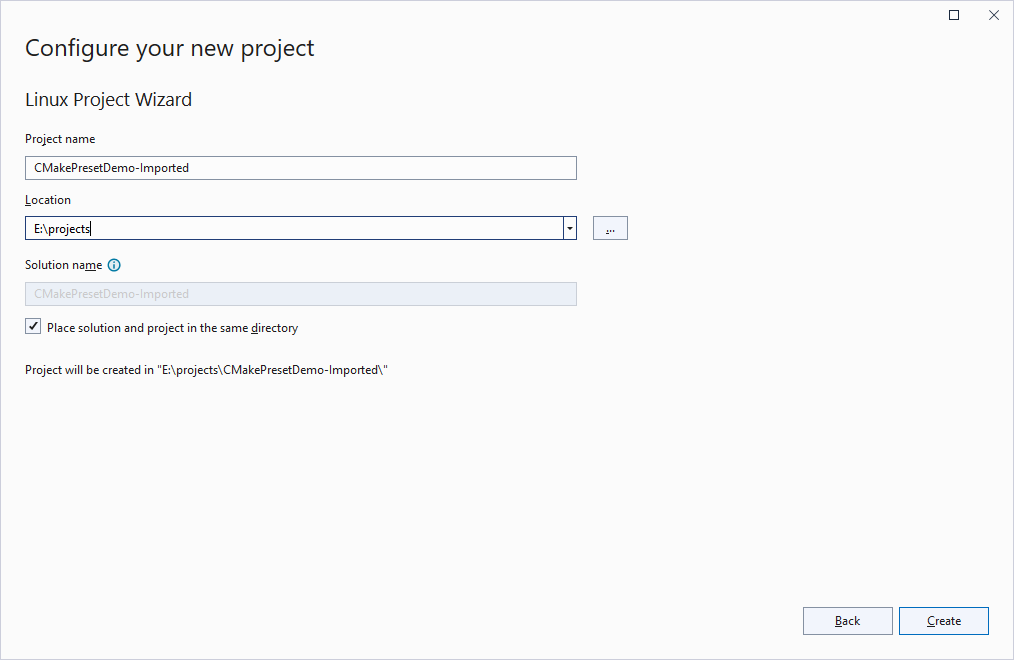
- Enter the name and location for the imported project file:
 Note that the actual build settings are stored in the preset file shared with VS code. The imported project file will only contain the debug settings.
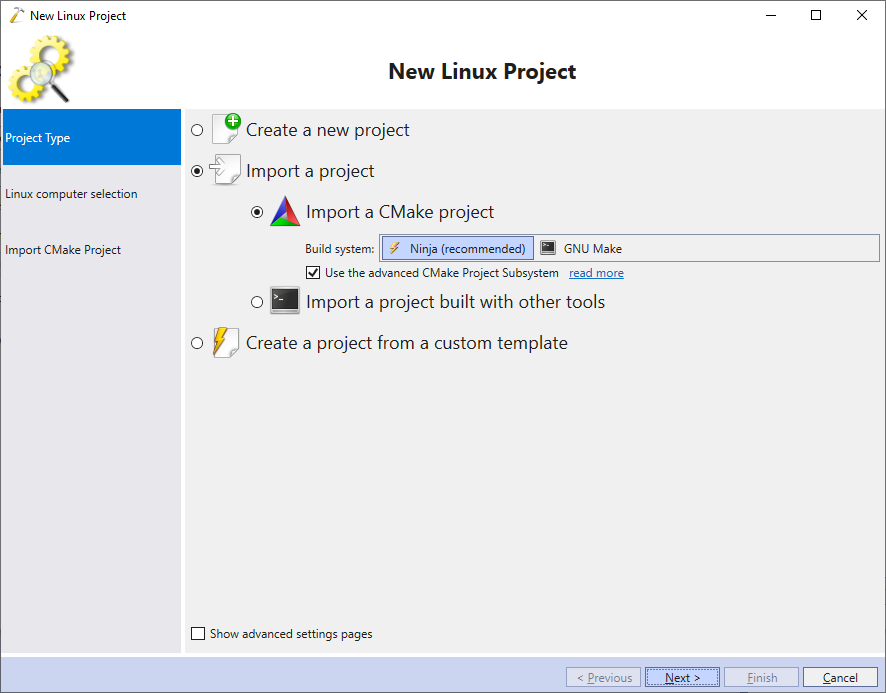
 - On the first page of the wizard, select Import a project -> Import a CMake Project:
- Select”Build the project locally with a cross-compiler” and pick the Raspberry Pi toolchain:
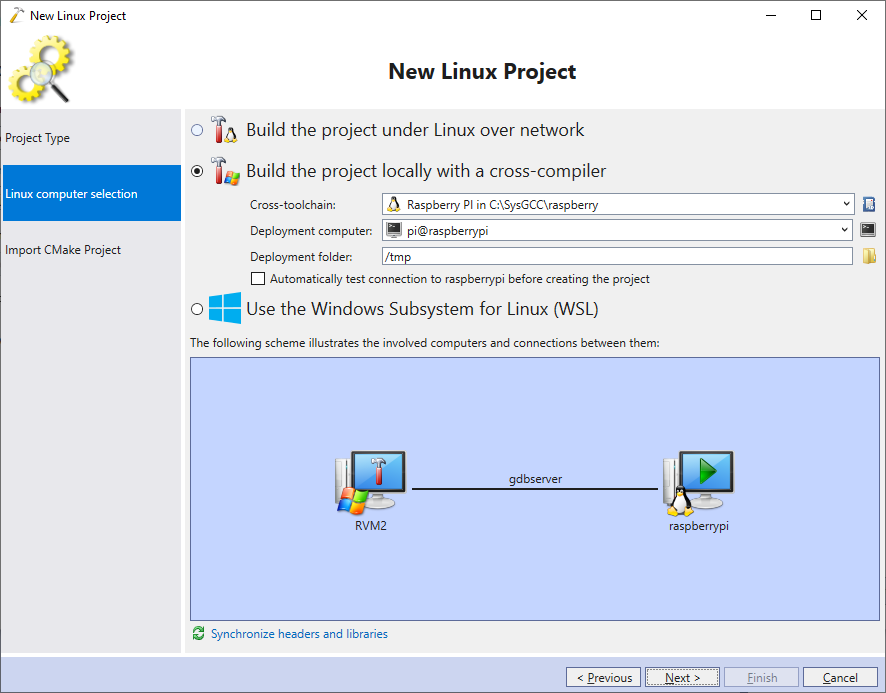 The toolchain selected in the wizard will be only used to locate the GDB debugger. Actual build settings and IntelliSense configuration will come from the preset file. If you do not want to import your actual toolchain into VisualGDB, you can pick any toolchain here and simply override the GDB path via VisualGDB Project Properties later.
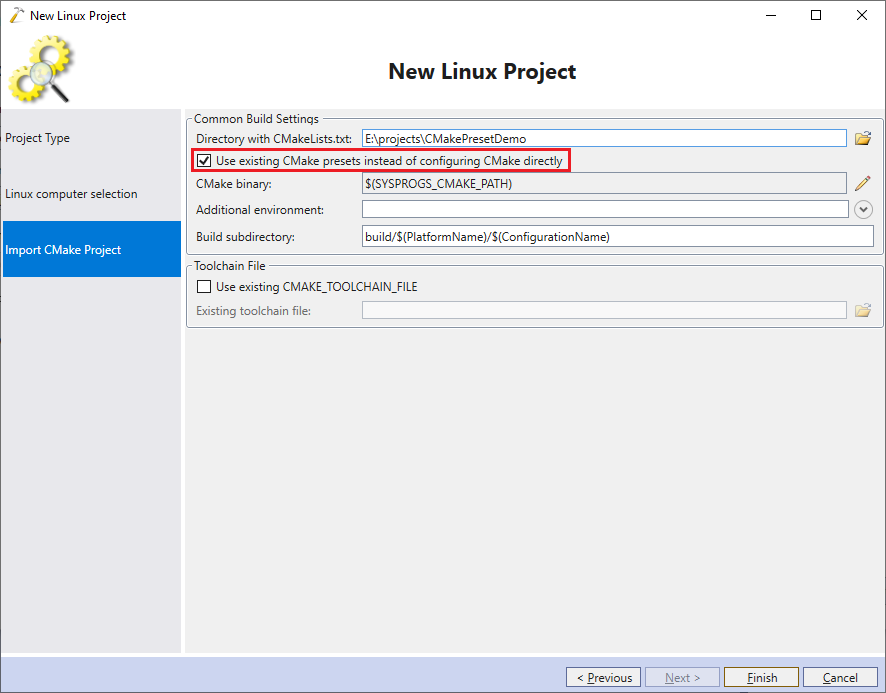
 - On the last page of the wizard select the location of the CMakeLists.txt file and ensure that the “Use existing presets” checkbox is checked:
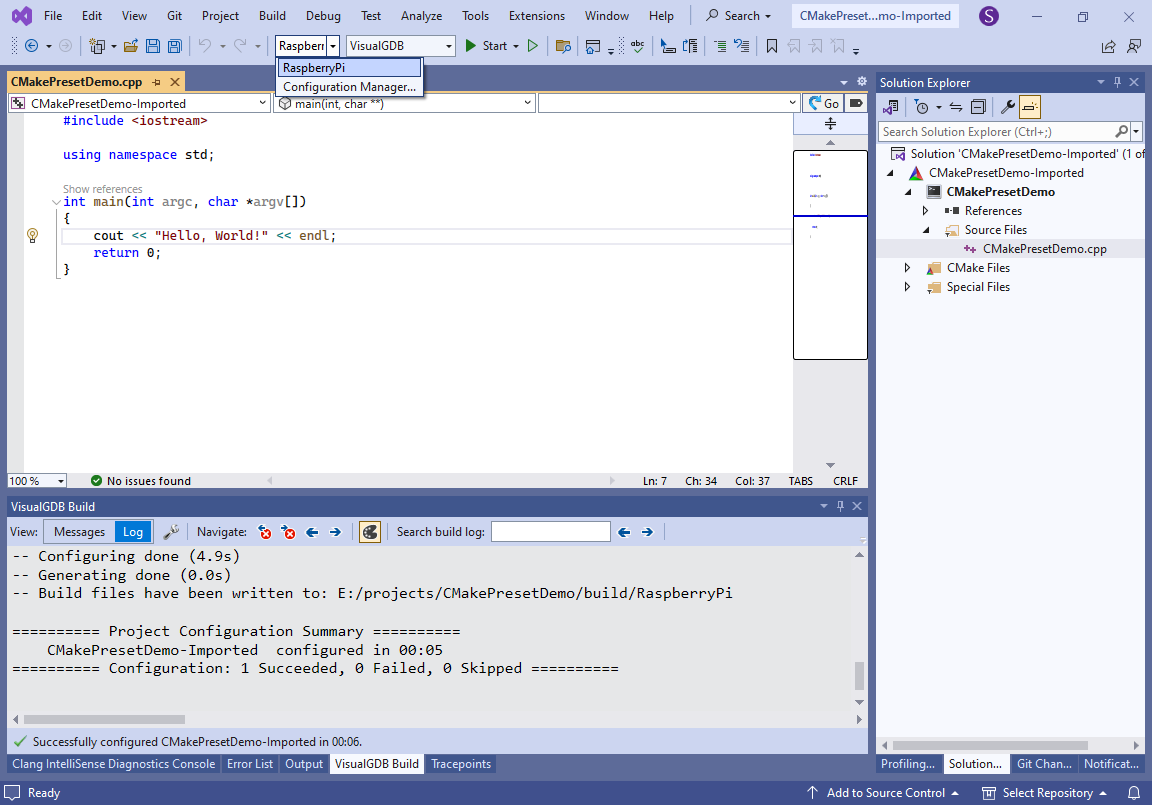
- Press “Finish” to import the project into Visual Studio. Note how the RaspberryPi preset got translated into a Solution-level configuration:
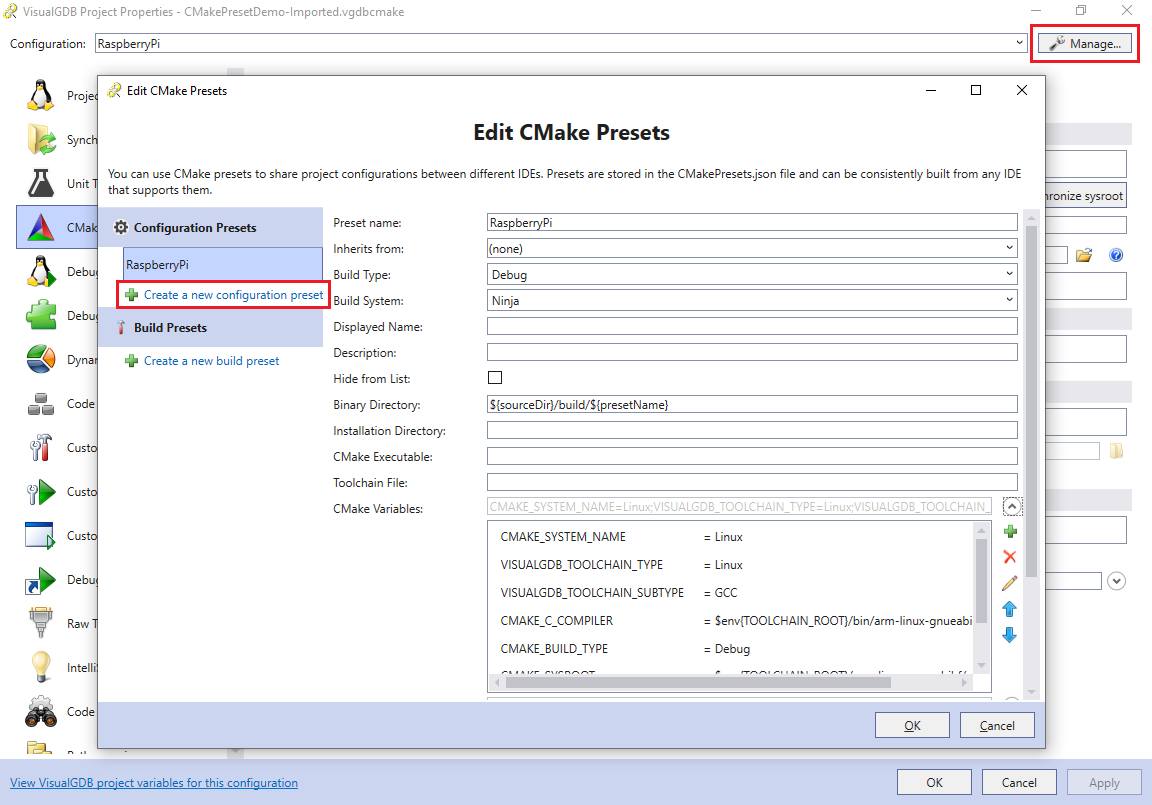
- Open VisualGDB Project Properties and click the “Manage” button near the configuration selector. In the preset editor click “Create a new configuration preset”:
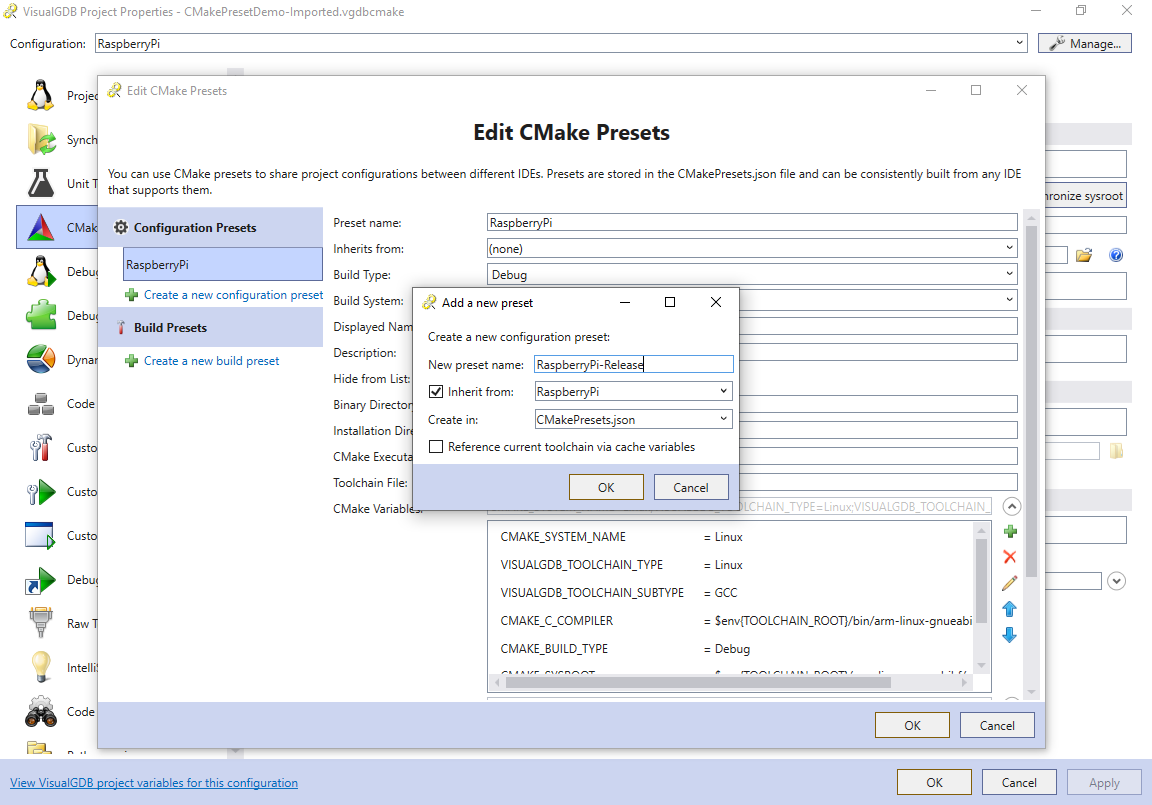
- Create a new preset called RaspberryPi-Release inheriting the regular RaspberryPi preset:
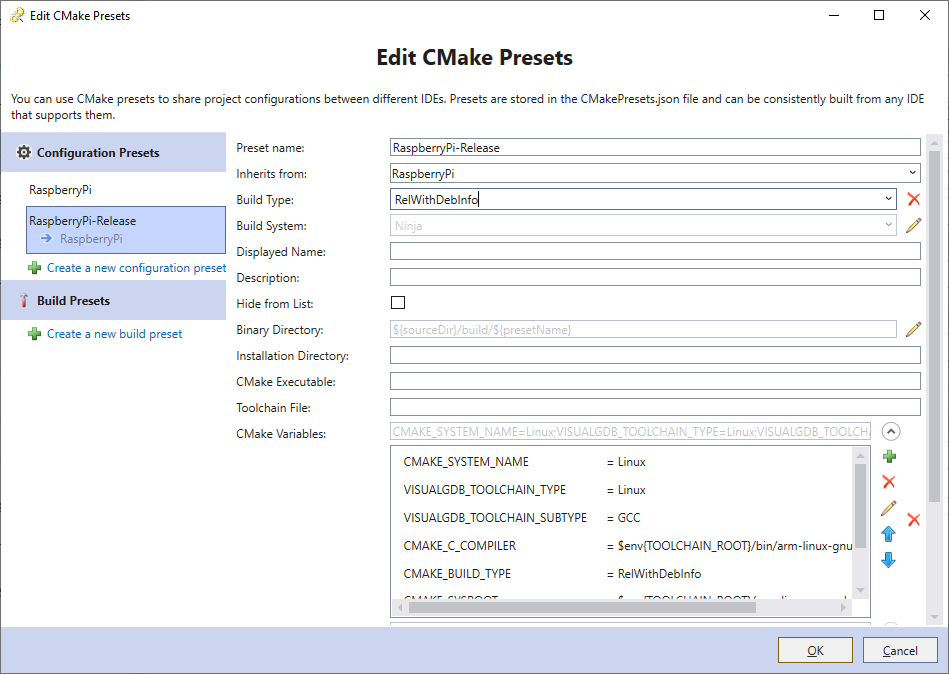
- Change the build type for the new preset to RelWithDebInfo (you would need to click the edit button first):
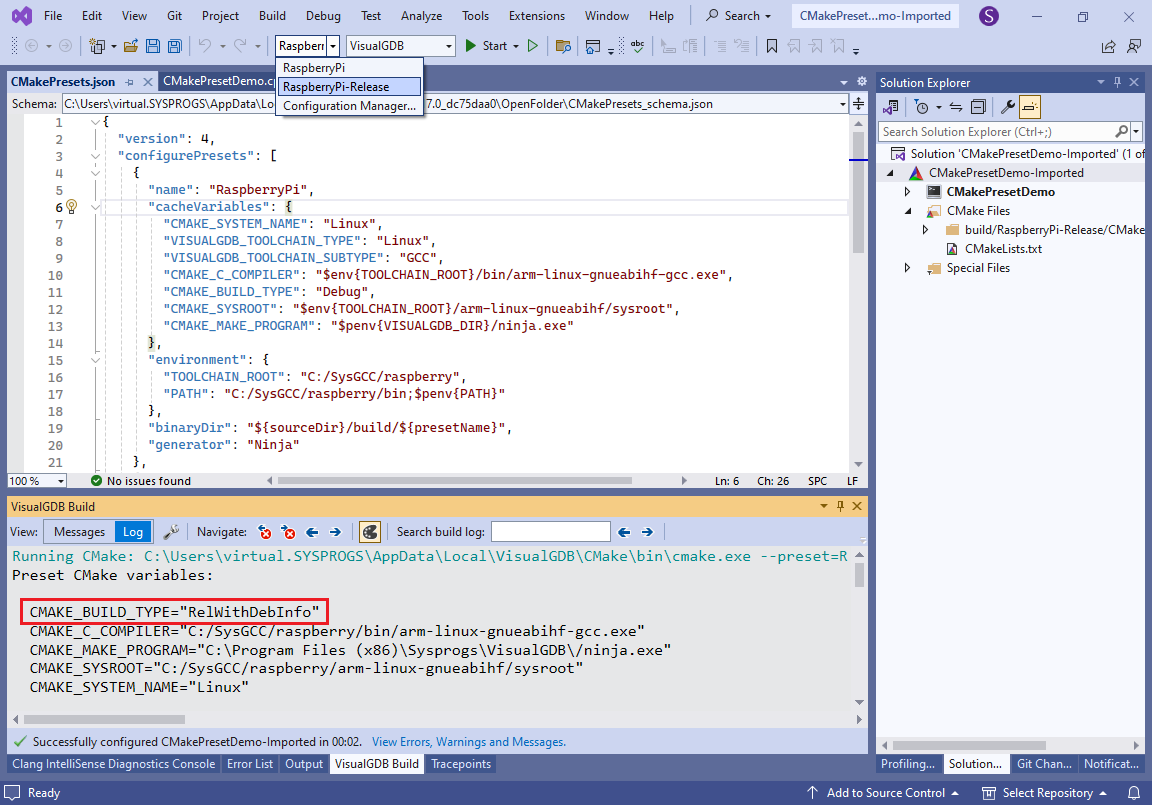
- Press OK to commit the changes. Note how VisualGDB created a new solution configuration matching the new preset:
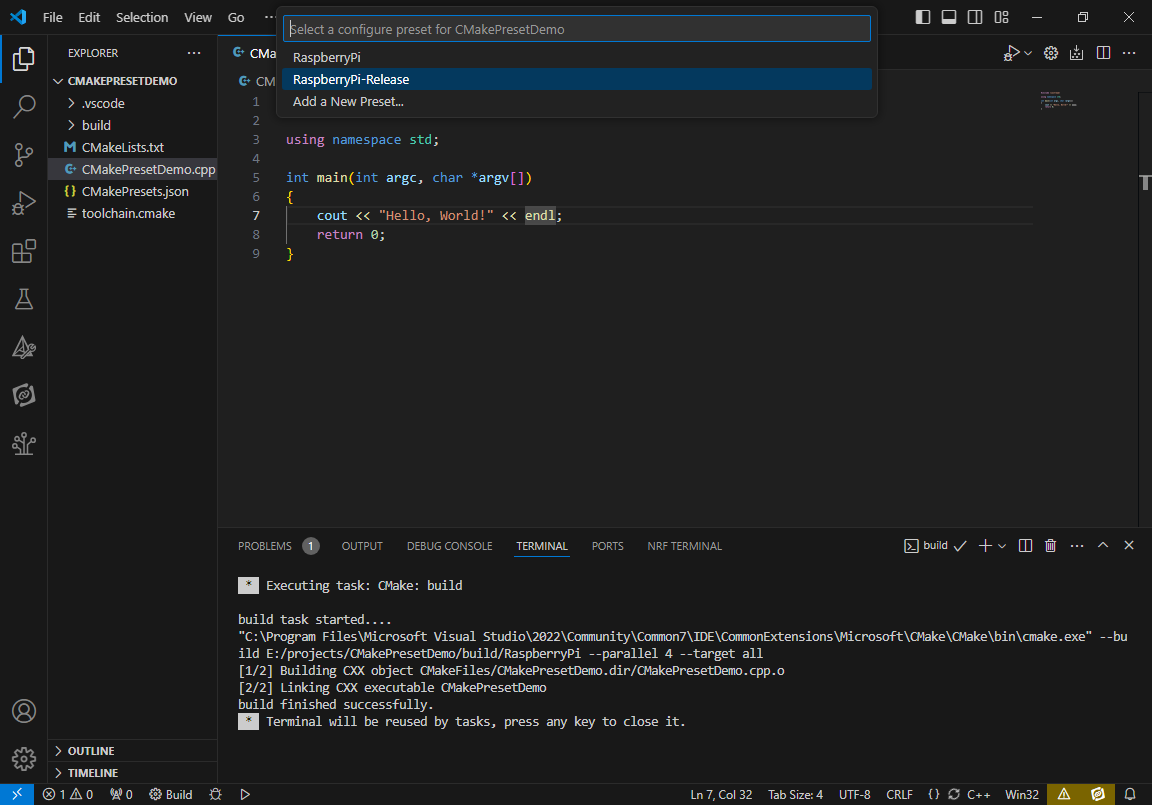
- Reopen the folder in VS Code. Note how it picked up the new preset allowing you to configure and build the project with it:
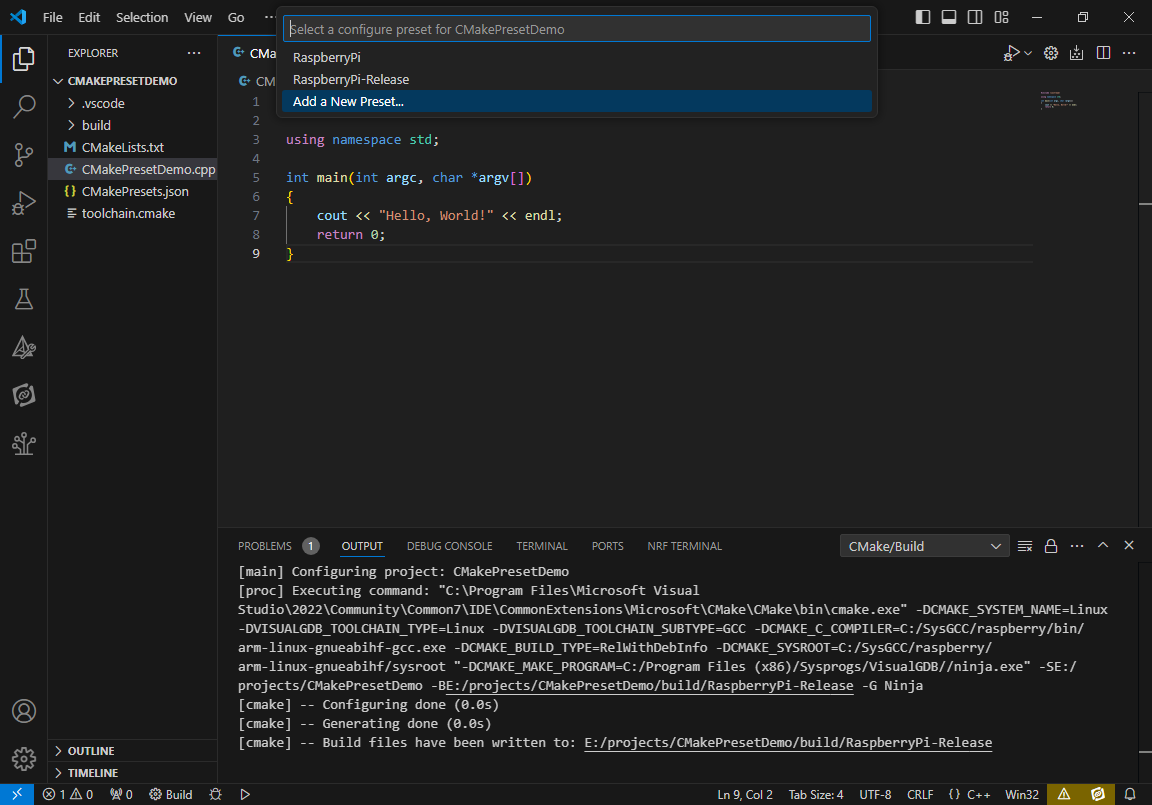
- Add another preset on the VS Code side, inheriting from either of the presets:
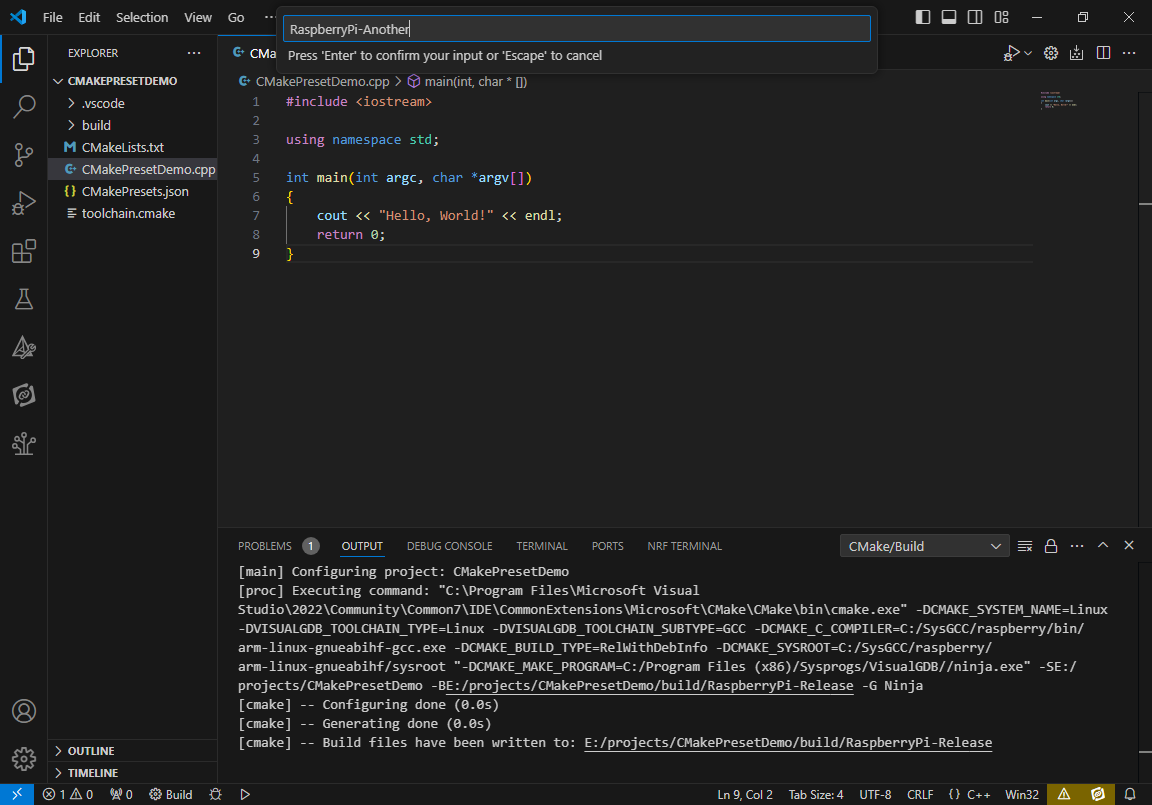
- Enter a different name for it and commit it by pressing Enter:
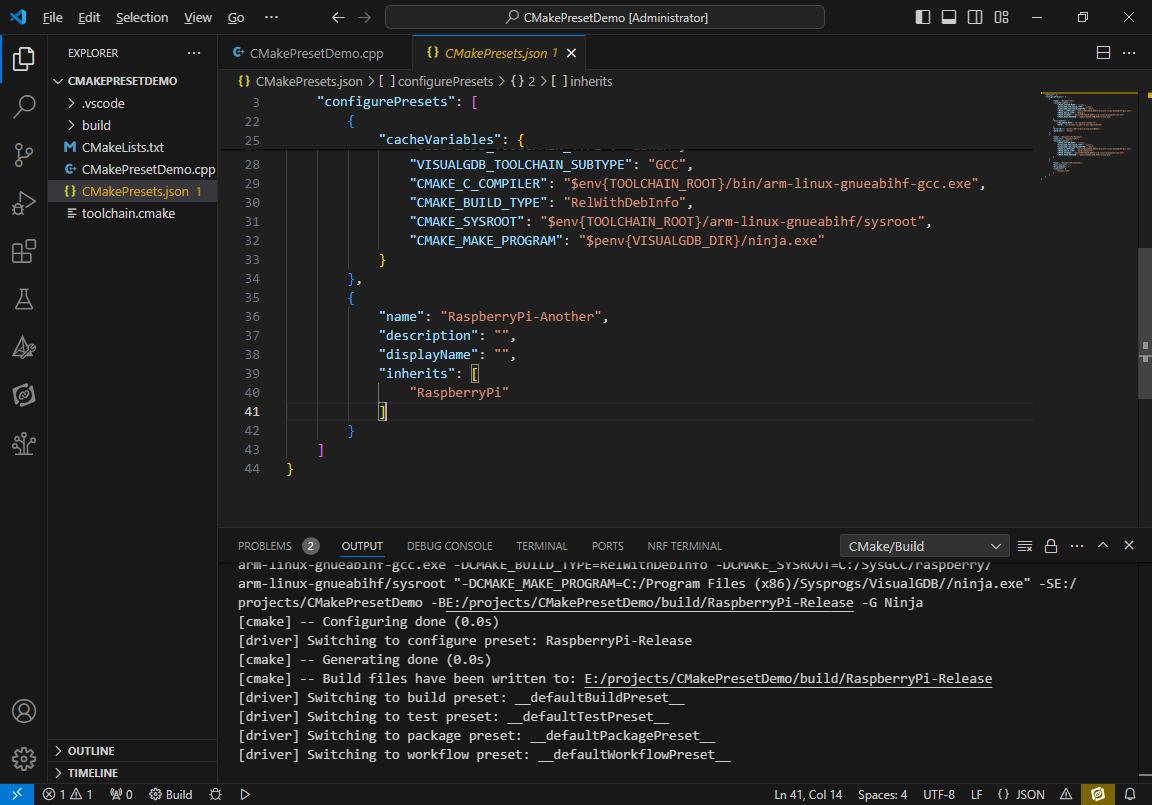
- VS Code will automatically edit the CMakePresets.json file, adding the new preset:
- Go back to Visual Studio and reopen the solution. VisualGDB will detect the new preset, suggesting to create a configuration for it:
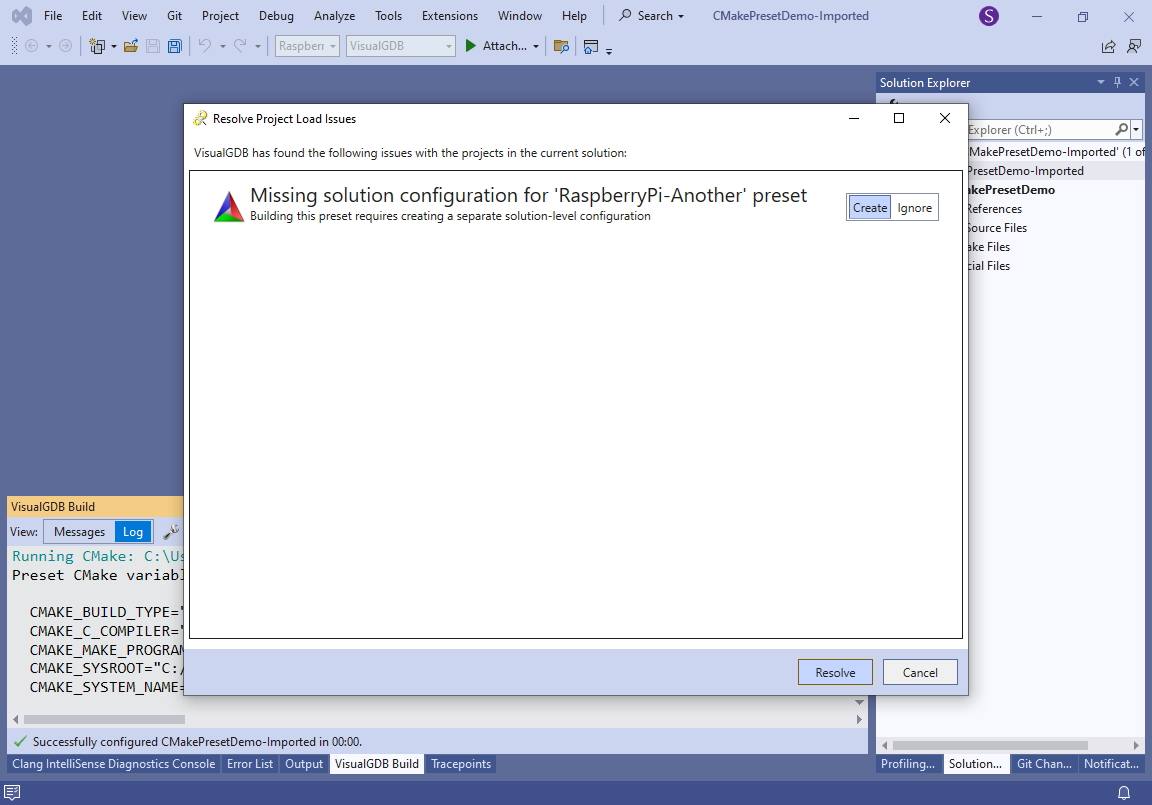
- Once you select “Create”, VisualGDB will create another solution configuration matching the preset created in VS Code:
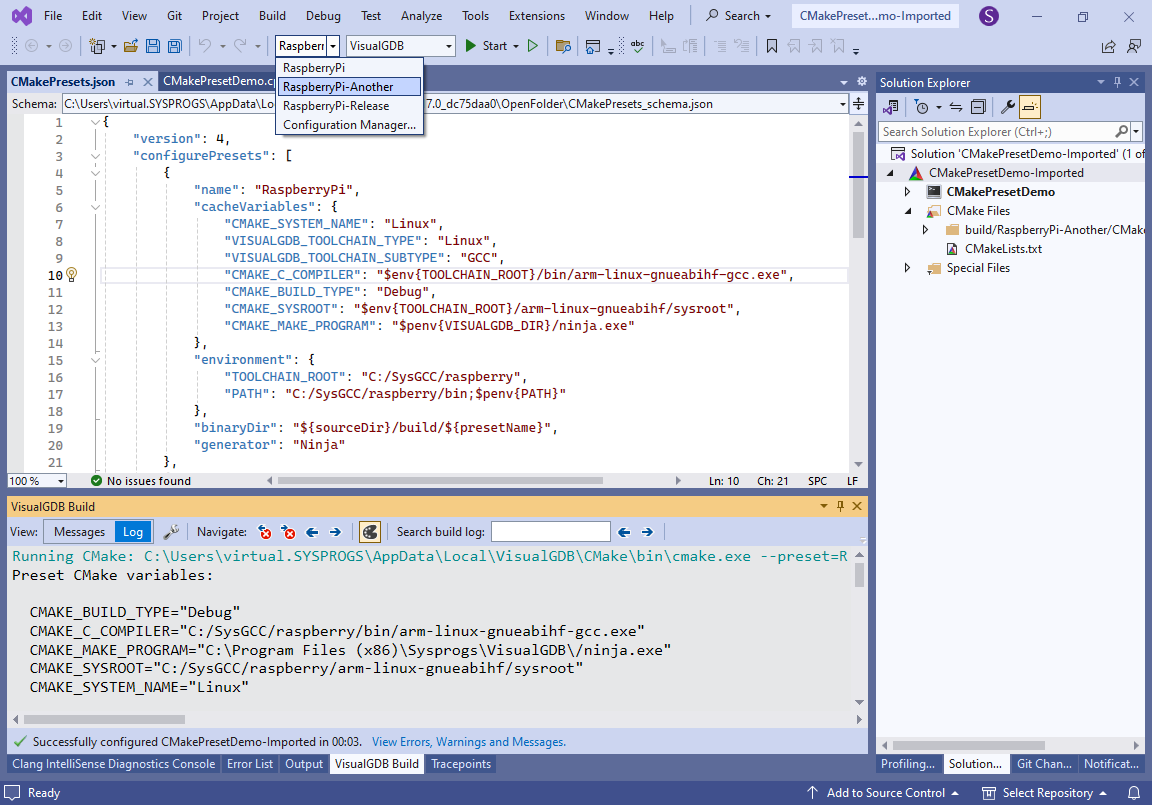
Because both IDEs are using CMake to manage the actual build, you can edit various project settings (e.g. add new files, change include directories), etc. in either of them, and the other IDE will pick up the changes as long as you reload the project.