Configuring Visual Studio to access Linux Projects directly via SSH
This tutorial shows how to use the VisualGDB CMake Project System to develop projects physically located on Linux machines with Visual Studio and VisualGDB. Unlike the regular VisualGDB projects that require downloading sources and headers on the Windows side or using hard-to-maintain shared folders, directly accessed projects let Visual Studio edit the files on the Linux machine directly, always ensuring that you are working with the latest versions of the files.
Before you begin, install VisualGDB 5.3 or later.
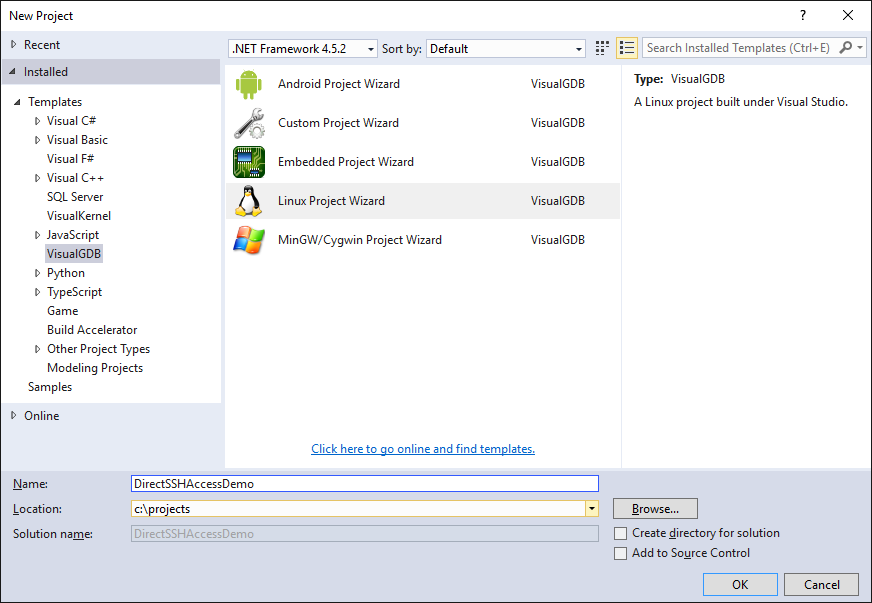
- Start Visual Studio and open the VisualGDB Linux Project Wizard:
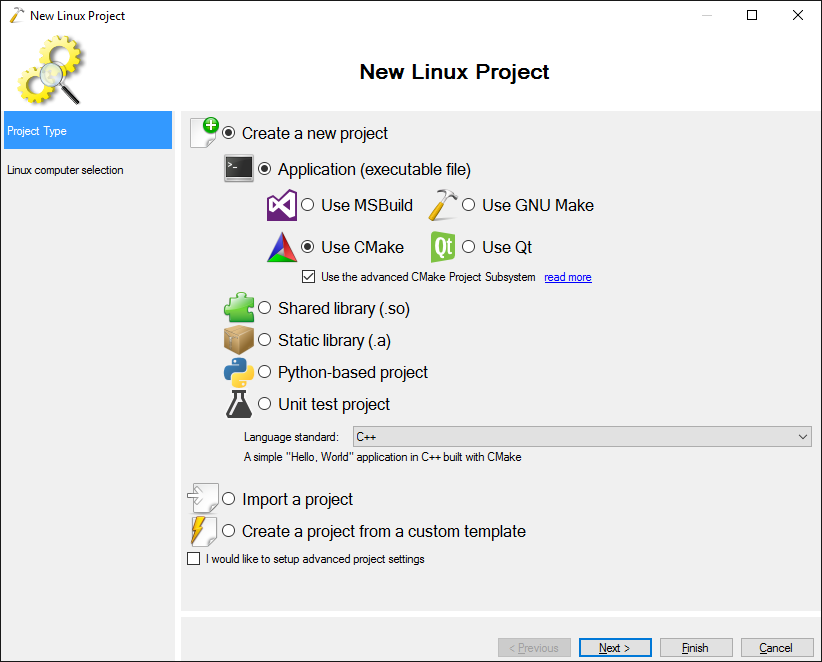
- VisualGDB can only use direct SSH access for CMake-based projects, so select “Create a new project -> Use CMake” and ensure that the “Use the advanced CMake Project Subsystem” checkbox is checked:
- On the next page select your Linux machine:
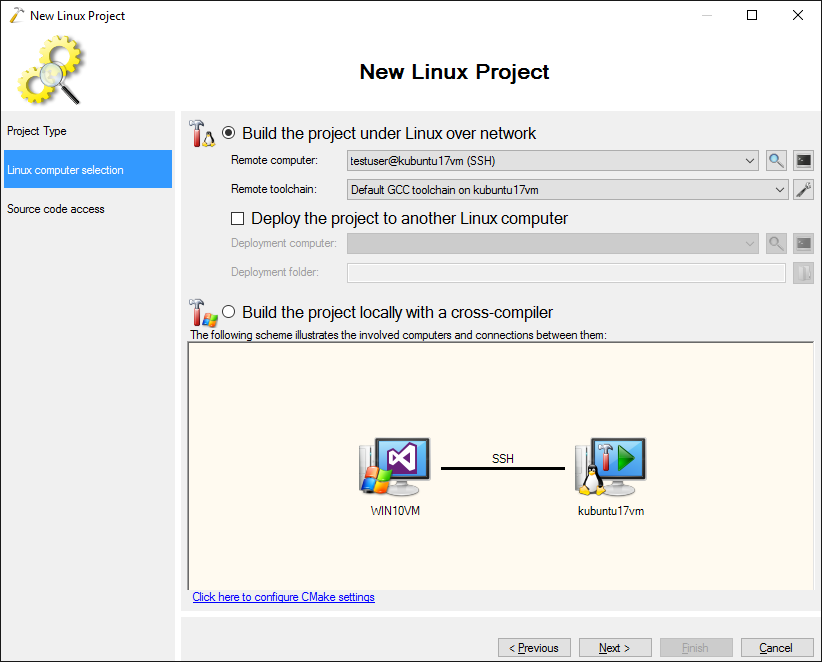
- On the “Source code access” select “Access the sources directly over SSH” and click “Finish” to generate the project:

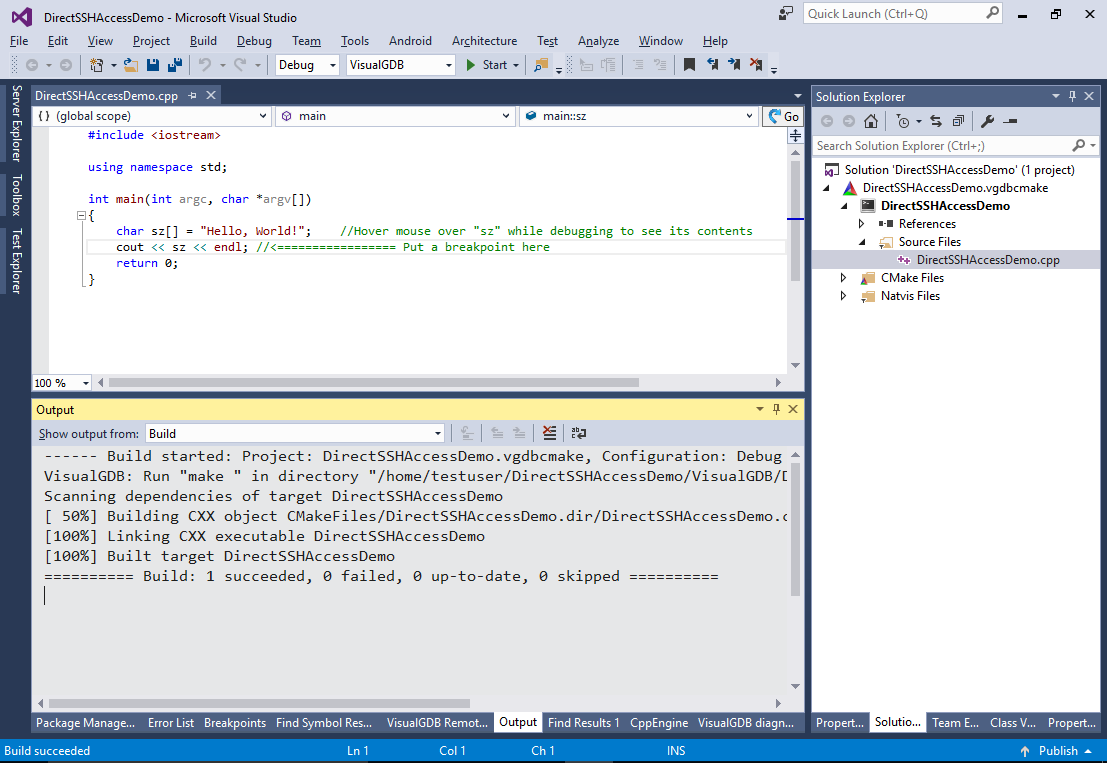
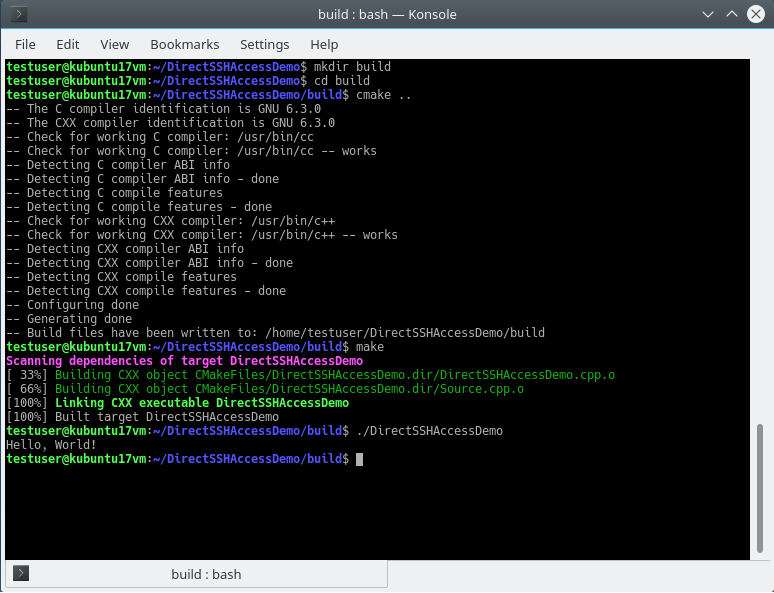
- Build the project via “Ctrl-Shift-B”:
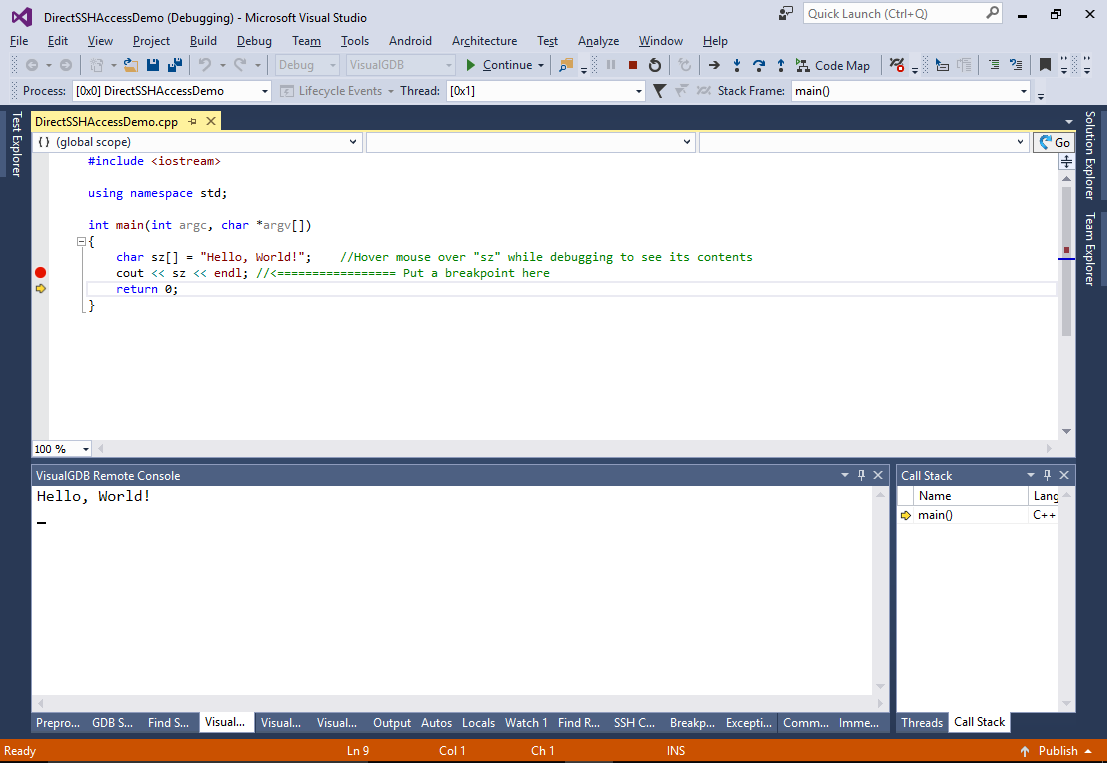
- Ensure you can debug the project by pressing “F5”:
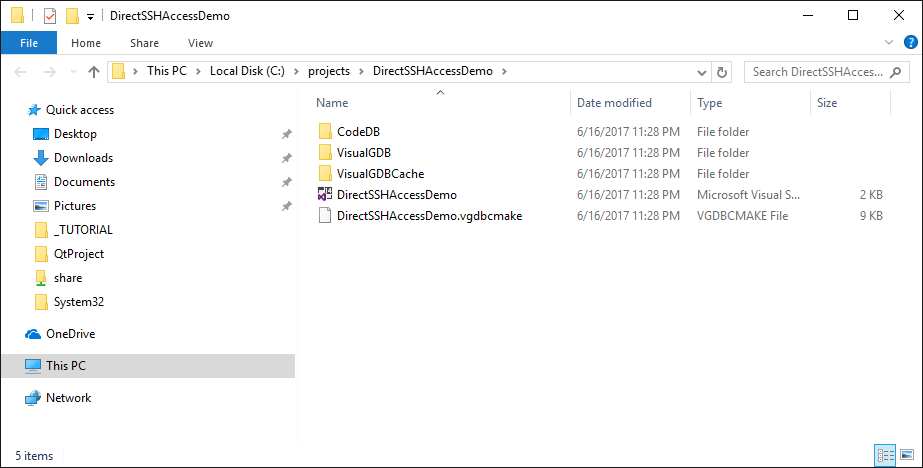
- Check the Windows folder of the project. Note how it does not contain neither the sources nor the built binaries, only the solution file, the VisualGDB project file and IntelliSense cache:
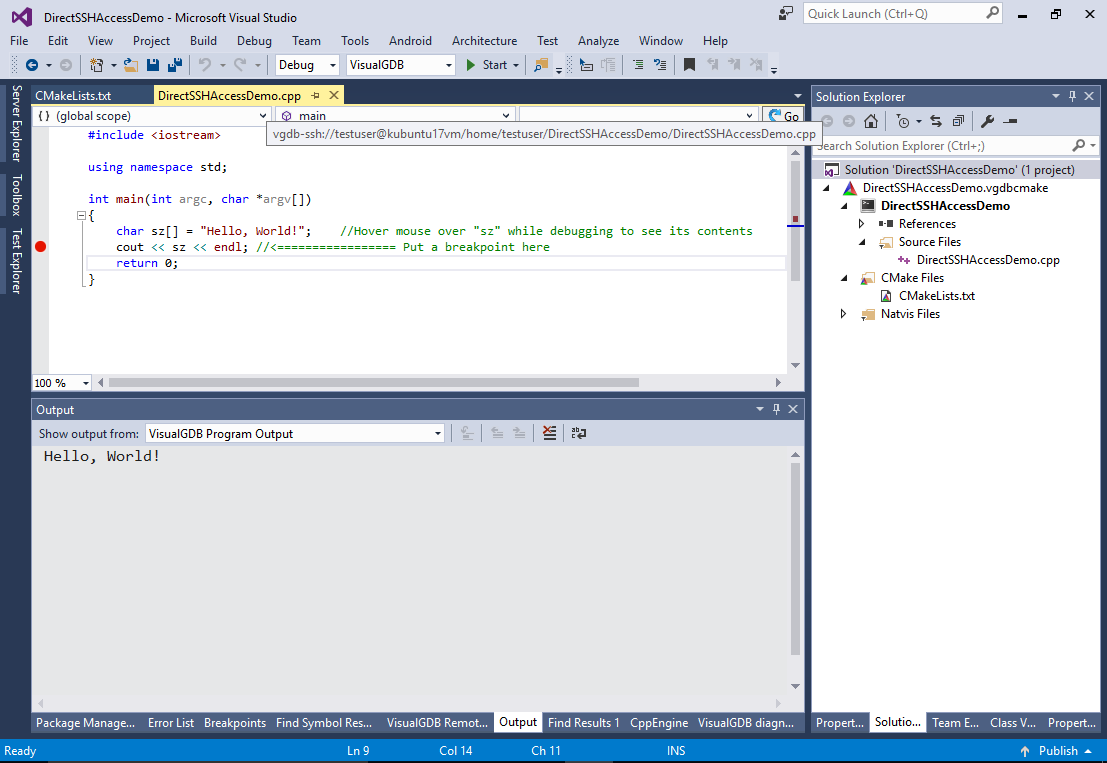
- Hover the mouse over the source file tab in Visual Studio. Note the “vgdb-ssh://” syntax that is used for remote projects:
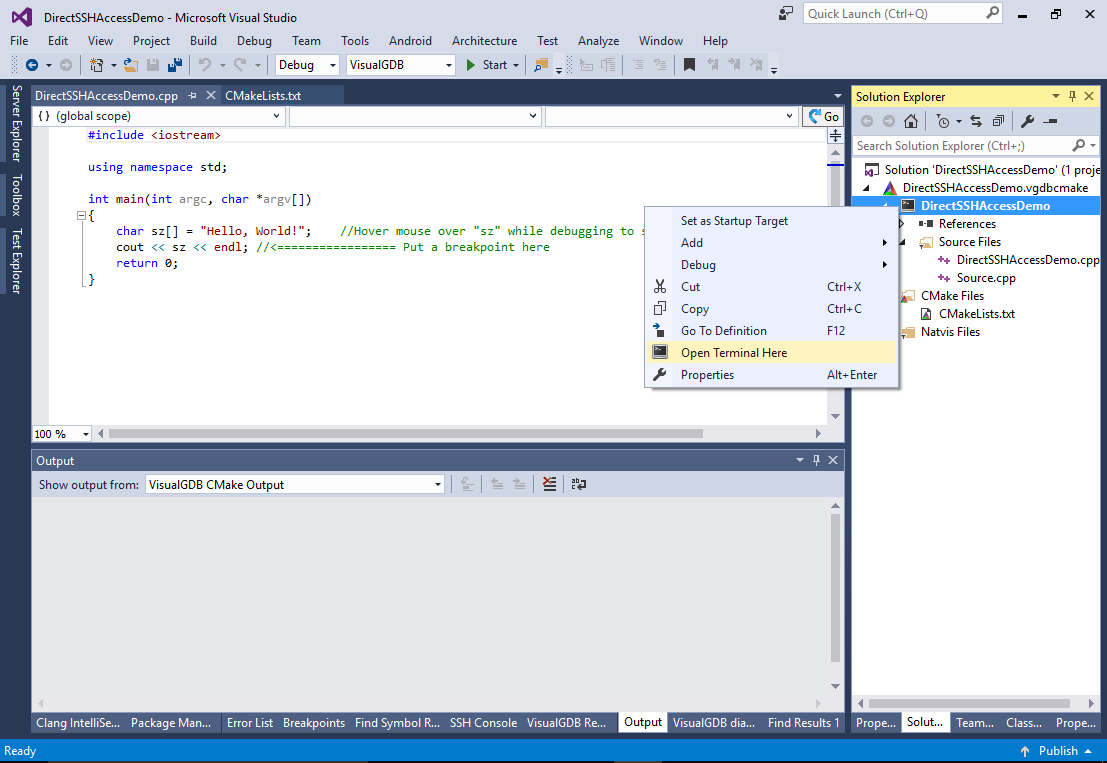
- Right-click on the target in Solution Explorer and select “Open Terminal Here”:
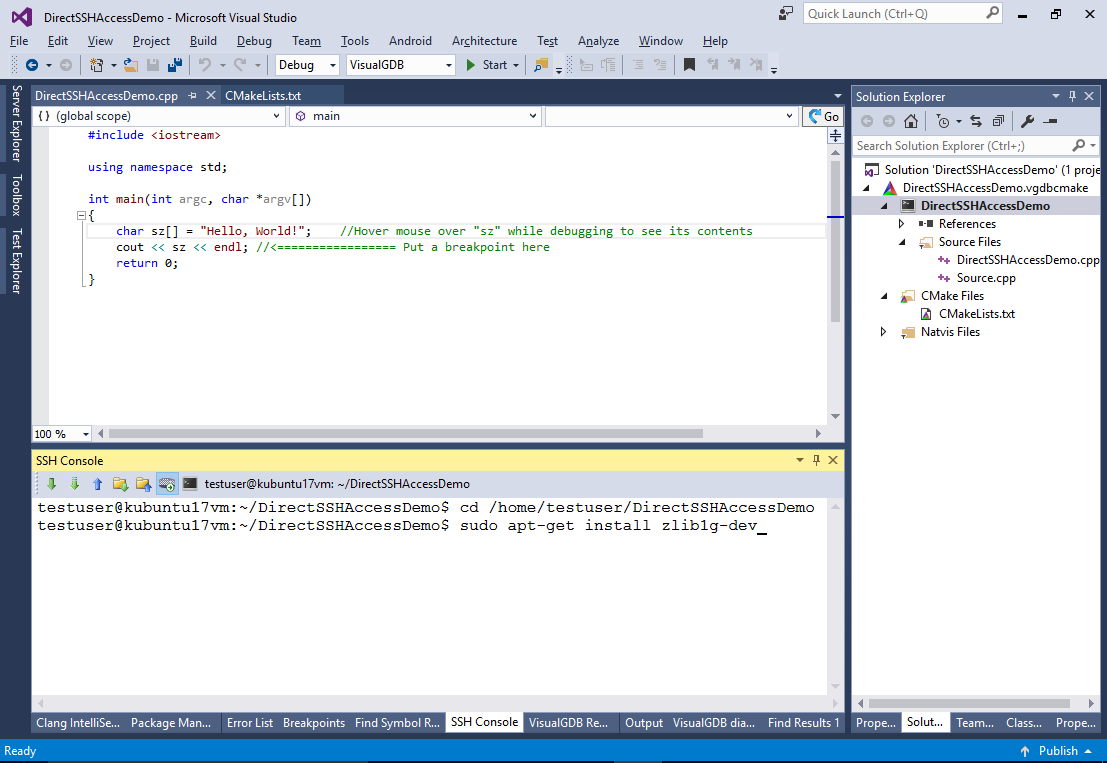
- We will now install the “zlib” library on the Linux machine and show how VisualGDB will automatically recognize it. Run the “sudo apt-get install zlib1g-dev” command in the SSH Console:
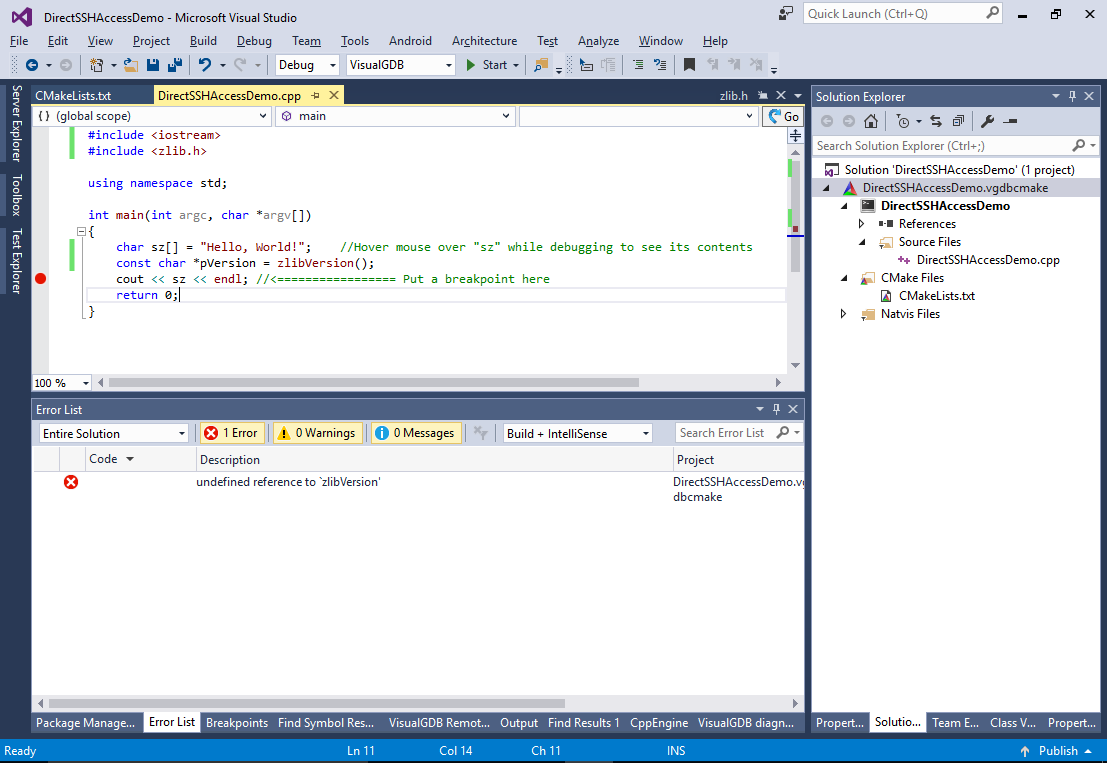
- Once the installation succeeds, try including the <zlib.h> header. See how IntelliSense immediately picks it up with no need to resynchronize any directories:

- Try calling the zlibVersion() function from your code. See how the link fails due to a missing definition of the called function:
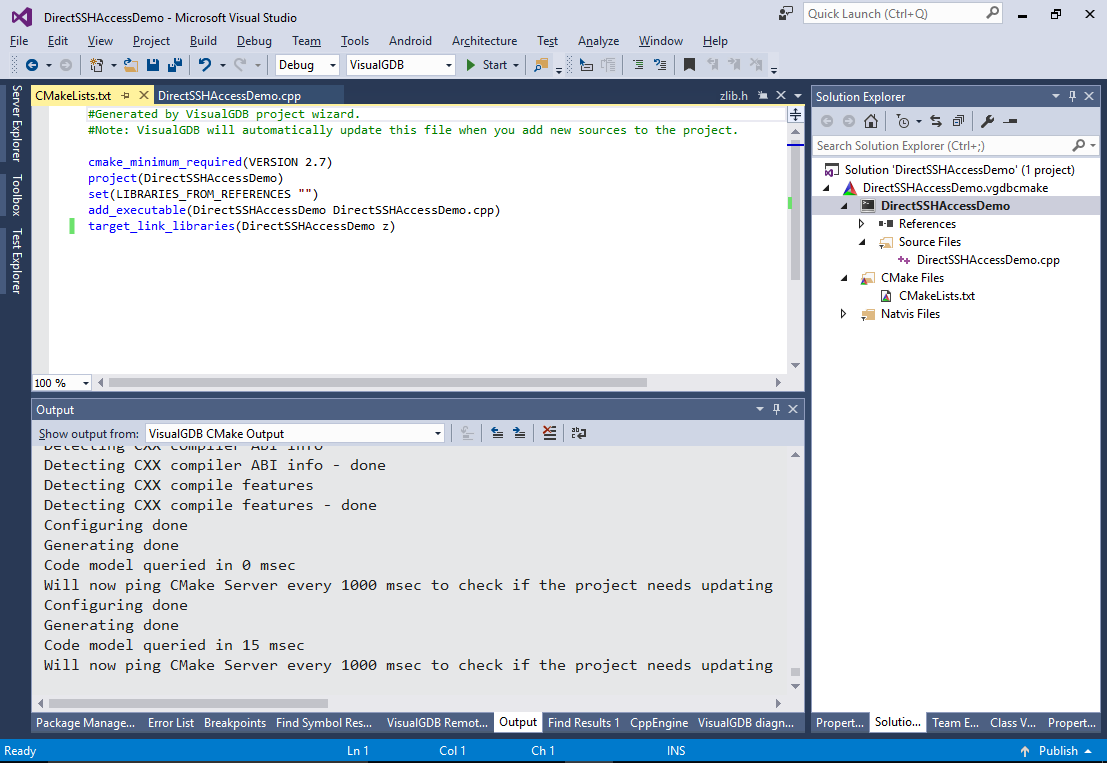
- Open property pages for the main target and add “z” to the Linked Libraries field:

- See how VisualGDB automatically edits the target_link_libraries() statement in CMakeLists.txt:
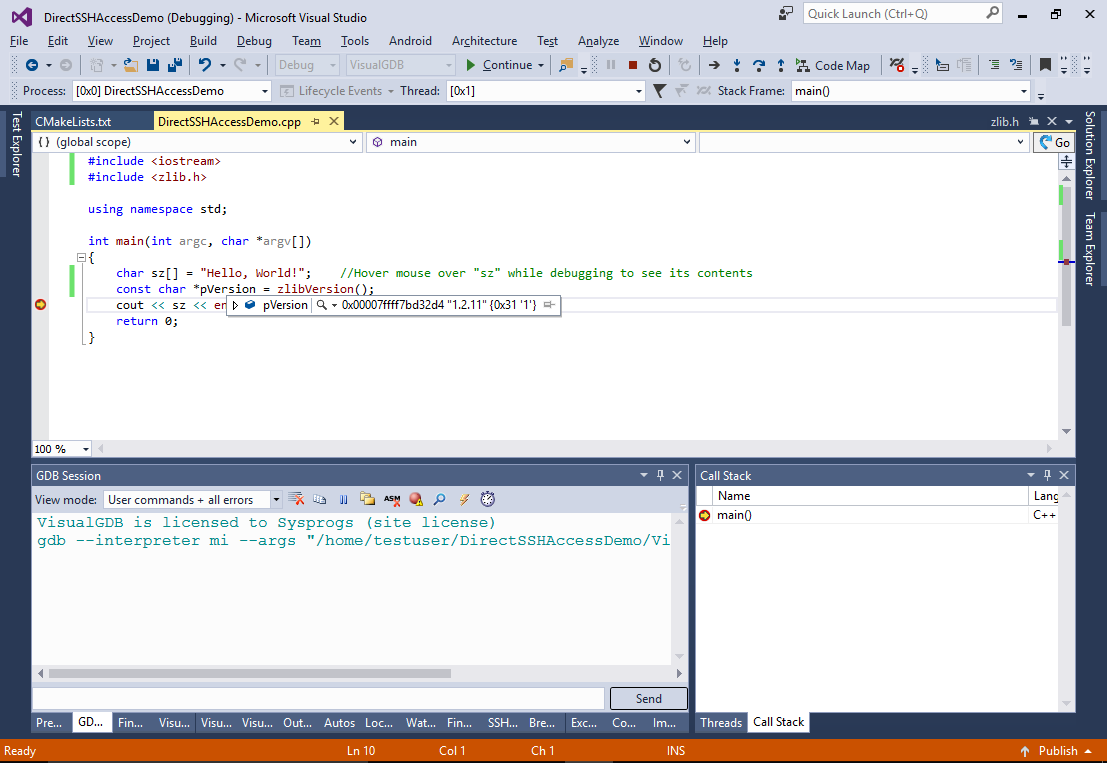
- Try debugging the target to ensure the function gets called properly:
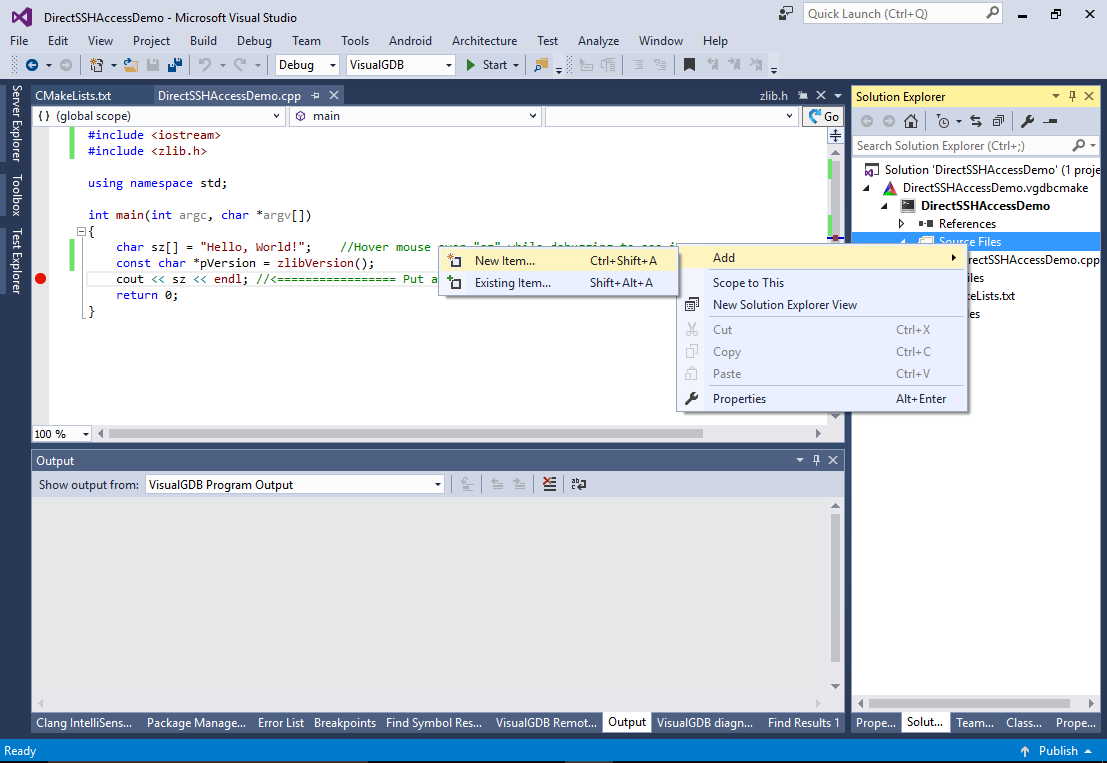
- Try adding a new source file via Add->New Item and immediately removing it (select “Remove”, not “Delete” to keep in on the disk). Then save your project:
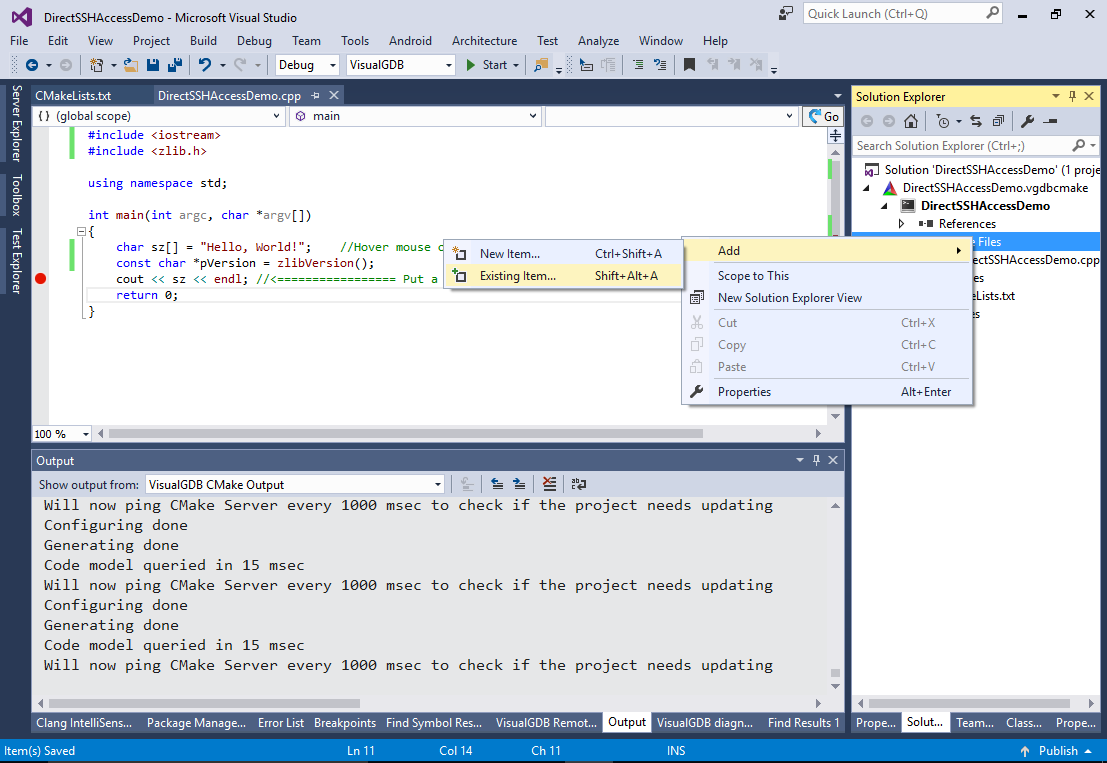
- Now select “Add->Existing Item”:
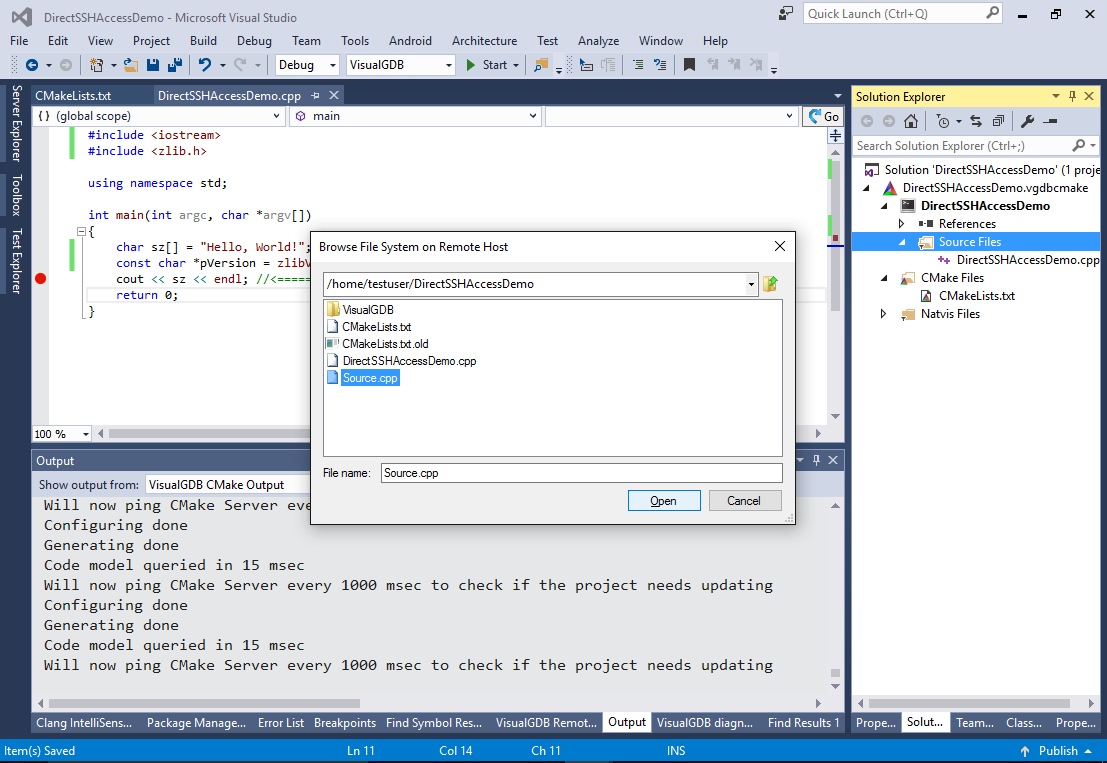
- See how VisualGDB is browsing the remote filesystem on the Linux machine as if the files were located on Windows:
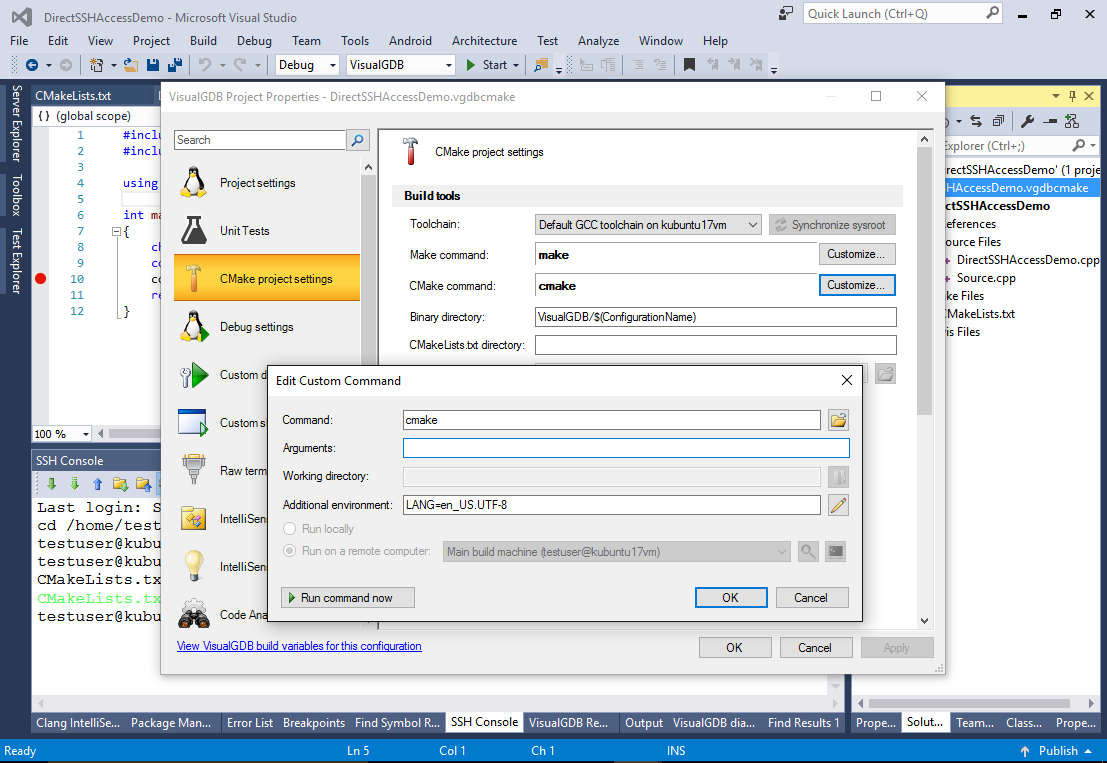
- Right-click on the project in Solution Explorer and select “VisualGDB Project Properties”:

- The VisualGDB Project Properties window allows editing various VisualGDB-specific project properties (e.g. you can explicitly specify the cmake location or add “-DCMAKE_VAR_NAME=VALUE” arguments to modify your project configuration):
- The VisualGDB CMake projects are self-sufficient. You can always build them from the Linux machine by running CMake:
- VisualGDB uses a highly optimized cache mechanism to avoid downloading the same files over and over again. It maintains cached copies of the relevant files under the CodeDB\<project>\VFSCache directory and periodically checks the relevant remote directory for changes. Unlike the regular projects that require downloading of the entire include and source directories beforehand, the directly accessed projects read the necessary files only when needed, resulting in better performance and less confusion. You can view the internal state of the remote FS cache via View->Clang IntelliSense Diagnostics Console->Remote FS:
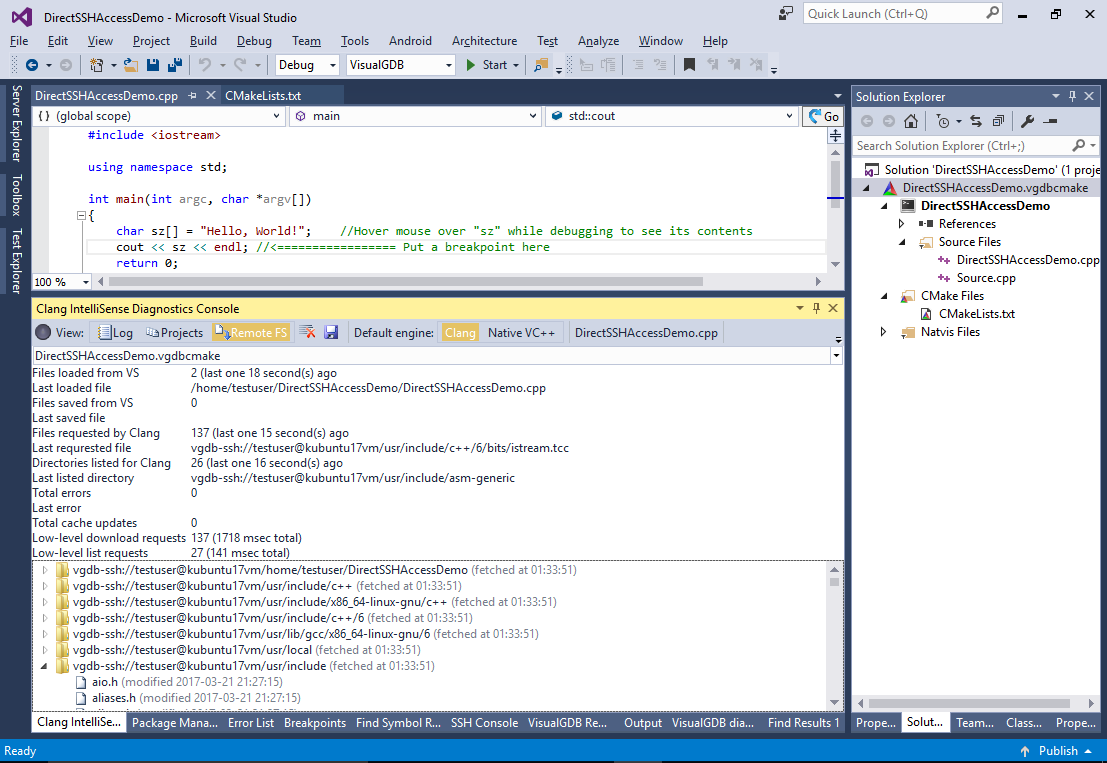 The console shows the exact time spent on listing directories and fetching files from the Linux machine, so you can quickly check whether your network connection provides sufficient performance for the direct access mode.