Configuring SSH public key authentication
VisualGDB 3.0 and later supports setting up public key authentication automatically. Simply check the “Setup public key autnehtication” when creating a new SSH connection and VisualGDB will do all the work for you.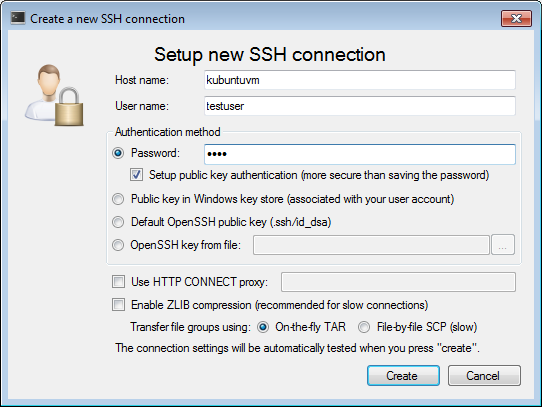
If you are not using VisualGDB, feel free to use SmarTTY – our free SSH client, to setup the public key authentication with one click.
In case you want to do everything manually, follow the tutorial below:
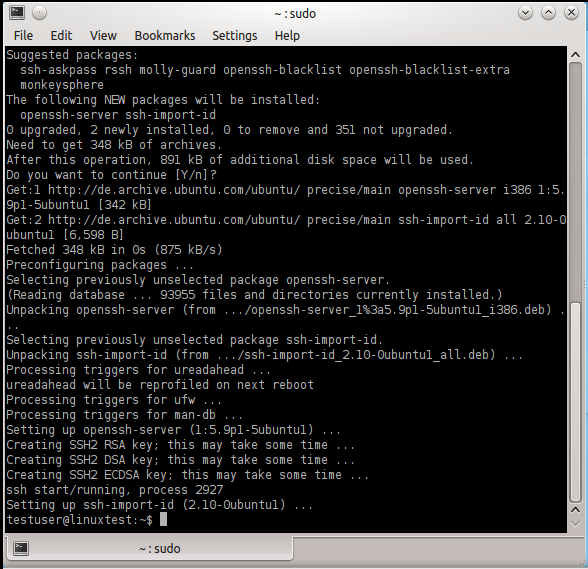
- Install and start an SSH server on your Linux machine. On debian-based systems this is done by running the following command:
sudo apt-get install openssh-server
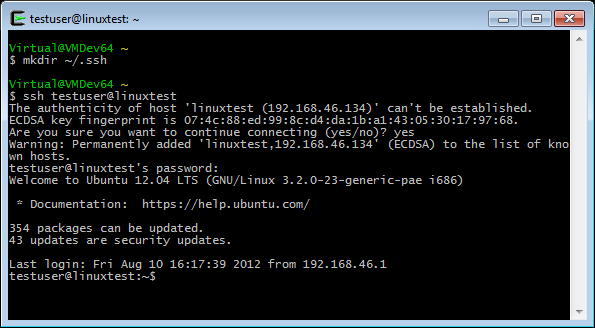
- Start the cygwin shell. Create the .ssh directory in your home directory and test the connection to your Linux machine::
mkdir ~/.ssh
ssh linuxuser@linuxmachine
Replace linuxuser with your user name on the linux machine and replace linuxmachine with the Linux computer name or IP address.Note that you will need to enter the password. Once you complete this tutorial this will no longer be required.
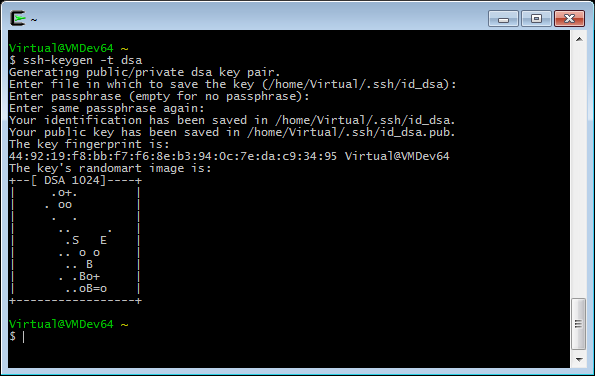
- We will now generate a keypair: the public key that will be placed on the Linux machine and the private key that will be stored on the Windows machine. To generate the keypair, type the following command in the Cygwin shell:
ssh-keygen -t dsa
Confirm default answers for the ssh-keygen questions by pressing Enter:
- Copy the public key to the home directory in your Linux machine by running the following command from cygwin shell:
scp ~/.ssh/id_dsa.pub linuxuser@linuxmachine:~

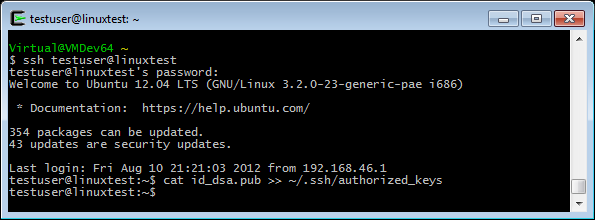
- Connect to the Linux machine with ssh and append the id_dsa.pub file to the .ssh/authorized_keys file:
ssh linuxuser@linuxmachine
cat ~/id_dsa.pub >> ~/.ssh/authorized_keys
- Now you can test the SSH authentication by running the following command from Windows machine (can be done outside cygwin shell):
c:\cygwin\bin\ssh linuxuser@linuxmachine
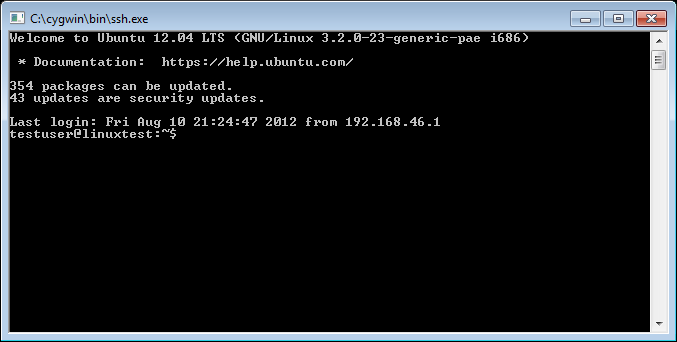 If you have done everything correctly, ssh will authenticate automatically not requiring you to enter the password.


