Creating Project Templates for Linux Projects
This tutorial shows how to create project templates containing modified source files, build and debug settings so that you can quickly reuse them when creating projects on any machine with VisualGDB. We will create a basic Qt project, edit the GUI with the Qt Designer, change the debugging settings and convert it into a template.
Before you begin, install VisualGDB 5.1 or later. Note that project templates are only available in the Custom edition and higher.
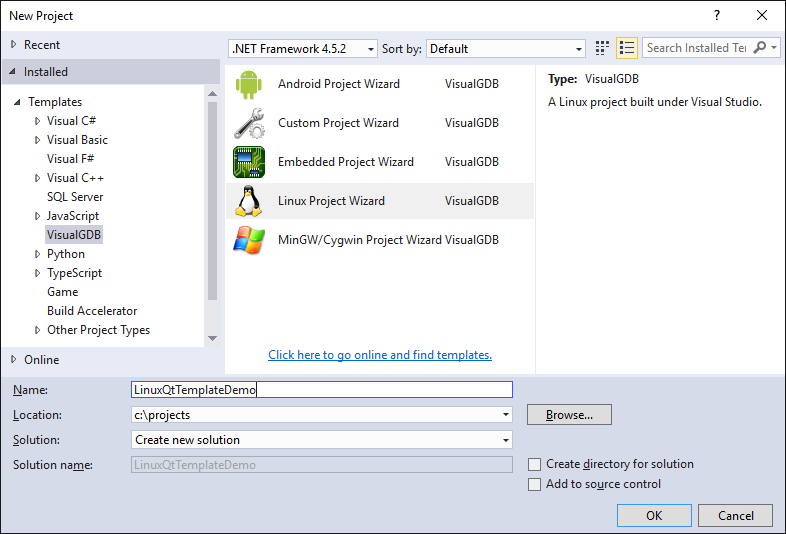
- Start Visual Studio and open VisualGDB Linux Project Wizard:
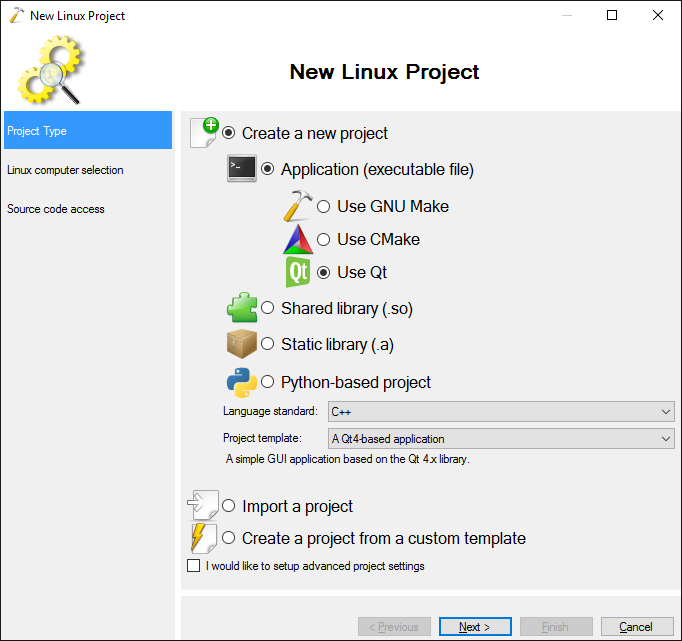
- On the first page select “Create a new project -> Use Qt”:
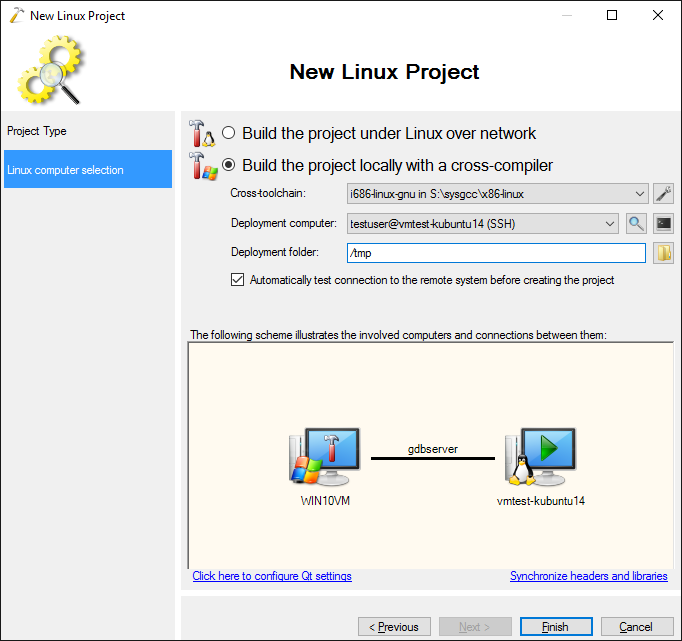
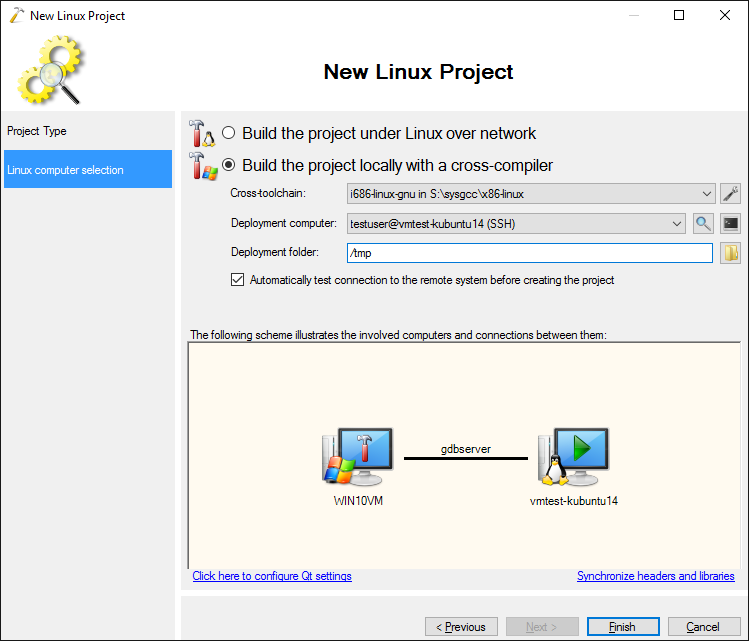
- On the next page select either a cross-toolchain and a deployment machine or the machine where the project will be built and started:
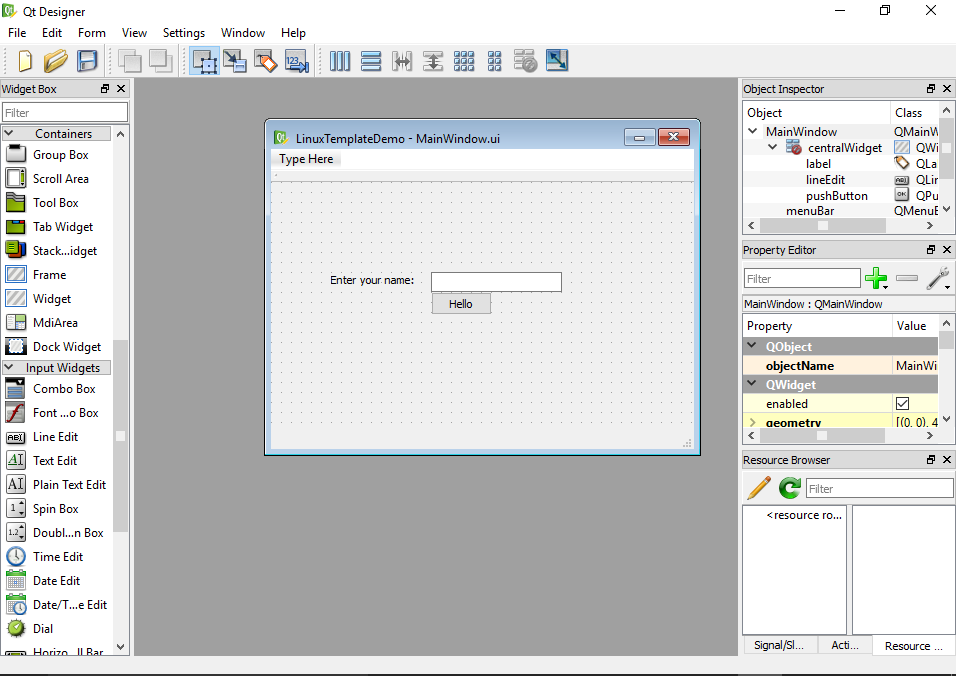
- Press “Finish” to create your project. VisualGDB will generate a very basic “Hello, World” project based on the Qt framework. Open the MainWindow.ui file in the Qt Designer and add a text box to the window:
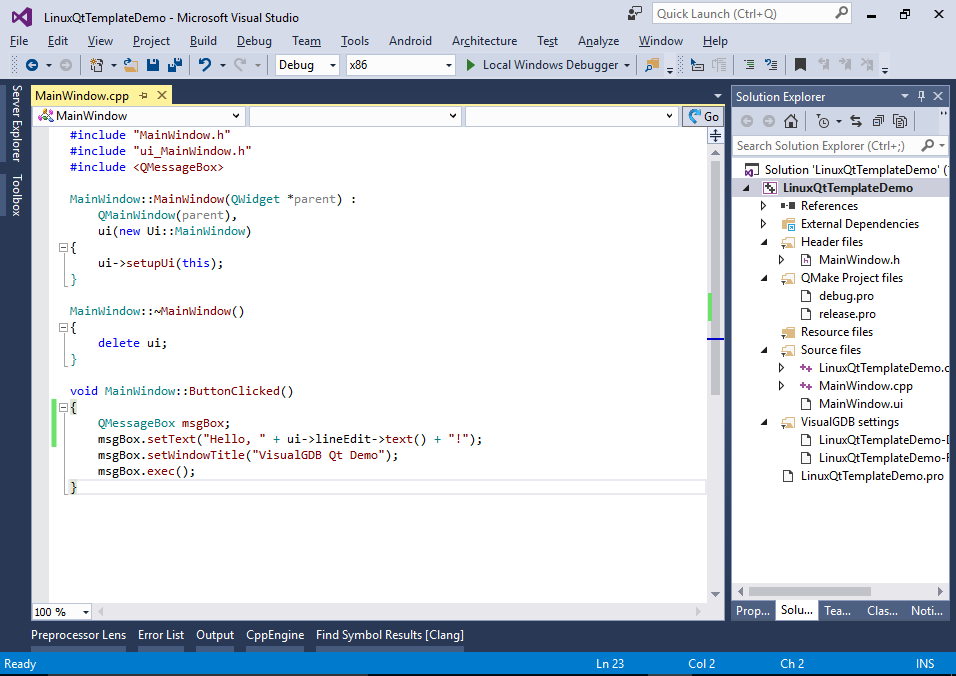
- Then modify the main source file to show the text from the edit box when the button is clicked (if IntelliSense for the GUI does not work, build your project so that the GUI header files are generated, open VisualGDB Project Properties, change anything in the Include Directories field and press OK):
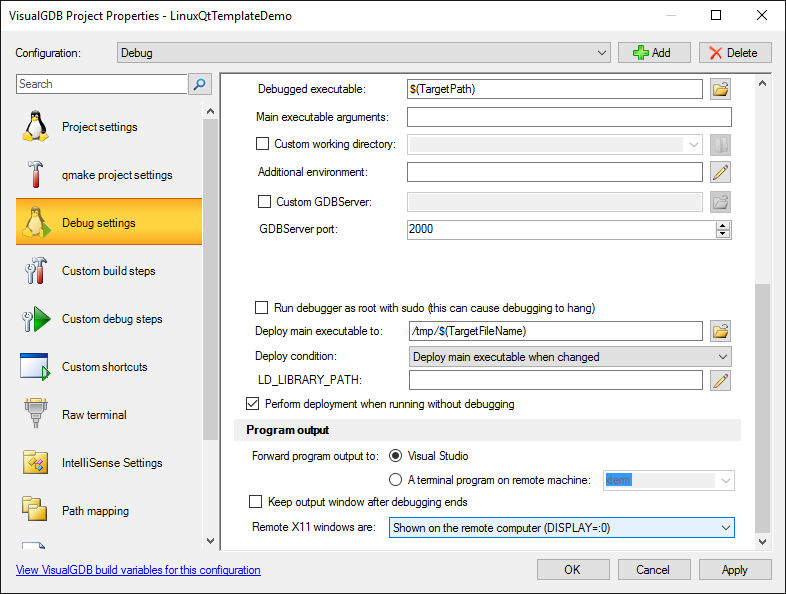
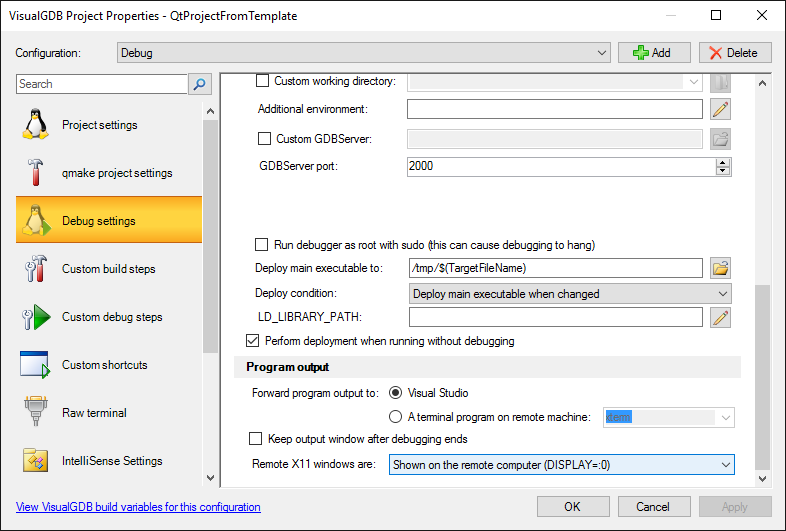
- Open VisualGDB Project Properties, go to the Debug Settings page and configure the project to show the GUI directly on the target machine instead of forwarding it to the Windows side:
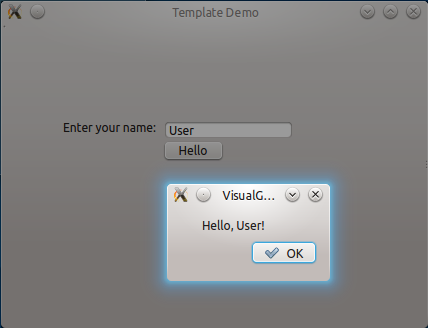
- Press F5 to start debugging. Note how the new GUI is displayed on the Linux machine:
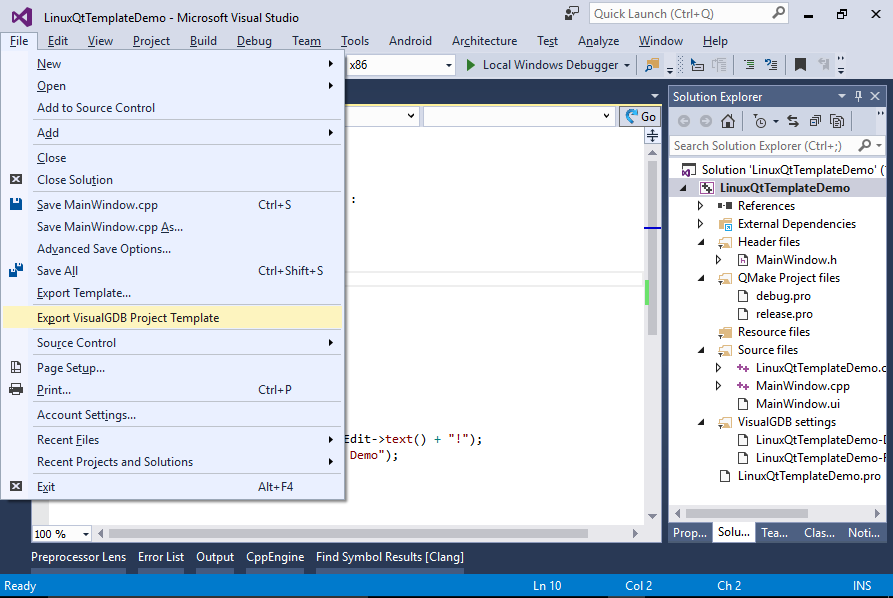
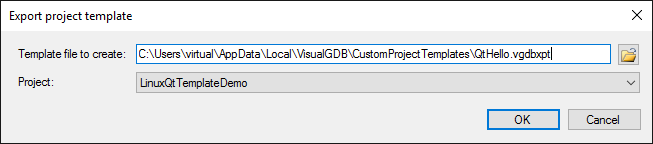
- Now we will export the project to a template. Select File->Export VisulaGDB Project Template:
- Choose the file for the template. By default VisualGDB will suggest using the %LOCALAPPDATA%\VisualGDB\CustomProjectTemplates folder, however you can save anywhere you want:
- On any machine with VisualGDB that has access to the template file open the VisualGDB Linux Project Wizard:

- Select “Create a project from a custom template”. Note how VisualGDB immediately allows you to change the build or deployment machine if your account on it is different from the one that was used when creating the template:
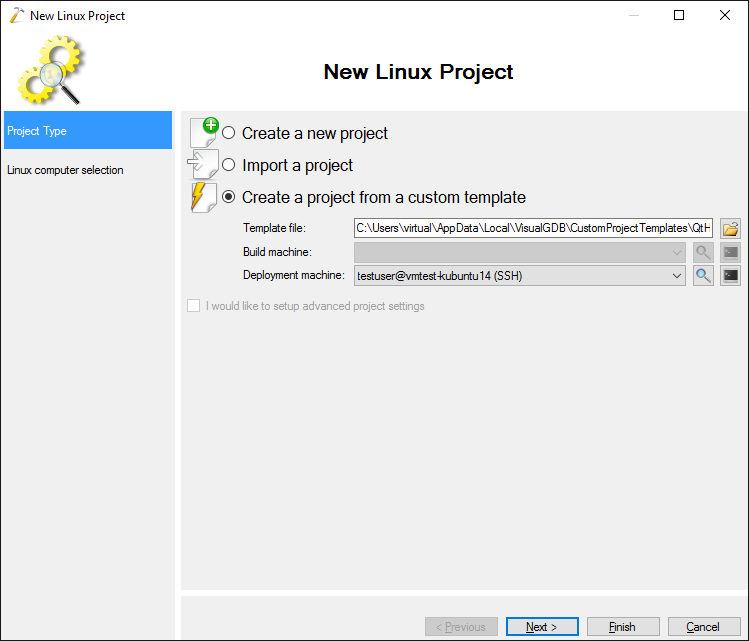
- You can press “Finish” to generate the project immediately, or press “Next” to review the project settings loaded from the template file:
- Once you press “Finish”, the project will be generated. Note how it contains all of your changes to the source files:
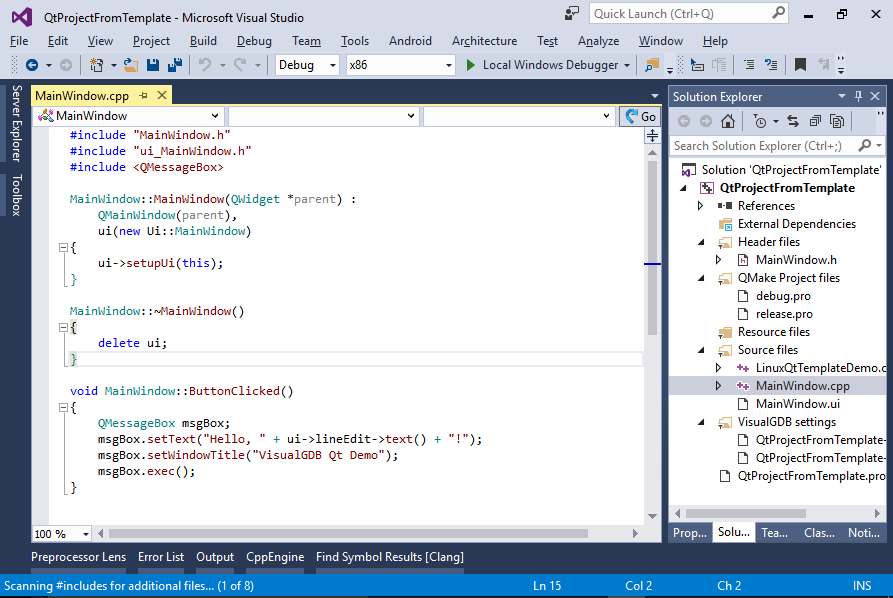 The templates will also remember additional include directories, preprocessor macros, CFLAGS/CXXFLAGS and will contain any files added to the project that reside in the project directory or one of its subdirectories.
 - Open the Debug Settings page of VisualGDB Project Properties to verify that the “Remote X11 Windows” setting was successfully set based on the template.


The VisualGDB project template files are simply zip archives containing the project contents and the settings stored in the template.xml file. You can always edit them to tweak various template settings or add new files. As all of the settings are saved in one XML file, you can also use templates across different Visual Studio versions – e.g. a template created in Visual Studio 2015 will be usable in Visual Studio 2008 as long as both have VisualGDB installed.