Porting a QT Application from Windows to Linux
This tutorial shows how to use the QT framework to create a basic application for Windows in Visual Studio and seamlessly port it to Linux. The use of cross-platform QT API ensures that the code written once will run on all platforms supported by QT.
To follow this tutorial you will need the following tools installed:
- Microsoft Visual Studio
- QT Libraries for Visual Studio and the QT Add-in
- VisualGDB 4.1 or later
We will create a basic QT application using the QT wizard, modify the main window, port the application to Linux and demonstrate the use of the cross-platform API provided by QT by listing files in the current directory.
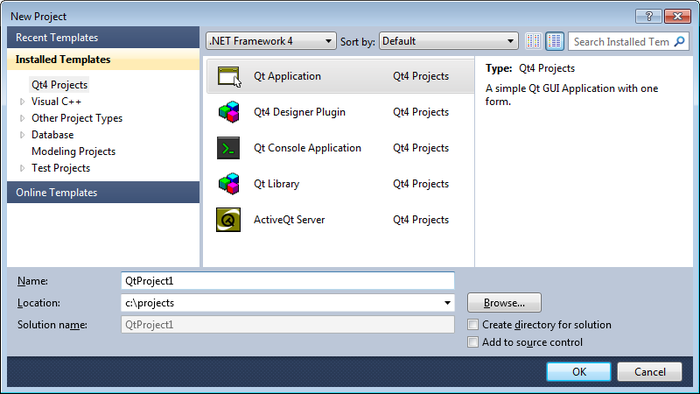
- Start Visual Studio. Begin creating a new project using the QT wizard:
- The first page shows the summary about the created project. Press “next” to proceed:
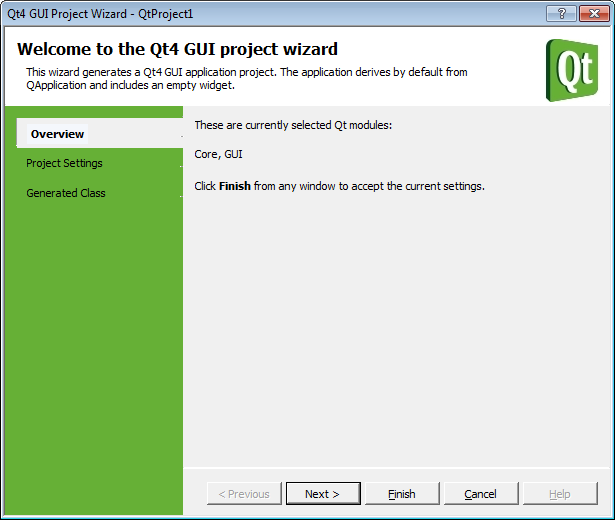
- The second page allows selecting involved QT modules. Keep the default ones and press “Next”:

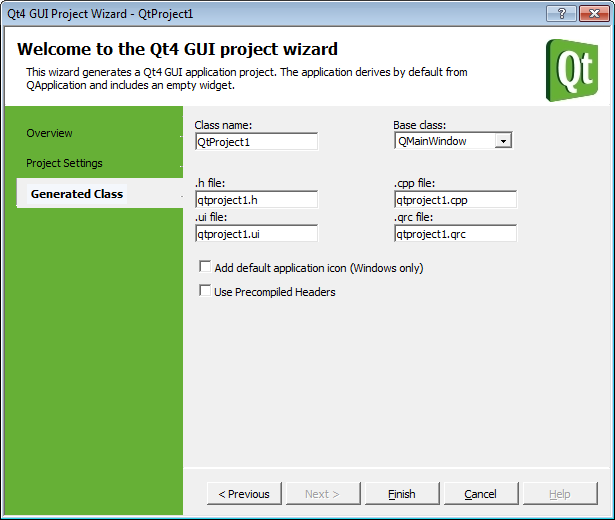
- The last page allows customizing the generated class names. We will keep the default ones and press “Finish”:
- The wizard has generated a QT project for Windows. It consists of a .pro file containing various project settings, a .ui file describing the main window and some source files. Press Ctrl-Shift-B to build it:
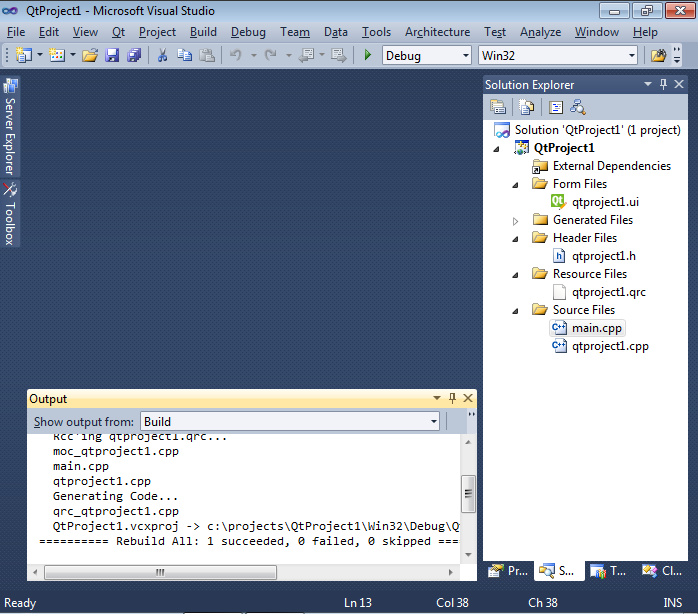
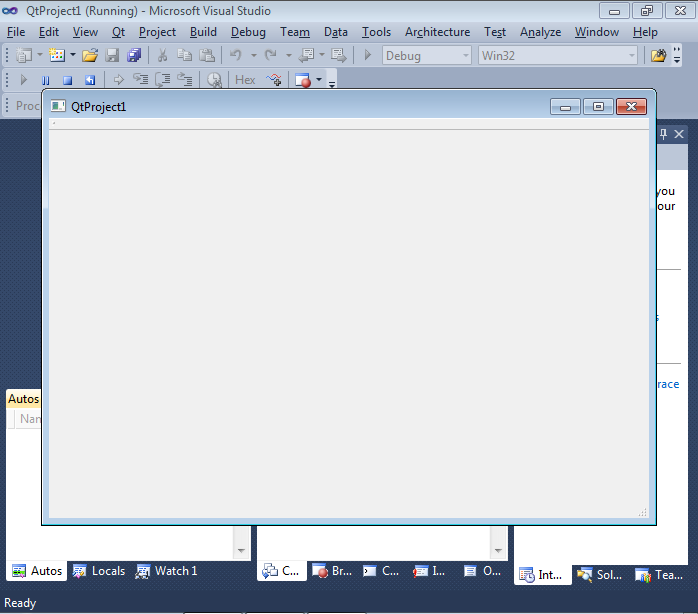
- Visual Studio will build the project using its own C++ compiler. Press F5 to start debugging it:
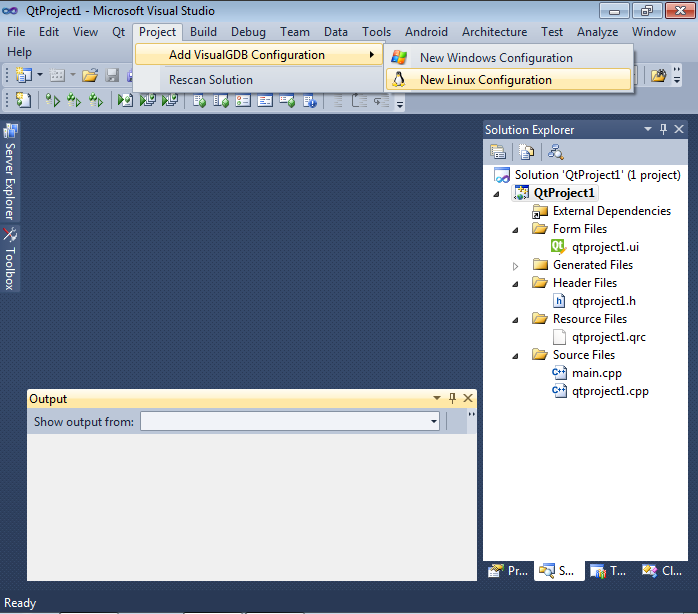
- QT framework allows building both Windows and Linux applications from the same source code. To create a new Linux configuration select “Project->Add VisualGDB Configuration->New Linux Configuration”:
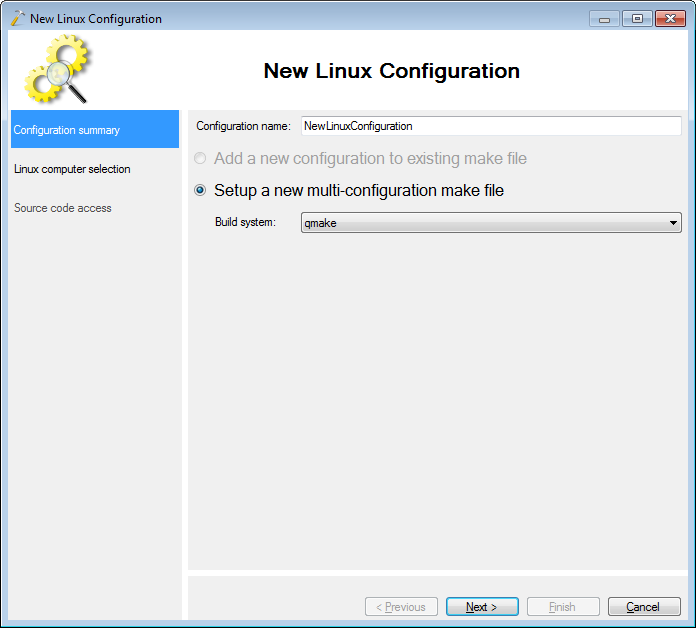
- On the first page of the wizard select “qmake” as the build system. This is required to ensure that the QT-specific files, such as .pro and .ui are handled correctly under Linux:
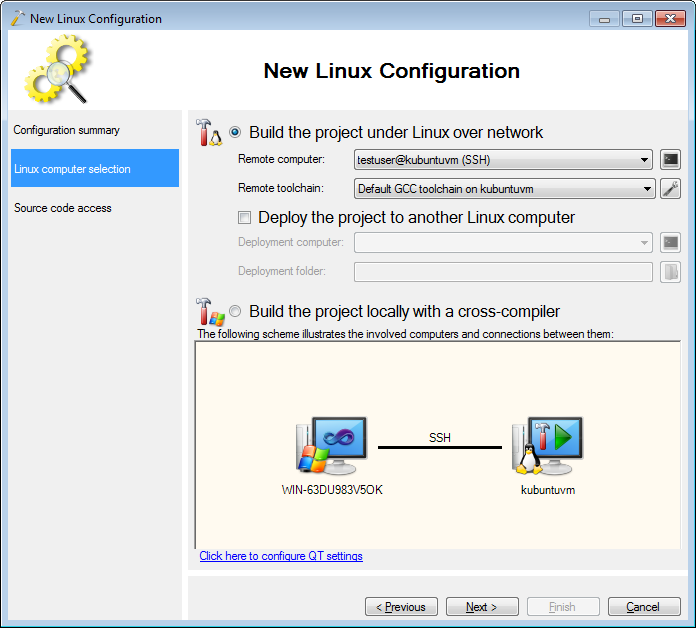
- On the next page select the Linux machine you are targeting. When you build your Linux configuration VisualGDB will transfer the source files to the Linux machine and build them there just like a normal Linux project:
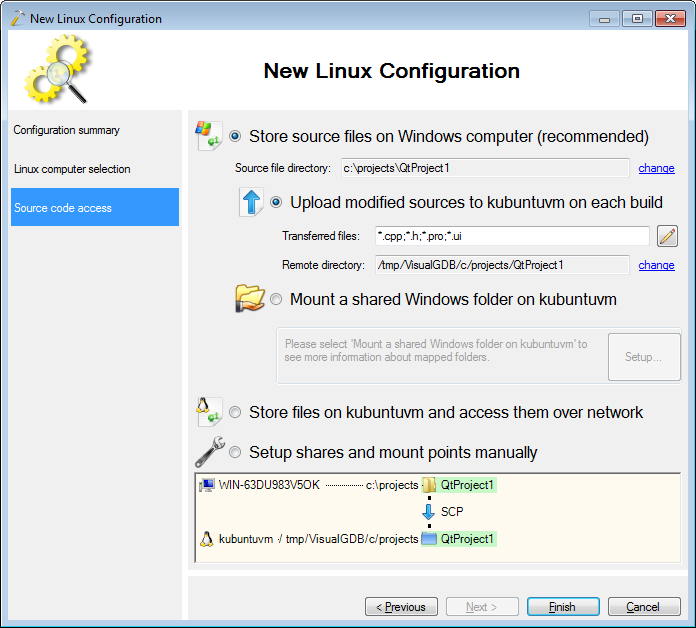
- On the last wizard page you can change the way source files are handled. By default they will be transferred to a subdirectory in /tmp and built there:
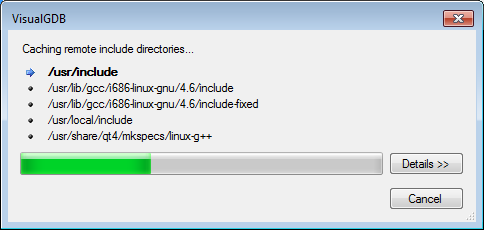
- Press “Finish” to complete the wizard. VisualGDB will download the QT Include directories from your Linux machine and configure IntelliSense to parse them:
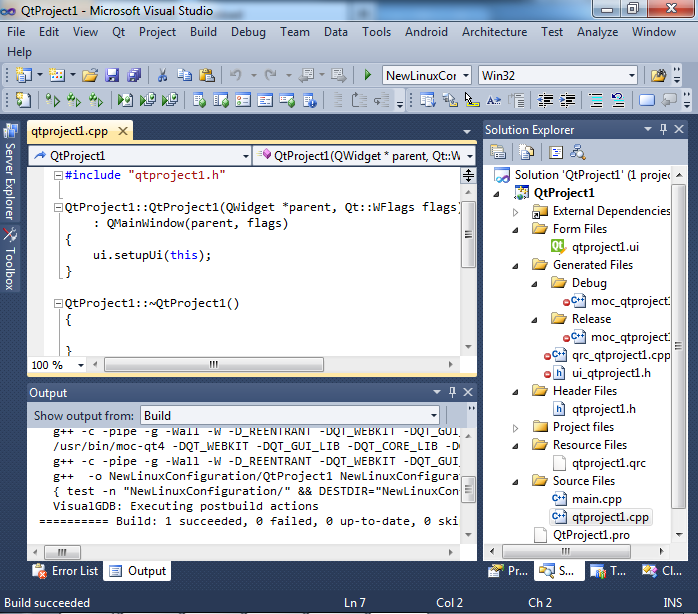
- Build your new Linux configuration by pressing Ctrl-Shift-B. The Output window will show how the files are transferred to the Linux machine and built there using qmake:
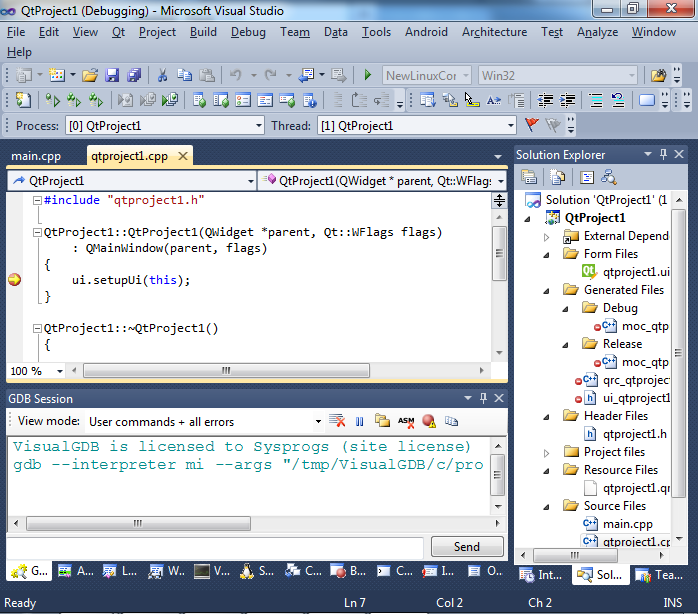
- Set a breakpoint in the constructor of the main window class and press F5 to start debugging. The debugging experience will be similar to debugging normal Windows apps. Additionally to that you can interact with the underlying GDB debugging using the GDB Session pane:
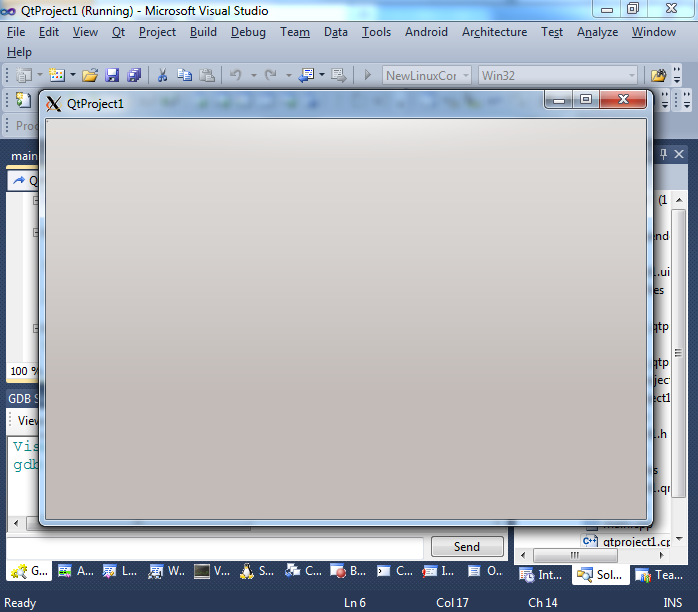
- Press F5 to continue debugging. The program running on the Linux machine will display the main window that will be shown on your Windows machine using the XMing window server. You can also switch to showing the windows on the Linux machine directly via VisualGDB Project Properties:
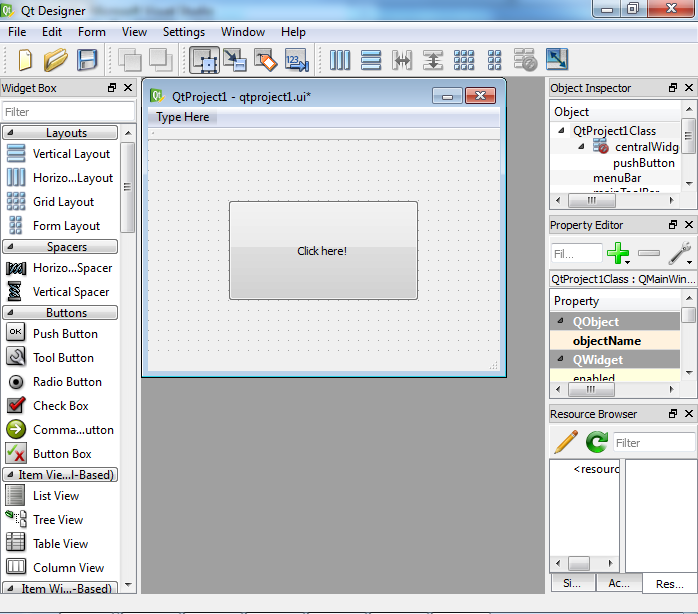
- Now we will add some functionality to our basic app. Double-click on the .ui file to launch QT Designer. Add a button to the main window:
- Creating a click handler is a bit more complex than using Windows frameworks like MFC, WTL or WPF and requires two steps. First switch to the signal/slot mode (F4) click on the button and drag the signal connector to the form outside the button:
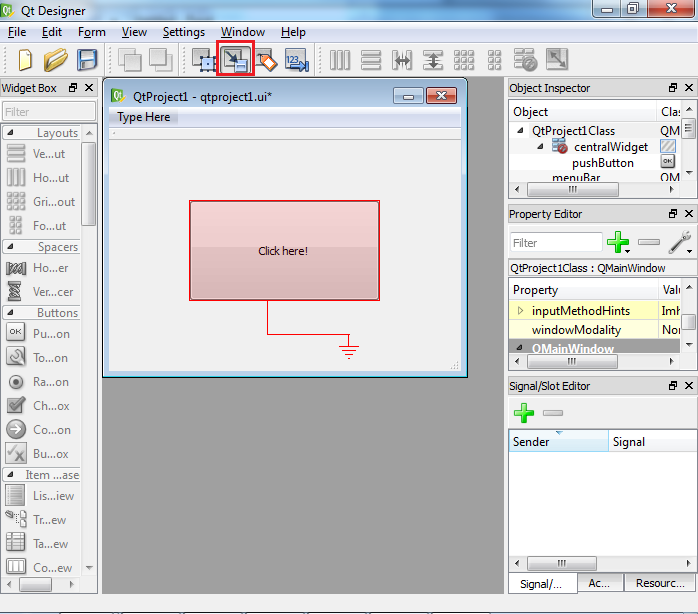
- QT Designer will start creating a new signal/slot connection. A signal is the event produced by the form. A slot is the handler method defined inside your form class:
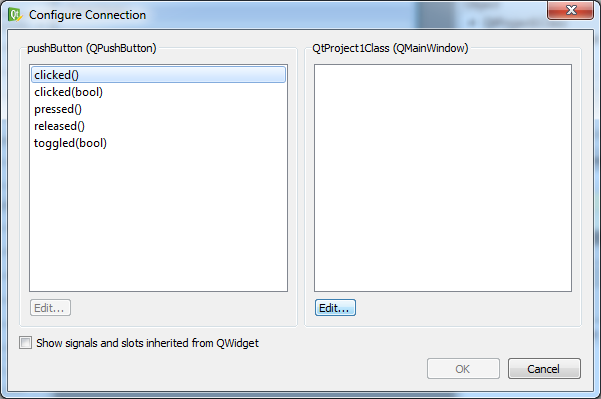
- Select “clicked()” on the left and click “Edit” on the right to add another slot. Click “+” and type in the new slot name: ButtonClickHandler():
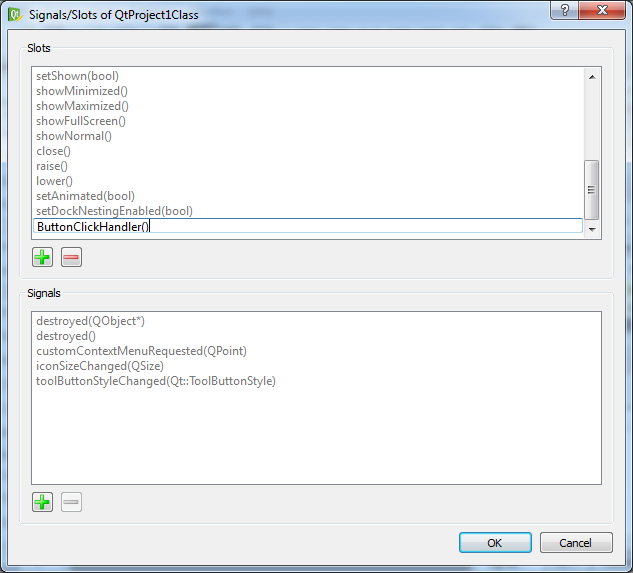
- Press OK to finish creating the connection. Verify the results in the Configure Connection window:

- The QT Designer will show the newly created
signal/slot connection: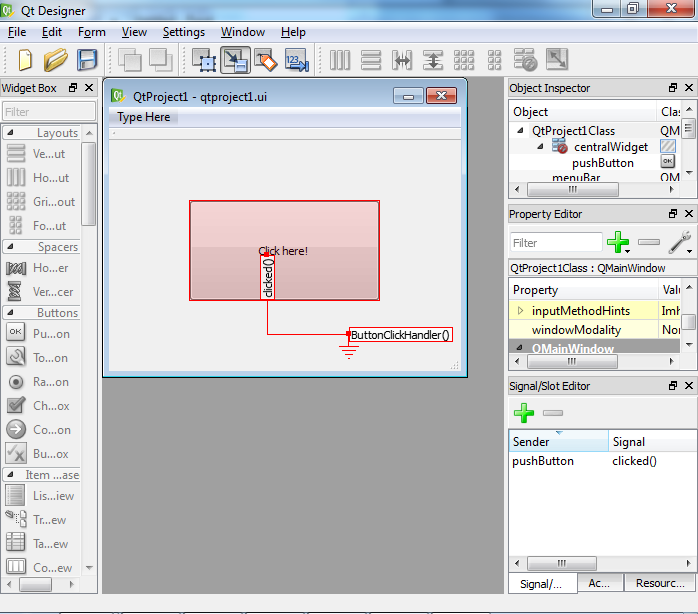
- Save the .ui file and close QT Designer. Go back to Visual Studio and add the following code inside the declaration of the QtProject1 class:
protected slots:
    void ButtonClickHandler();
Then add the body of the method to QtProject1.cpp:
#include <QMessageBox>

//...

void QtProject1::ButtonClickHandler()
{
    QMessageBox msgBox;
    msgBox.setText("You have pushed the button!");
    msgBox.exec();
}
Note that the method name should match the slot name created in Qt Designer.
Build your project with the new code: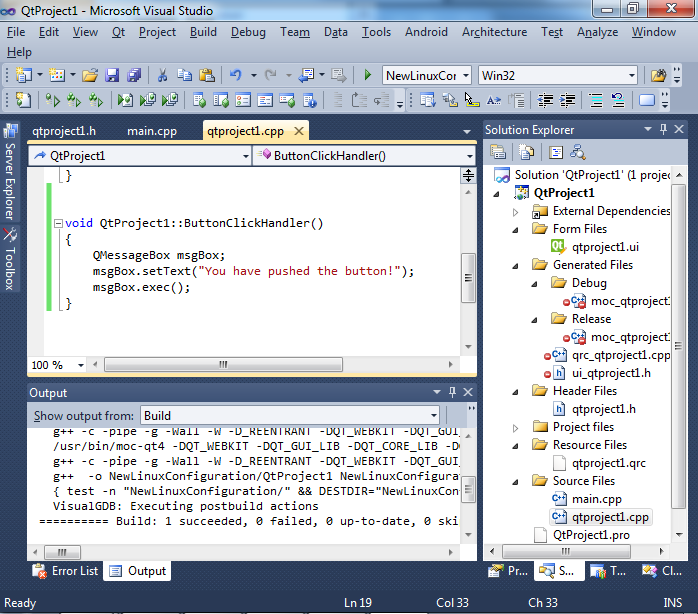
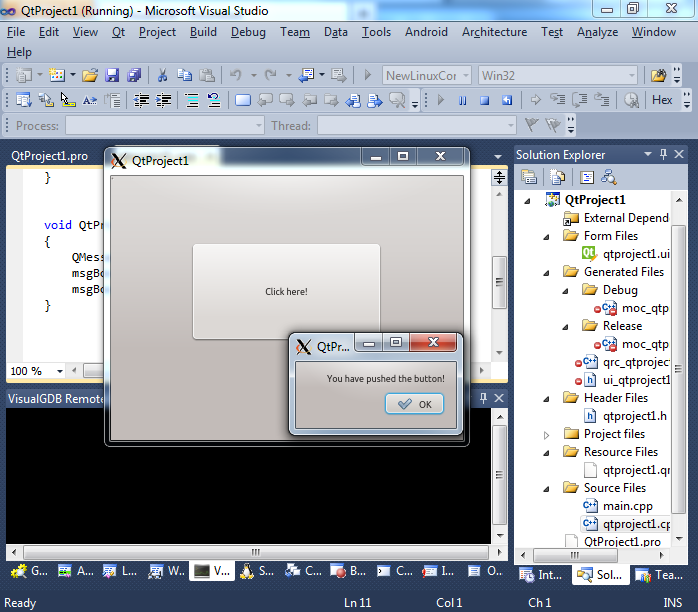
- Press F5 to run the project. Click the button you added to see the message box:
- Now we will demonstrate how to use cross-platform QT API. In this tutorial we will list all entries in the current directory and display them in the message box. Include <QtDir> in your .cpp file and replace the body of the button click handler with the following code:
QMessageBox msgBox;

QDir currentDir(".");
QString fileList = "Files in " + currentDir.absolutePath() + ":\n";

QStringList entries = currentDir.entryList();
foreach(QString fn, entries)
{
    if(fn != tr(".") && fn != tr(".."))
    {
        fileList += fn + "\n";
    }
}

msgBox.setText(fileList);
msgBox.exec();
Note that foreach is a preprocessor macro defined inside QT to simplify iterating over QT collections.
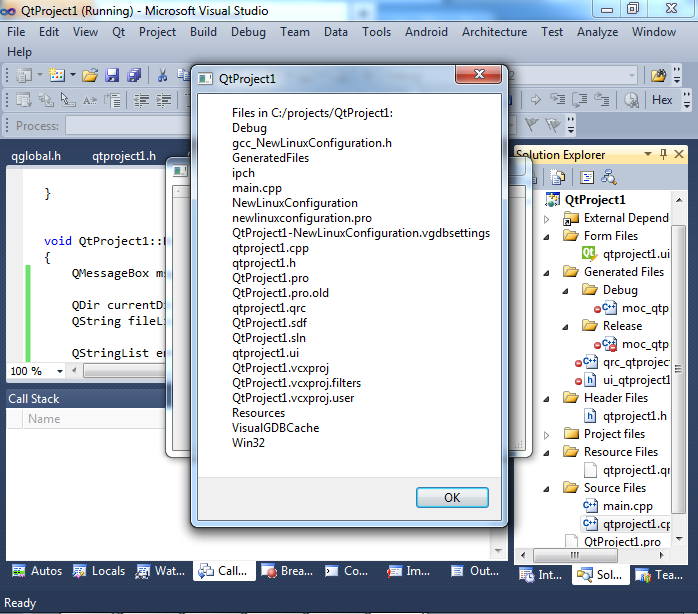
- Build the project and press F5. You will see the list of files on the Linux machine:

- Now simply select “Debug” from the configuration list, build and press F5 again. The same source code will be built for Windows and will show a Windows message box listing files in the Windows directory:


If you want to add more cross-platform functionality that will work on Windows, Linux and Linux-based systems such as Raspberry PI, simply implement it using QT API that is documented here. The QT framework will abstract out the differences between operating systems and let you write easily portable code.