Developing RISC-V firmware with Visual Studio
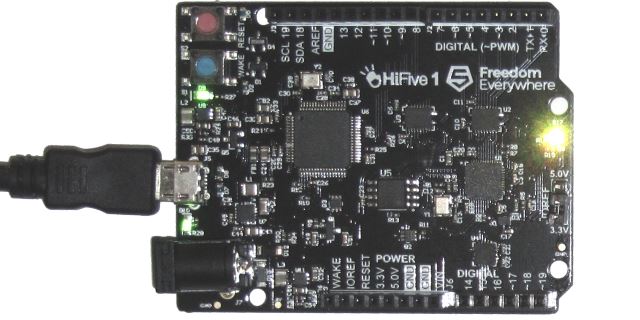
This tutorial shows how to develop firmware for the open-source RISC-V core using Visual Studio and VisualGDB. We will create a basic project for the HiFive1 board that will change the color of the on-board LED and will show how to edit it, program it into the SPI FLASH memory and easily debug it.
Before you begin, install VisualGDB 5.5 or later.
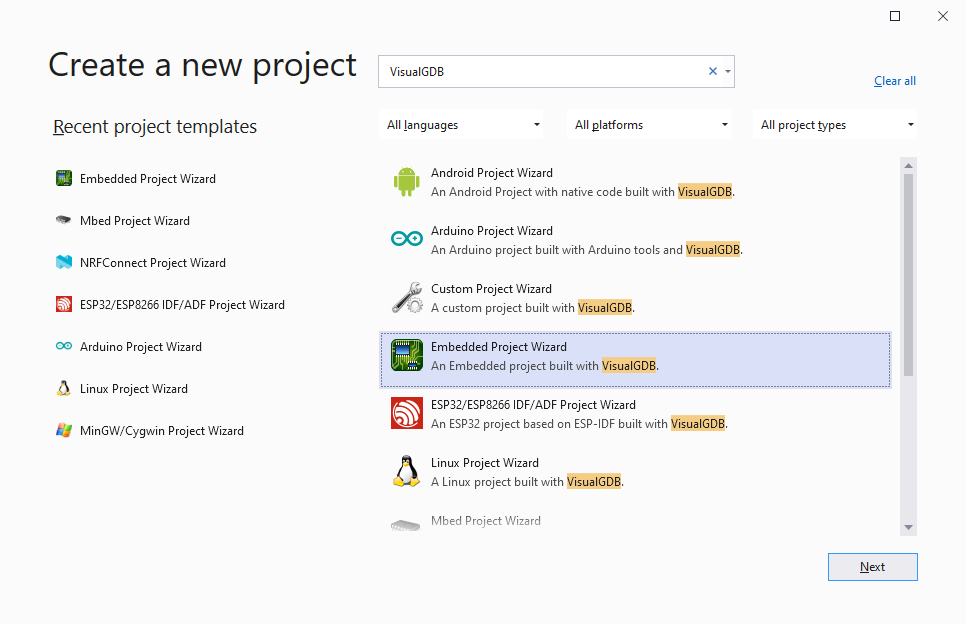
- Start Visual Studio and begin creating a project with VisualGDB Embedded Project Wizard:
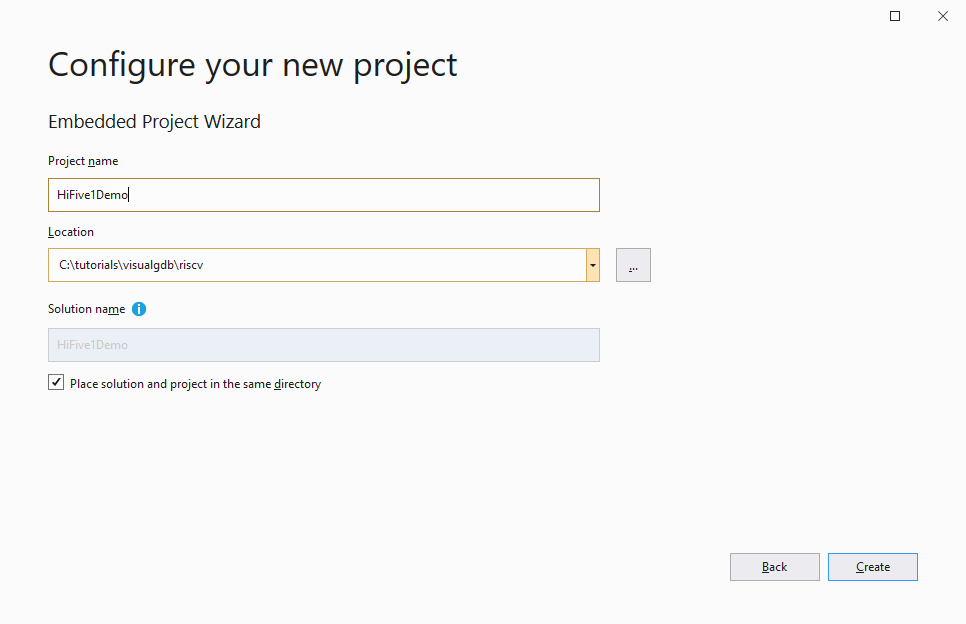
- Enter the name and location for your project:
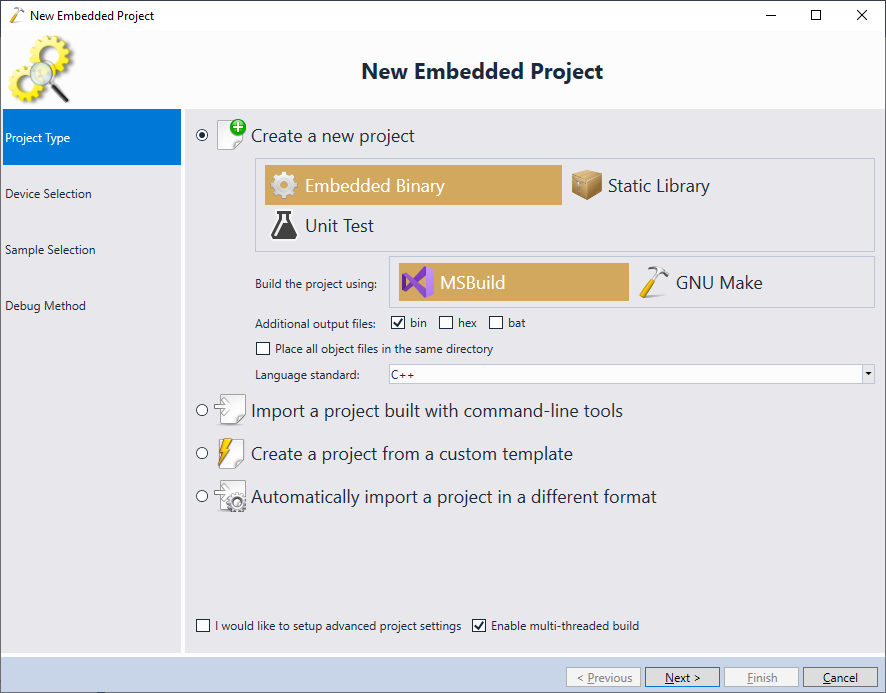
- Proceed with the default “Create a new project with MSBuild” settings:
- On the next page select the RISC-V toolchain. If you have not installed it yet, simply select “download toolchain for risc-v” and VisualGDB will install and configure it automatically:
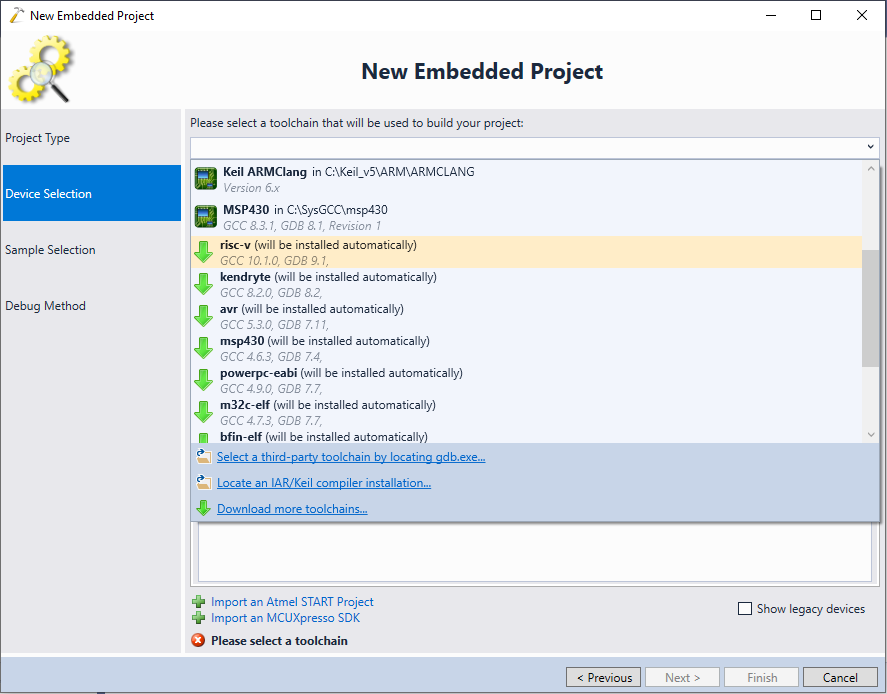 Make sure you are using the toolchain based on GCC 10.1 or later, as the earlier versions are less reliable.
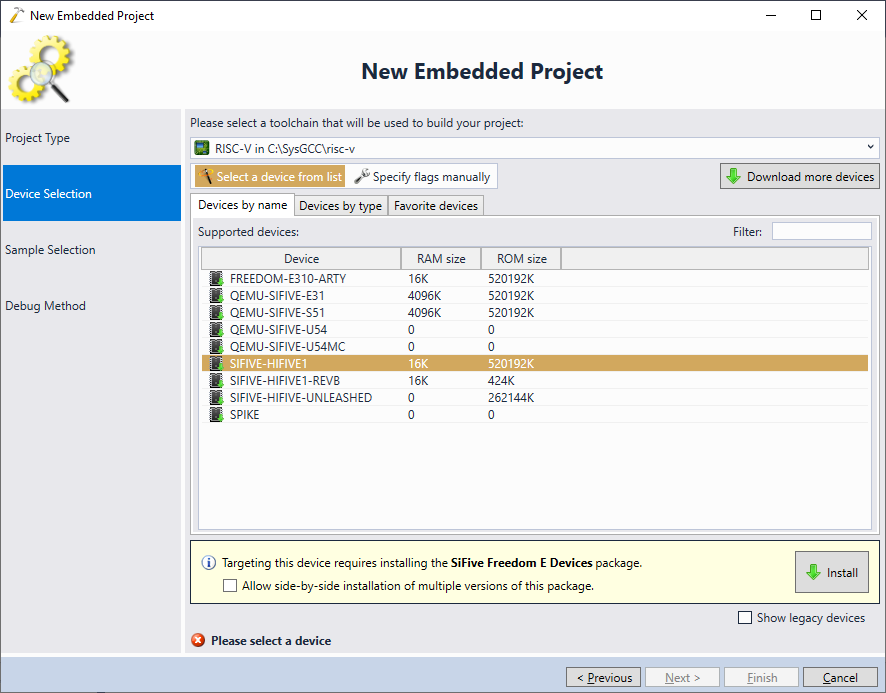
 - Once the toolchain is installed, VisualGDB will show the devices compatible with it and will allow automatically downloading the related SDKs. Select the SIFIVE-HIFIVE1 device and click “Install”:
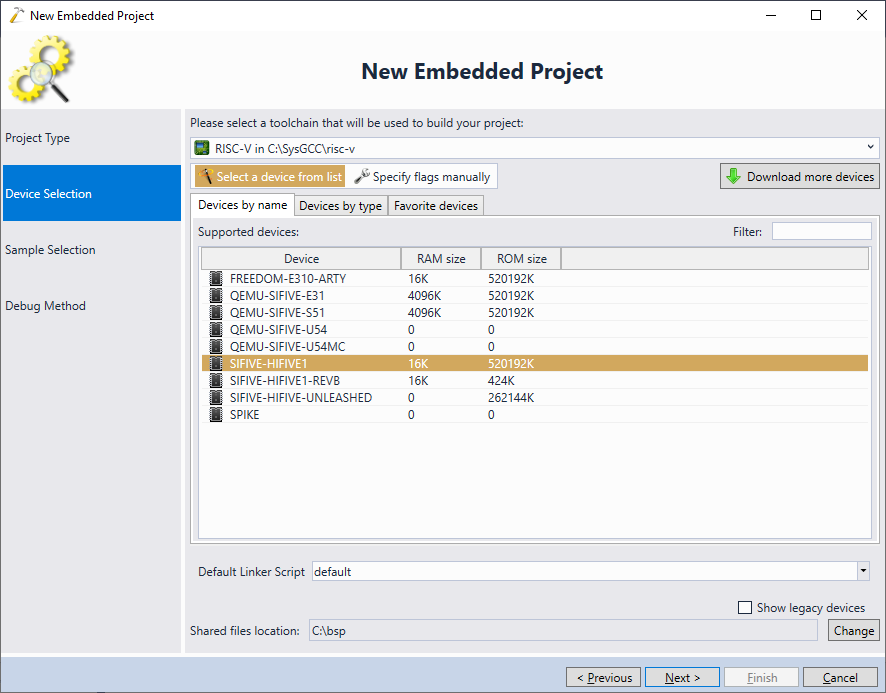
- Once the HiFive SDK is installed, proceed with the default device settings:
- On the next page proceed with the default settings for the sample project:

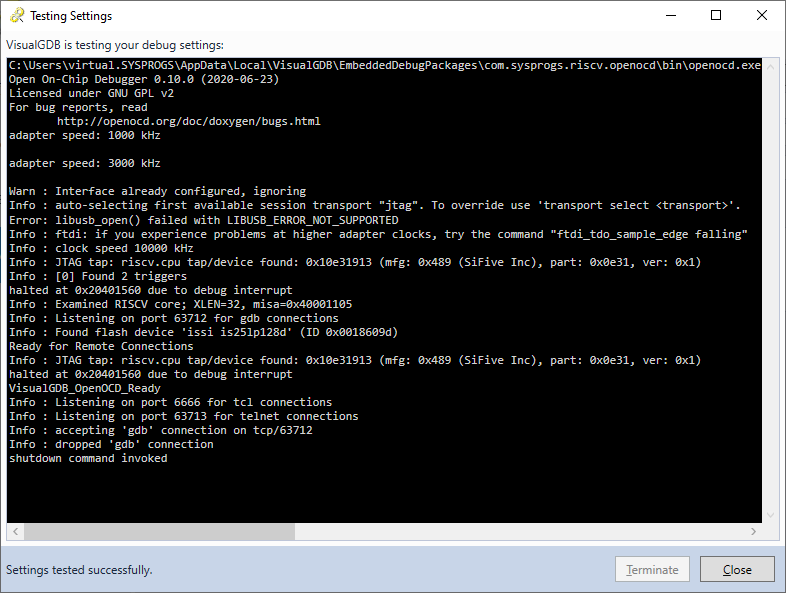
- Connect your board to the computer over USB. VisualGDB will automatically detect it and configure the debugger. Ensure that the interface and device settings match your setup and press “Test” to test the connection:
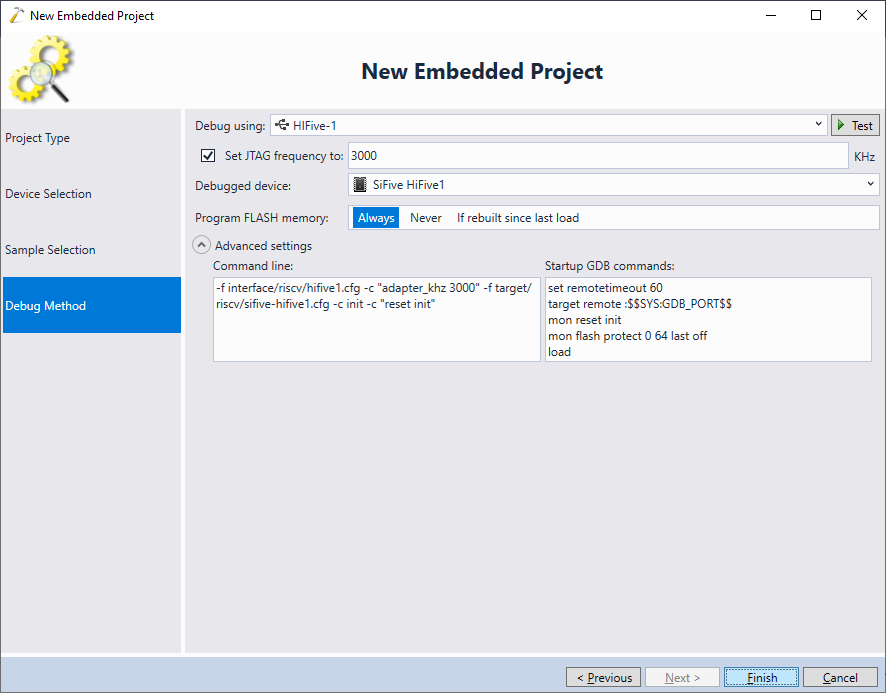 VisualGDB will automatically install any missing drivers so that OpenOCD can access your board out-of-the-box.
 - Once the driver is installed, VisualGDB will confirm that the connection between the JTAG debugger and the chip is successful:
- Press “Finish” to generate the project. Then build it with Ctrl-Shift-B:

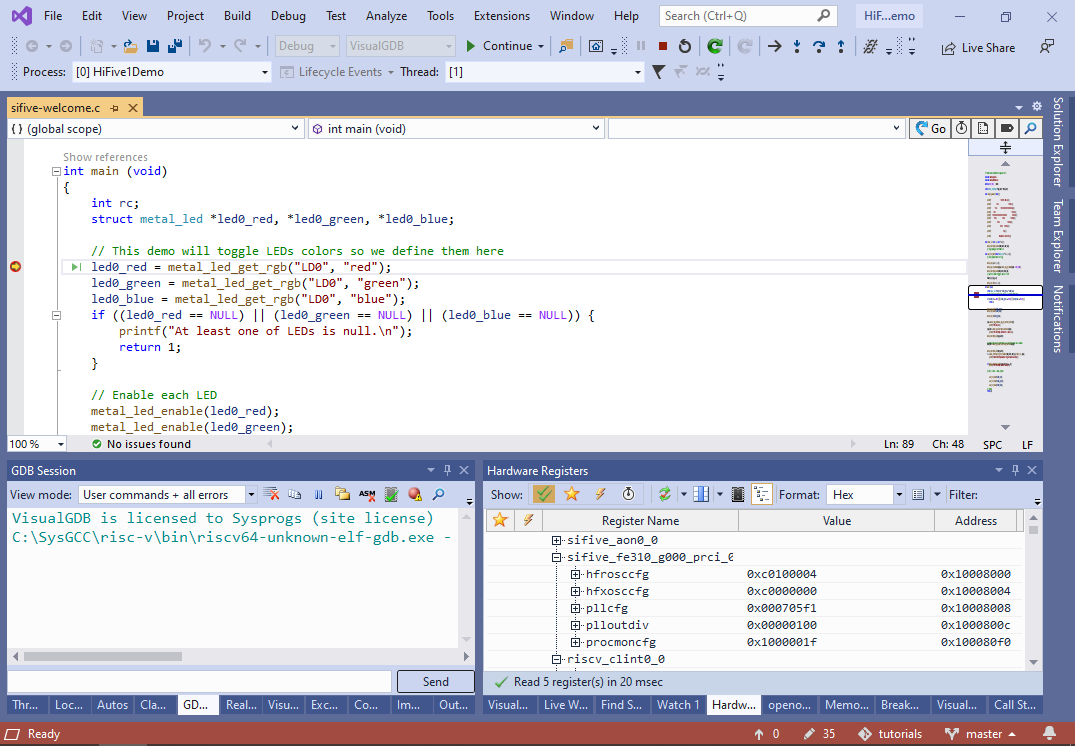
- Set a breakpoint inside the main() function and press F5 to begin debugging. VisualGDB will automatically program the FLASH memory and start debugging your program. The breakpoint will hit:
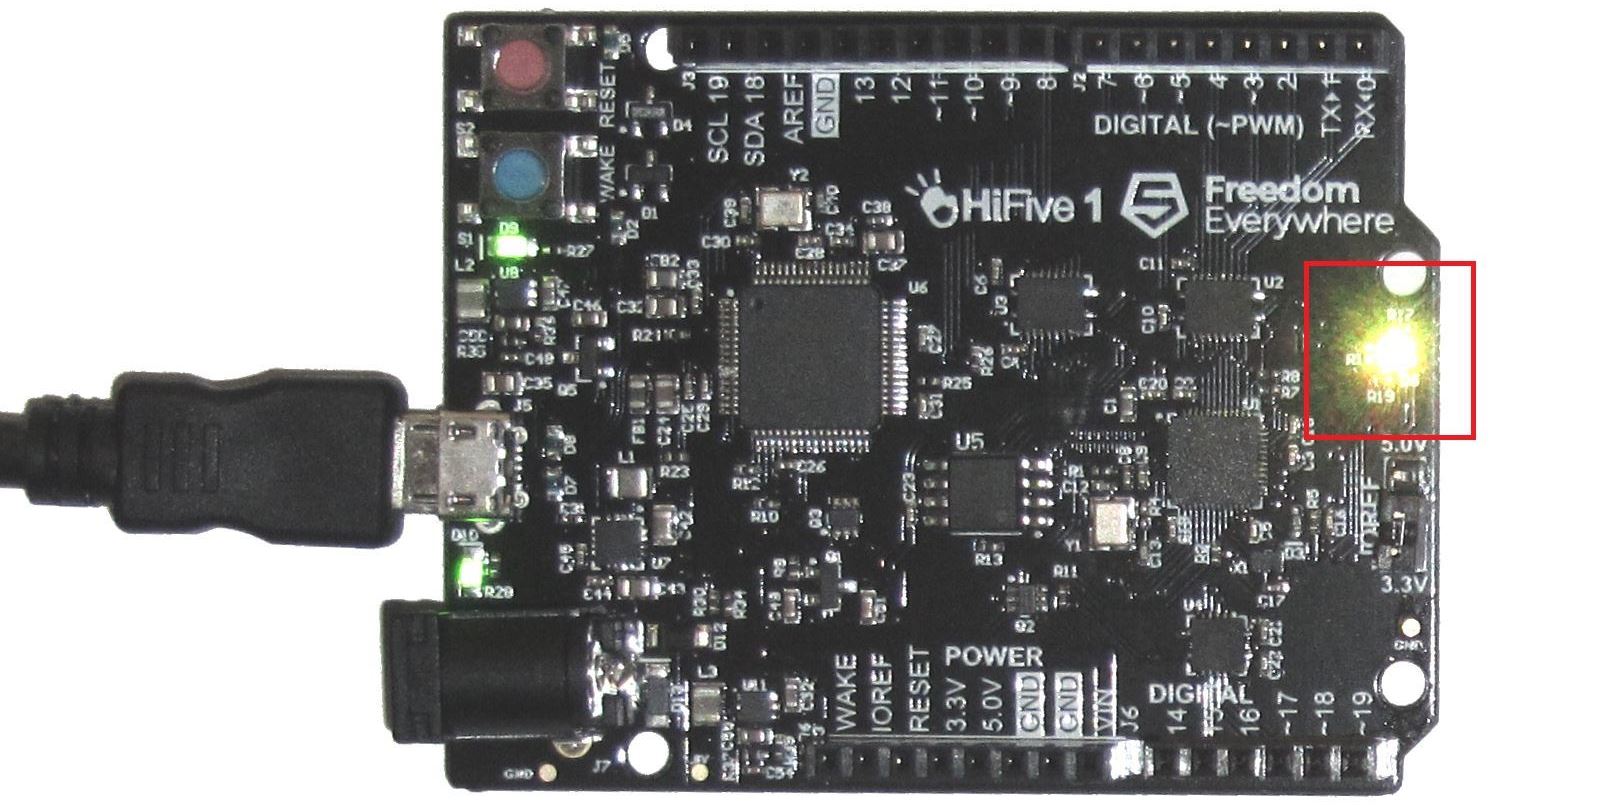
- Remove the breakpoint and resume the program. Observe how the on-board LED changes its color periodically:
- Similarly to the ARM processor, the RISC-V CPU supports reading the target memory without stopping it, enabling features like Live Variables. We will now demonstrate how to use them. Modify the timer_isr() function to increase the counter on each invocation. Then press F5 to automatically build the updated program and begin debugging it. Then use the Live Watch window to plot the value of g_Counter while the program is running:
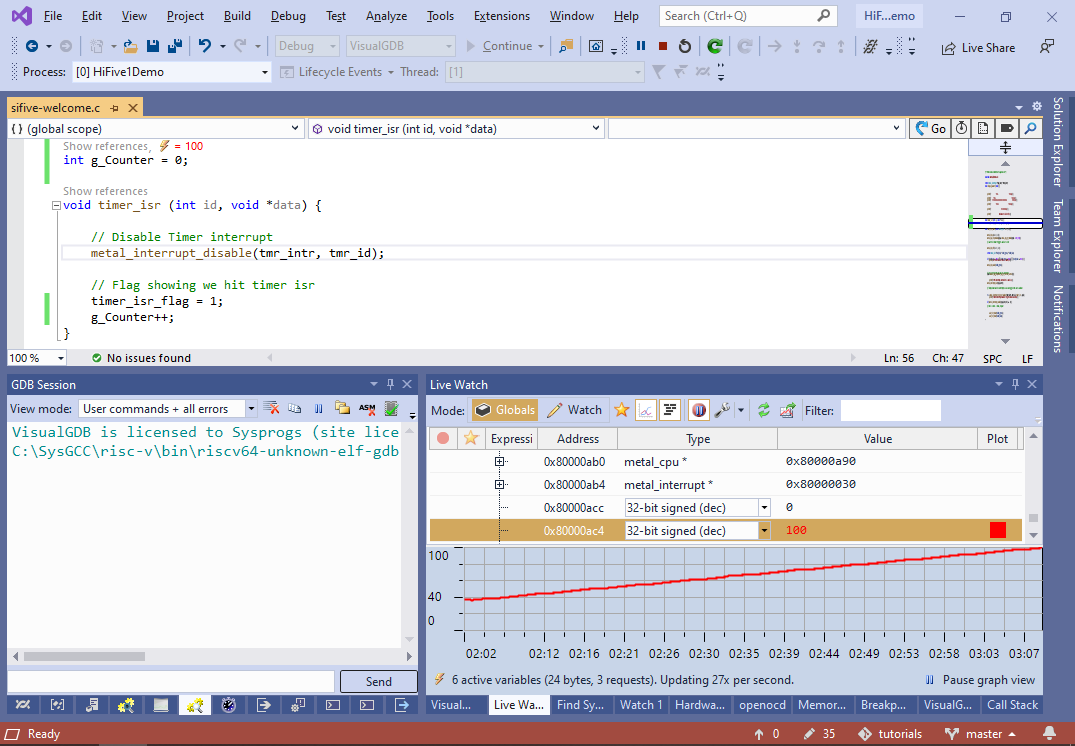 You can add multiple variables to the Live Variables window and plot all of them.
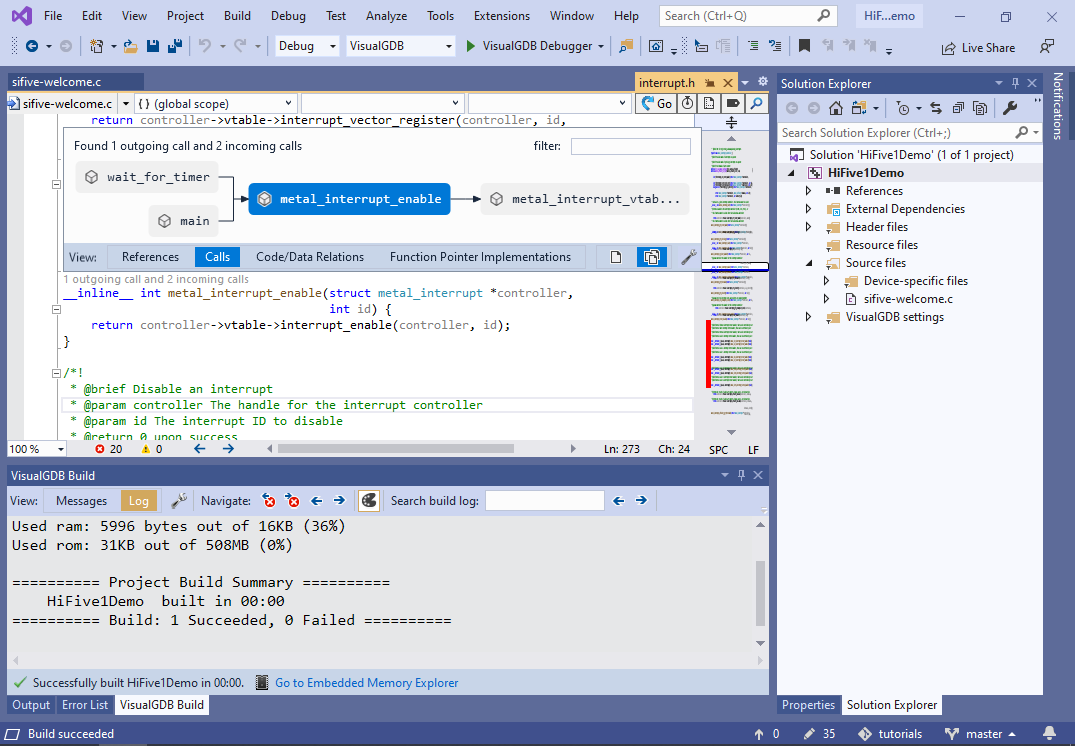
 - The VisualGDB project includes the SiFive bare metal library. You can use CodeJumps to quickly explore the relations between different functions in the library and in your program:
- You can get a detailed memory utilization report using the VisualGDB’s Embedded Memory Explorer window. It can show per-file, per-section and per-symbol statistics, and also highlight differences between similar builds:
