Developing Linux code with Vagrant VMs and VisualGDB
This tutorial shows how to use Vagrant to quickly setup virtual machines with popular Linux distros and use them to develop C/C++ applications with Visual Studio. Before you begin, install VisualGDB 5.1 or later.
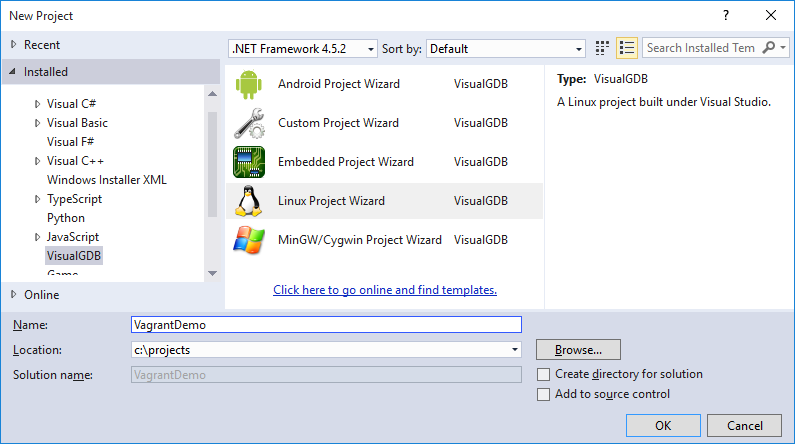
- Start Visual Studio and select “File->New-> Project”. Then choose the VisualGDB Linux Project Wizard:
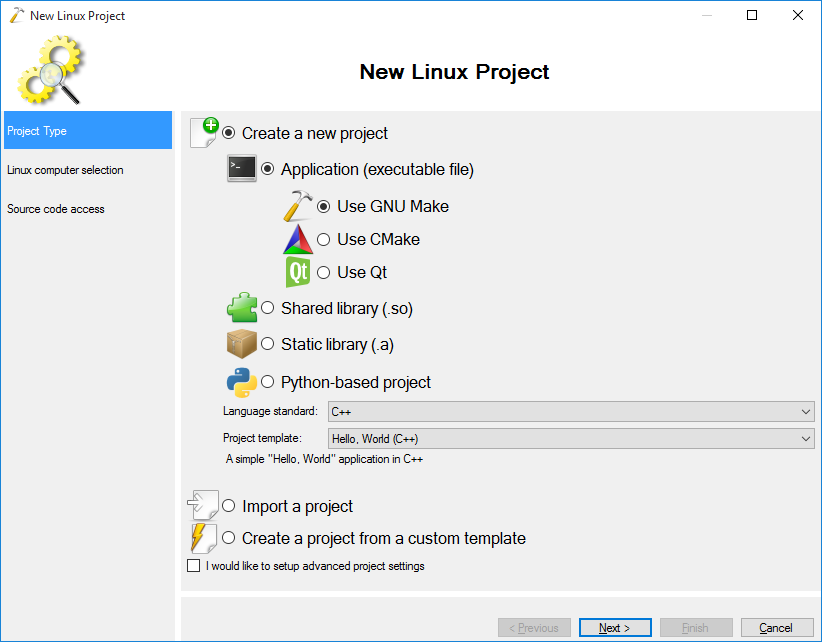
- On the first page select “Create a new project -> Application”:
- On the next page simply select “Create a new Vagrant VM”:
 If you already have Vagrant VMs on this Windows machine, VisualGDB will detect them automatically by reading the %USERPROFILE%\.vagrant.d\data\machine-index\index file and show them in the list.
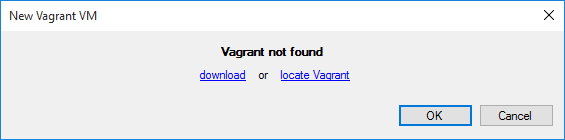
 - If Vagrant is not installed, VisualGDB will show a dialog with the download link. Download it using the link from the window and click “locate Vagrant” to point VisualGDB at its install location:
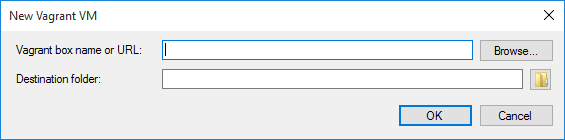
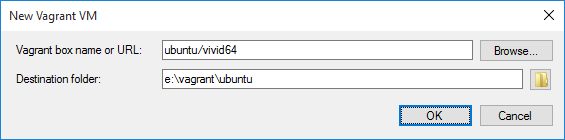
- Once VisualGDB knows where Vagrant is installed, it will allow choosing a box name and a destination folder. Click “Browse” to open the public Vagrant box catalog:
- Find a box with the distro you want to try out (in this example we will use Ubuntu Vivid) and click on it:

- VisualGDB will automatically paste the box name into the “Vagrant box” field. You can also enter a box URL (e.g. from this page) to get a third-party box. Specify the destination folder where Vagrant will store the VM configuration files:
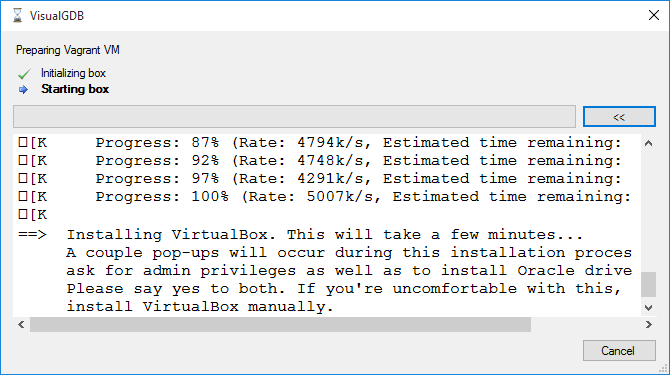
- Click “OK”. VisualGDB will begin creating the box. If you don’t have VirtualBox installed, Vagrant will install it automatically:
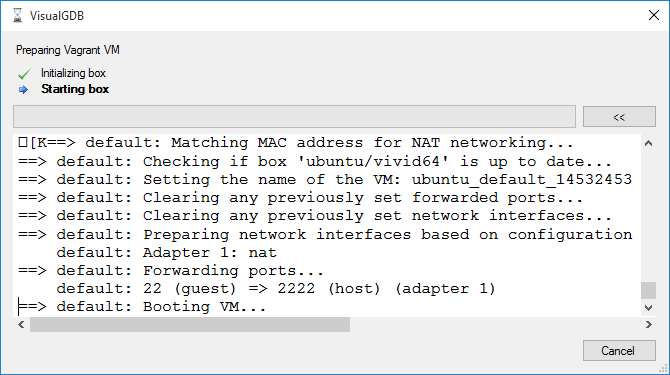
- Once the installation is complete, Vagrant will download and start the VM:
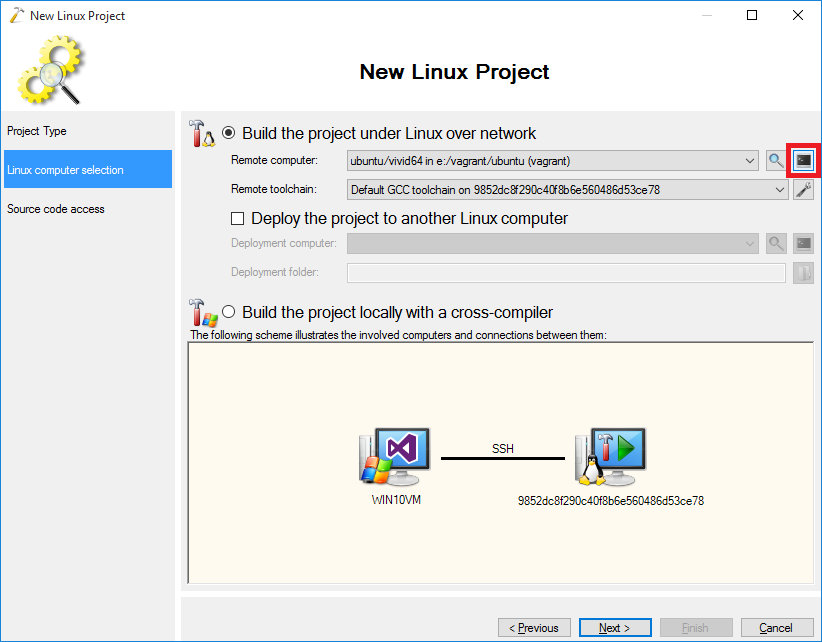
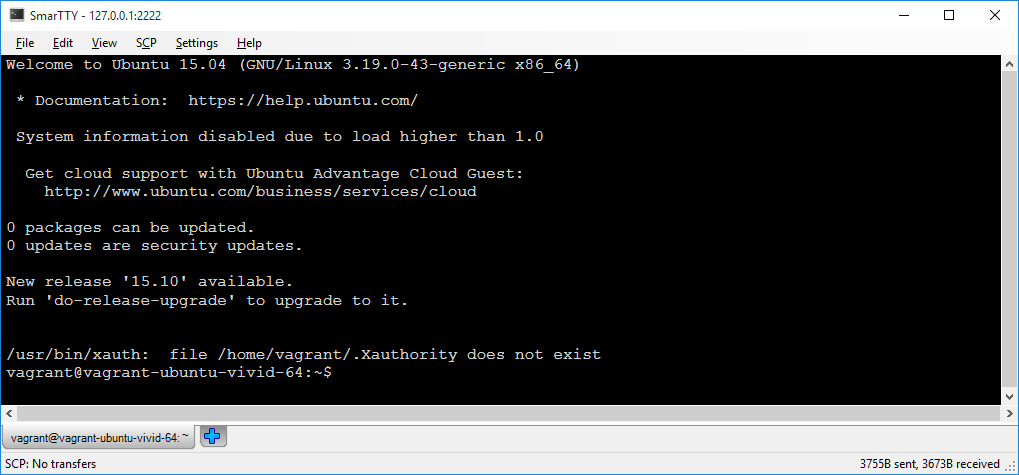
- Once the VM is running, VisualGDB will show it in the “Remote computer” field just like a normal SSH connection. You can click the console button to the right of it to connect to the box via SSH if you want to experiment with it on your own:
- VisualGDB will open another window where you can try running various commands on the machine:
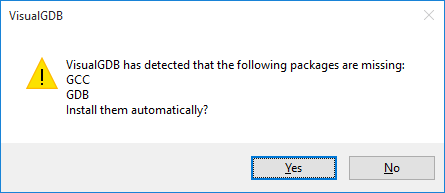
- Press “Next” in the wizard. If your Vagrant box does not come with GCC, GDB or Make, VisualGDB will detect this and prompt to install the missing packages. Simply click “Yes”:
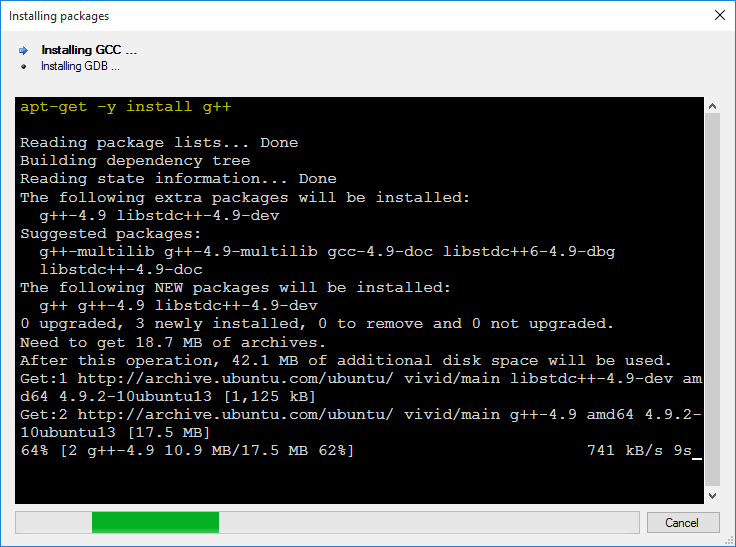
- The installation process will take some time, but should ultimately succeed unless your VM is based on an old distro for which the repositories are not maintained. Most recent Debian- and RedHat-based distros should be supported automatically:
- The next page allows specifying where VisualGDB will store the files on the Vagrant VM. In this wizard we will proceed with the default settings:

- Press “Finish”. VisualGDB will generate the project for you. Build it by pressing Ctrl-Shift-B:
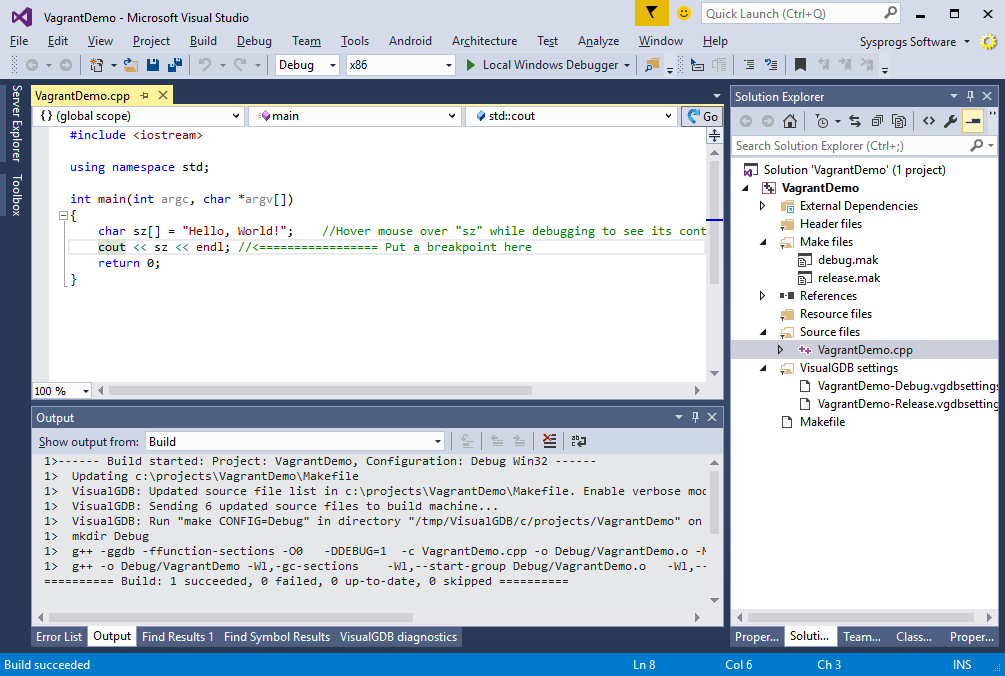
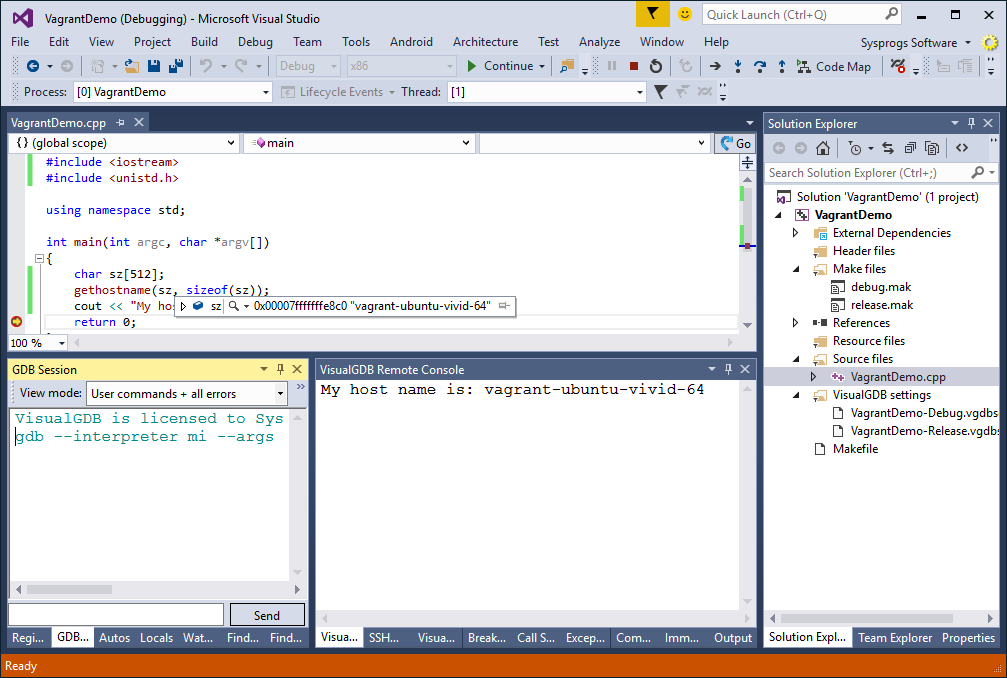
- You can modify the source code to call the gethostname() function to display the host name where the test program is running. Then set a breakpoint somewhere in the code and hit F5 to begin debugging:
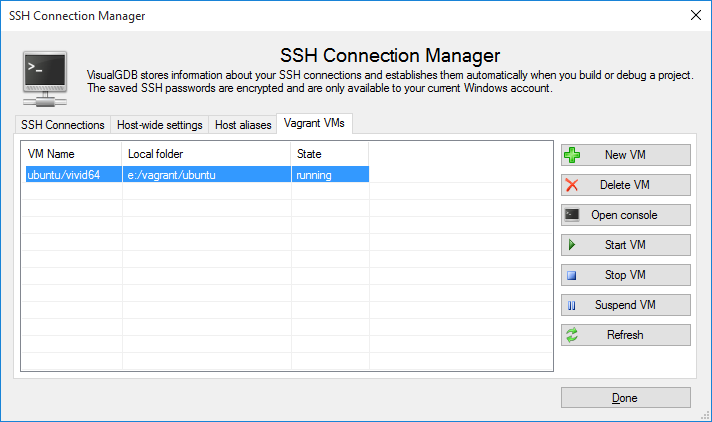
- You can always see the state of the current Vagrant virtual machines via Tools->SSH Host Manager. Select the newly created VM and press “Stop VM”:
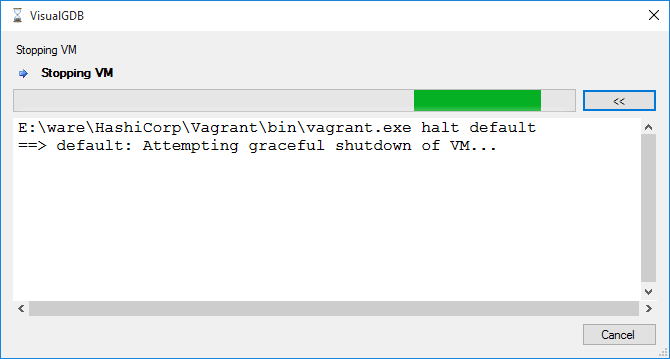
- VisualGDB will invoke the “vagrant halt” command that gracefully stops the virtual machine:
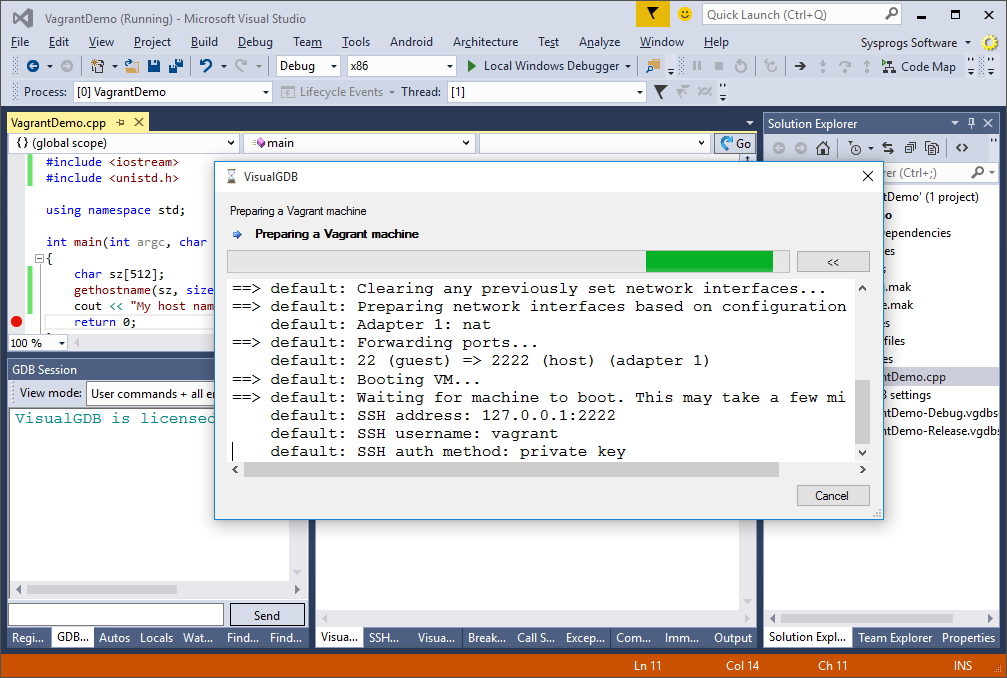
- Next time you want to debug the project, VisualGDB will automatically detect if the VM is not running and will seamlessly launch it and establish a new connection so that you can continue debugging your code:
 Do not forget to build your code again if you have stopped the VM, as the /tmp directory used to store the uploaded sources is deleted each time the VM restarts. You can also use a different directory to store your files (e.g. inside the home directory of the current user).


