Creating Advanced CMake Projects for Raspberry Pi
This tutorial shows how to use the new VisualGDB CMake Project Subsystem to create and manage advanced CMake-based projects for Rasberry Pi. We will start with creating a new project, show how to edit various settings and create a few additional targets.
Before you begin, install VisualGDB 5.3 or later.
- Start Visual Studio and open VisualGDB Linux Project Wizard:
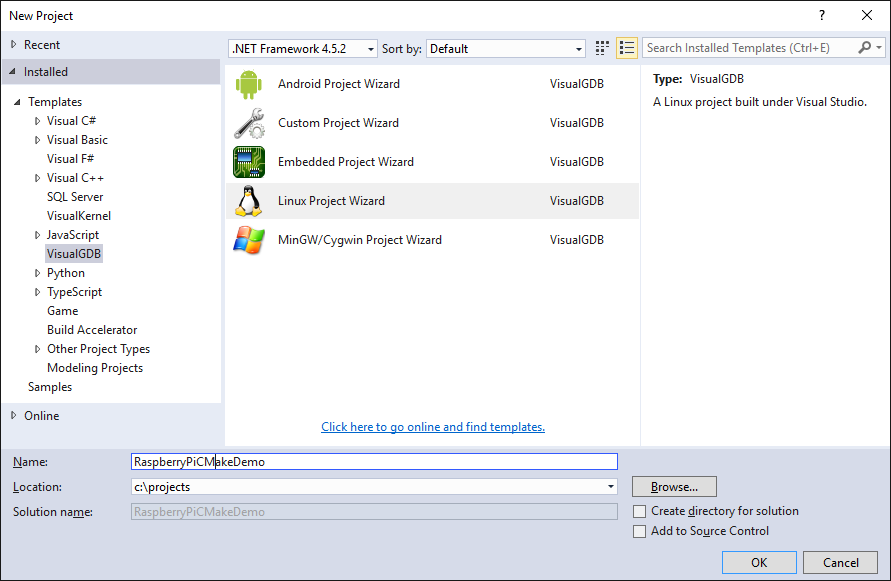
- Select Create a new project -> Application -> Use CMake. Ensure the “Use the advanced CMake Project Subsystem” checkbox is checked:
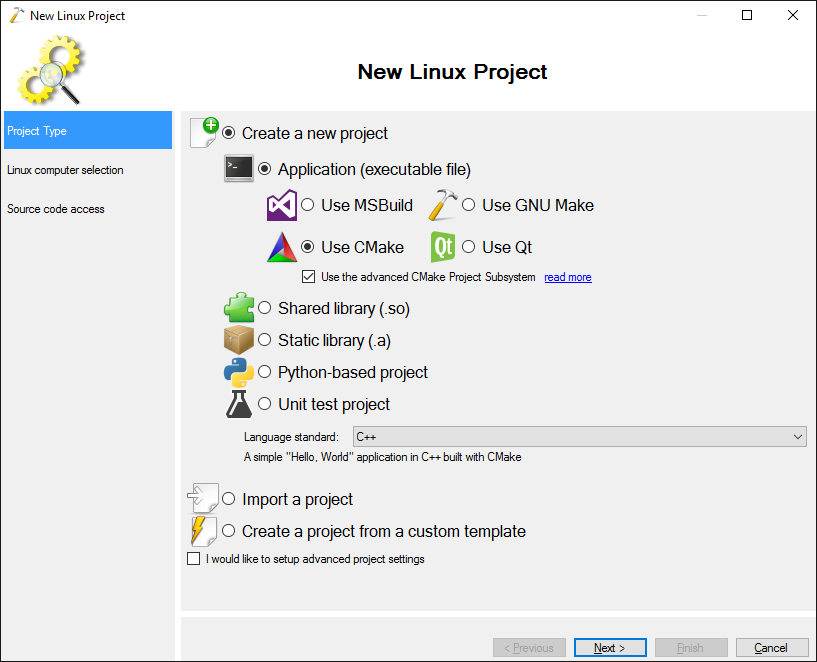
- On the next page select “Build the project locally with a cross-compiler” and click “Finish” to create the project:
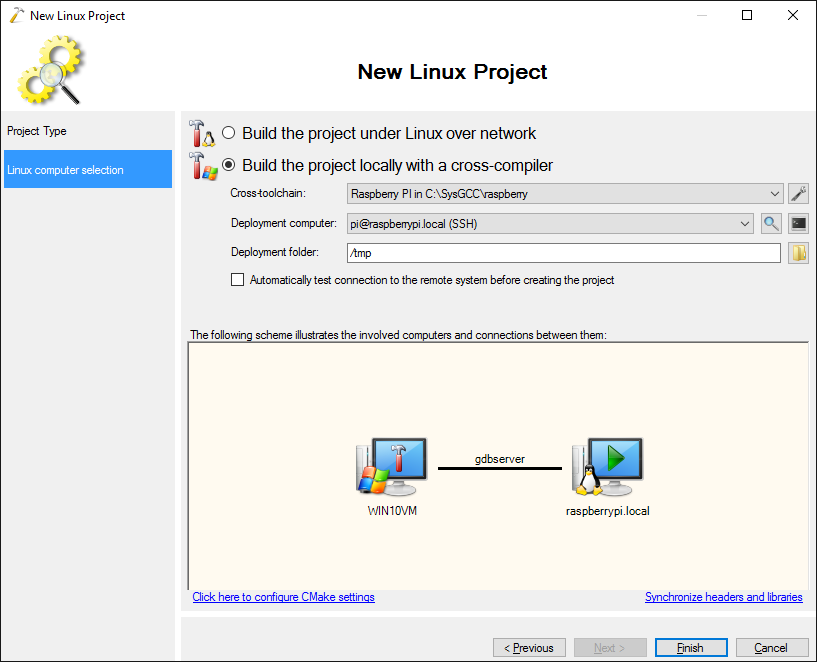
- VisualGDB will download and install a special build of CMake that reports advanced properties of the targets and lets VisualGDB automatically edit them in response to changing various settings via Visual Studio GUI:
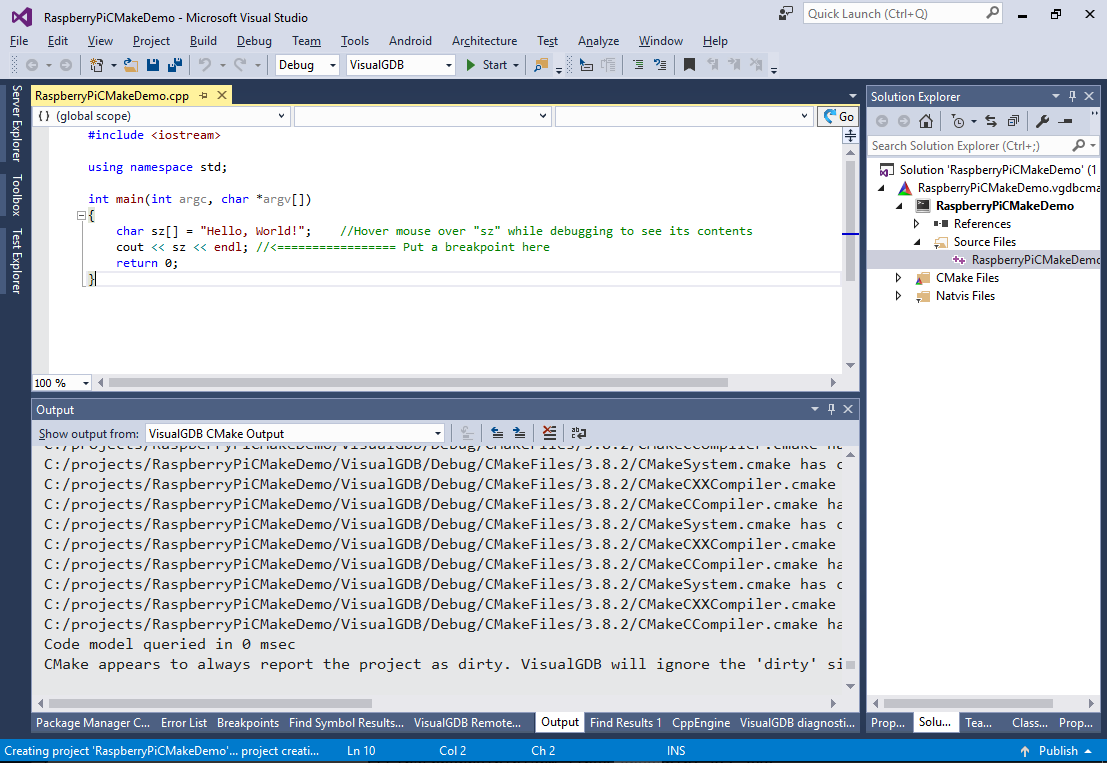
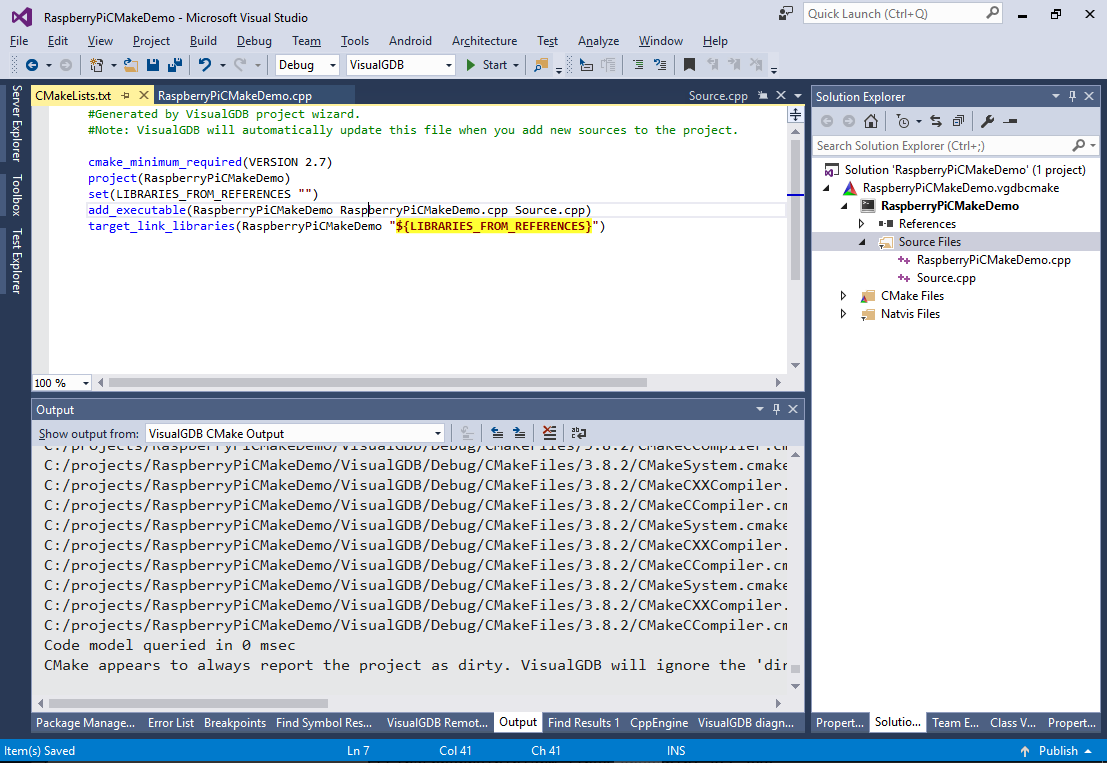
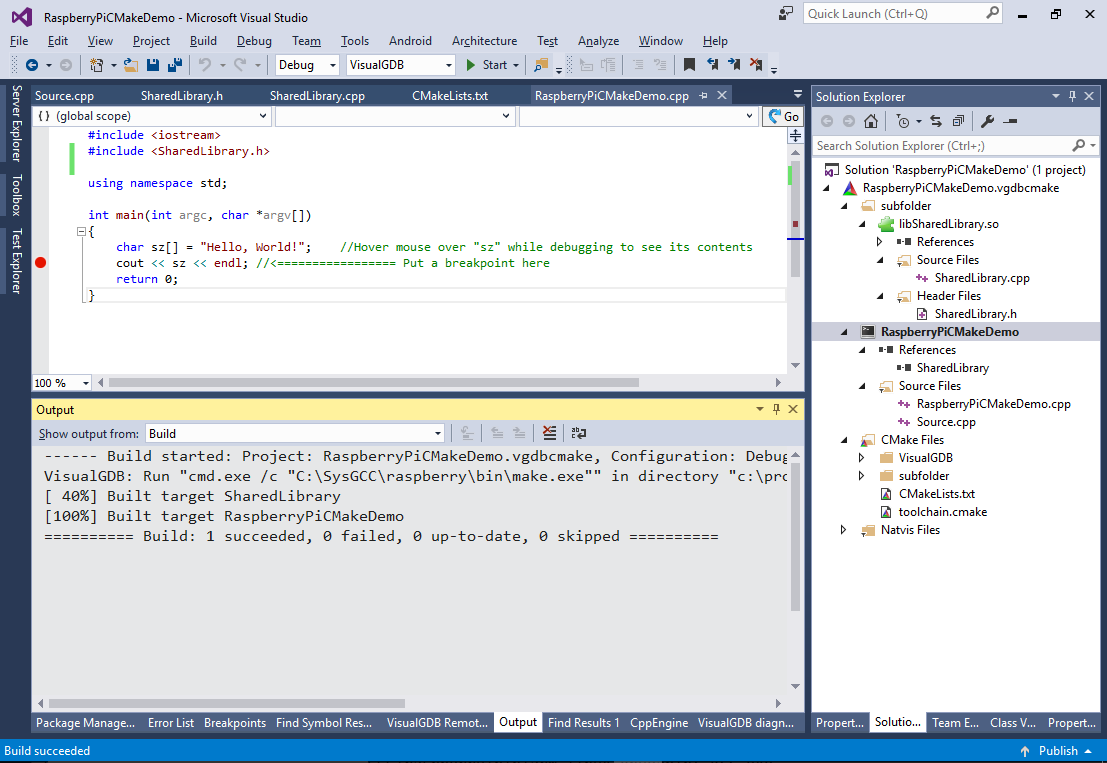
- Once the project is created, its contents will appear in Solution Explorer. Unlike regular C++ projects where each project corresponds to one target, VisualGDB CMake projects can recognize and show multiple targets if they are defined in your CMakeLists.txt files. The basic project created by VisualGDB wizard has only one target:
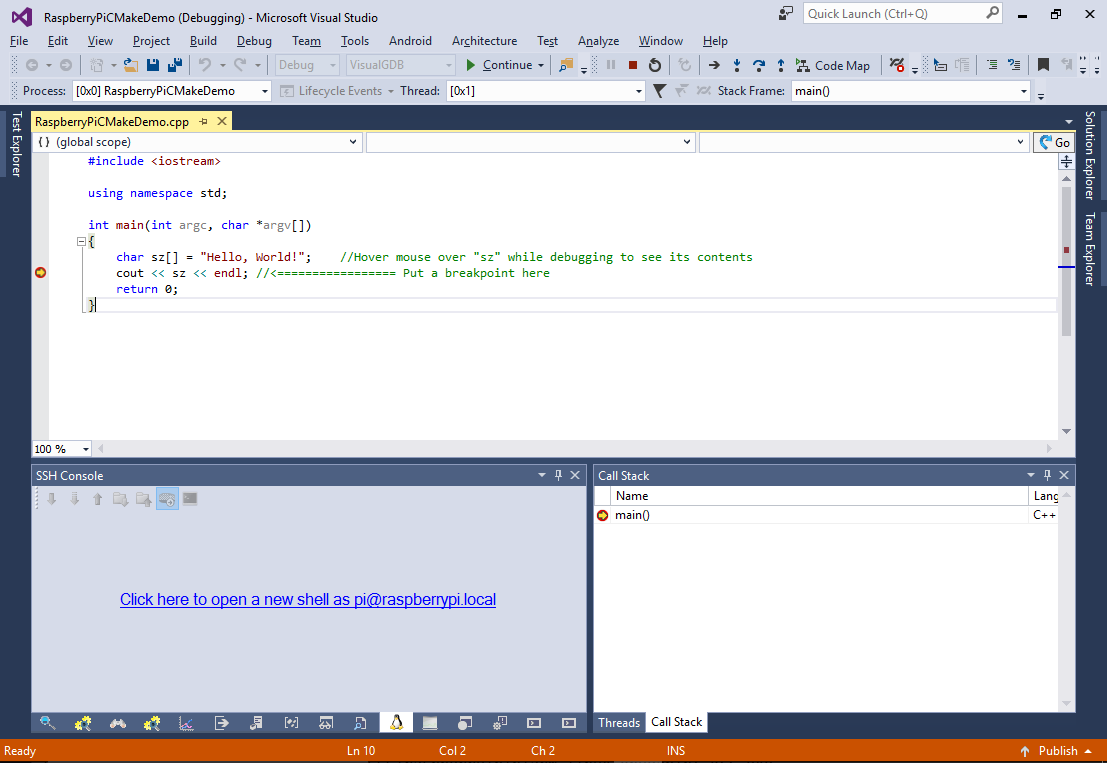
- Build the project and ensure you can debug it:
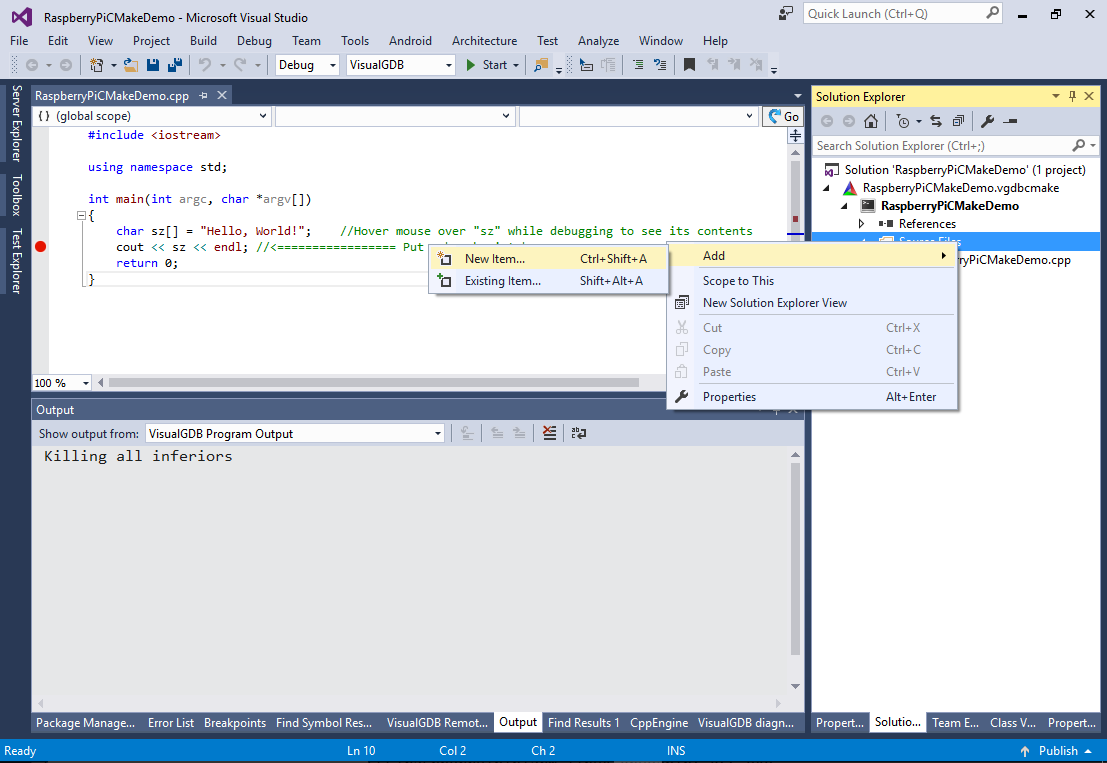
- Now we will show how to edit various project properties. Right-click on the “Source Files” folder and select “Add->New Item”:
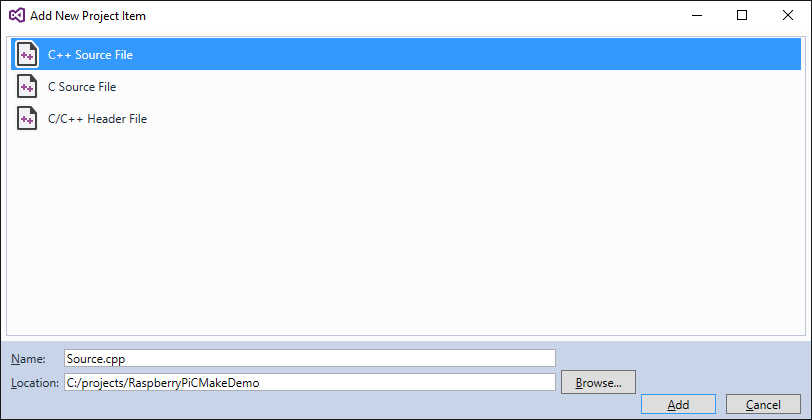
- Select “C++ Source File” and click “Add”:
- Note how VisualGDB automatically updates the add_executable() statement:
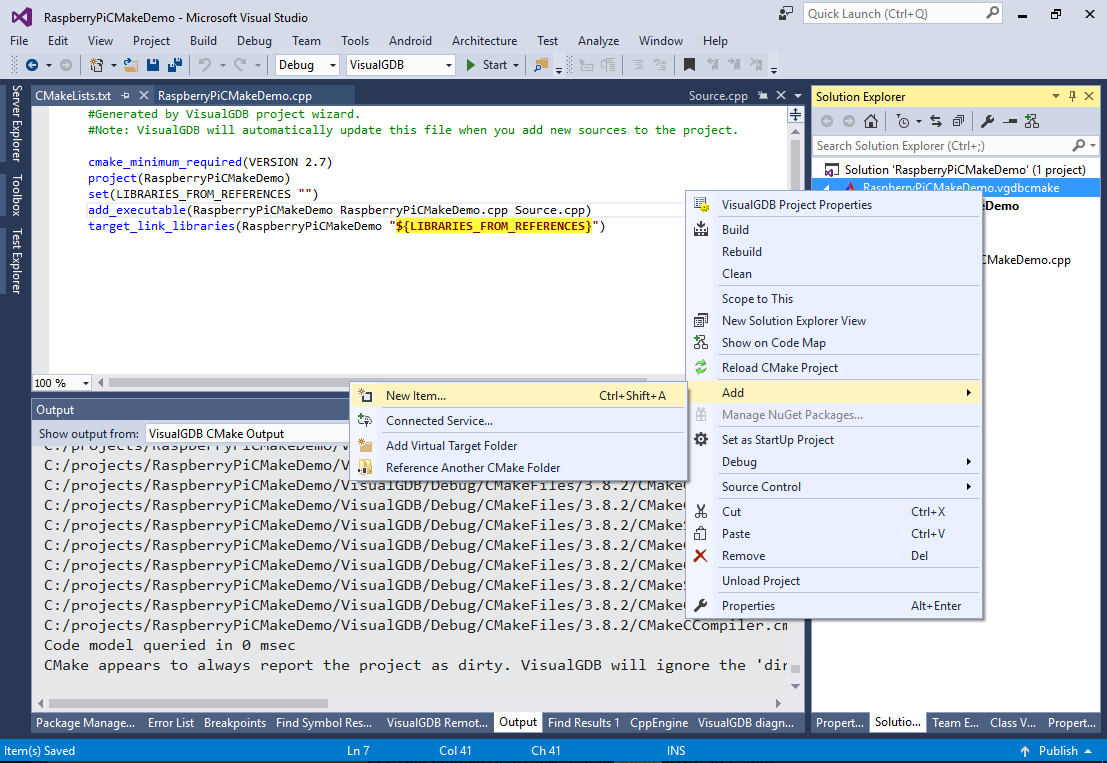
- Now right-click on the project itself and select “Add->New Item” again:
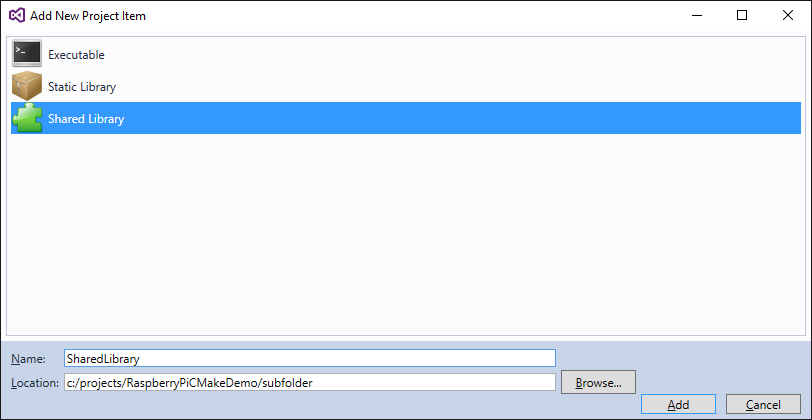
- Select “Shared Library” and change the “Location” to <project directory>/subfolder:
- VisualGDB will automatically create the subfolder and put another CMakeLists.txt file in it. Replace the contents of the SharedLibrary.cpp file with this:
#include <stdio.h>

void SharedLibraryFunction()
{
    printf("Hello from shared library\n");
}
Then add a SharedLibrary.h file with the following contents:
#pragma once

void SharedLibraryFunction();
- Right-click on the library in Solution Explorer and click “Go To Definition”:
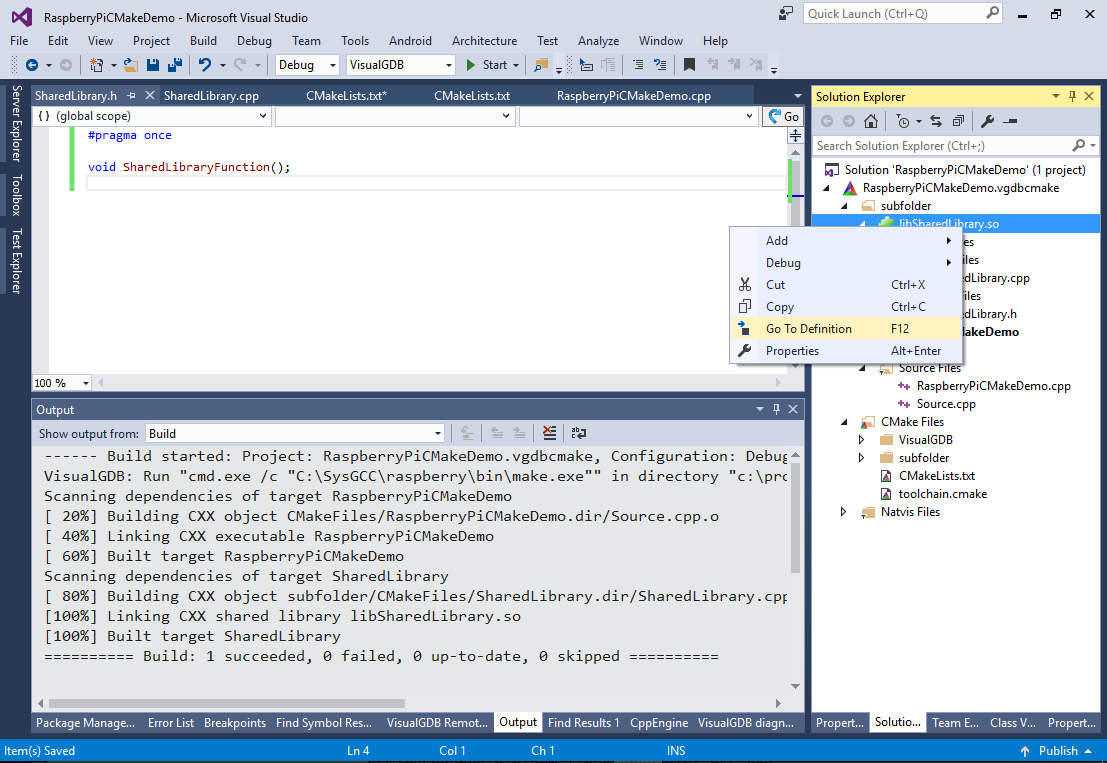
- VisualGDB will open the CMakeLists.txt file containing the definition of SharedLibrary:
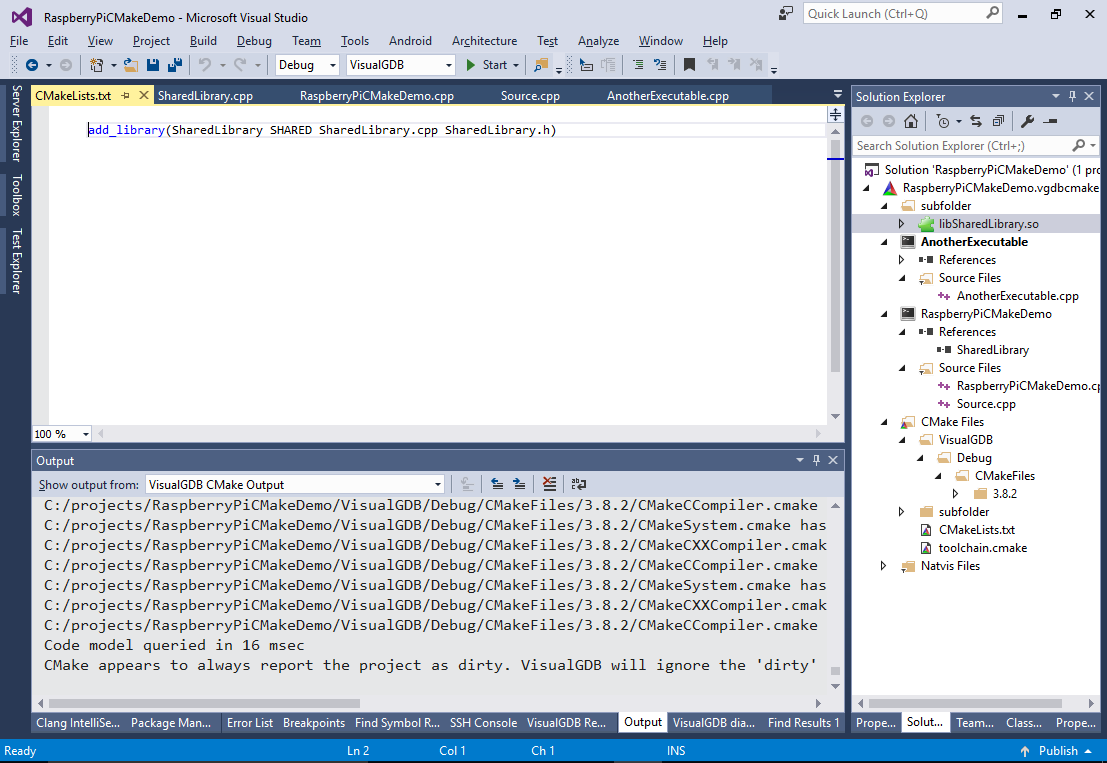
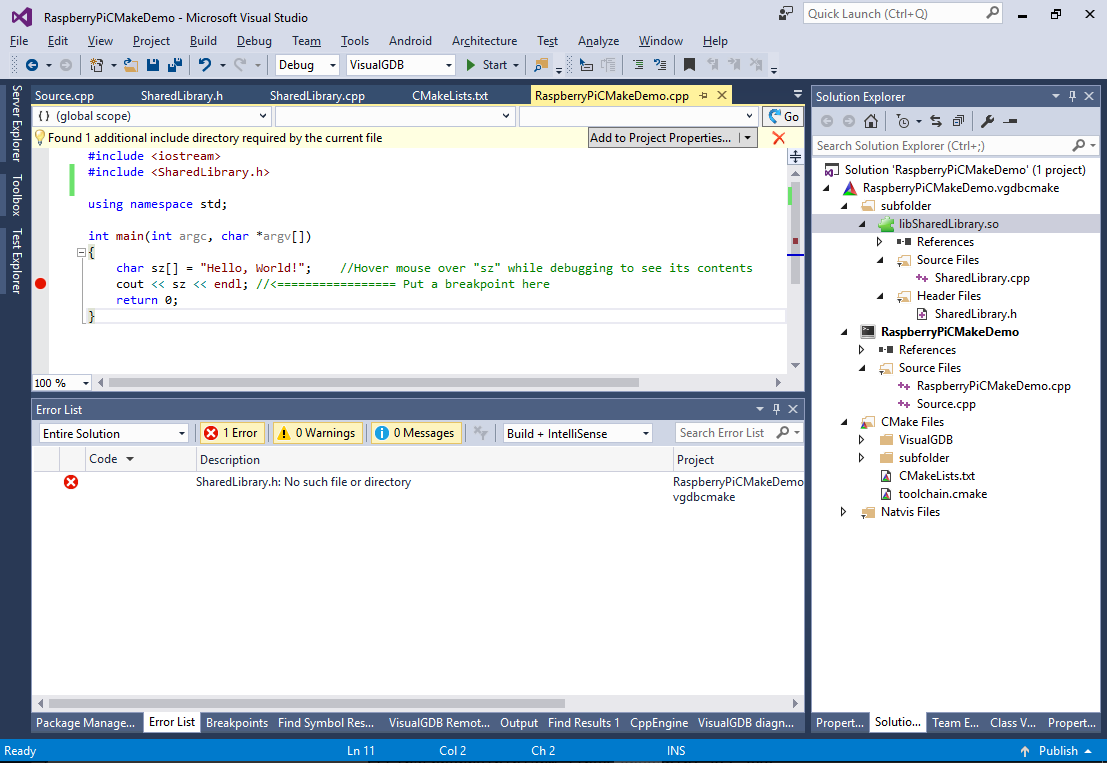
- Try including the SharedLibrary.h from the main executable and build the project. The build will fail because the “subfolder” is not added to the header search path of the main executable:
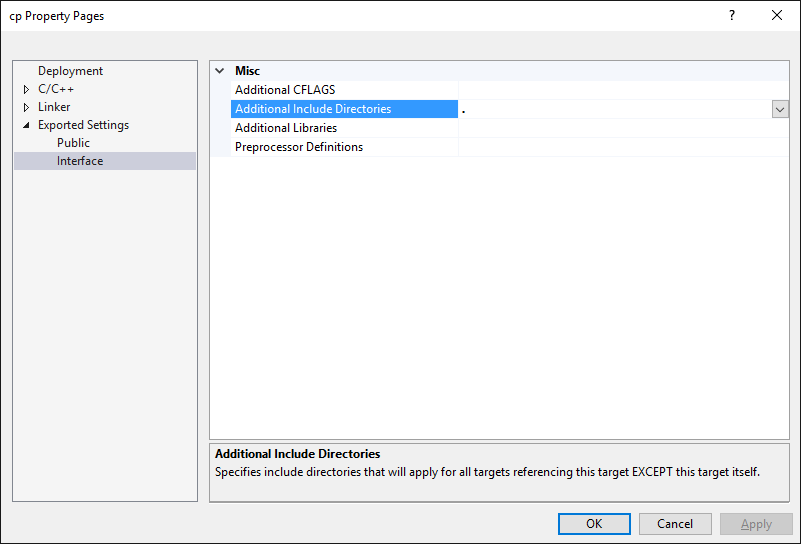
- Instead of adding it directly to the main executable, we will instead configure the SharedLibrary to “export” this directory to every target that references it. Open Visual Studio properties for Shared Library and add “.” to Exported Settings -> Interface -> Additional Include Directories:
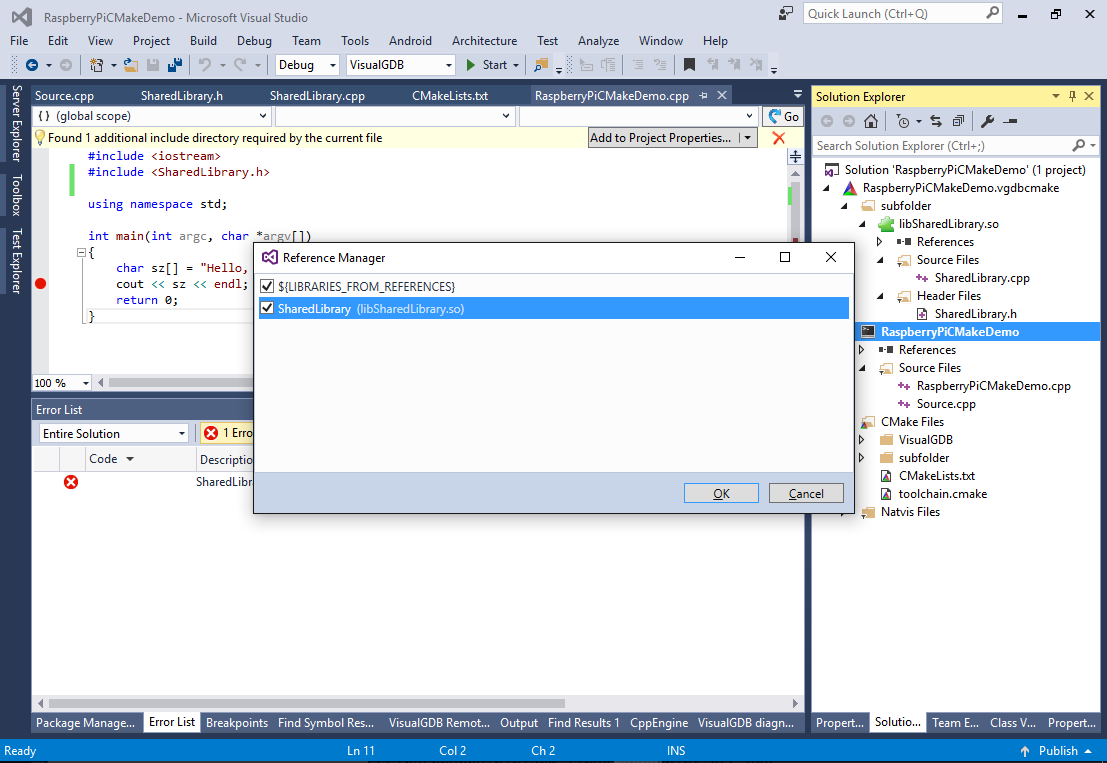
- Then add a reference from the main executable to the library:

- The Reference Manager window will show all libraries directly referenced by the edited target letting you conveniently edit them via the GUI:
- Build the project now. Both the library and the executable should be built successfully:
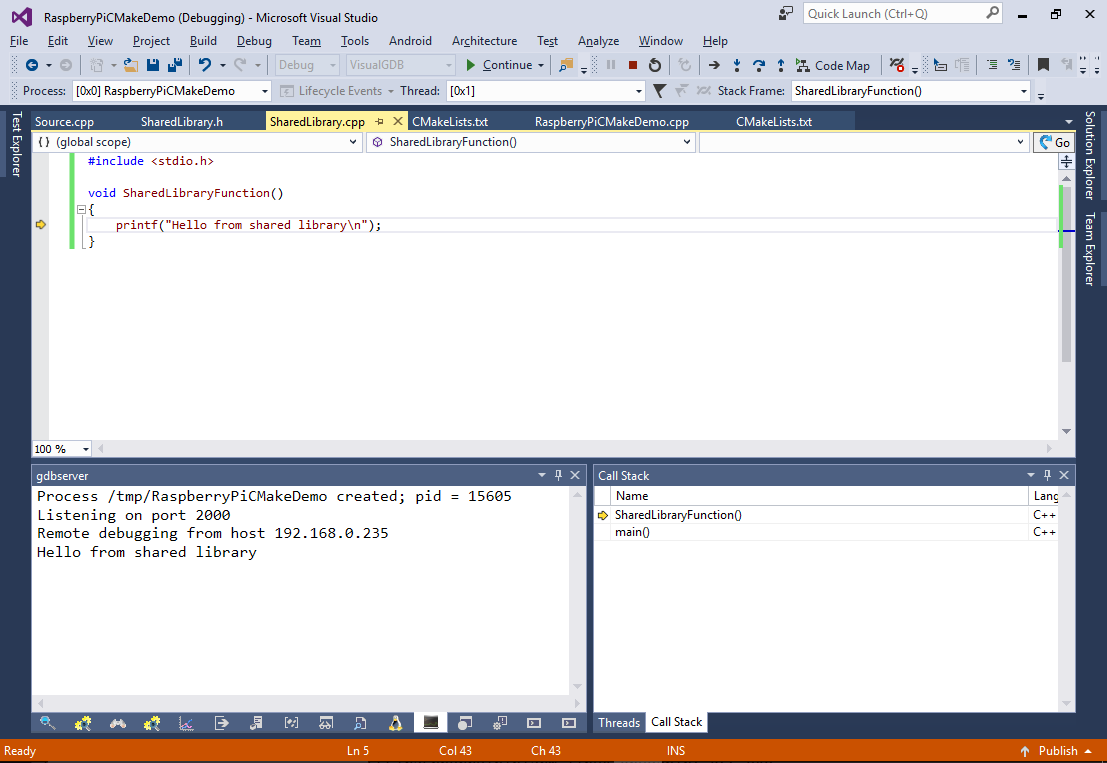
- Modify the main() functionto call SharedLibraryFunction() and ensure you can step into it:
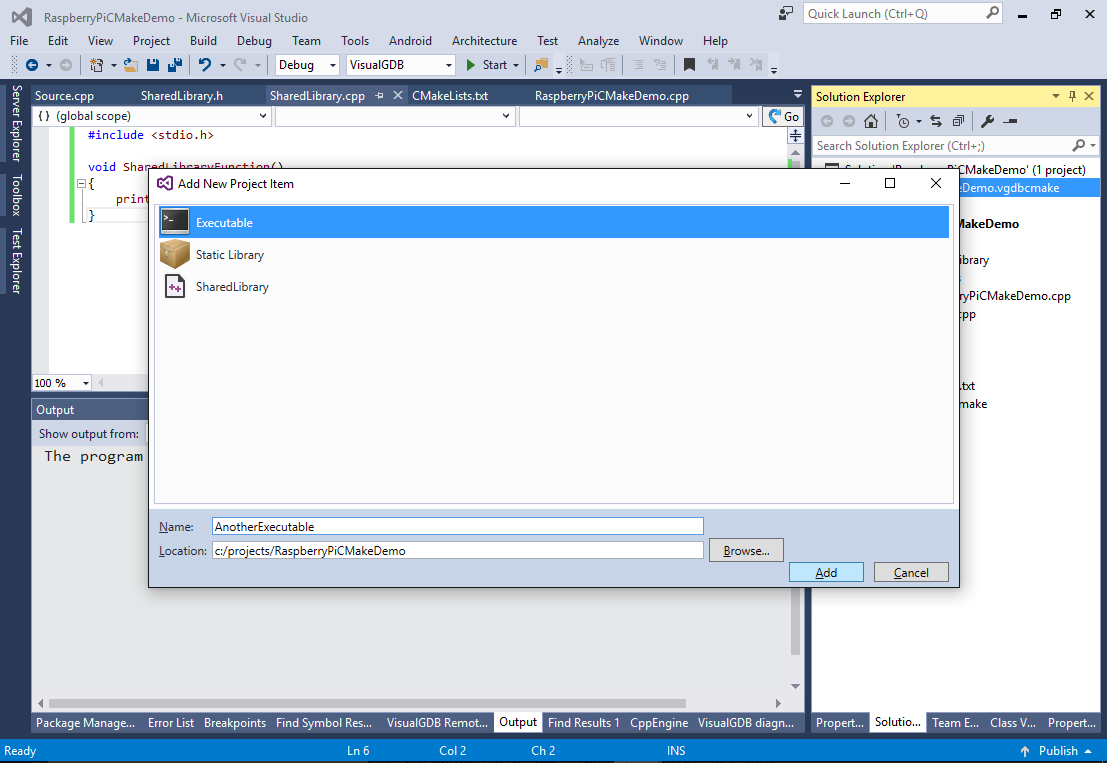
- Add another executable to the project:
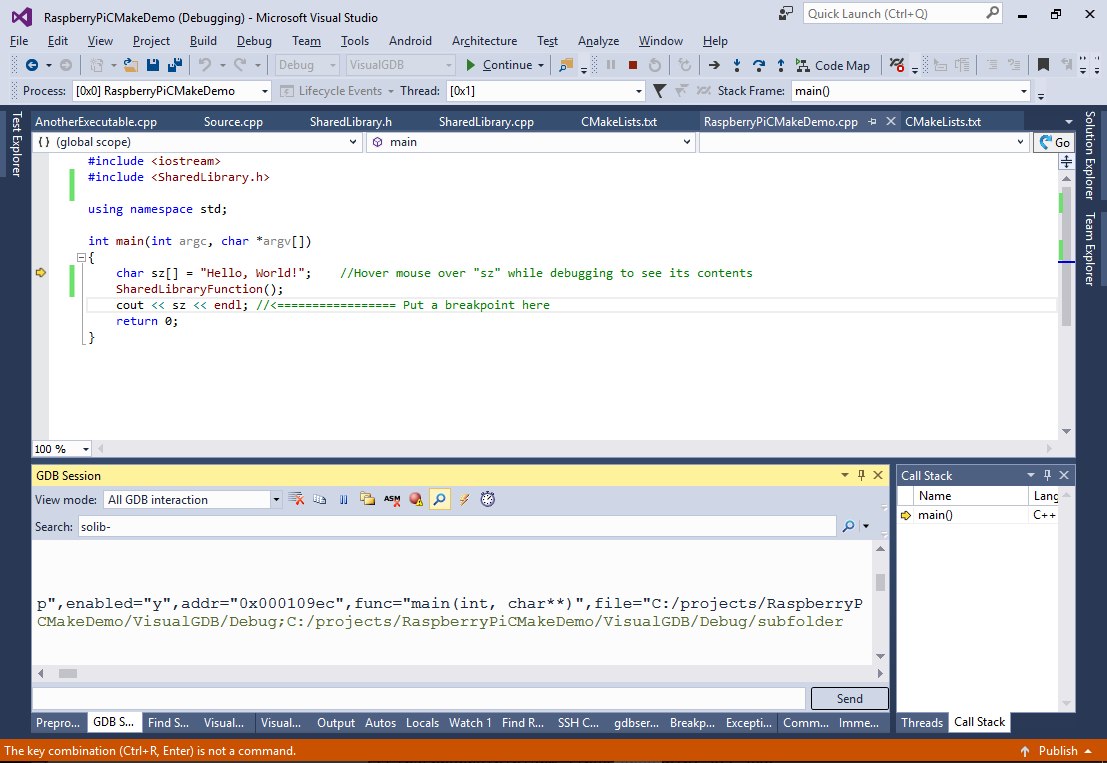
- Right-click on it in Solution Explorer and select “Debug->Start New Instance”. See how VisualGDB launches the selected executable. Open the GDB Session window and take a note of the set solib-search-path command automatically issued by VisualGDB:
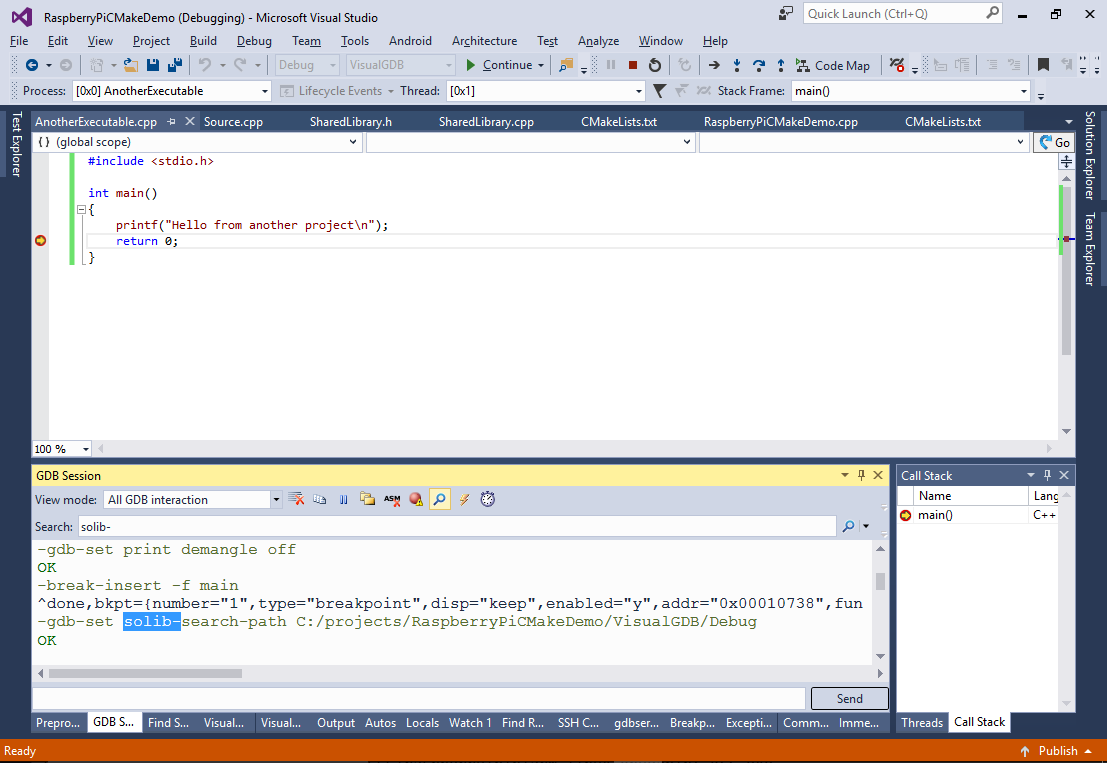 This command tells the gdb debugger where to search for the libraries if they were not built on the same machine where they are debugged.
 - Start debugging the first target again:

- As the first executable references the shared library, VisualGDB has automatically deployed it and added its location to the “solib-search-path” variable, so you don’t need to do it yourself:
- Now we will show how to edit various target settings. Select both executables, open Visual Studio properties and set Preprocessor Definitions to MY_CUSTOM_MACRO:
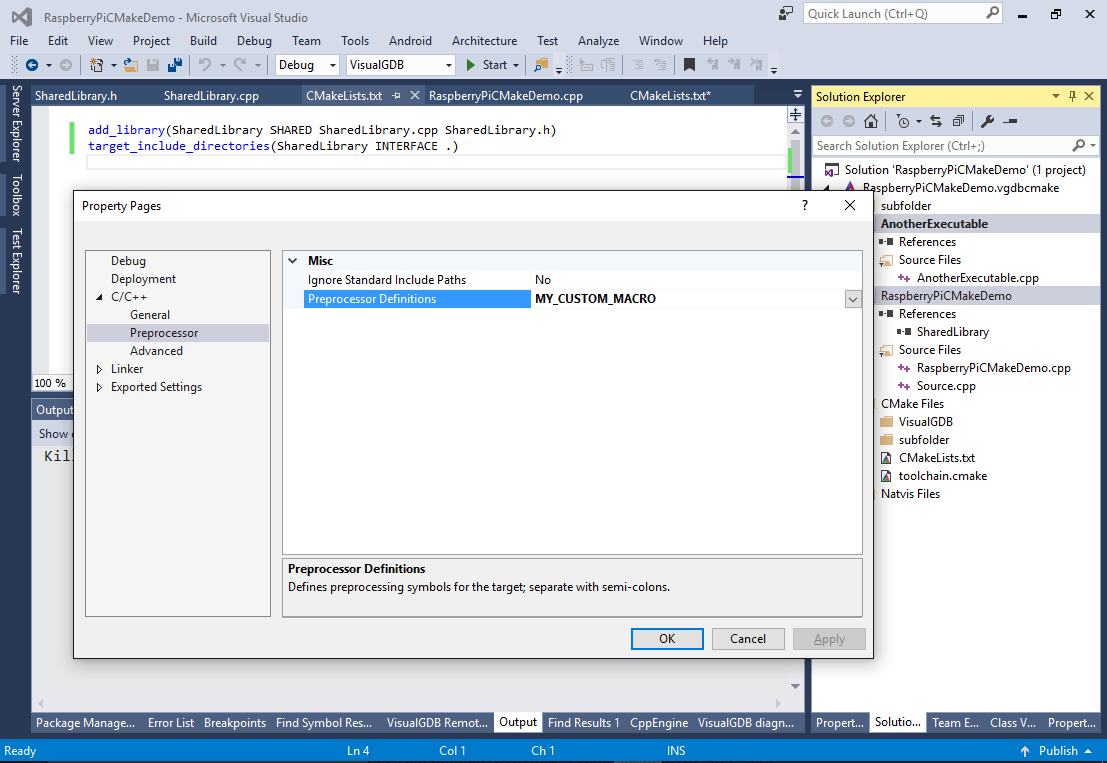
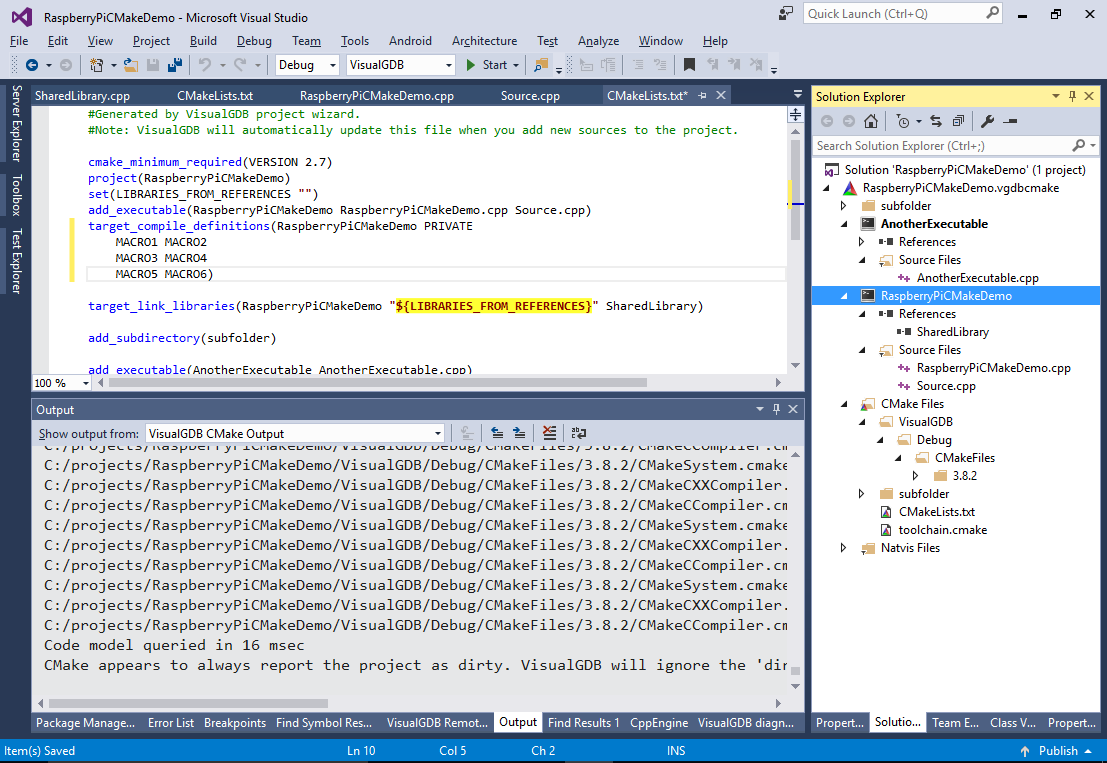
- See how VisualGDB edited the CMakeLists.txt file in response:
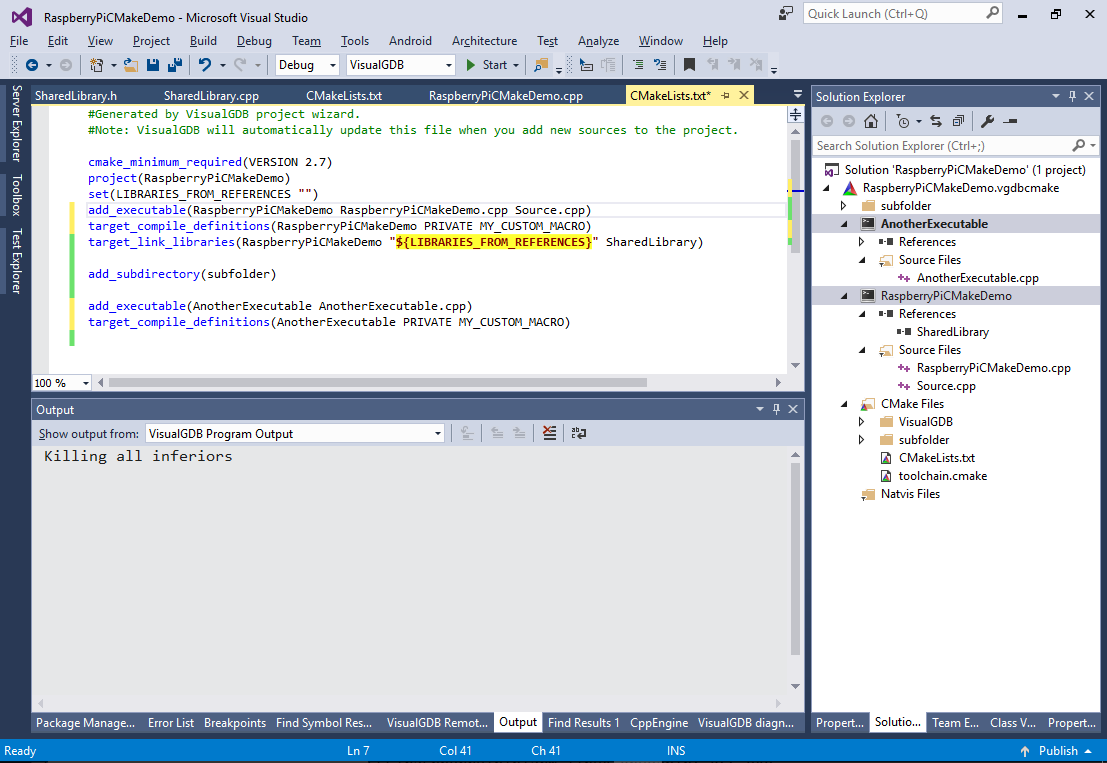
- Unlike the regular Visual C++ projects that need to be synchronized with the CMake files, VisualGDB CMake projects always reflect the latest state of the CMake files. Try editing the target_compile_definitions() statement as shown below:
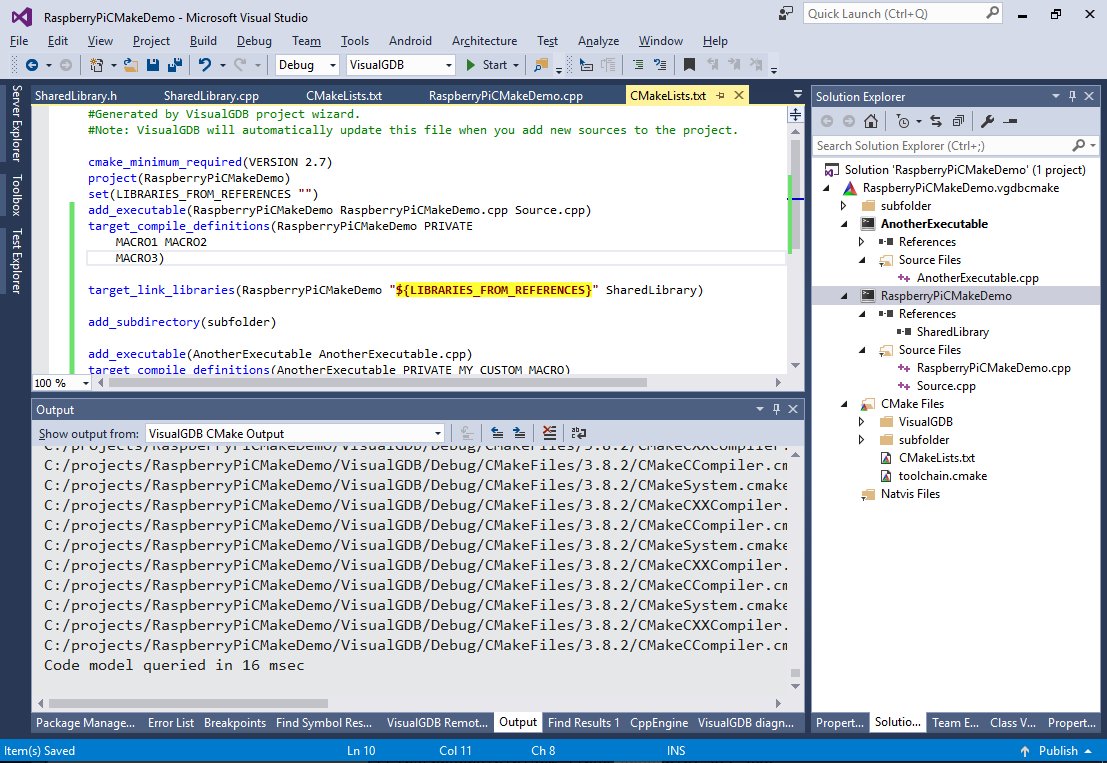
- Then open Visual Studio properties for the target and add 3 more macros:
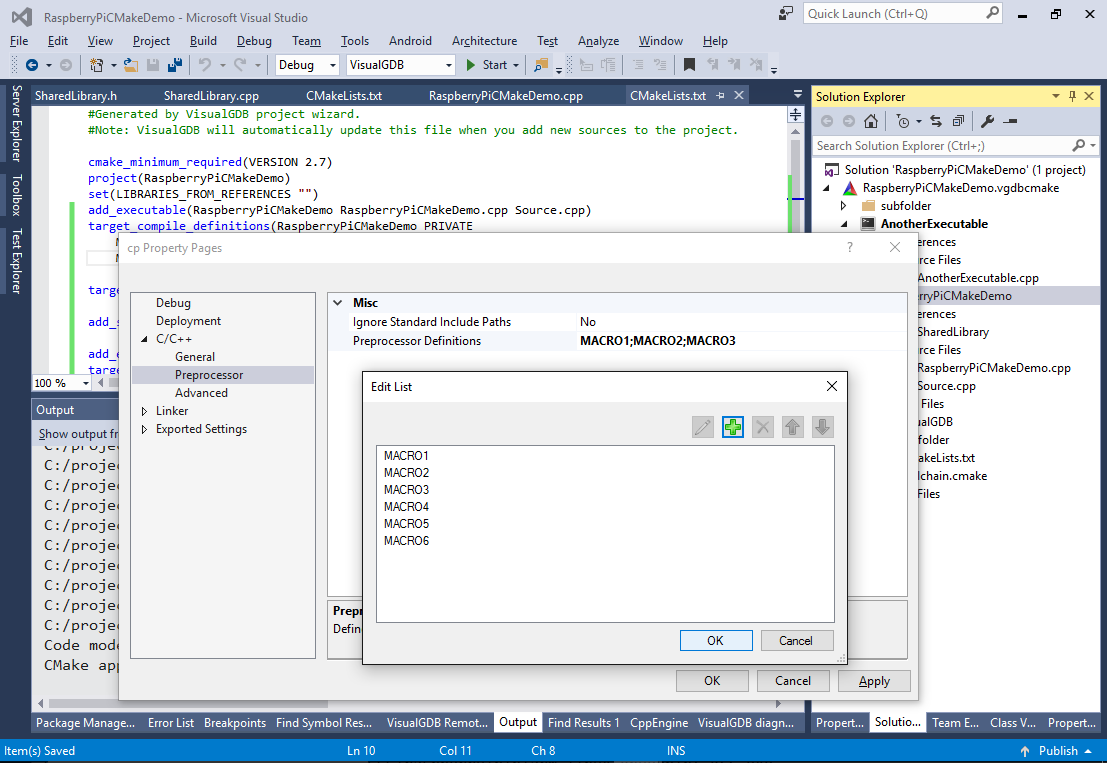
- See how VisualGDB automatically detected the format (indentation and the 2 variables per line limit) and edited the statement accordingly:
Unlike the regular Visual C++ projects that duplicate information from the CMakeLists.txt files, the VisualGDB CMake projects always store all the information in the CMake files. Each time you open a CMake project, VisualGDB invokes CMake to report the structure of the project and displays it in Solution Explorer. When you add/remove targets or source files, or when you edit target properties, VisualGDB locates the relevant statements inside CMake files and edits them, leaving the rest of the files intact. This mechanism is very robust and supports both projects generated via VisualGDB wizard and imported 3rd-party projects.
Note that if your CMake projects define targets or change target settings using macros, VisualGDB will use the correct settings in Solution Explorer and IntelliSense Settings, but will ignore the statements that affect multiple targets when editing target properties via Visual Studio property window.